In this article, you will discover a comprehensive guide on how to achieve the beautiful, textured look of gouache style painting in Photoshop. With step-by-step instructions and expert tips, you will learn how to emulate the unique characteristics of this traditional medium, such as its vibrant colors and opaque finish, using digital tools and techniques. Whether you are an aspiring digital artist or a seasoned professional looking to expand your artistic repertoire, this tutorial will equip you with the knowledge and skills to create stunning gouache style paintings that are indistinguishable from their traditional counterparts. So, let’s dive into the world of digital art and transform your digital canvas with the elegance and grace of gouache painting.
Materials and Set-Up
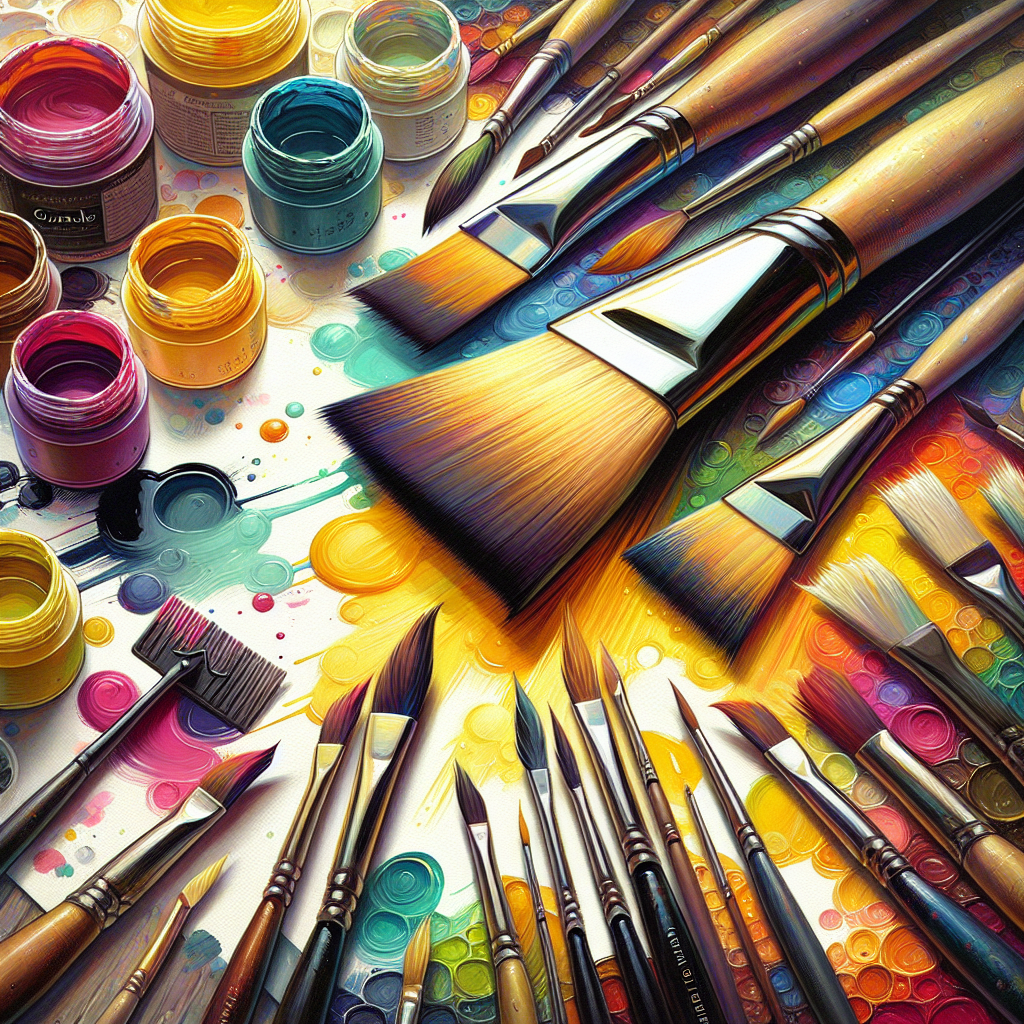
Choosing the right Photoshop tools
When creating a gouache style painting in Photoshop, it is important to choose the right tools to achieve the desired effect. The Brush tool will be your primary tool for creating brushstrokes and adding color to your artwork. Make sure to experiment with different brush settings such as size, opacity, and flow to achieve the desired texture and stroke variation. Additionally, consider using custom brushes or downloading brush packs that are specifically designed for creating gouache style paintings.
Setting the canvas and brush settings
Before diving into painting, it is essential to set up your canvas and brush settings in Photoshop. Start by creating a new document and selecting the appropriate dimensions for your artwork. A larger canvas size will allow for more details and flexibility in your painting. Once the canvas is set, adjust the brush settings to match the desired effect. Play around with the brush size, hardness, and transparency to achieve the right balance between smooth strokes and texture.
Creating the Base Layer
Choosing the background color
The base layer of your gouache style painting sets the foundation for the rest of your artwork. Begin by selecting a background color that complements the subject of your painting. Consider using warm or cool colors depending on the mood you want to convey. Remember that the base color will influence the overall tone of your artwork, so choose wisely.
Using the Brush tool
To create the base layer, use the Brush tool to paint a solid color over the entire canvas. Select a brush size that allows you to cover the canvas efficiently. Make sure to use long and smooth brush strokes to establish a cohesive base layer. Using a low opacity setting for the brush can help in creating a subtle and buildable effect.
Applying smooth strokes
To achieve a traditional gouache painting look, it is important to apply smooth strokes to your base layer. This can be achieved by adjusting the brush settings to have a low hardness and ensuring that your strokes flow seamlessly. The goal is to create a base layer that is free of any harsh or visible brush marks.

This image is property of images.unsplash.com.
Adding Layers of Color
Selecting the color palette
When it comes to adding layers of color in a gouache style painting, selecting the right color palette is crucial. Consider the subject of your artwork and choose colors that complement and enhance it. Experiment with different color combinations to create depth and interest in your painting. It may be helpful to gather inspiration from real-life objects, reference images, or other gouache paintings to guide your color choices.
Using the Layer Blend Modes
To build layers of color in Photoshop, utilize the Layer Blend Modes. These blending modes allow you to apply different color effects and intensities to your artwork. Experiment with blending modes such as Overlay, Soft Light, and Multiply to achieve the desired result. Keep in mind that each layer of color should be applied gradually and with attention to detail to create depth and dimension.
Creating depth and texture
To achieve the characteristic texture of a gouache style painting, focus on creating depth and texture in your artwork. Use layers of color to build up different areas of your painting, adding variation in tone and intensity. Consider adding highlights and shadows to create depth and dimension. You can also experiment with brush techniques such as stippling or cross-hatching to add texture to specific areas of your painting.
Working with Brush Techniques
Using the Dry Brush technique
The Dry Brush technique is a useful brush technique to mimic the look of dry gouache on paper. To achieve this effect in Photoshop, select a dry brush preset or create a custom brush with a textured feel. Use short and quick strokes to create texture and add visual interest to your artwork. Experiment with different brush sizes or opacities to achieve the desired effect.
Creating splatter effects
To add an element of spontaneity and dynamic movement to your gouache style painting, consider creating splatter effects. This can be achieved by loading your brush with paint and then using a splatter brush or custom brush to flick the paint onto the canvas. Splatter effects can be used to add texture or create a sense of energy in your artwork. Experiment with different brush sizes and opacities to achieve the desired splatter effect.
Using the Wet Brush technique
The Wet Brush technique emulates the look of wet gouache on paper. To achieve this effect in Photoshop, select a brush preset that emulates the texture and behavior of wet paint. Use long and flowing brush strokes to create a sense of fluidity in your artwork. Experiment with different brush sizes and opacities to achieve the desired wet-brush effect.

This image is property of images.unsplash.com.
Applying Textures and Patterns
Importing textures and patterns
To add additional visual interest and texture to your gouache style painting, consider importing textures and patterns into your artwork. You can find various texture and pattern resources online or create your own. Import the desired textures or patterns into your Photoshop document as separate layers that can be manipulated and blended with your artwork.
Applying texture overlays
Once you have imported the textures or patterns, experiment with blending them into your artwork using layer blending modes and opacity adjustments. Overlaying textures and patterns can add depth and dimension to your painting, as well as create interesting visual effects. Play with different blending modes and opacity levels to find the right balance between the texture overlay and your artwork.
Creating custom textures
For a more personalized touch, consider creating your own custom textures to use in your gouache style painting. This can be done by scanning traditional gouache paintings, experimenting with different painting techniques on physical surfaces, or creating digital textures from scratch. By creating your own textures, you can add a unique and individualized look to your artwork.
Creating Highlights and Shadows
Working with different opacity levels
Highlights and shadows play a crucial role in creating depth and dimension in a gouache style painting. When working with highlights and shadows, consider using different opacity levels to add subtlety and realism to your artwork. Gradually build up the intensity of the highlights and shadows by applying multiple layers with varying opacity levels. Pay close attention to the light source of your painting to ensure consistency and accuracy.
Adding highlights and shadows
To add highlights and shadows to your artwork, use a combination of brush techniques and layer blending modes. Apply highlights with a lighter color and low opacity to areas that are receiving direct light. Similarly, use darker colors and low opacity for shadows on areas that are in shadow or receiving indirect light. Experiment with different brush sizes and opacities to achieve the desired effect.
Using the Dodge and Burn tools
The Dodge and Burn tools in Photoshop can be effective in adding highlights and shadows to your gouache style painting. The Dodge tool lightens areas of your artwork, while the Burn tool darkens them. Use these tools sparingly and with precision to enhance the highlights and shadows in your painting. Adjust the tool’s exposure and brush settings to achieve the desired level of intensity.

This image is property of images.unsplash.com.
Finalizing the Artwork
Adjusting color levels and saturation
Before finalizing your gouache style painting, it is essential to adjust the color levels and saturation to ensure a balanced and visually pleasing result. Use adjustment layers such as Levels or Hue/Saturation to fine-tune the colors in your artwork. Make subtle adjustments to the brightness, contrast, and saturation to enhance the overall impact of your painting. Aim for a harmonious color palette that complements the subject and mood of your artwork.
Refining details and edges
Take the time to refine the details and edges of your gouache style painting to achieve a polished look. Zoom in and use the Brush tool or other relevant tools to clean up any rough or unfinished areas. Pay attention to the fine details and edges of objects, ensuring that they are well-defined and crisp. Small adjustments can make a significant difference in the overall quality of your artwork.
Adding final touches
To truly bring your gouache style painting to life, consider adding final touches that enhance the overall aesthetic and impact. This could include adding subtle texture overlays, adjusting the overall contrast or tonal values, or incorporating additional elements to create interest or balance. Be mindful not to overdo it, as the final touches should enhance your artwork without overpowering it.
Saving and Exporting
Saving the artwork as a PSD file
When saving your gouache style painting in Photoshop, it is recommended to save it as a PSD (Photoshop Document) file. This file format allows you to retain all the layers, adjustments, and other editable elements of your artwork. Saving as a PSD file ensures that you can easily make changes or modifications in the future if needed. Additionally, it provides a high-quality version of your painting that can be used for printing or further editing.
Exporting in various formats
Depending on your intended use, you may need to export your gouache style painting in different file formats. For web use, consider exporting your artwork as a JPEG or PNG file, which are widely supported and compatible with most online platforms. For print use, exporting as a TIFF or PDF file is recommended to preserve the highest level of quality. Experiment with different formats to find the one that best suits your needs.
Optimizing for printing or web use
Before finalizing the exporting process, it is important to optimize your gouache style painting for printing or web use. For printing, make sure to set the appropriate resolution (usually 300 dpi) to ensure sharp and high-quality prints. Consider converting the color profile to CMYK for accurate color reproduction. For web use, resize your artwork to the appropriate dimensions and optimize the file size without sacrificing too much image quality. This will ensure that your artwork loads quickly and appears visually appealing on various devices.

Troubleshooting and Tips
Fixing common issues
While creating a gouache style painting in Photoshop, you may encounter some common issues. One of the most common problems is unwanted brush strokes or marks. To fix this, experiment with different brush settings, such as opacity and flow, to achieve smoother strokes. Additionally, use the Undo command or layer masks to correct any mistakes or areas that need adjustment. Regularly saving multiple versions of your artwork will also help you backtrack if needed.
Mastering the gouache style
Mastering the gouache style in Photoshop takes practice and experimentation. Take the time to study and analyze traditional gouache paintings to understand the techniques and characteristics. Try to replicate these techniques in Photoshop using various brush settings, layer blending modes, and brush techniques. Don’t be afraid to make mistakes and learn from them. With patience and dedication, you will develop your own unique gouache style that reflects your artistic vision.
Getting creative with variations
While learning how to do a gouache style painting in Photoshop, don’t be afraid to get creative with variations. Experiment with different color palettes, brush sizes, and blending modes to create unique effects and styles. Allow yourself the freedom to explore and push the boundaries of traditional gouache painting. Embrace the versatility of digital art and use it as a tool to express your creativity and imagination.
Conclusion
Wrap up and summary
Creating a gouache style painting in Photoshop is an exciting and versatile process that allows you to bring your artistic vision to life. By selecting the right tools, setting up your canvas and brush settings, and carefully applying layers of color, textures, and highlights, you can achieve the distinct look and feel of a traditional gouache painting. Remember to pay attention to detail, refine your artwork, and experiment with different techniques to create a unique and visually stunning piece.
Encouragement to practice and experiment
As with any artistic endeavor, practice and experimentation are key to mastering the gouache style in Photoshop. Take the time to practice different brush techniques, explore new color palettes, and experiment with various textures and patterns. Allow yourself the freedom to make mistakes and learn from them. The more you practice and experiment, the more you will develop your own artistic style and create artwork that is truly unique and captivating. So, don’t be afraid to let your creativity flow and embrace the endless possibilities that gouache style painting in Photoshop offers.