In this article, you will learn the proper techniques for distressing wood using chalk paint. By following these step-by-step instructions, you will be able to achieve a beautiful, aged look on your wooden furniture or decor. From selecting the right materials to applying and distressing the chalk paint, you will have all the information you need to successfully complete this DIY project. Take your woodworking skills to the next level with this easy-to-follow guide on distressing wood with chalk paint.
How To Distress Wood With Chalk Paint
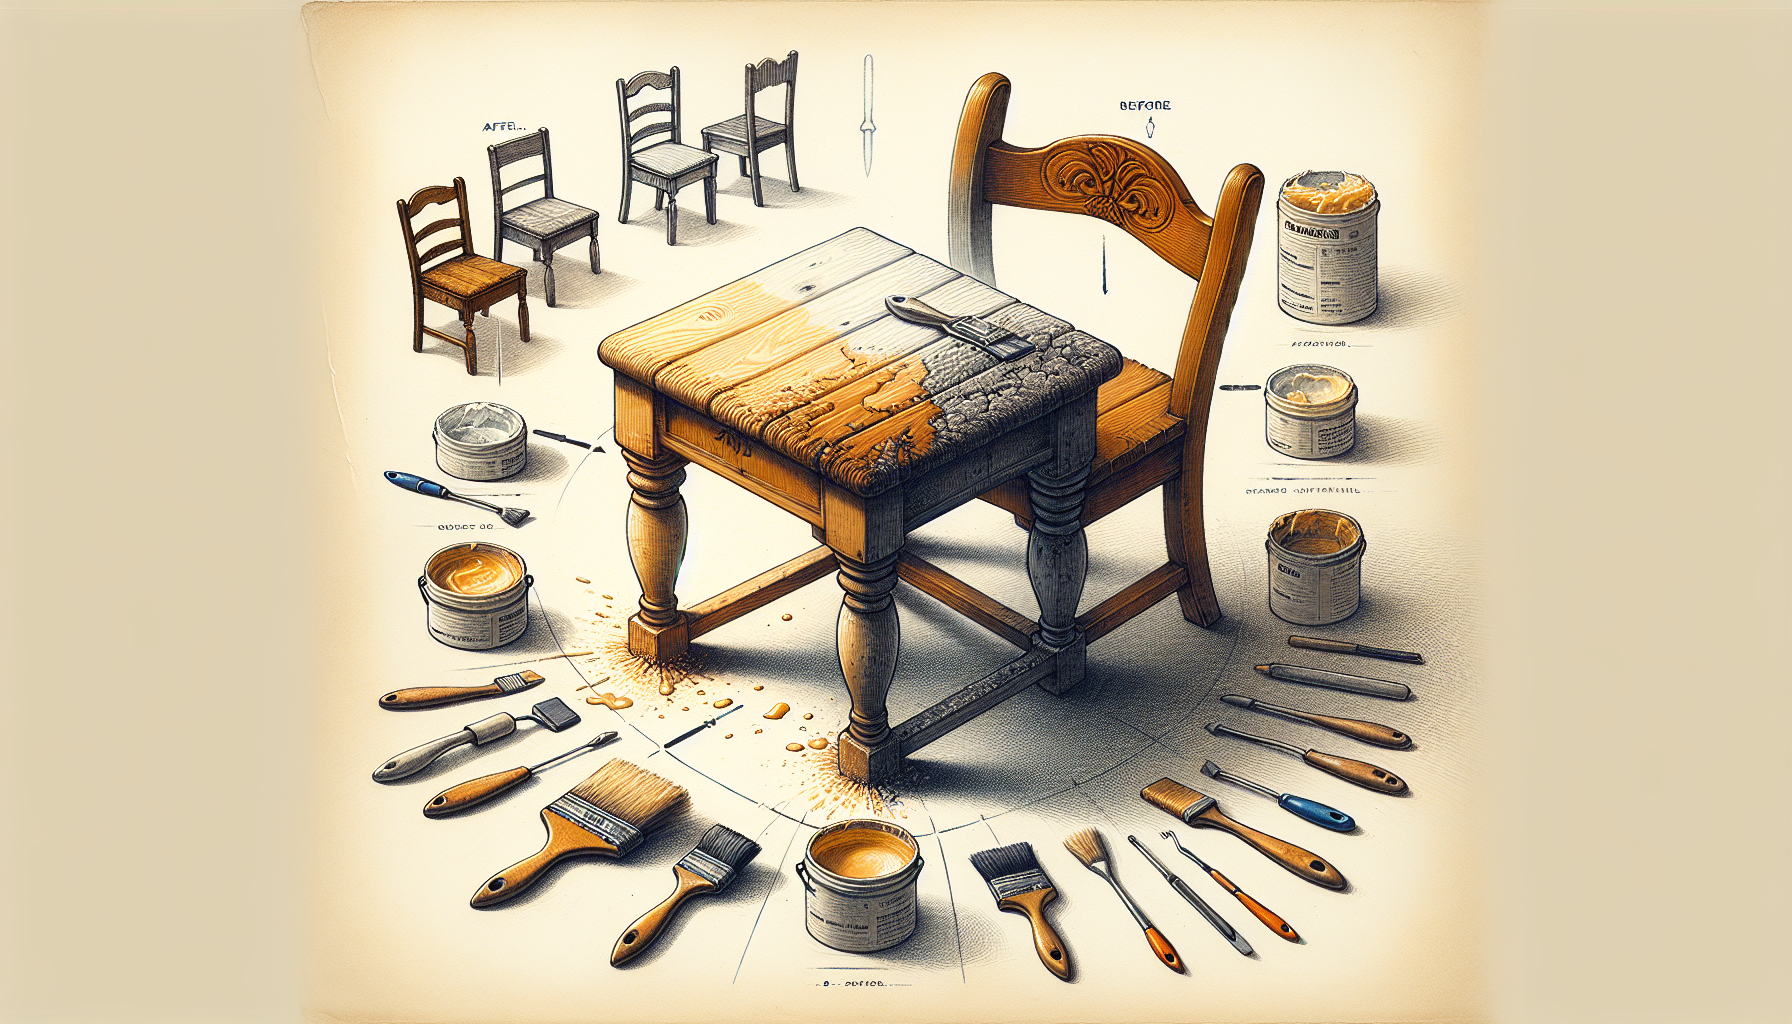
Have you ever wanted to give your wooden furniture or decor a rustic, aged look? Distressing wood with chalk paint is a popular technique that can achieve this desired effect. In this detailed guide, we will walk you through the step-by-step process of distressing wood with chalk paint, from preparation to final touches.

Choosing the Right Type of Wood
Before you begin distressing wood with chalk paint, it is important to choose the right type of wood for the project. Soft woods, such as pine or cedar, are ideal for distressing as they are easier to work with and create a more rustic look.
Soft Woods:
Soft woods like pine, cedar, or spruce are great choices for distressing with chalk paint. They have a natural grain that absorbs the paint well and creates a distressed finish.
Hard Woods:
Hard woods like oak or maple can also be distressed with chalk paint, but they may require more sanding and preparation to achieve the desired effect.
Preparing Your Wood Surface
Properly preparing your wood surface is crucial for achieving a successful distressed look with chalk paint. Make sure to clean and sand your wood before applying the paint.
Cleaning:
Start by cleaning your wood surface with a mild soap and water solution to remove any dirt, dust, or grease. Let it dry completely before moving on to the next step.
Sanding:
Using a medium-grit sandpaper, lightly sand the surface of the wood to create a smooth and even base for the chalk paint. Pay special attention to any rough spots or imperfections to ensure a flawless finish.
Applying Chalk Paint
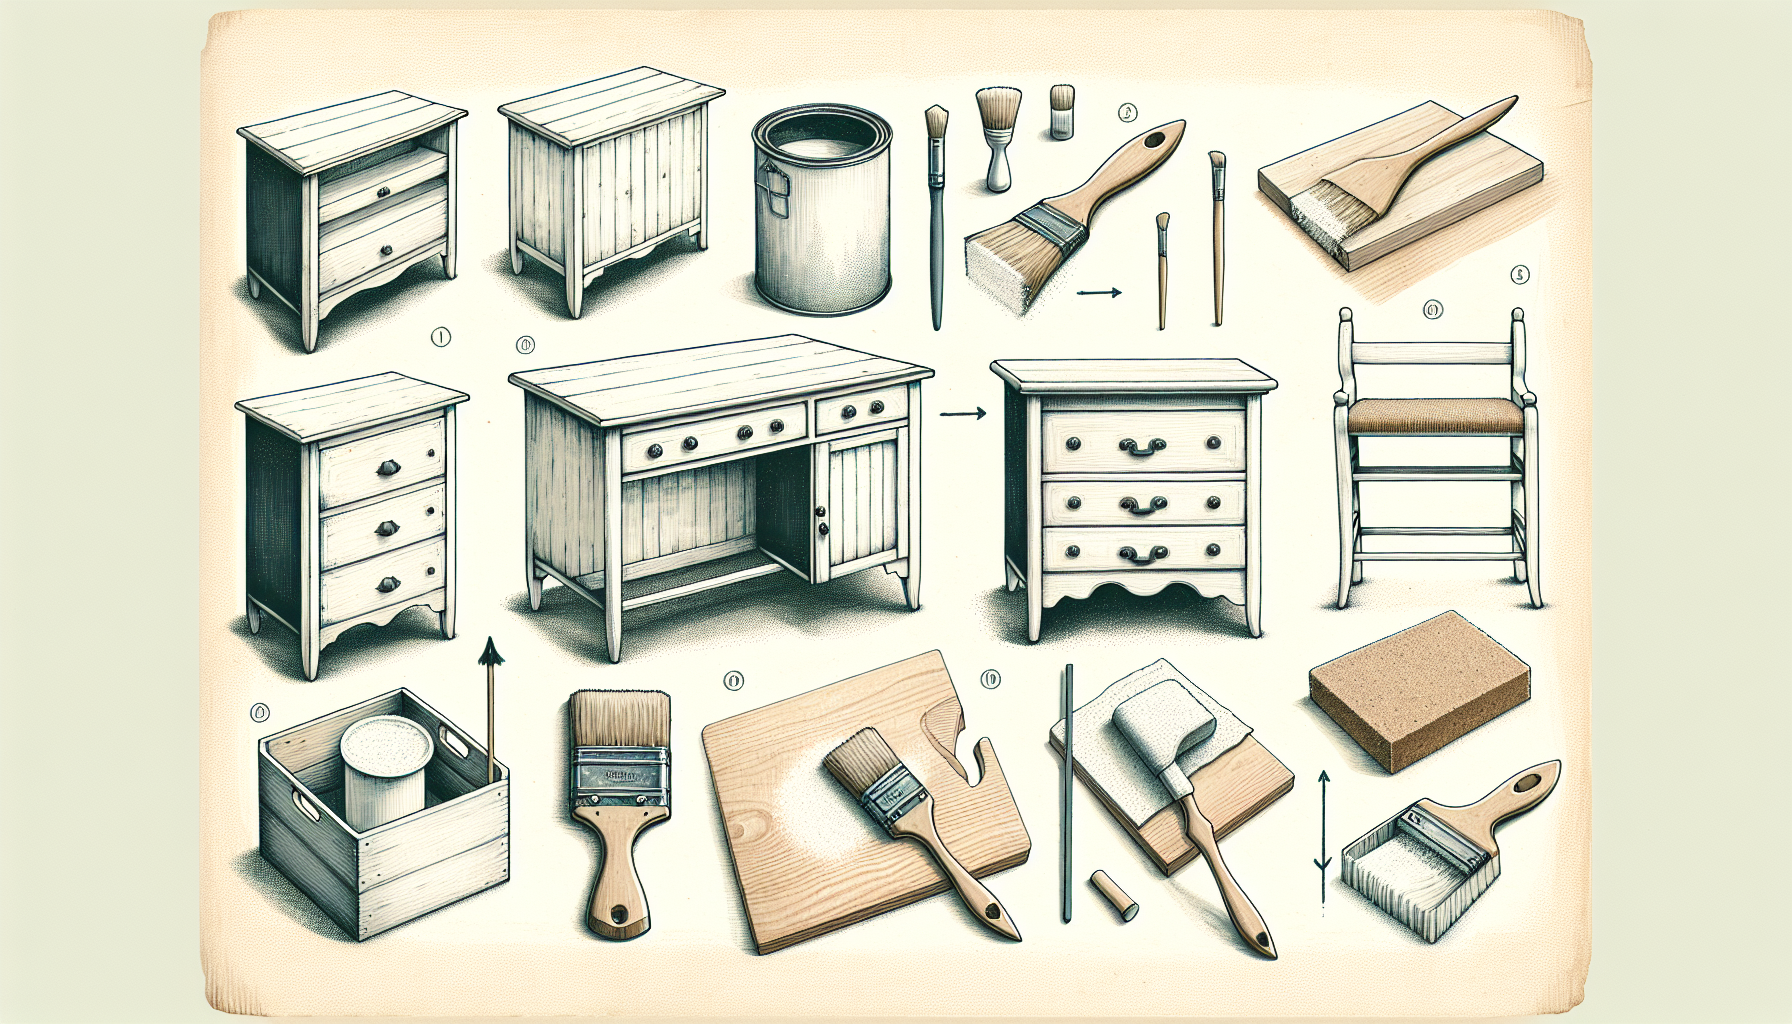
Chalk paint is a versatile and easy-to-use medium that is perfect for distressing wood. Follow these steps to apply chalk paint to your wood surface:
Choosing the Right Chalk Paint:
There are many brands and colors of chalk paint available on the market. Choose a color that complements your existing decor and style preferences.
Applying the First Coat:
Using a high-quality paintbrush or foam roller, apply the first coat of chalk paint to the wood surface in long, even strokes. Make sure to cover the entire surface evenly and allow the paint to dry completely before applying the second coat.
Applying Additional Coats:
Depending on the desired coverage and intensity of the distressing, you may need to apply one or two additional coats of chalk paint. Allow each coat to dry fully before proceeding to the next step.
Distressing Techniques
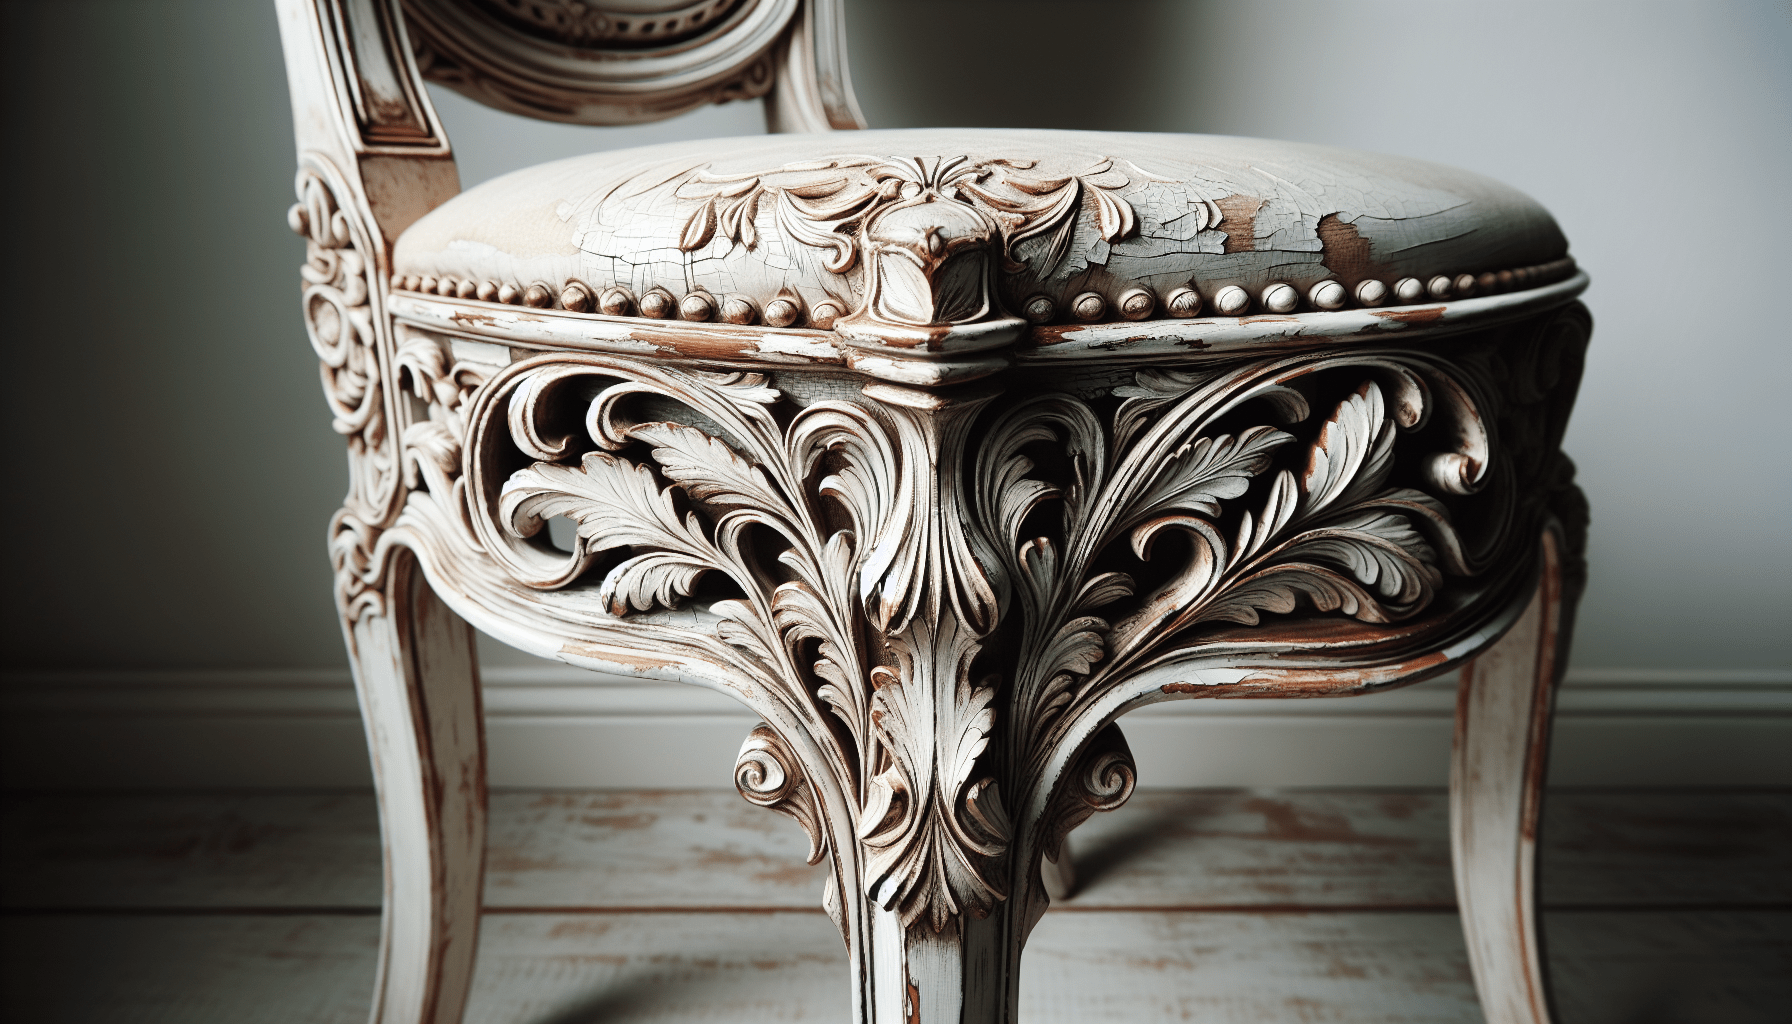
Now comes the fun part – distressing your chalk-painted wood to achieve a rustic, aged look. There are several techniques you can use to distress wood with chalk paint:
Sanding:
Using fine-grit sandpaper or a sanding block, lightly sand the edges and corners of the wood to reveal the natural wood underneath. This will create a worn and weathered look that adds character to your piece.
Scratching:
Take a metal scraper or screwdriver and gently drag it along the surface of the wood to create scratches and nicks. This technique mimics natural wear and tear and adds depth to the distressed finish.
Dry Brushing:
Dip a dry paintbrush into a contrasting color of chalk paint and lightly brush it over the surface of the wood. This technique adds dimension and highlights the texture of the distressed areas.

Sealing and Protecting Your Distressed Wood
After you have distressed your wood with chalk paint, it is important to seal and protect the finish to ensure its longevity. Follow these steps to seal and protect your distressed wood:
Choosing the Right Sealer:
There are several options for sealing chalk-painted wood, including wax, polyurethane, or matte sealer. Choose a sealer that will enhance the distressed look and provide adequate protection.
Applying the Sealer:
Using a clean paintbrush or roller, apply a thin, even coat of sealer to the entire surface of the wood. Be sure to follow the manufacturer’s instructions for drying and curing times.
Reapplying Sealer:
Depending on the level of wear and tear your distressed wood will endure, you may need to reapply the sealer every 1-2 years to maintain its beauty and protect the finish.
Final Touches
Once you have distressed, painted, and sealed your wood surface, you can add some final touches to enhance the overall look and feel of your piece:
Distressing Wax:
Apply a small amount of distressing wax to the edges and corners of the wood to enhance the distressed look and add an extra layer of protection.
Hardware:
Consider changing or adding vintage or antique hardware to your distressed wood piece to complete the rustic, aged look. Old-fashioned knobs, drawer pulls, or hinges can add a touch of charm and authenticity.
Decorative Accents:
Add decorative accents such as stencils, transfers, or decals to personalize your distressed wood piece and make it truly unique. These accents can add visual interest and create a focal point in any room.
By following these detailed steps and techniques, you can easily distress wood with chalk paint and create a beautiful, rustic finish that adds character and warmth to any space. Experiment with different colors, distressing techniques, and finishes to find the perfect look for your home decor.