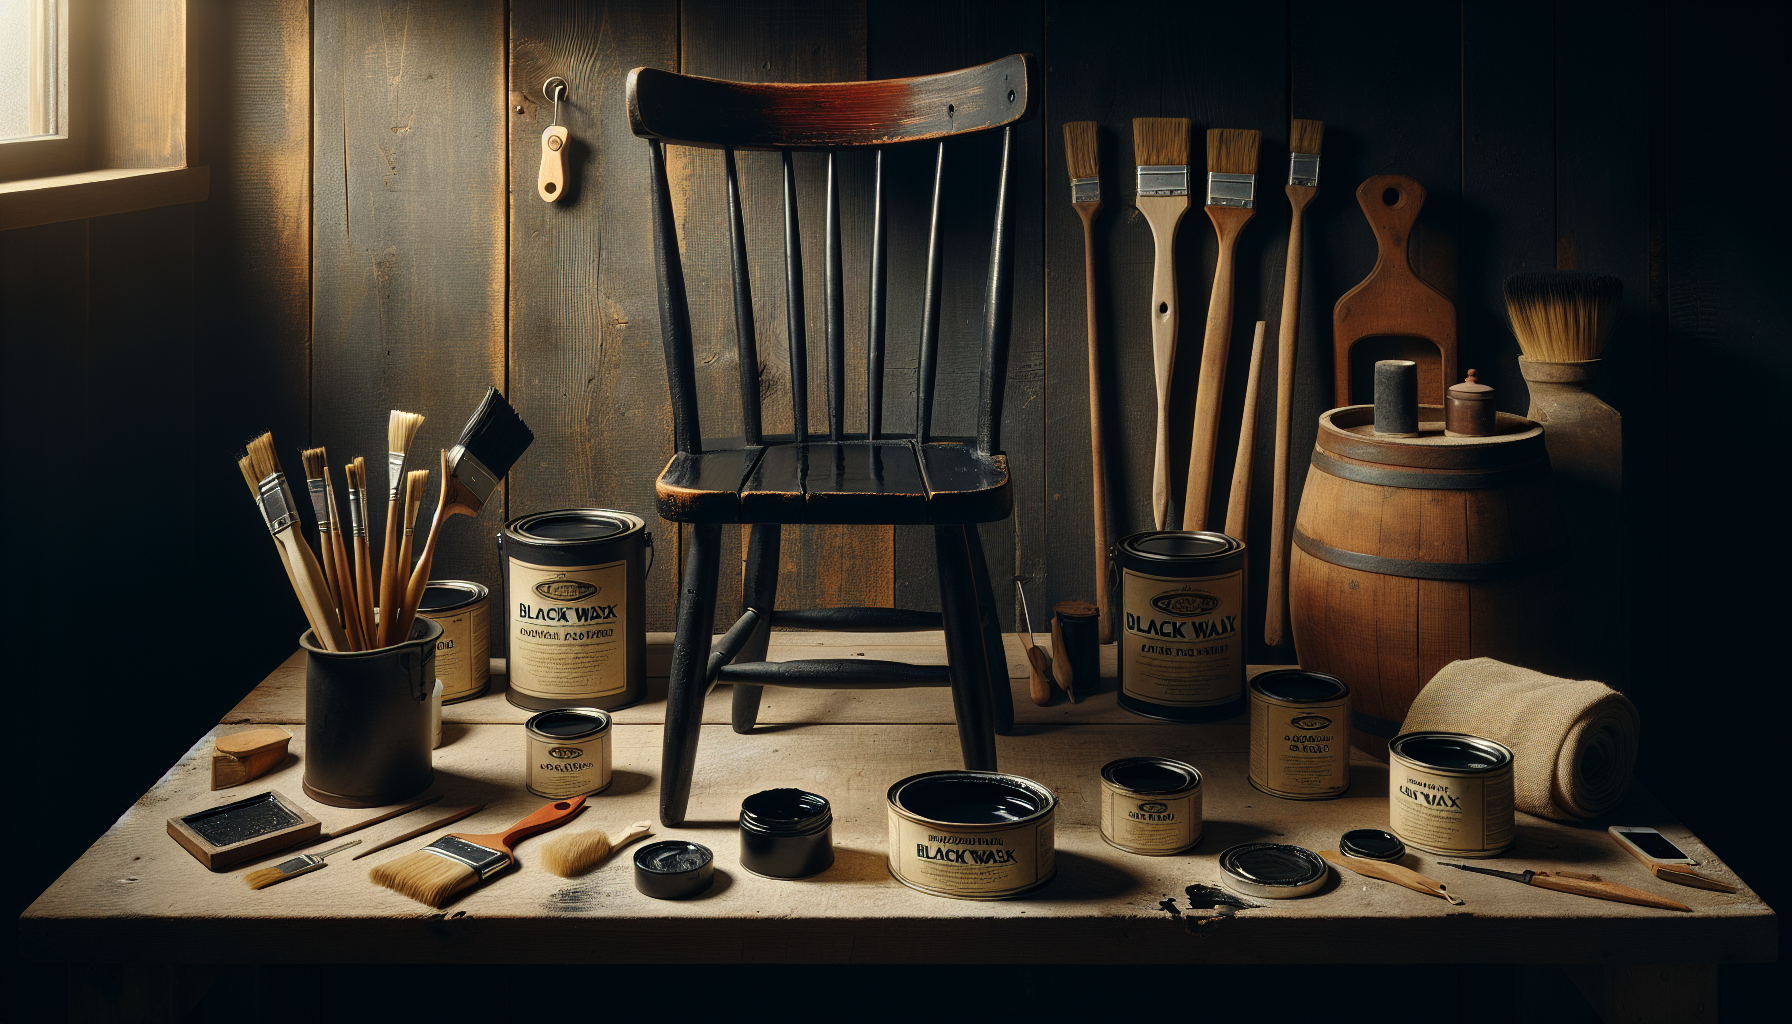
In the world of furniture refinishing and DIY projects, chalk paint has become a popular choice for its ability to create a beautifully aged and distressed look. However, when it comes to using a sprayer for application, diluting the paint to the proper consistency becomes crucial. This article will guide you on the process of diluting chalk paint for a sprayer, ensuring a smooth and flawless finish on your next project.
Preparation
Before you begin diluting chalk paint for a sprayer, gather all the necessary materials. You will need chalk paint, a sprayer, water, a stirring stick, and a well-ventilated workspace. Make sure you have everything within reach and organized to make the process smoother.
Next, it is important to choose the right type of sprayer for your project. Consider the size and scope of your painting project, as well as the type of surface you will be painting on. Different sprayers have different settings and capabilities, so choose one that is suitable for your needs.
Lastly, prepare a well-ventilated workspace. Proper ventilation is crucial when working with paint, especially when using a sprayer. Ensure that there is enough airflow in the area you will be working in to prevent any health hazards or discomfort from fumes.
Preparing the Chalk Paint
To achieve the best results, it is essential to mix the chalk paint thoroughly before diluting it. Shake the paint container vigorously for a few minutes to ensure that all the pigments are properly distributed throughout the paint. This will help the diluted paint have an even color and consistency.
After mixing the paint, check the consistency. Chalk paint should have a smooth and creamy texture that is easy to work with. If the paint is too thick and does not flow smoothly, it needs to be diluted.
To dilute the paint, add water gradually. Start by adding a small amount and stir the mixture thoroughly. Continue adding water and stirring until you reach the desired consistency. It is important to add water slowly to avoid diluting the paint too much, which can affect its coverage and adherence.

Testing the Diluted Paint
Before applying the diluted chalk paint to your project, it is crucial to conduct a test area. Choose an inconspicuous spot or a scrap piece of the same material you will be painting on. This will help you assess the coverage and make any necessary adjustments before tackling the entire project.
Spray the diluted paint onto the test area in even strokes, mimicking the motion you would use when painting the actual surface. Observe the coverage and how the paint adheres to the material. Pay attention to any streaks, drips, or unevenness in the application. This will give you an idea of how the diluted paint will perform and help you determine if any further adjustments are needed.
If the coverage is too light or uneven, consider adjusting the consistency of the paint. You may need to add more water to achieve the desired coverage and smoothness. Conversely, if the coverage is too heavy or the paint is pooling, you may need to reduce the amount of water in the mixture.
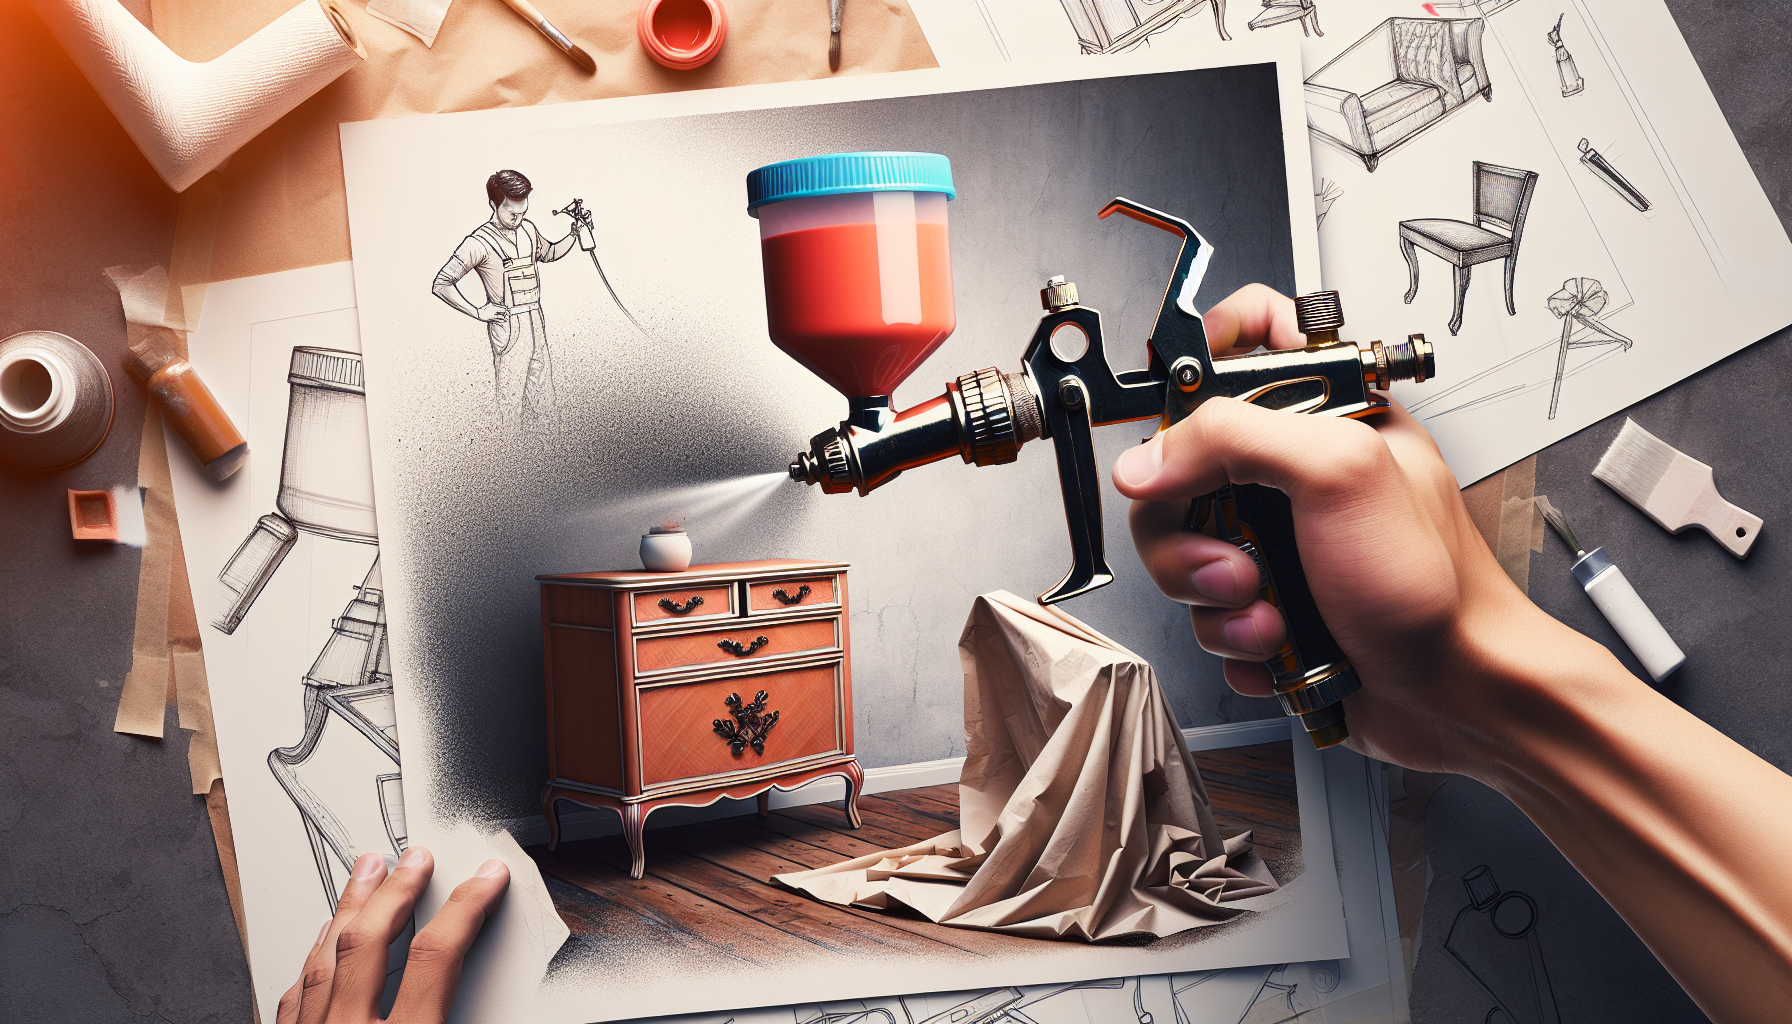
Applying the Diluted Chalk Paint
When you are satisfied with the consistency and coverage of your diluted chalk paint, it is time to prepare the sprayer for application. Make sure the sprayer is clean and free from any residue or paint particles from previous use. This will ensure a smooth application and prevent any clogs or blockages.
Adjust the nozzle on the sprayer according to the desired spray pattern and width. Different projects may require different patterns, so choose the setting that best suits your needs. Practice adjusting the nozzle on a scrap piece of material to familiarize yourself with the spray pattern before applying it to your project.
When applying the diluted chalk paint, use even strokes to achieve a consistent finish. Move the sprayer smoothly and steadily, maintaining a proper distance from the surface. This will help prevent overspray, streaks, and drips, ensuring a professional-looking result.

Tips and Tricks
To achieve the best results when diluting chalk paint for a sprayer, consider the following tips and tricks:
-
Start with a small amount of water and gradually add more until you reach the desired consistency. This will help you achieve better control over the dilution process.
-
Add water gradually to avoid diluting the paint too much. It is easier to add more water than to thicken the paint again.
-
Use distilled or filtered water when diluting the paint. Tap water may contain impurities that can affect the performance and finish of the paint.
-
Consider the paint’s original consistency when diluting it. If the paint is already relatively thin, you may need less water to achieve the desired dilution. Conversely, if the paint is thick, you may need to add more water.
-
Practice on a scrap piece of wood or material before applying the diluted paint to your project. This will help you get familiar with the sprayer and the diluted paint’s behavior, allowing you to make any necessary adjustments before starting the actual painting.
Avoiding Common Mistakes
To ensure a successful outcome when diluting chalk paint for a sprayer, avoid the following common mistakes:
-
Adding too much water to the paint can result in a diluted mixture that lacks coverage and adhesion. Be cautious when adding water, and always test the mix before applying it to your project.
-
Failing to mix the paint thoroughly can lead to uneven color and texture in the final result. Take the time to shake or stir the paint properly before dilution to ensure an even distribution of pigments.
-
Skipping the consistency check can result in application issues and an unsatisfactory finish. Always test the diluted paint on a small area to assess its coverage and adjust the consistency if needed.
-
Using the wrong type of sprayer for your project can result in uneven spraying, clogs, and other application difficulties. Choose a sprayer that is suitable for the type of surface and scope of your project to achieve the best results.
Clean-up and Maintenance
After you finish painting with the diluted chalk paint, it is important to clean the sprayer thoroughly to ensure its longevity and optimal performance in the future. Follow the manufacturer’s instructions for cleaning the specific sprayer model you are using. Most sprayers have removable parts that need to be cleaned separately, such as the nozzle and the paint container.
If you notice any dried paint on the sprayer, remove it gently using a soft cloth or sponge. Avoid using abrasive materials or chemicals that may damage the sprayer. Taking the time to clean the sprayer properly will prevent any clogging or malfunction in subsequent uses.
When storing the diluted paint, make sure it is sealed tightly to prevent any evaporation or contamination. Store the paint in a cool and dry place, away from direct sunlight and extreme temperatures. Proper storage will help maintain the paint’s quality and ensure its usability for future projects.
To maintain the sprayer’s functionality, consider regular maintenance. Lubricate the moving parts, such as the trigger and the nozzle, according to the manufacturer’s instructions. Inspect the sprayer periodically for any signs of wear or damage and address them promptly to prevent any issues during use.
Safety Precautions
When diluting and using chalk paint with a sprayer, it is important to observe proper safety precautions to protect yourself and others:
-
Always wear protective gear, such as gloves, goggles, and a mask, to prevent any contact with the paint and fumes. This will protect your skin, eyes, and respiratory system from potential harm.
-
Work in a well-ventilated area to ensure sufficient airflow and minimize the inhalation of fumes. If possible, work outdoors or open windows and doors to encourage fresh air circulation.
-
Avoid direct inhalation and skin contact with the diluted paint. Chalk paint may contain chemicals that can be harmful if absorbed into the body. Take breaks if needed and wash your hands thoroughly after handling the paint.
-
Keep children and pets away from the work area to prevent any accidental exposure or ingestion of the paint. Take additional precautions to ensure their safety, such as closing doors or using safety gates.
Troubleshooting
If you encounter any issues while diluting or using chalk paint with a sprayer, here are some common problems and their potential solutions:
-
If the paint clogs the sprayer nozzle, try cleaning it with warm water and a small brush. Remove any dried paint or debris that may be causing the clog. If the problem persists, consult the sprayer’s user manual or contact the manufacturer for further assistance.
-
Uneven coverage can occur due to improper dilution, spraying technique, or the condition of the sprayer. Ensure that the paint is properly diluted and mixed, and apply it using even and steady strokes. If needed, adjust the sprayer’s settings or consult the manufacturer for guidance.
-
Paint pooling or dripping can be caused by excessive spray pressure, incorrect nozzle adjustment, or spraying too closely to the surface. Reduce the spray pressure, adjust the nozzle for a wider pattern, and maintain an appropriate distance from the surface to avoid pooling and dripping.
-
Lack of adherence may occur if the surface is not properly prepared or if the diluted paint is not compatible with the material. Ensure that the surface is clean and free from any contaminants before applying the paint. Consider adding a bonding agent to the diluted paint for better adhesion, especially on challenging surfaces.
Conclusion
By following the steps to dilute chalk paint for a sprayer and implementing the tips and tricks provided, you can achieve professional-looking results with ease. Diluting chalk paint allows for improved coverage and smoother application, enhancing the overall finish of your project. Experiment with different dilution ratios to achieve the desired effect and enjoy the advantages of spray painting with chalk paint, such as time-saving and even coverage. Remember to consider safety precautions, troubleshoot any issues that arise, and properly clean and maintain your sprayer for continued use and excellent performance. Happy painting!