Are you ready to master the techniques that will let you create professional metallic marbling effects for art, decor, and craft projects?

How To Create Metallic Marbling Effects
This article guides you through the materials, techniques, troubleshooting, and finishing methods required to produce striking metallic marbling effects. You will receive step-by-step instructions, professional tips, and practical safety advice so that your results look polished and durable.
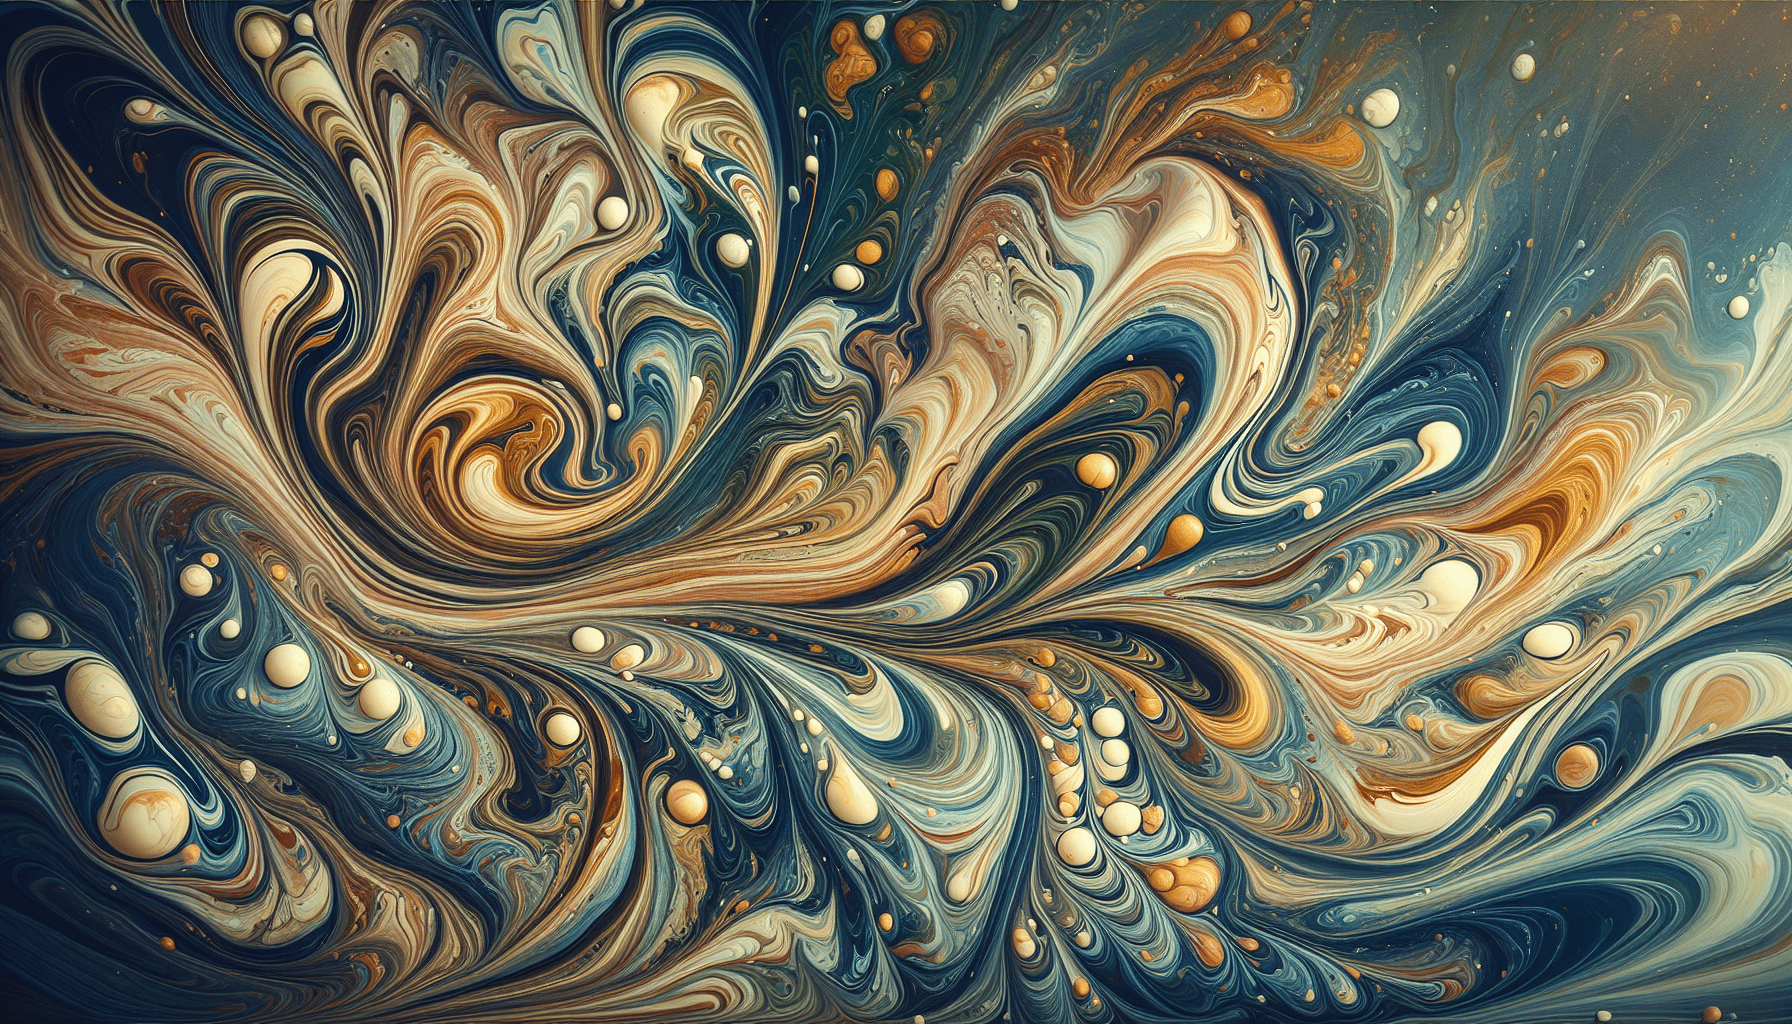
What Is Metallic Marbling?
Metallic marbling is the process of combining metallic pigments, paints, or foils with marbling methods to produce swirling, reflective patterns. These effects range from subtle pearlescent sheens to bold gold and chrome veins that catch and reflect light.
Metallic marbling is widely used in painting, printmaking, textiles, resin work, jewelry, nail art, and surface design for furniture and home decor. Your approach will vary according to surface, materials, and the level of sheen you want.
Materials and Tools You’ll Need
Selecting the right materials is essential for consistent metallic marbling. Below is a quick reference table that lists common items, their purposes, and notes on selection.
| Material / Tool | Purpose | Notes |
|---|---|---|
| Metallic acrylics | Base color and reflective layers | Choose heavy-body for texture; fluid for pour techniques |
| Metallic alcohol inks | High-shine effects on non-porous surfaces | Best on Yupo and glass; dilute with blending solution |
| Mica powders | Strong shimmer; mixable with mediums | Use with resin, varnish, or mixing medium |
| Metal leaf (gold/silver/copper) | Intense metallic accents | Requires size (adhesive) and burnishing tool |
| Epoxy resin | Durable, glossy finish; encapsulation | Work in controlled temperature; follow safety |
| Pouring medium | Extends acrylics for fluid pours | Use compatible medium to avoid cracking |
| Marbling size (carrageenan/methylcellulose) | Surface tension for floatation in water marbling | Prepare and rest per manufacturer instructions |
| Water basin | For water marbling | Wide, shallow container at least 2–3 inches deep |
| Combs / styluses | Pattern manipulation | Various tooth spacings produce different effects |
| Heat gun / torch | Remove bubbles in resin/produce cells | Use cautiously to avoid burning pigments |
| Brushes / palette knives | Paint application and manipulation | Synthetic brushes avoid pigment absorption |
| Gloves, respirator, goggles | Personal protection | Essential for resins, solvents, and powdered pigments |
| Masking and drop cloths | Workspace protection | Metallic pigments can stain fabrics and surfaces |
Selecting higher-quality pigments and mediums will produce richer metallic effects and greater longevity for the finished piece. Keep materials organized by project to minimize cross-contamination.
Choosing Metallic Supplies
Metallic effects come from several product types, and each behaves differently. Understanding their properties helps you choose the right material for your method and surface.
- Metallic acrylics: Easy to use, water-based, and available in both fluid and heavy-body consistencies. They dry quickly and are compatible with acrylic varnishes.
- Mica powders: Provide a pearlescent finish and are versatile with resin, medium, or water-based carriers. They do not dissolve completely, which gives a shimmering, particulate appearance.
- Metal leaf: Offers the most intense metallic look with true metal reflection. It adheres to surfaces using a tacky adhesive called size and requires careful handling.
- Metallic foil and gilding flakes: Thicker and more textured than leaf, often easier to apply in irregular patterns.
- Metallic alcohol inks and liquid metal inks: Provide brilliant shine on non-porous surfaces and blend readily with isopropyl alcohol or blending solution.
- Interference and iridescent paints: Shift color depending on angle and lighting, adding dimensionality to marbled patterns.
Match your metallic choice to the finish you want: subtle sheen (mica), bright chrome-like reflection (metal leaf), or durable glossy encapsulation (metallic pigments in resin).
Surfaces and Preparation
Different surfaces require different preparation to ensure adhesion and clarity of metallic effects. Proper preparation also prevents defects like flaking, cracking, and poor color payoff.
- Paper: Use heavy-weight or watercolor paper, size or prime with gesso for better paint adhesion. For alcohol ink on Yupo, use non-porous synthetic paper.
- Canvas: Prime with gesso for acrylics; sand for smoother finishes. For resin work, use sealed wood panel or properly stretched and sealed canvas to prevent absorption.
- Wood: Sand smooth, seal with a sanding sealer or gesso, then apply ground coat before marbling.
- Glass and ceramics: Clean thoroughly with alcohol or degreaser; consider a suspension primer for certain inks.
- Fabric: Pre-wash, avoid fabric softener, and use textile medium or thickening agents to keep pigments on the surface.
- Resin blanks and jewelry bases: Ensure cleanliness and absence of dust; use a tack cloth before pouring.
Always test your chosen technique on a small sample of the final surface to confirm adhesion and appearance.
Color Theory for Metallic Marbling
Understanding color interactions will help you design marbled patterns that read as rich and balanced rather than muddy or overly busy.
- Contrast: Metallics read better when paired with either deep, saturated colors (for dramatic contrast) or soft neutrals (for subtlety). Use dark backgrounds to make light metallics pop.
- Undertones: Metals have undertones—gold leans warm, silver often reads cool, and copper sits between warm and neutral. Match paints to complement or contrast those undertones.
- Opacity: Opaque metallics can cover underlying colors, while translucent interference paints shift hue based on underlying layers. Plan layer order to achieve the desired effect.
- Harmony and balance: Limit metallic use to focal areas when working with strong colors. Balance high-shine areas with matte or satin sections to prevent visual fatigue.
Experiment with small swatches to confirm how a metallic interacts with surrounding colors under different lighting.

Core Techniques Overview
There are multiple methods you can use to create metallic marbling effects; each method produces distinct characteristics. Below is a high-level overview followed by detailed step-by-step sections for each technique.
- Fluid acrylic pouring for flowing, cell-formed metallic veins.
- Water marbling for classic marbled patterns and paper/fabric transfers.
- Alcohol ink techniques for high-gloss, smooth metallic blends on non-porous surfaces.
- Resin marbling for encapsulated depth and a glass-like finish.
- Metal leaf and gilding for intense, reflective highlights and veins.
- Brush and sgraffito techniques for controlled, painterly marble motifs.
- Fabric marbling for wearable metallic patterns.
- Nail art marbling for small-scale metallic accents.
Choose the technique that matches your surface and the durability requirements of your project.
Fluid Acrylic Pouring with Metallics
Fluid pouring creates organic, flowing patterns. Metallics can form cells, lacing, and veins that look very natural when combined with pouring mediums and additives.
You will need pouring medium, acrylic paints (including a metallic), silicone oil (optional for cells), and a level workspace.
Step-by-step:
- Prepare paints: Mix each acrylic with pouring medium at the recommended ratio (commonly 1:1 or per manufacturer). Test viscosity for a smooth pouring consistency, similar to warm honey.
- Add metallic and additives: Stir metallic pigment or mica powder into one or more paint cups. For pronounced cells, add a drop of silicone oil to the metallic cup and mix gently.
- Create a “dirty pour” cup: Layer different colors by pouring them into a single cup in alternating amounts. Include metallics strategically where you want highlights.
- Pour and move: Flip cup onto your substrate or pour in patterns. Tilt the substrate gently to let colors flow and create marbled shapes.
- Create cells and lacing: Use a torch or heat gun briefly to pop bubbles and encourage cells to form. Avoid prolonged heat near heavy metallic layers.
- Level and rest: Place flat to cure. Cover to prevent dust and allow at least 24–72 hours per resin or medium instructions.
Tips: Keep metallics in thinner layers if using metal powders to avoid clumping; overuse of silicone can create too many large cells.
Water Marbling with Metallic Inks
Water marbling uses a size-filled bath where paints float and are manipulated into patterns before transfer to paper or fabric.
You will need marbling size, metallic marbling paints or inks, a shallow tray, combs or styluses, and absorbent paper or pre-treated fabric.
Step-by-step:
- Prepare the size: Mix carrageenan or methylcellulose per directions, then let rest to hydrate and stabilize. Maintain recommended temperature.
- Clean the tray: Fill with size to a depth of 1–2 inches. Remove dust or skin before starting.
- Drop paints: Use a dropper to place metallic and non-metallic paints onto the surface. The paints should float. If they sink, adjust with surfactant or different paint.
- Create pattern: Use a comb, stylus, or brush to manipulate the floating paints into a marble pattern. Move tools slowly to maintain clarity.
- Make the pull: Lay paper or fabric gently on the surface to pick up the pattern. Remove in a single, steady motion revealing the marbled image.
- Rinse and dry: Rinse fabric immediately to prevent bleeding; hang or lay flat to dry. For paper, blot gently and air-dry.
Tips: Metallic paints may oxidize or flake if not properly fixed; choose paints formulated for marbling or add a binder compatible with your substrate.
Alcohol Ink Marbling
Alcohol inks produce vibrant, luminous metallic effects on non-porous surfaces such as Yupo, glass, and glazed ceramics.
You will need alcohol inks (including metallic variants), isopropyl alcohol or blending solution, Yupo paper or glass, and air-blowing tools or brushes.
Step-by-step:
- Prepare surface: Secure Yupo paper or clean glass to your work surface.
- Apply inks: Drop metallic and colored inks onto the surface. Metallic alcohol inks are often denser and will sit visibly.
- Move and blend: Use a straw, air blower, or compressed air to push the inks into marble-like flows. Add blending solution to encourage movement and create soft edges.
- Layer and dry: Allow layers to dry between applications. Metallic inks may become more pronounced after drying.
- Seal: For durability, use a UV-resistant spray varnish compatible with alcohol inks.
Tips: Work in small sections to control flow; cold surfaces slow drying and produce different patterns.
Resin and Metallic Marbling
Resin produces highly durable, glass-like finishes that encapsulate metallic pigments, creating deep, multi-dimensional marbled effects.
You will need epoxy resin, resin pigments or mica powders, disposable mixing cups, gloves, respirator, and a level, dust-free space.
Step-by-step:
- Prepare substrate: Seal porous surfaces with a thin layer of resin or primer to prevent bubbling and absorption.
- Mix resin: Combine resin and hardener per manufacturer’s ratios, stirring slowly to avoid entraining bubbles.
- Create color cups: Mix separate cups with base resin and stir in metallic pigments or mica powders to the desired opacity and shimmer.
- Pour and pattern: Layer pours of different colored resins and manipulate with sticks, torches, or blowers to create marble patterns.
- Remove bubbles: Gently pass a heat gun or torch over the surface to eliminate bubbles and encourage subtle cell development.
- Cure and finish: Allow full cure (often 24–72 hours). Sand and polish edges if needed and add a secondary resin layer for depth.
Tips: Keep resin layers thin if you’re new to the medium. Thick pours increase exotherm and potential yellowing with time.
Metal Leaf and Gilding Marbling
Gilding introduces actual metal accents that you can place into marble patterns for luxurious highlights.
You will need metal leaf or flakes, gilding size, soft brush, sealing varnish, and optional patina for aging.
Step-by-step:
- Prepare surface: Ensure the area receiving leaf is smooth and sealed. Apply base colors or marbled patterns first.
- Apply size: Brush the gilding adhesive where you want metallic highlights and wait until tacky per product instructions.
- Lay the leaf: Gently press leaf or flakes onto the tacky size using a dry brush. Pat to adhere and remove excess with a soft brush.
- Blend into marbling: Use a soft brush or tools to integrate leaf edges with surrounding paint to achieve organic marbling veins.
- Seal: Use an appropriate varnish to protect delicate leaf, especially for touch surfaces.
Tips: Use transfer leaf or loose flakes based on the scale of your work. Avoid touching leaf with bare fingers.
Acrylic Marbling with Brushes and Sgraffito
A controlled method that uses brushes and scraping tools to mimic marble veins and texture.
You will need various brush sizes, palette knives, rags, and acrylic paints (including metallics).
Step-by-step:
- Base layer: Apply a base color with a large brush and let it partially dry to a tacky state.
- Vein application: Use a thin brush or palette knife to apply metallic veins and darker accents in irregular, branching lines.
- Blend and soften: Soften edges with a damp brush or rag to produce natural transitions between veins and base.
- Sgraffito: Scratch through semi-dry layers with a palette knife or stylus to expose underlying colors and create fine veining.
- Build layers: Repeat layering and scratching to achieve depth and complexity.
Tips: Keep your hand loose when creating veins; overly controlled lines read as artificial. Metallic veins benefit from subtle blurring and soft edges.
Marbling on Fabric
Fabric requires specialized methods to ensure washability and softness while maintaining metallic sheen.
You will need textile paints or pigments mixed with textile medium, thickening agent (for marbling on size baths), and heat fixation tools.
Step-by-step:
- Pre-wash fabric: Remove sizing and oils for better pigment adhesion.
- Prepare thickened medium: Use a marbling size appropriate for fabric or a thickened solution with textile medium.
- Apply paints: Drop paints onto the surface, manipulating patterns with combs or styluses.
- Transfer and fix: Transfer patterns onto fabric and wash per instructions. Heat-set with an iron if textile medium requires it.
- Post-treatment: Apply a protective finish if you want increased abrasion resistance.
Tips: Use light hand when applying metallics so the fabric retains flexibility. Test for washability.
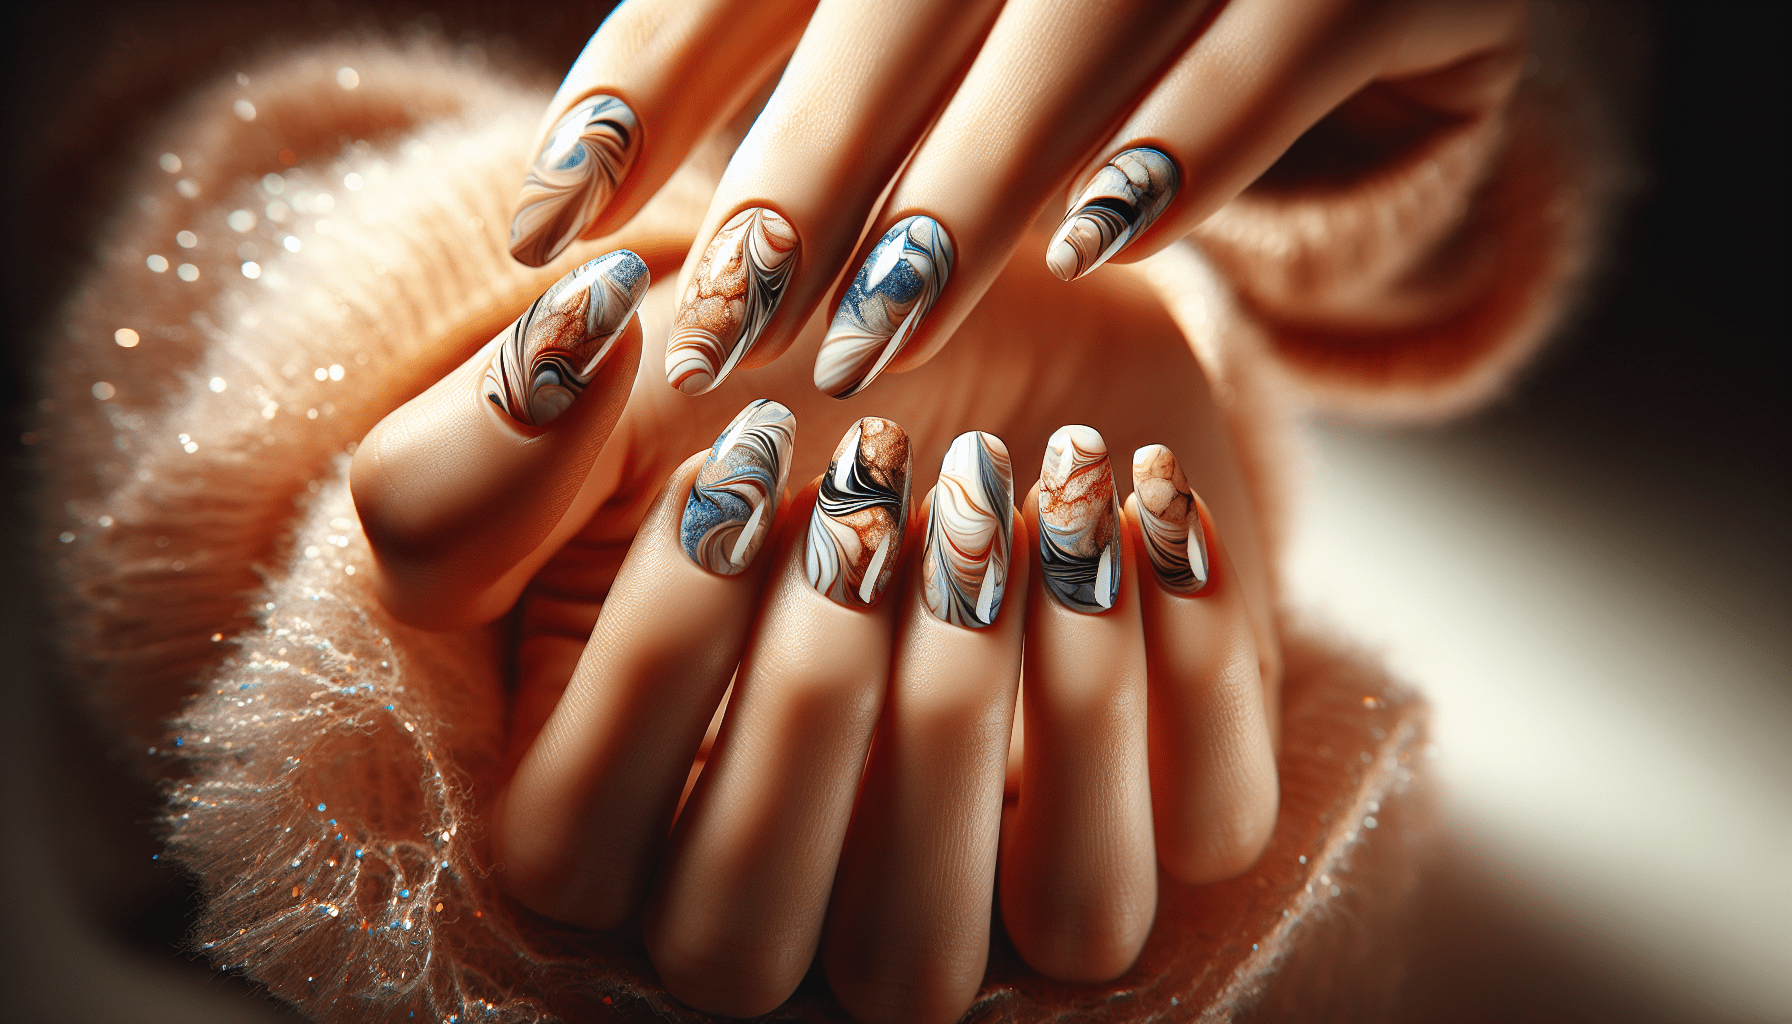
Nail Art Metallic Marbling
Small-scale marbling requires quick technique and fast-drying or gel products for precision.
You will need gel polish or regular polish, metallic foils or acrylic paints, a thin brush, and dotting tools.
Step-by-step:
- Base coat: Apply base color and cure if using gel.
- Drop and swirl: Place small drops of metallic polish and use a needle or thin brush to swirl into marble patterns.
- Seal: Cure and finish with a glossy top coat for longevity.
Tips: Work on one nail at a time to maintain control and avoid smudging.
Sealing and Finishing
Sealing preserves the metallic sheen and prevents oxidation, rubbing, or flaking. Your choice depends on the method and use-case.
- Varnishes: Water-based or solvent-based varnishes work well with acrylics; choose gloss, satin, or matte depending on the desired sheen.
- Spray sealers: Offer even coverage without brush marks; apply multiple thin coats.
- Resin topcoat: For the highest durability and gloss, apply a thin resin layer over dried paint or marbling.
- UV protectant: Include UV inhibitors if the piece will receive sunlight to reduce fading and warm-toning of resins.
Always test compatibility: some sealers can dull metallics or react with alcohol inks. Apply sealers in light, even coats and follow manufacturer drying times.
Troubleshooting
When creating metallic marbling, issues can arise due to material incompatibility, technique errors, or environmental conditions. Use the table below to diagnose and correct common problems.
| Problem | Likely Cause | Fix |
|---|---|---|
| Metallic flakes lift or flake | Improper adhesion or unsealed substrate | Clean surface; use size for leaf; seal under and over leaf |
| Colors sink in water marbling | Paint too heavy or wrong viscosity | Thin paint or use a surfactant to improve float; adjust size concentration |
| Bubbles in resin | Stirring too quickly or contaminated cups | Mix slowly; degas with torch or pressure pot if available |
| Dull metallic sheen after varnish | Sealer incompatible or applied too thick | Test compatibility; use high-gloss varnish or resin topcoat |
| Muddy colors | Over-mixing of colors or too many thin layers | Use contrasting accents; let layers cure before adding more color |
| Poor color payoff | Metallic pigment clumped or insufficient binder | Disperse mica powders in medium; use wetting agent for pigments |
| Resin yellowing | UV exposure or improper resin | Use UV-stable resin and avoid amber storage; consider adding UV inhibitor |
Systematic testing and incremental adjustments will save time and materials.
Safety and Best Practices
Working with metallic pigments, solvents, and resins carries hazards that you should take seriously.
- Ventilation: Ensure good airflow, especially when using solvents, spray sealers, alcohol inks, or resins. Use a dedicated workshop or fume hood if possible.
- Personal protective equipment: Always wear nitrile gloves, eye protection, and a respirator with organic vapor cartridges when required.
- Dust control: Mica powders and metal leaf produce fine particulates—avoid inhalation by working with a dust mask and clean carefully.
- Disposal: Dispose of resin waste, solvent-soaked rags, and chemical containers according to local hazardous waste regulations.
- Temperature and humidity: Keep environmental conditions within manufacturer-recommended ranges for consistent curing and surface behavior.
Following safety protocols preserves health and improves outcomes.
Project Ideas and Step-by-Step Examples
Below are three practical projects with condensed step-by-step guides to help you apply techniques in real-world contexts.
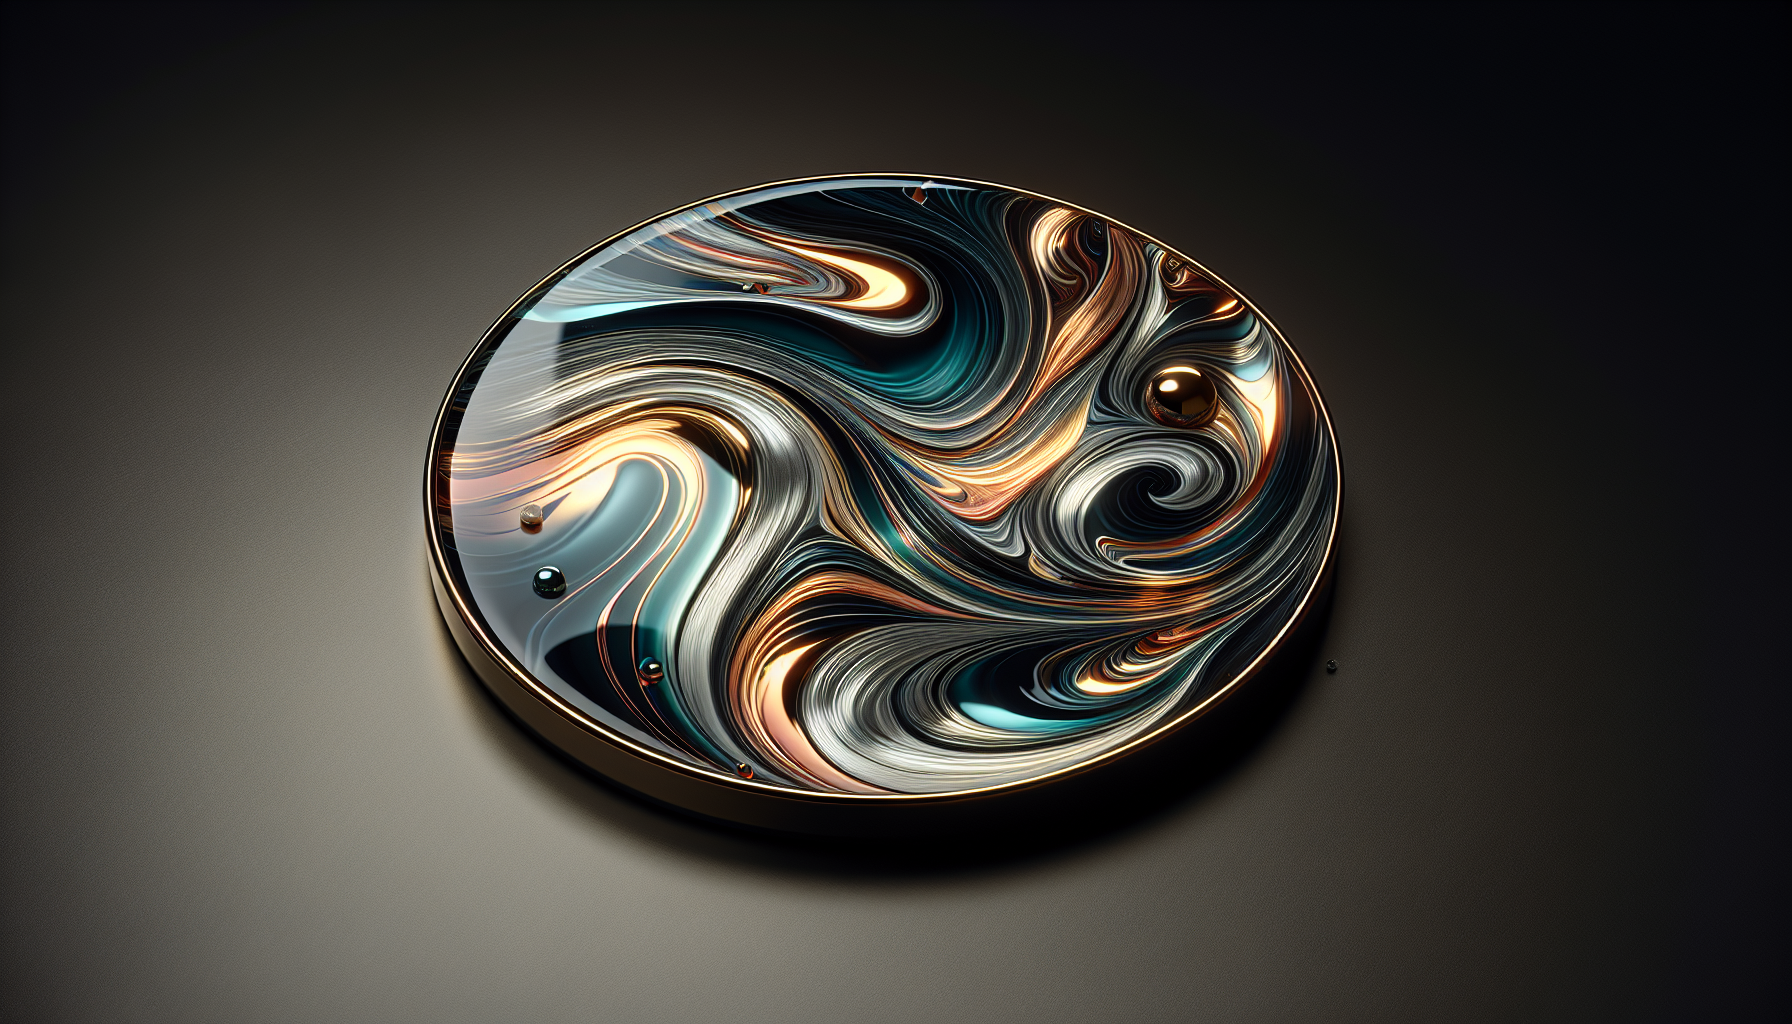
Project 1 — Metallic Marbled Coasters (Resin)
- Prepare wooden or ceramic coaster blanks and seal with a primer.
- Mix epoxy resin and divide into cups; add pigments and mica powders.
- Pour layered resin colors onto coaster, swirl with a stick, and pop bubbles with a torch.
- Allow to cure; sand edges and add a second resin coat for depth.
Project 2 — Gold-Vein Marble Canvas (Acrylic and Leaf)
- Prime canvas with a neutral gray base and let dry.
- Apply a base of diluted acrylics in soft marble hues.
- Paint thin dark veins with a small brush, then soften edges.
- Apply gilding size along vein highlights and adhere gold leaf flakes.
- Seal with satin varnish to preserve leaf.
Project 3 — Alcohol Ink Metallic Wall Tile Accent (Yupo or Glass Tile)
- Clean a glass tile and place drops of metallic alcohol ink.
- Use compressed air to move inks into marble patterns.
- Add translucent inks for depth and create vein highlights with a fine brush.
- Seal with a spray varnish or resin pour for durability.
Each project highlights specific techniques and allows you to experiment while producing functional pieces.
Advanced Tips and Creative Variations
Once you have basic skills, these advanced approaches increase complexity and visual interest.
- Layered translucency: Create depth by applying translucent metallics over darker bases and repeating layers.
- Patinas and oxidation: Apply chemical patinas over metals or use tinted glazes to emulate aged marble or oxidized metal.
- Textured marbling: Use molding paste or gesso to add relief and then apply metallic highlights to raised areas.
- Masked veins: Mask sections to create sharp metallic veins against matte backgrounds.
- Mixed mediums: Combine metal leaf, mica, and alcohol ink within resin layers for multidimensional effects.
Keep a record of recipes and ratios so you can replicate striking results.
Care and Maintenance
Proper care extends the life and appearance of metallic marbling pieces.
- Dust with a soft microfiber cloth; avoid abrasive cleaners.
- For sealed pieces, use a gentle detergent and lukewarm water; avoid soaking.
- Keep items out of direct sunlight where possible to minimize fading and resin yellowing.
- Re-seal or refinish high-contact areas periodically to maintain protection.
For wear-prone items like coasters, consider using replaceable resin tops or protective pads.
Final Thoughts
You can achieve a wide range of metallic marbling effects by choosing appropriate materials and techniques for your surface and design goals. With methodical testing, careful surface preparation, and adherence to safety protocols, your metallic marbling will read as professional and long-lasting.
Invest time in small trials to dial in ratios and drying times, and keep a materials log for consistent results. Your ability to combine metallic elements with marbling methods will grow with practice, leading to sophisticated, reflective pieces suitable for art, interiors, fashion, and jewelry.