Have you ever wondered how artists achieve those intricate, flowing patterns and stunning “cells” in pour painting? Pour painting, a fascinating technique that has captivated not only art enthusiasts but professionals as well, is all about the beautiful interplay of colors and textures blending into one another, sometimes creating cell-like structures that add depth and intrigue to the piece. Mastering this aspect of pour painting requires a mix of the right materials, techniques, and a bit of patience.
Understanding Pour Painting
To successfully create cells, it is essential to first comprehend what pour painting entails. Pour painting, or fluid art, involves pouring different colors of paint onto a surface and allowing them to mix and interact. The resulting spontaneous patterns are often strikingly unique. Unlike traditional brush painting, this technique relies on the movement and flow of the paint itself, yielding results that can be both unpredictable and stunning.
The Basics of Pour Painting
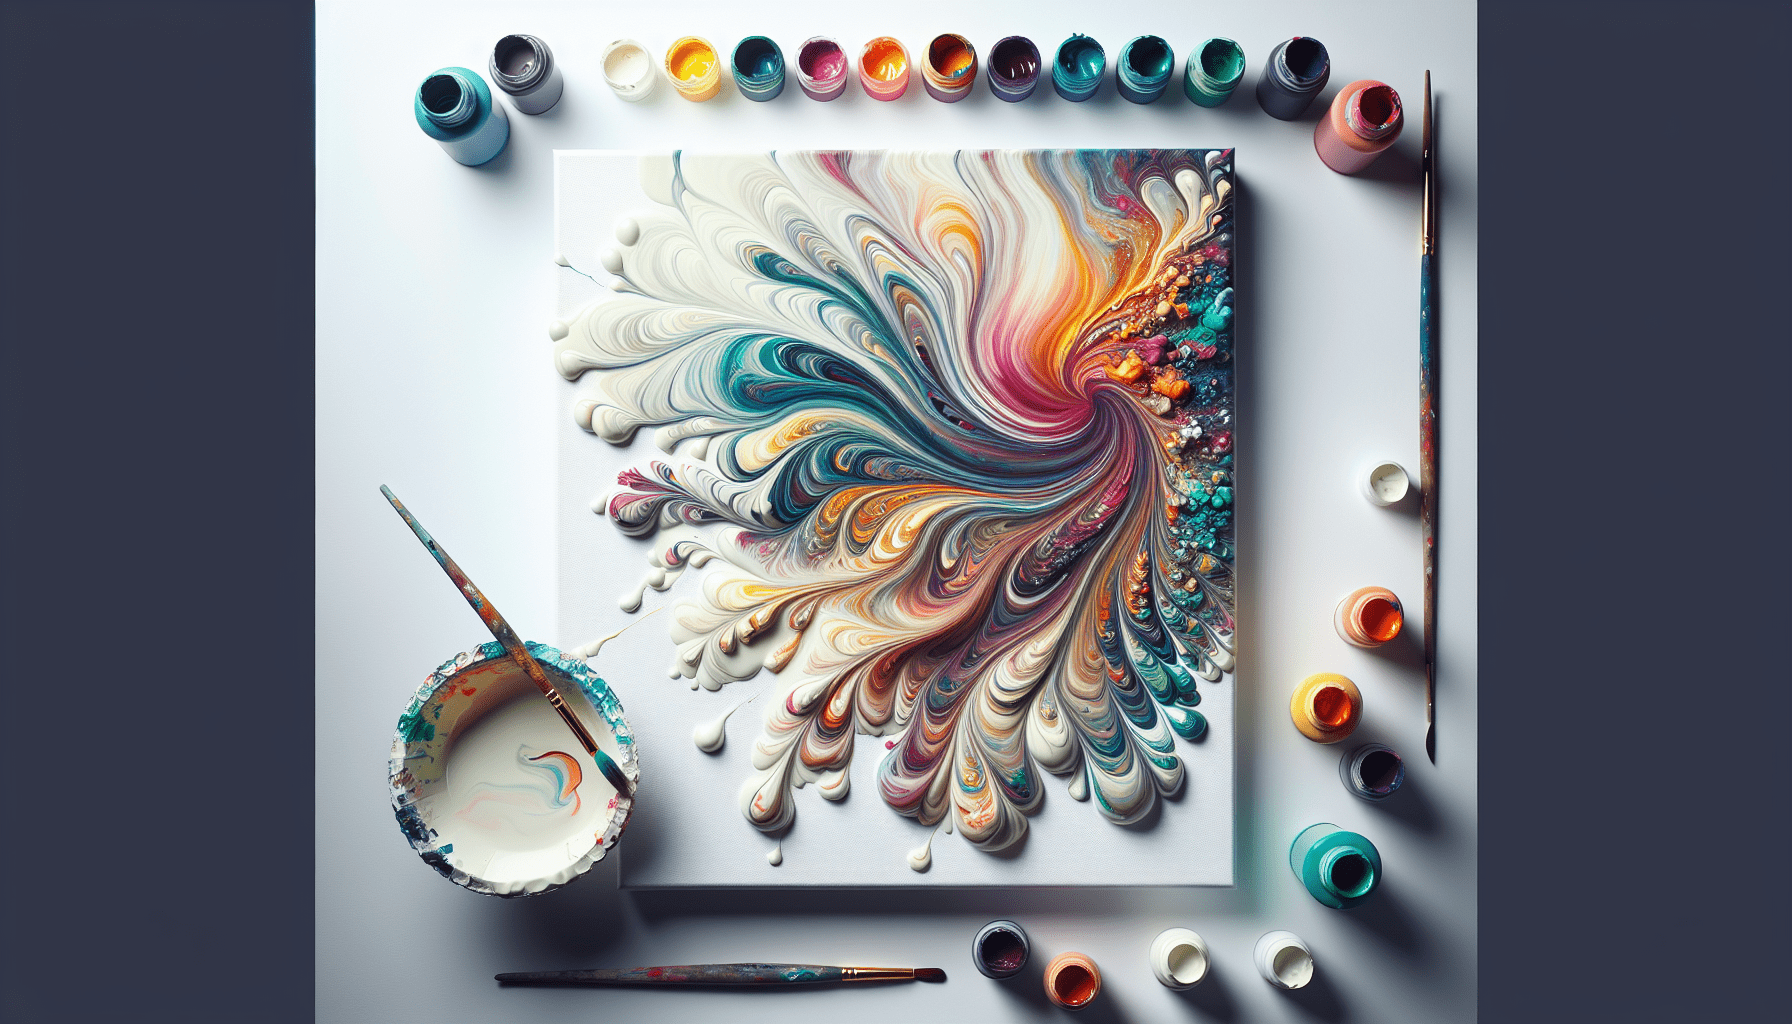
Beginners often find pour painting appealing due to its relative simplicity compared to other artistic techniques. To start, you need the right materials, including acrylic paints, pouring mediums, and a painting surface like a canvas. By pouring, tilting, and sometimes manipulating the pour, you can create vibrant pieces without the precise control demanded by other art forms.
Significance of Cells in Pour Painting
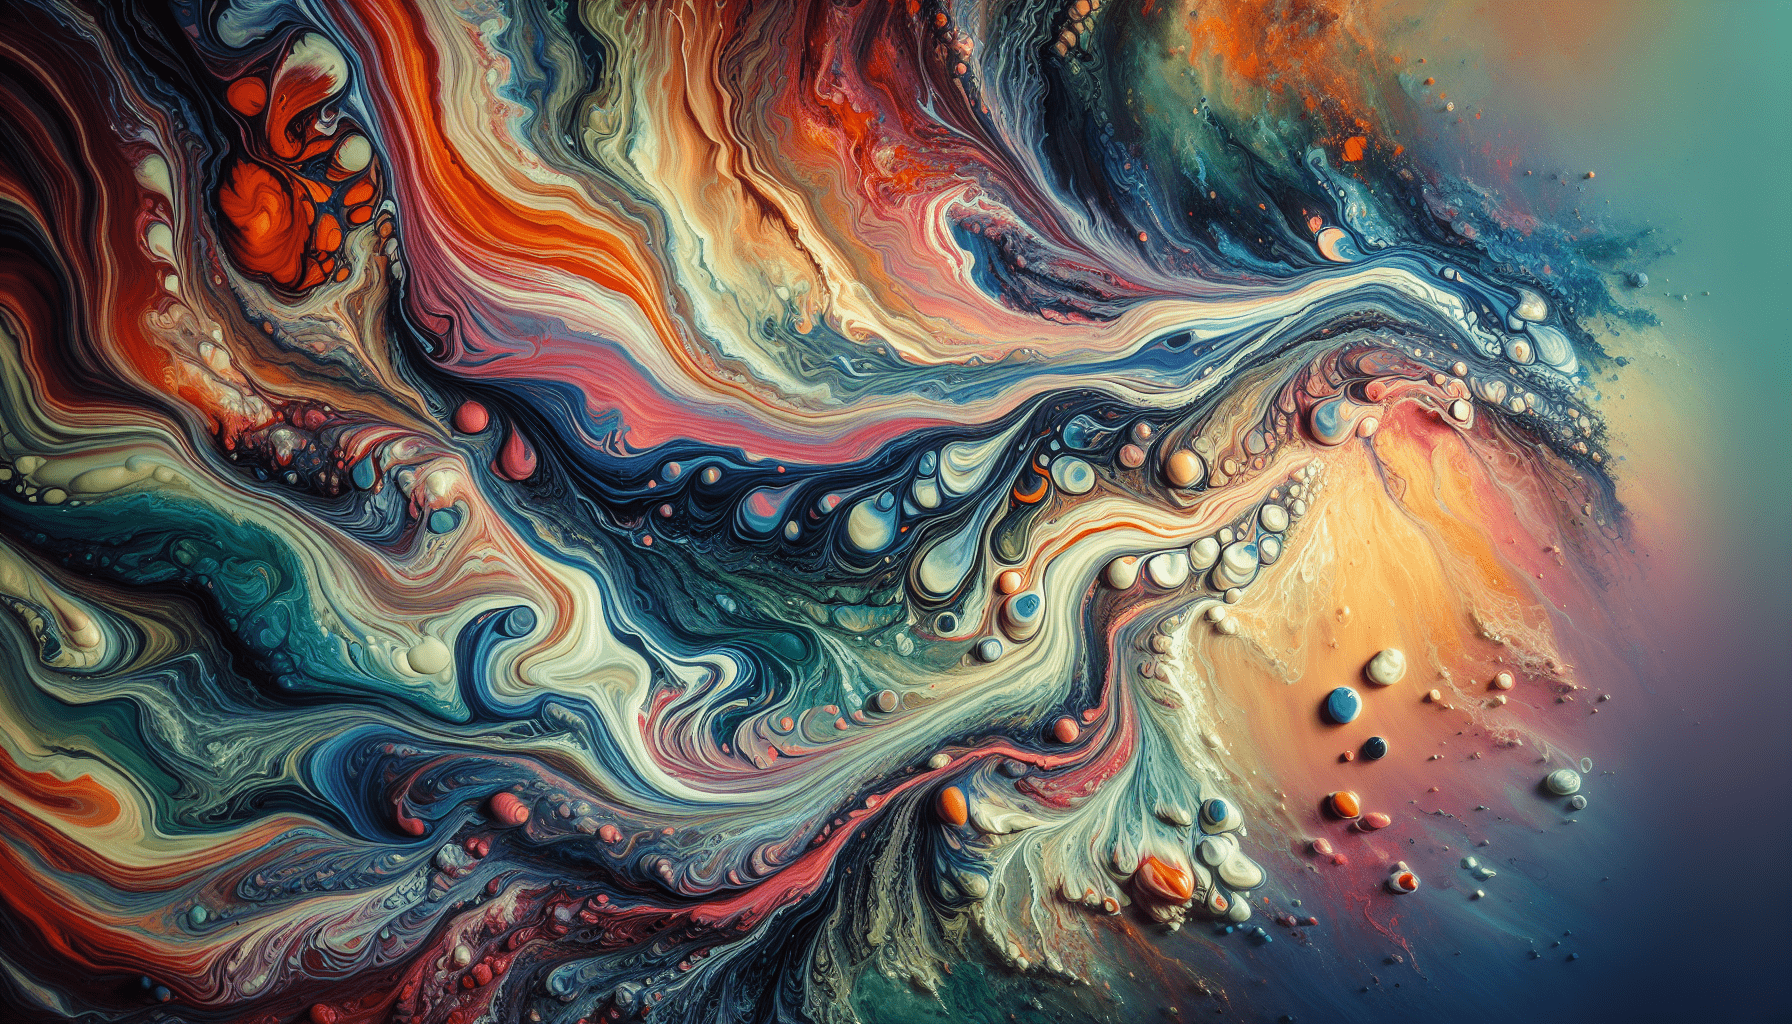
In the realm of fluid art, “cells” refer to the small, cell-like shapes that appear within the paint. These are areas where one color pushes through another, creating the appearance of circular or oval shapes. Creating cells successfully requires understanding the interaction between different paints, especially considering factors like density and viscosity.
Required Materials for Creating Cells
Although pour painting may seem simple, creating cells involves gathering specific materials. These materials must work together harmoniously to produce the desired cell effect.
Essential Supplies
Below is a comprehensive table listing the materials needed for pour painting with a focus on creating cells:
| Supply | Purpose |
|---|---|
| Acrylic Paints | The primary medium for the pour. |
| Pouring Medium | Adjusts paint viscosity and aids in cell creation. |
| Silicone Oil | Essential for forming the cell structures. |
| Canvas or Surface | The base for your artwork. |
| Cups and Stirrers | For mixing and pouring paint. |
| Gloves | Protects hands from paint. |
| Torch or Heat Gun | Aids in developing cells by removing air bubbles. |
Selecting and Combining Paints
Choosing the right acrylic paints is crucial. Quality acrylics will blend well with the pouring medium and interact effectively with silicone oil. Opt for a variety of colors, considering how they interact – lighter colors often highlight cells when paired with darker ones.
Role of the Pouring Medium
Pouring mediums are a critical component in fluid art. They modify the consistency of the paint, allowing it to flow smoothly and stay workable longer. A good pouring medium ensures that the paints do not crack and enhances the potential for cell creation by maintaining the correct viscosity.

Techniques for Cell Creation
Having the correct materials is only part of the equation. To generate cells, it is vital to understand and apply specific techniques during the pour.
The Importance of Layering
One core technique involves layering different colors of paint in a cup before pouring them onto the canvas. By carefully considering the order and density of colors, you can enhance the likelihood of cell formation during the pour process.
Controlling Paint Density
Paint density is a fundamental factor for forming cells. Denser paints sink through lighter ones, creating the spaces necessary for cells. By experimenting with different paint densities, you can perfect the methodology for creating cells in your artwork.
Incorporating Silicone Oil
Silicone oil is often used to create those eye-catching cells. Adding small amounts of silicone oil to your paint mixtures can enhance cell creation due to the way it repels the water and binder in the acrylic paints, causing the colors to separate and form rings.
The Pouring Process
At this stage, you have prepared your materials and understand the techniques – now, let’s move to the actual process.
Step-by-Step Preparation
- Set Up Your Workspace: Ensure your workspace is covered and protected from stray paint.
- Prepare Paints: Mix each color with the pouring medium and a few drops of silicone oil. Achieve the right consistency – similar to melted honey.
- Layer Your Cup: Pour different colors into a single cup, considering a mix of dense and light shades.
- Ready Your Canvas: Place your canvas on an elevated surface to allow free movement around it.
Pouring and Tilting
- Start by flipping or pouring the cup of layered paints onto the canvas.
- Gently tilt the canvas back and forth to distribute the paint evenly, watching as cells start to form.
- Use a torch to carefully heat areas of the painting. This process helps in removing air bubbles and enhancing cell structure.

Post-Pour Considerations
Creating cells doesn’t end with the pour. Several post-pour steps can influence the final outcome of your artwork.
Drying and Curing
Allow your artwork to dry flat, avoiding any contact or movement during this process. Depending on the thickness of your pour, the drying time may vary significantly.
Sealing Your Artwork
Finally, sealing your finished painting with a gloss or matt varnish can protect it from dust and enhance the colors’ vibrancy. Varnishing also adds a professional finish to the artwork.
Experimenting With Different Styles
Once you have mastered the basic techniques, you can begin experimenting with different styles and materials to further develop your artistic practice.
Alternative Pouring Techniques
- Dirty Pour: All mixed colors are poured together directly onto the canvas in one motion.
- Flip Cup: Layered colors in a cup are flipped directly onto the canvas and then lifted.
- Swirl or Ribbon Pour: Colors are poured in a swirling motion, yielding different patterns.
Adjusting Mediums and Additives
Try different types and amounts of silicone, pouring mediums, or even polyurethane thinners to observe how they affect your results.
Troubleshooting Common Issues
Despite best efforts, you may encounter challenges. Understanding and resolving these issues will improve future pours.
Paint Cracking
Cracking often results from using thicker paint layers than the canvas can hold. Thin your paint mixtures adequately and ensure consistent drying conditions.
Lack of Cells
If cells are not forming as expected, re-evaluate the paint density differences and silicone oil amounts. Proper heat application with a torch can also make a significant difference.
Conclusion
Creating cells in pour painting is both an art and a science. It demands a balance between using the right materials and applying the right techniques. By selecting high-quality paints and additives and employing strategies such as layered pouring, density control, and silicone inclusion, you can produce mesmerizing works. With practice, patience, and experimentation, your pour painting skills and understanding will deepen, allowing you to create compositions that not only please the eye but also push the boundaries of fluid art. Keep adjusting and learning, and remember that every pour is an opportunity to explore new depths of your creativity.