Have you ever wanted to create a textured, expressive painting using only palette knives and no brushes?

How To Create A Palette Knife Painting Without Brushes
Creating a palette knife painting without brushes is a powerful way to achieve bold texture and strong gestural marks. You will learn methods that emphasize direct contact with paint, control of surface, and confident composition without ever touching a brush.
What is palette knife painting?
Palette knife painting is a technique that uses a metal or plastic knife to apply, scrape, and shape paint directly on the support. You will achieve thick impasto, sharp edges, and a variety of tactile surfaces by manipulating paint with the knife rather than with bristles.
Why work without brushes?
Working without brushes changes how you think about paint, surface, and mark-making. You will benefit from faster application, distinct textures, and an immediacy that often leads to spontaneous and striking compositions.
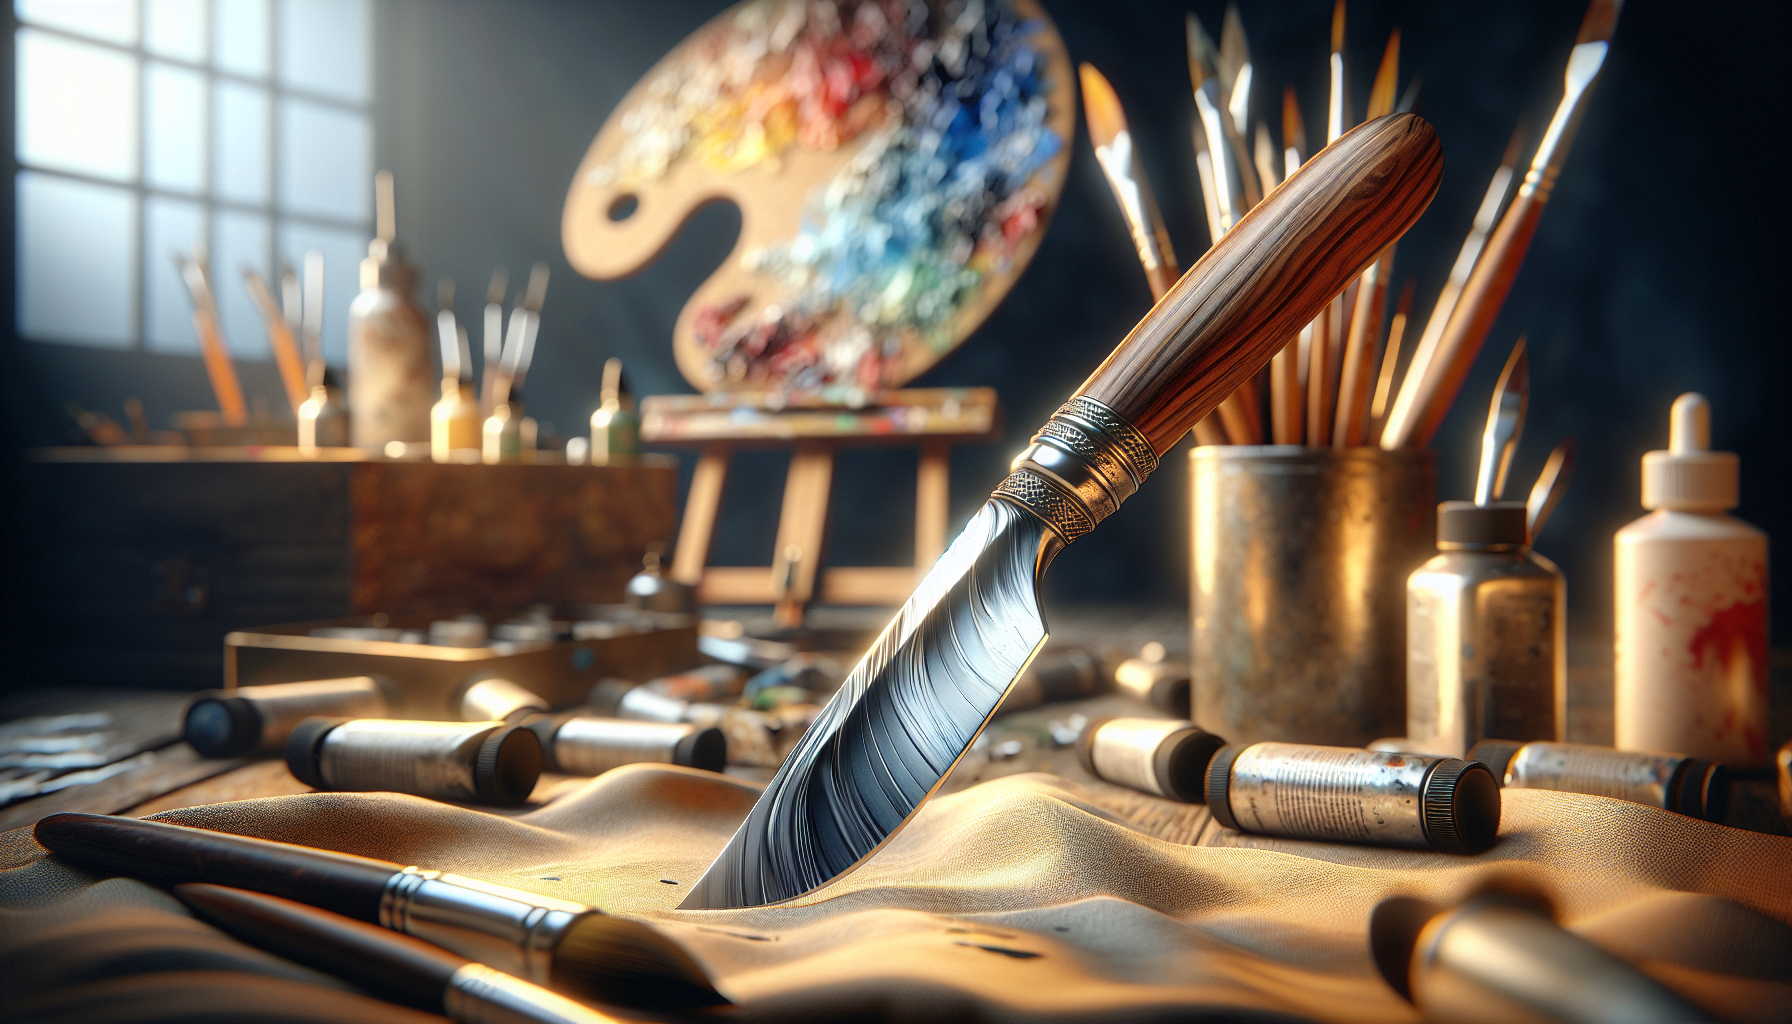
Materials and Tools You Will Need
You need a precise set of materials to produce successful palette knife paintings. This section lists essential supplies and optional items that expand your creative possibilities.
Essential materials
You will require paints, a surface, and a selection of knives or substitutes. Each choice affects texture, drying time, and final appearance.
- Oil or acrylic paints
- Palette knives (several shapes and sizes)
- Rigid painting surface (canvas, wood panel, or gessoed board)
- Palette or mixing surface
- Palette cups or containers for mediums
- Rags and paper towels
- Gloves and apron (optional but recommended)
Optional materials and mediums
Mediums change paint body, drying time, and adhesion. You should choose them with your paint type and desired finish in mind.
- Impasto gel or paste (for acrylics)
- Cold wax medium (for oils or alkyds)
- Linseed oil, stand oil, or alkyd medium (for oil paints)
- Retarder (for acrylics, to extend working time)
- Solvents or odorless mineral spirits (for oils, used responsibly)
- Varnish (final protection when paint is fully cured)
Tools and effects table
A clear table helps you select the right tool for the effect you want. You will consult this when choosing tools for specific textures and marks.
| Tool | Typical Use | Effect Achieved |
|---|---|---|
| Small pointed painting knife | Detail work, thin lines, small shapes | Sharp ridges, precise edges |
| Large straight spatula | Broad coverage, background blocking | Thick flat planes, sweeping textures |
| Rounded palette knife | Blending and soft edges | Smooth transitions, soft ridges |
| Offset knife | Keep knuckles away from wet paint | Comfortable reach, even pressure |
| Metal putty knife | Very thick impasto | Heavy texture, sculptural surfaces |
| Plastic card or old credit card | Scraping, dragging thin layers | Subtle scraping, score marks |
| Palette (wood/plexi) | Mixing and loading paint | Controlled color mixing |
| Painting syringe or piping bag | Squeeze-line application | Raised linear texture |
Choosing Your Paint: Oils vs Acrylics
Your choice between oils and acrylics affects working time, finish, and longevity. You will select a medium based on your technique, drying preferences, and studio conditions.
Advantages of oil paint
Oil paint offers extended open time, rich blending, and deeply saturated color. You will be able to manipulate thick impasto layers and achieve a luminous finish, though drying and curing times are longer.
Advantages of acrylic paint
Acrylics dry quickly and are compatible with water-based impasto mediums. You will be able to build textured layers with less waiting time, but you must work faster to avoid premature drying during blending.
Recommended mediums and additives
Choosing the right medium adjusts viscosity and drying behavior. You will use these to achieve the desired working properties and surface stability.
- For oils: impasto medium, cold wax, or alkyd for faster curing.
- For acrylics: heavy body gels, modeling paste, or retarder for slower drying.
- Additives: drying accelerators, stabilizers, UV inhibitors for longevity.
Selecting and Preparing Your Support
Your support must be rigid enough to carry heavy impasto without flexing. You will select or prepare a surface that supports repeated knife work and adhesion.
Best supports for palette knife painting
Rigid supports prevent cracking and loss of adhesion under thick paint layers. You will typically use wood panels, high-quality stretched canvas with firm support, or prepared masonite.
Preparing your surface
A properly prepared surface improves adhesion and reduces the risk of cracking. You will sand and prime the support, apply gesso, and, if necessary, seal the wood before gessoing.
- Sand wood panel smooth, apply sealant/size, then coat with gesso.
- For canvas, use a rigid stretcher and apply multiple coats of gesso for tooth.
- Allow full drying of gesso before applying paint.
Setting Up Your Workspace
An efficient, safe workspace keeps your focus on painting and reduces interruptions. You will organize materials, lighting, and ventilation for optimal results.
Lighting and ergonomics
You need consistent, neutral lighting and a comfortable working height to judge color and texture accurately. You will position your easel so you can step back for composition checks while accessing your palette and knives easily.
Ventilation and safety
Solvent use and some mediums produce fumes that require ventilation. You will use an exhaust fan or work near an open window, and you should keep solvents and oily rags in a sealed metal container.
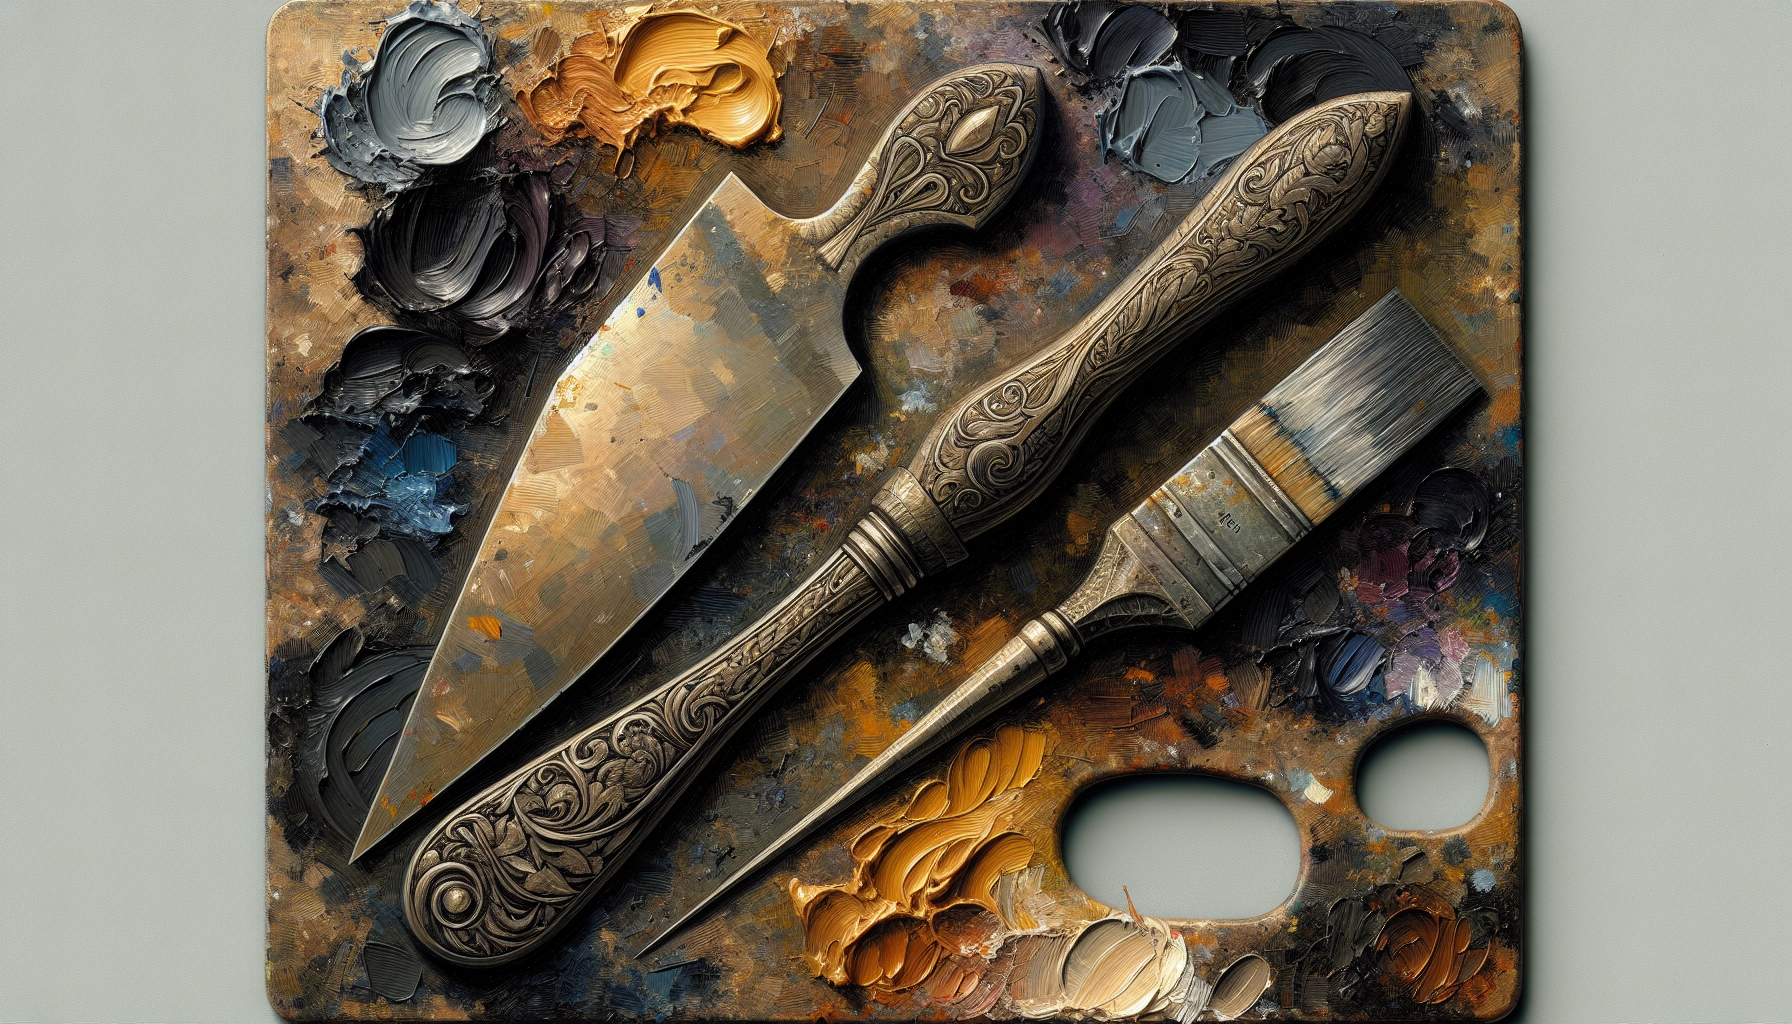
Palette Knife Types and How to Use Them
Different knife shapes produce different marks and effects. You will learn how to select and manipulate knives to realize specific textures and strokes.
Straight and offset knives
Straight knives give direct pressure and are good for full-surface spreading. Offset knives keep your hand away from the paint and help you apply even layers without smudging.
You will use straight knives for broad blocking-in and offset knives for reach and control over wet paint areas.
Pointed and rounded knives
Pointed knives produce sharp ridges and crisp strokes while rounded knives blend and soften edges. You will alternate these knives as the composition requires more precision or gentleness.
Alternative tools and found objects
If you do not have multiple knives, you will use substitute tools like metal spatulas, old credit cards, silicone scrapers, and palette scrapers. These alternatives offer unique marks and can expand your visual vocabulary.
Color Mixing and Palette Preparation
A well-prepared palette speeds the painting process and reduces contamination. You will establish a color plan and mix as much as necessary to maintain consistency across layers.
Establishing a limited palette
Limiting your palette helps with color harmony and simplifies decisions. You will choose a primary trio (one warm and cool of each hue) and a neutral to mix most colors effectively.
Mixing for impasto work
Mix enough paint to maintain consistency in color and texture across thick layers. You will add mediums sparingly to preserve body and avoid paint collapse or long-term instability.
Palette organization tips
Arrange colors from warm to cool or light to dark to make mixing intuitive. You will keep white near the center for easy tinting and allocate space for mixed neutrals.
Planning Your Composition Without Brushes
Composition planning ensures strong structure before committing thick paint. You will sketch or map out key masses, values, and color relationships using the knife.
Thumbnail sketches and tonal studies
Quick thumbnails clarify value relationships and composition. You will use small studies with a knife or even pencil to test composition before working at scale.
Drawing with the knife
You can create underdrawing or blocking layers by dragging diluted paint across the surface with the knife. You will establish the main shapes and values, treating the first layers as a roadmap rather than a finished surface.

Fundamental Palette Knife Techniques
Mastering core knife techniques will expand your control over texture and form. You will practice each method to gain precision and confidence.
Spreading and laying in broad areas
Use a large flat knife to load paint and press it onto the support in a single motion. You will create even planes and bold color fields by varying pressure and angle.
Scraping and scoring
Pulling the knife through wet paint removes or thins layers to reveal underpaint or create linear texture. You will use scraping to correct mistakes, reveal previous colors, or produce dynamic lines.
Feathering and soft blending
Feather edges with a softer, rounded knife to soften hard transitions. You will drag a clean knife across the edge to blend without introducing brushstrokes.
Impasto building and sculpting
Apply thick, sculptural paint with a wide knife by piling paint and shaping peaks and valleys. You will sculpt the surface as if you were modeling clay, controlling ridges for catch-light and shadow.
Scumbling and dry knife effects
With minimal paint on the knife, lightly drag across a textured surface to deposit broken color. You will use scumbling to add luminous texture and to unify layers without full coverage.
Layering and glazing with knives
Thin glazes can be applied with a knife by spreading a translucent mix across dry areas. You will build depth with thin color layers and maintain texture by preserving ridges beneath.
Step-by-Step Workflow for a Palette Knife Painting
A deliberately sequenced workflow prevents common pitfalls and helps you achieve a coherent painting. You will follow these stages as a practical workflow from planning to finish.
Stage 1: Prepare and prime
Ensure your support is primed, dry, and properly sized. You will organize paints and choose a knife set before starting to avoid interruption during critical stages.
Stage 2: Sketch and underpainting
Block in major shapes and values with a thin mix. You will use a diluted paint layer to map composition and value contrasts, allowing for confident subsequent layers.
Stage 3: Lay in local color
Apply mid-value local colors using broad knife strokes. You will focus on massing shapes and maintaining strong value separations without refining edges.
Stage 4: Build form and texture
Use medium to large knives to thicken paint and sculpt form. You will moderate the direction of your strokes to suggest form and topography of surfaces like fabric, rock, or foliage.
Stage 5: Add detail and accents
Switch to smaller pointed knives for final edges, highlights, and crisp details. You will emphasize focal points with brighter values and sharper edges while keeping peripheral areas softer.
Stage 6: Final corrections and varnish
Make final adjustments, clean edges, and allow the painting to dry thoroughly before varnishing. You will apply varnish only when the painting is completely dry to protect the surface and enhance color saturation.
Practical Exercises to Improve Knife Skills
Repetition of focused exercises accelerates your technical development. You will practice structured exercises to build muscle memory and understanding of paint behavior.
Exercise 1: Flat planes and edge control
Create a sheet of squares filled with single-color planes using different knives. You will practice controlling knife angle and pressure to produce uniform surfaces and clean edges.
Exercise 2: Texture swatches
Make a swatch sheet of textures (grass, bark, clouds, water) using only palette knives. You will label each swatch with the knife and motion used to replicate textures later in full paintings.
Exercise 3: Controlled scraping
Layer two contrasting colors and practice scraping to reveal the undercolor in linear patterns. You will learn how much pressure is needed to reveal versus remove paint entirely.
Troubleshooting Common Problems
Knowing typical issues and fixes helps you maintain quality and avoid irreversible mistakes. You will apply these solutions when problems arise.
Problem: Muddy color mixing
Muddy colors often result from overmixing complementary hues or mixing too many pigments at once. You will maintain a limited palette, mix cleanly, and keep bright pigments separate until needed.
Problem: Cracking in thick impasto
Cracking occurs when thick paint dries unevenly or adheres poorly. You will use appropriate mediums (cold wax or acrylic impasto gel), build layers with consistent drying characteristics, and avoid excessively thick single applications.
Problem: Poor adhesion or flaking
Insufficient surface preparation and incompatible layers cause adhesion problems. You will ensure a properly primed support, use compatible mediums, and allow layers to cure before applying heavy new ones.
Problem: Overworking the surface
Constant reworking can destroy texture and color harmony. You will make decisive strokes, set a limit for retries, and step back frequently to evaluate rather than fixate on small areas.
Cleaning and Maintaining Your Tools
Proper tool care extends life and maintains performance. You will clean knives thoroughly after each session and store them safely to prevent damage.
Cleaning after acrylics
Wipe excess paint with a rag, then clean with soap and water before paint dries. You will avoid metal tools left with acrylic residue as it will be difficult to remove when cured.
Cleaning after oils
Use a rag and a small amount of solvent to remove paint, then wash with mild soap and water. You will follow safe disposal practices for solvent-laden rags and containers.
Storage tips
Store knives dry and flat, avoiding contact between blades to prevent nicks. You will protect edges and keep tools organized by size and shape for easy selection during painting.
Preservation and Framing of Knife Paintings
Thick impasto requires special care when framing and handling. You will take steps to protect the surface and ensure long-term stability.
Varnishing considerations
Varnish should only be applied after full curing—months to years for very thick oil impasto. You will consult manufacturer recommendations and choose removable varnishes to allow future conservation.
Framing and glazing
Avoid glazing (glass) over heavily textured surfaces; it will press into the paint. You will use deep-set frames or float the painting in a shadow box frame to protect the surface without compression.
Transport and display
When transporting, keep panels vertical and secure to prevent paint contact and stress. You will allow adequate curing time and use protective corner guards or crates for large works.
Advanced Techniques and Creative Variations
Once you have the basics, you can expand your practice with mixed media, sculptural paint, and nontraditional marks. You will use additional techniques to personalize and innovate your work.
Combining cold wax and oil for sculptural surfaces
Cold wax mixed with oil creates a buttery paste for sculptural layers. You will experiment with varying cold wax ratios to control hardness and finish.
Using additives for translucency and sheen
Additives like gloss medium, matte medium, or wax can change surface sheen and translucency. You will use these to create contrast between glossy highlights and matte shadows.
Integrating collage and found textures
Attach papers, textiles, or sand into the wet paint to create complex, layered surfaces. You will ensure adhesion and compatibility with subsequent paint layers for stability.
Final Tips for Successful Palette Knife Painting
A few practical habits will improve consistency and enjoyment. You will incorporate these into your routine to make your process more effective.
- Work from large shapes to small details; maintain a clear value plan.
- Keep your palette organized and mix enough paint for each stage.
- Use reference material and thumbnails to avoid compositional drift.
- Allow adequate drying and curing time before heavy layering or varnish.
- Practice frequently with varied textures and subject matter to broaden technique.
Conclusion
You now have a comprehensive guide to creating a palette knife painting without brushes. By choosing suitable materials, practicing core techniques, and following a structured workflow, you will be able to produce expressive, textured paintings that stand on their own merit. Apply these principles consistently, and you will refine a distinctive palette knife approach that showcases texture, color, and confident mark-making.