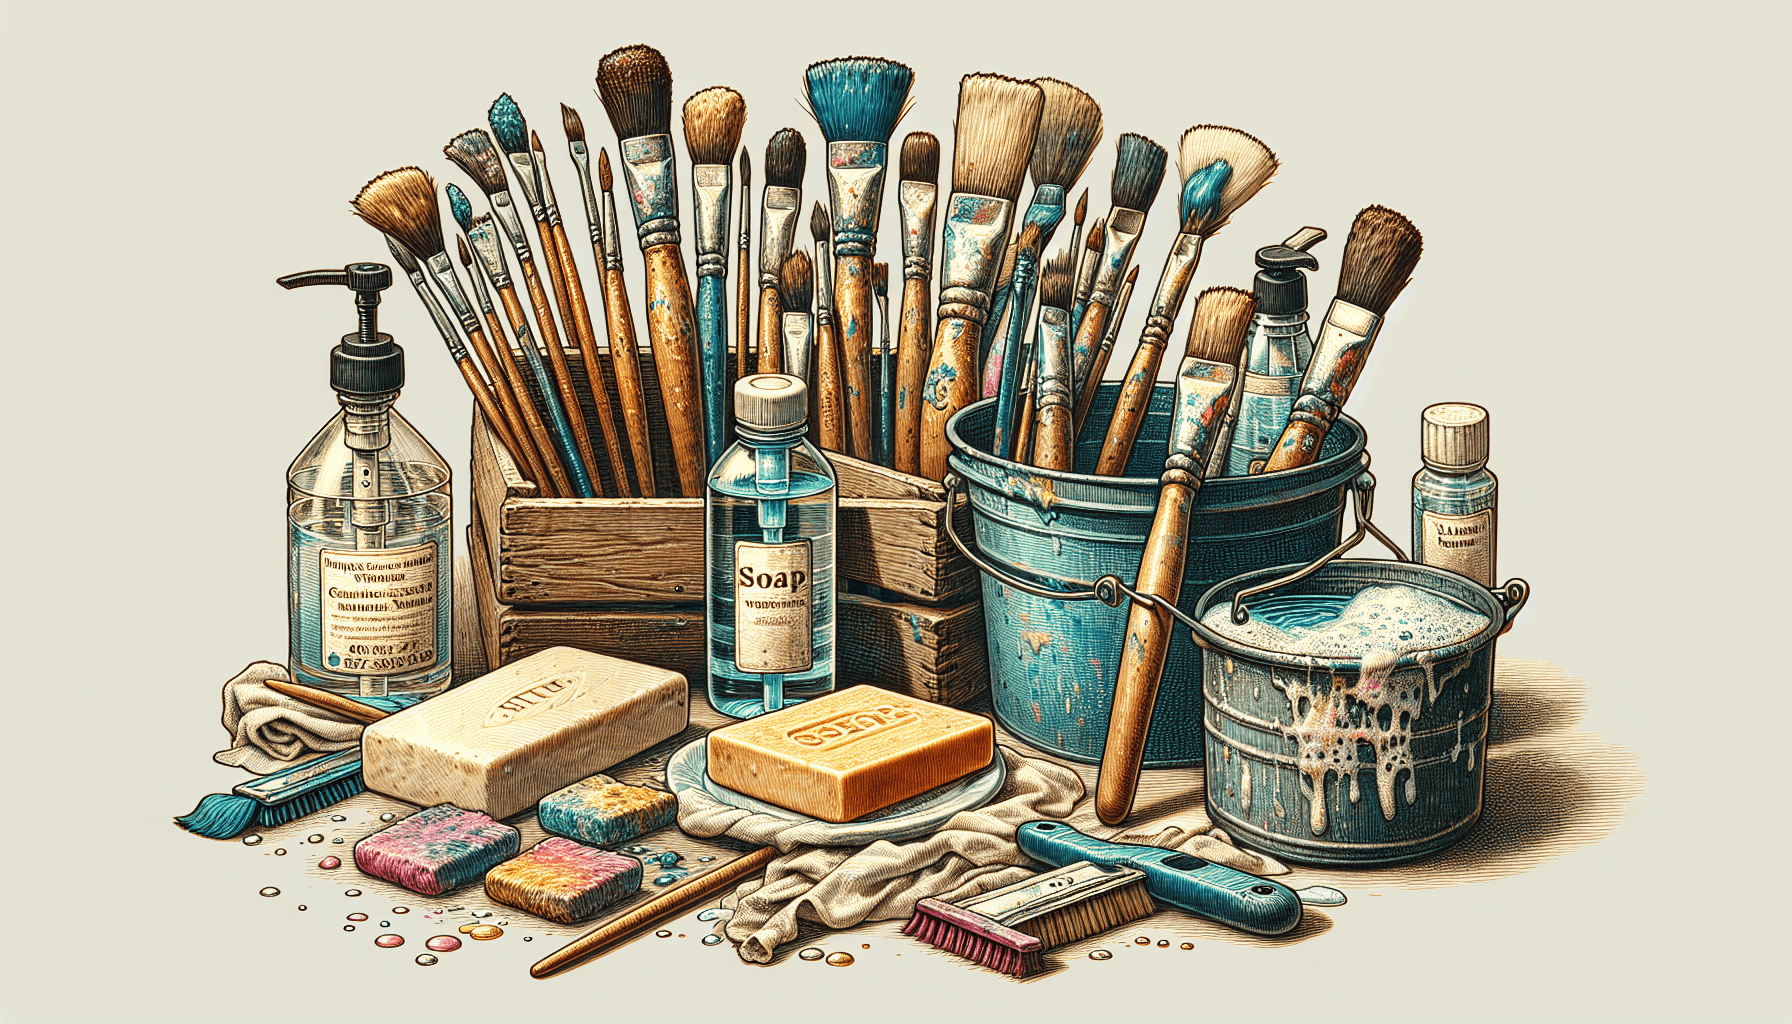
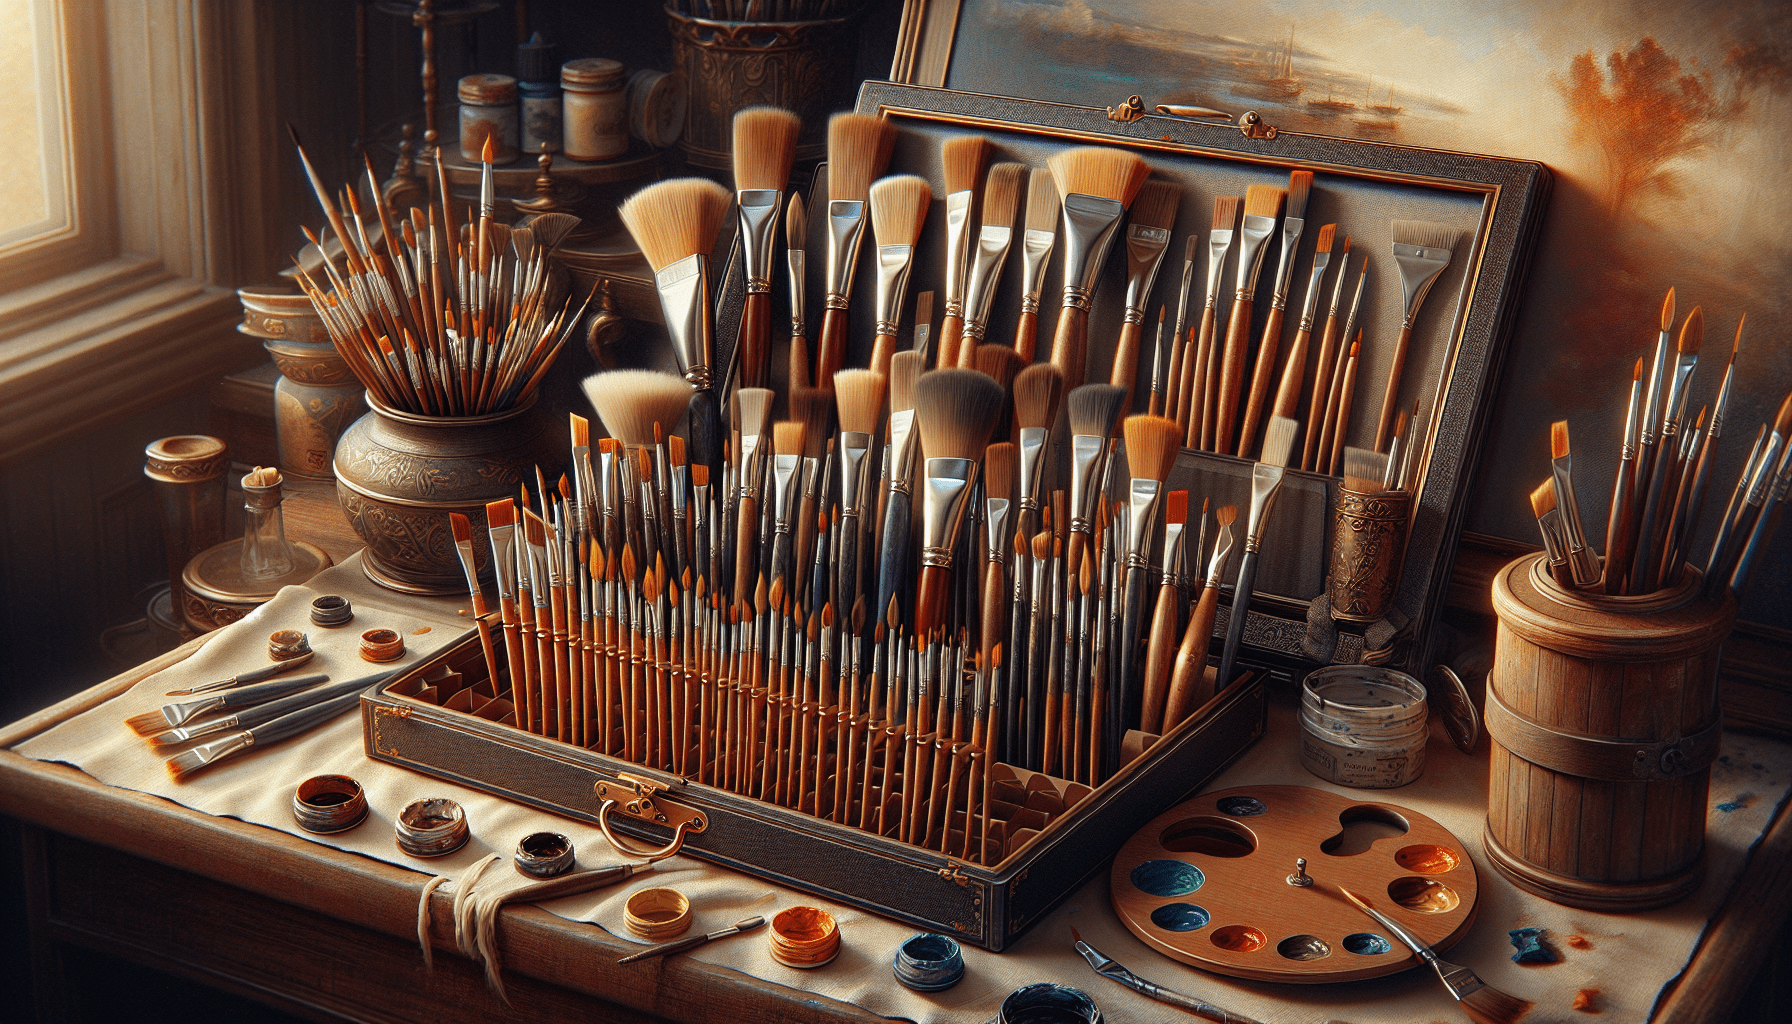
Maintaining the cleanliness of your oil paint brushes is an essential aspect of being a professional artist. Knowing how to effectively clean oil paint from your brushes not only helps to prolong their lifespan but also ensures optimal performance and results. This article provides you with expert tips and techniques on how to efficiently remove oil paint residues from your brushes, allowing you to achieve pristine and vibrant brushstrokes every time. Say goodbye to dirty brushes and hello to clean and well-maintained art supplies by following the simple yet effective methods discussed in this article.
Gathering Materials
To effectively clean oil paint from brushes, you will need to gather the necessary materials. First and foremost, protective gloves are essential to prevent any skin irritation or exposure to the cleaning agents. Additionally, paper towels are required to wipe off any excess paint from the brushes. Old newspaper can be placed on your work surface to protect it from any potential spills or drips. It’s also important to have a container that is suitable for holding the cleaning solution. Lastly, you will need a solvent or paint thinner that is appropriate for the type of paint you are working with.
Removing Excess Paint
Before delving into the cleaning process, it is essential to remove any excess paint from the brushes. Start by wiping off the excess paint with paper towels. Gently press the bristles against the paper towels to transfer the paint onto them. If there is still lingering paint, you can use a palette knife to scrape off the excess. Be careful not to damage the bristles while doing so.
Choosing a Cleaning Solution
Determining the type of paint on the brush is crucial in selecting the appropriate cleaning solution. Different paints may require different solvents or paint thinners. If you are unsure about the type of paint, consult the paint manufacturer or refer to the paint’s label. Once you have identified the paint type, choose a solvent or paint thinner that is recommended for cleaning that specific paint.
Preparing the Cleaning Solution
Now that you have determined the appropriate solvent or paint thinner, it’s time to prepare the cleaning solution. Pour a sufficient amount of the solvent into a container that is large enough to submerge the entire brush. Ensure that you are working in a well-ventilated area to prevent inhalation of any fumes. Avoid working near open flames or sparks, as some solvents are flammable. Safety should always be a top priority when preparing and working with cleaning solutions.

Soaking the Brushes
After preparing the cleaning solution, it’s time to soak the brushes. Submerge the brushes completely in the cleaning solution, ensuring that the bristles are fully immersed. Allow the brushes to soak for a few minutes, which will help loosen the paint and make the cleaning process more effective.
Brush Cleaning Techniques
Once the brushes have soaked for an adequate amount of time, it’s time to clean the bristles. Start by agitating the brush bristles in the cleaning solution. Gently swirl the brush in the solution, ensuring that the bristles come into contact with the solvent or paint thinner. This will help loosen any remaining paint. Additionally, you can gently massage the bristles with your fingers to further remove the paint particles. For brushes with particularly stubborn paint, a brush cleaning comb or brush cleaner can be used to dislodge any remaining paint from deep within the bristles.
Rinsing the Brushes
After cleaning the bristles with the cleaning solution, it’s important to rinse off any remaining solvent or paint thinner thoroughly. Remove the brushes from the cleaning solution and rinse them under warm running water. Make sure to rinse the bristles in a gentle manner, using your fingers to separate and fan out the bristles. Continue rinsing until the water runs clear, indicating that all traces of the cleaning solution and paint have been removed.
Drying the Brushes
Once the brushes have been effectively rinsed, it’s time to dry them. First, gently squeeze out any excess water from the bristles using your fingers. Be careful not to excessively squeeze or twist the bristles, as this can damage the brush shape. After removing the excess water, reshape the bristles by gently running your fingers through them, ensuring they return to their original shape. To dry the brushes, lay them flat on a clean surface or hang them upside down to allow air circulation. This will prevent any water from pooling in the ferrule, the metal part of the brush that connects the bristles to the handle. Keep the brushes in a well-ventilated area and allow them to air dry completely before using them again.
Cleaning Stubborn Stains
If you encounter stubborn stains that are not completely removed during the initial cleaning process, it may be necessary to repeat the cleaning steps. Simply soak the brushes once again in the cleaning solution and follow the brush cleaning techniques mentioned earlier. For particularly stubborn stains, you can try using vinegar or mild soap as an alternative cleaner. Mix a small amount of vinegar or mild soap with warm water and agitate the brush bristles in the solution. Rinse thoroughly and dry the brushes as mentioned previously.
Storing Cleaned Brushes
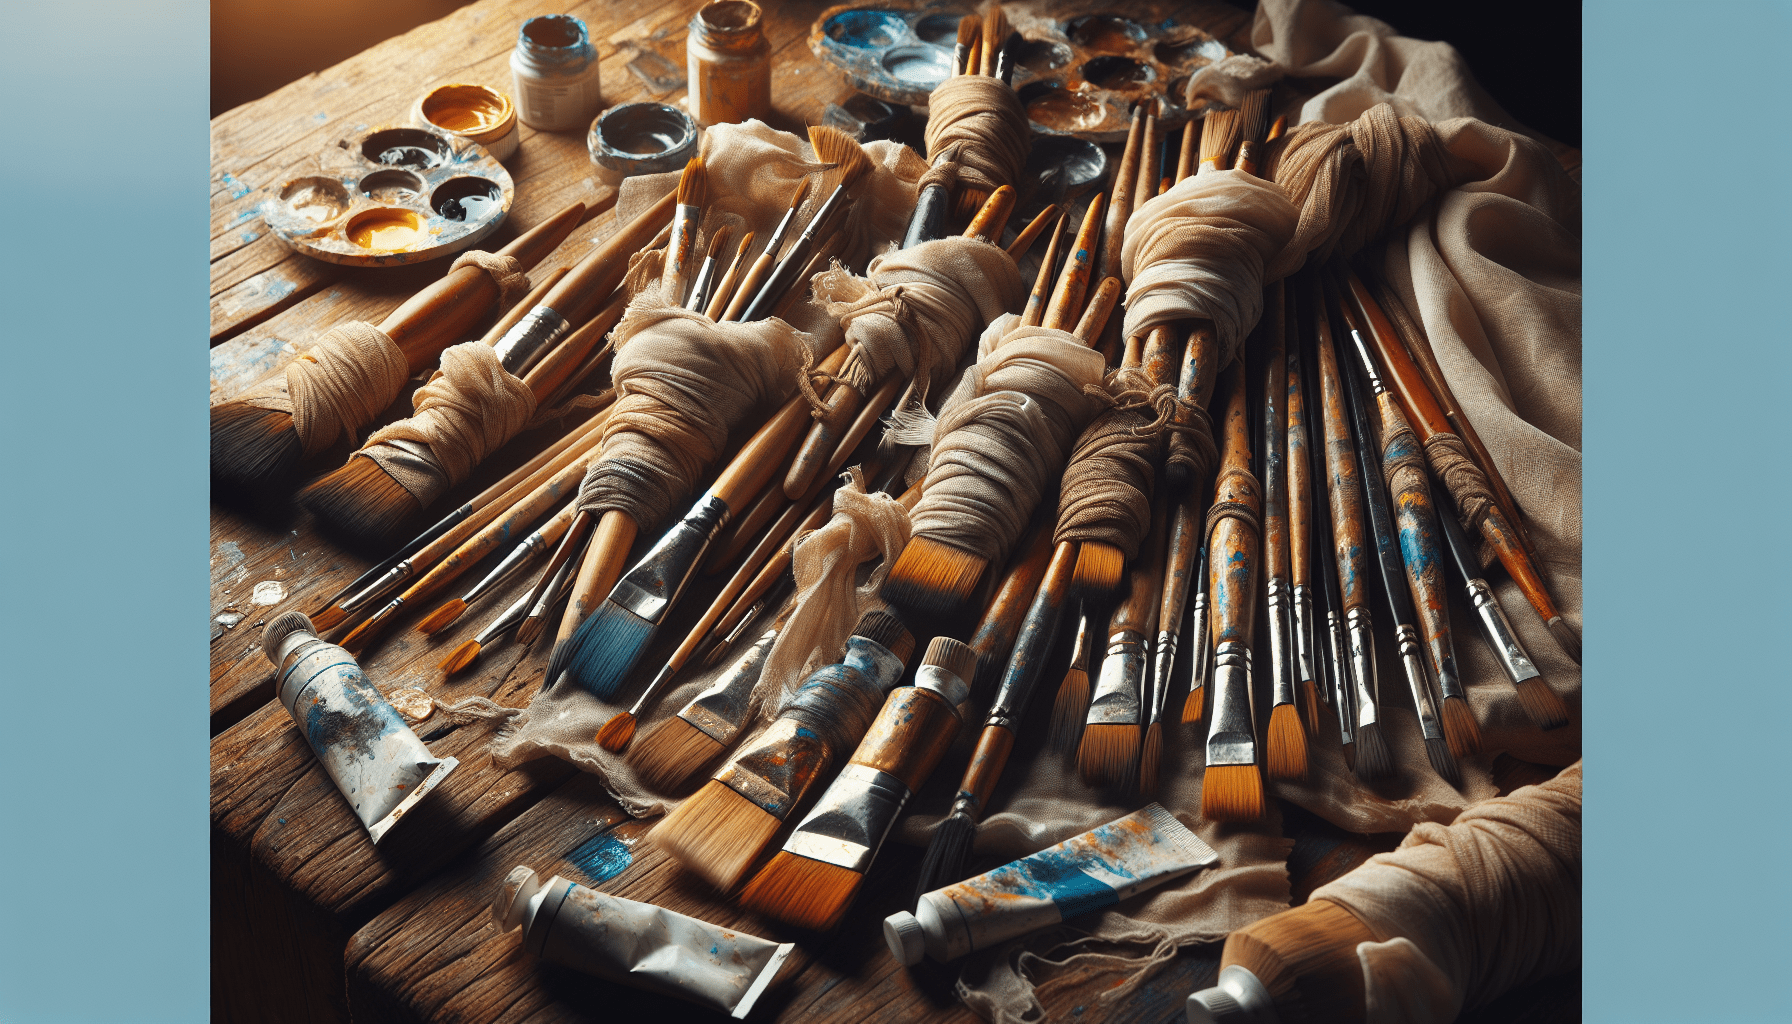
Once your brushes are pristine and dry, it’s crucial to store them properly to maintain their shape and longevity. Wrap each brush individually in clean paper towels to protect the bristles and prevent any dust or debris from settling on them. It is advisable to store the brushes upright in a brush holder or a container to avoid any unnecessary pressure or distortion of the bristles. This way, the brushes will remain in excellent condition and ready for your next painting session.
In conclusion, cleaning oil paint from brushes requires a systematic approach with the right materials and techniques. By following the steps outlined above, you can effectively remove excess paint, choose the appropriate cleaning solution, soak the brushes, clean the bristles, rinse thoroughly, dry properly, handle stubborn stains, and store the cleaned brushes correctly. With proper care and maintenance, your brushes will continue to serve you well, enabling you to create beautiful paintings for years to come.
