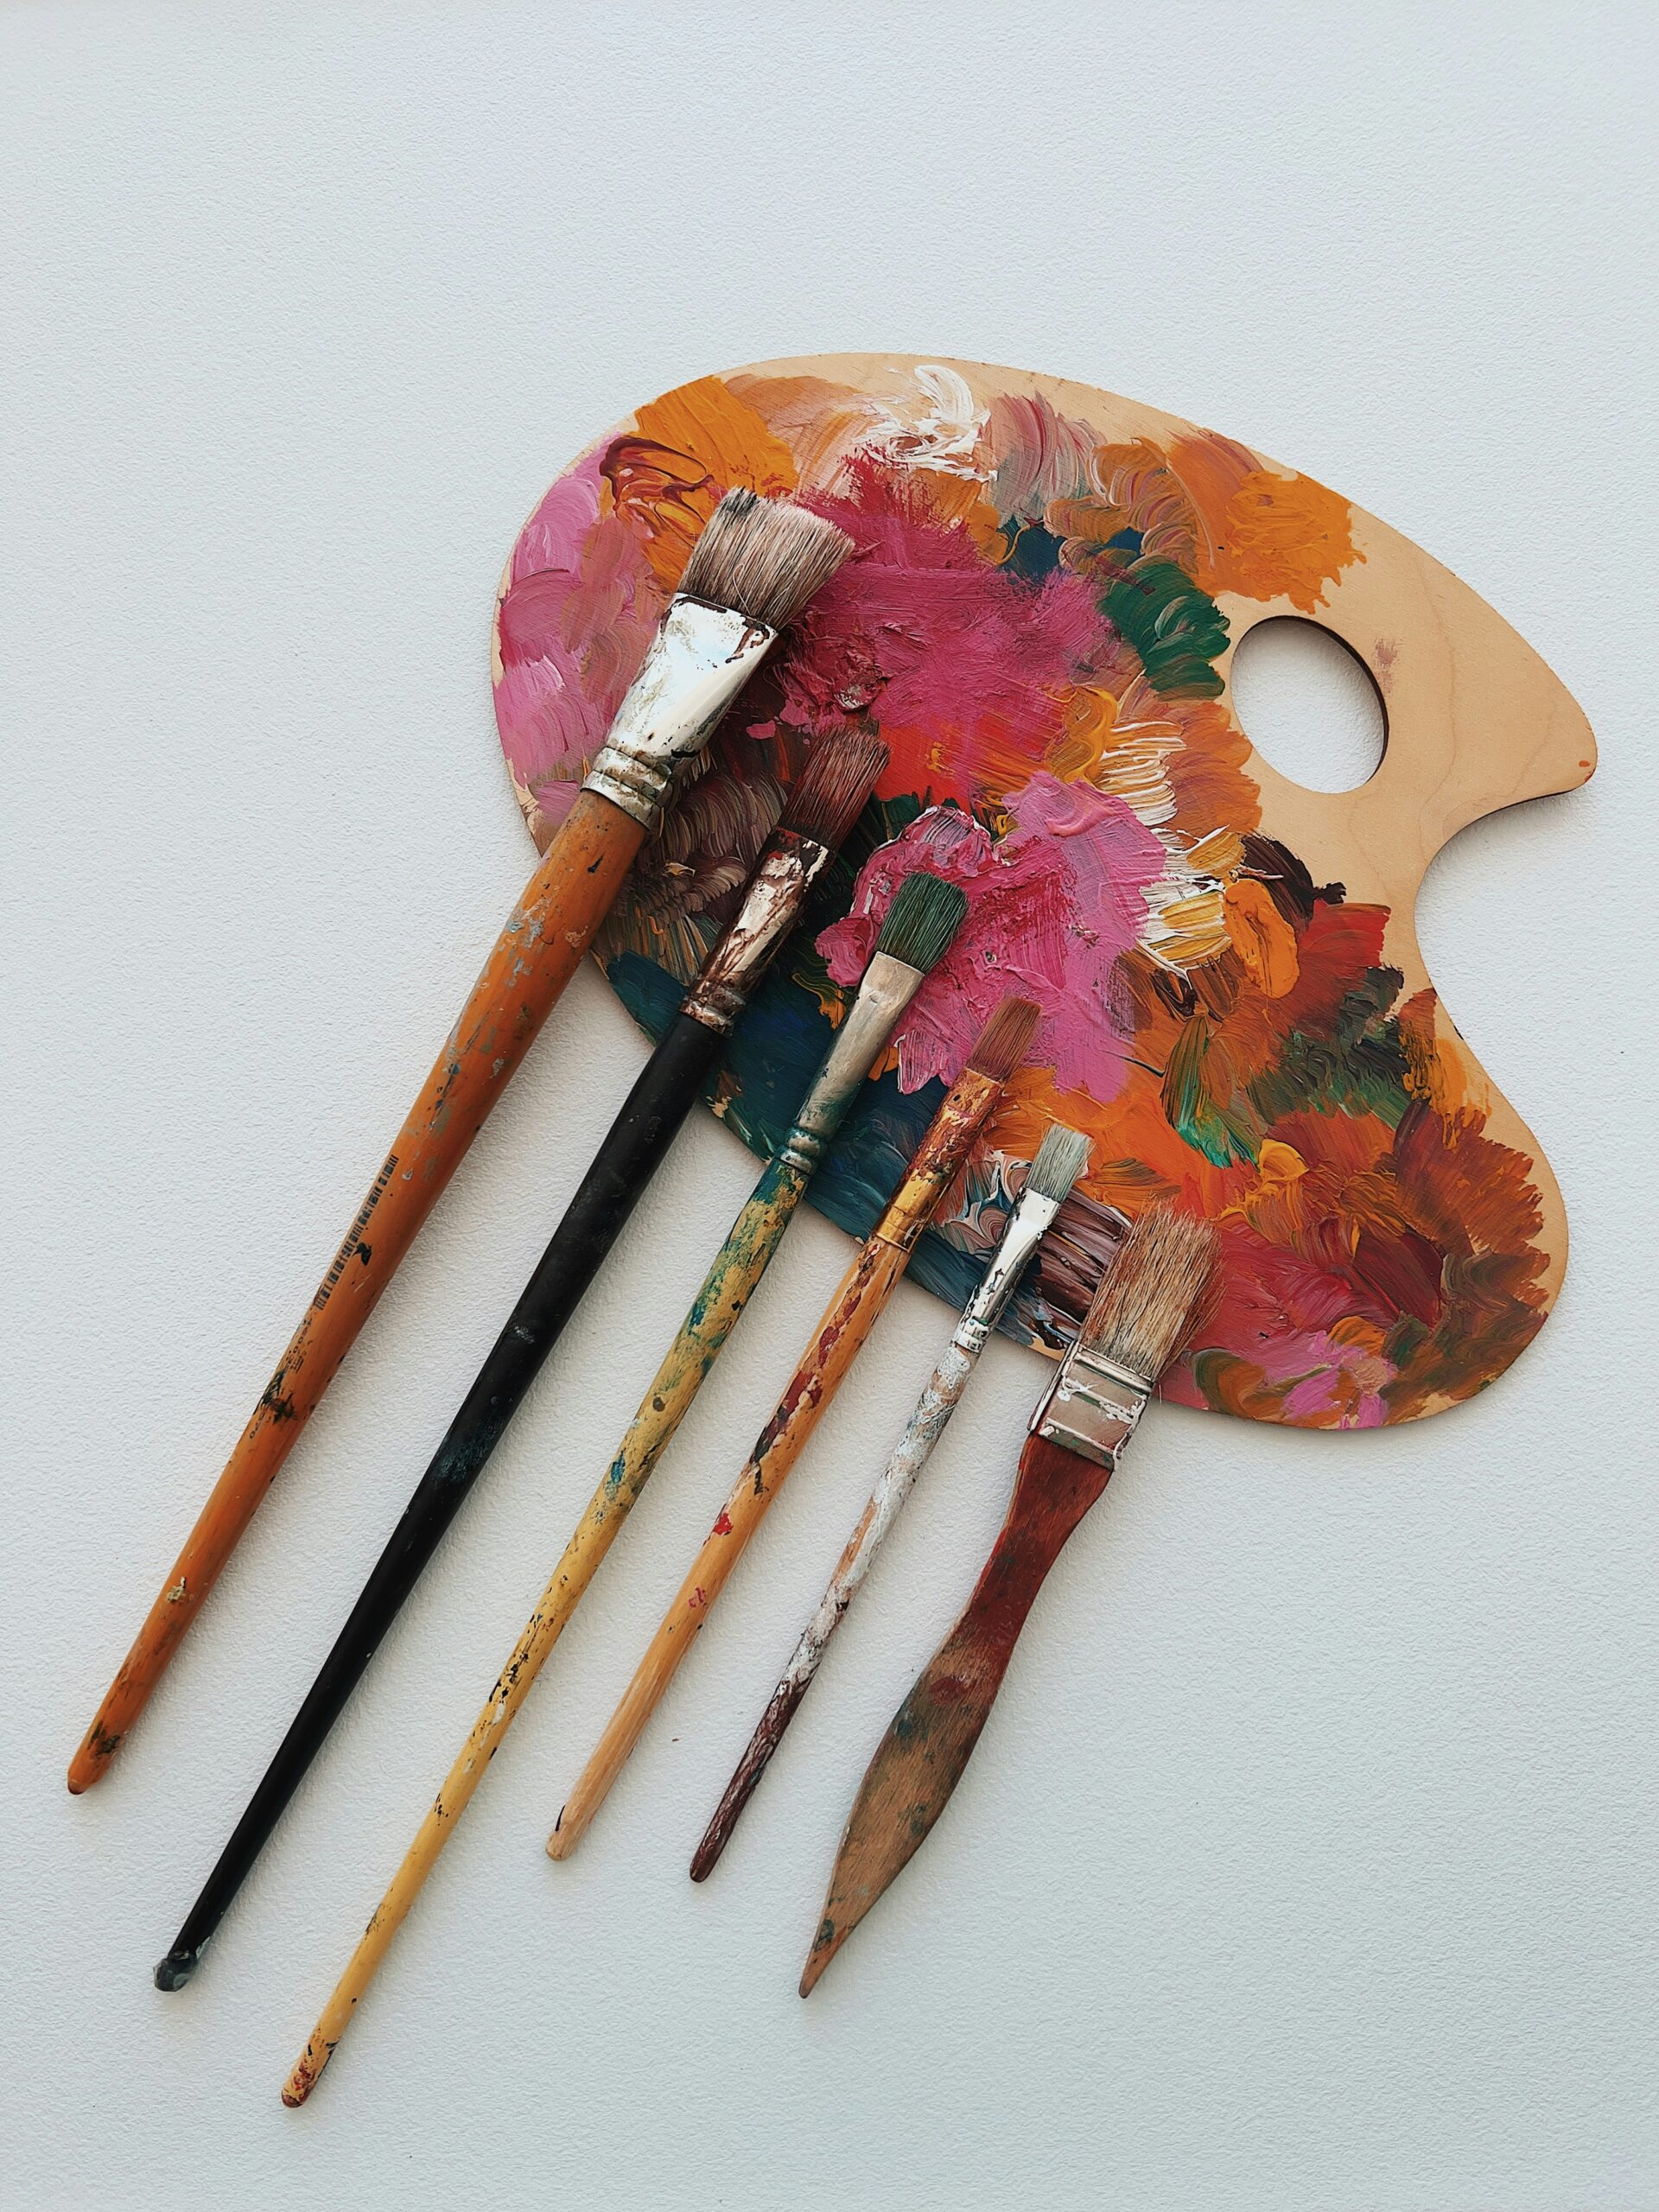
Are you standing in front of a shelf full of paint brushes wondering which ones will actually help you make the kinds of marks you imagine?
How To Choose Paint Brushes For Beginners
Choosing the right paint brushes can feel confusing at first, but it becomes much simpler when you know what to look for. This guide breaks down brush anatomy, shapes, materials, sizes, and care so you can pick tools that suit your medium, budget, and painting goals.

Why choosing the right brush matters
The brush you use affects line quality, texture, coverage, and how comfortable painting feels in your hand. Using the wrong brush can make a project slower, messier, or less satisfying — while the right brush helps you get the results you want faster.
Brush anatomy: the parts and why they matter
A paint brush has a few key parts: the handle, ferrule, bristles, heel, belly, and tip. Understanding each part helps you evaluate durability and performance when you’re comparing brushes in a store or online.
- Handle: The part you hold; length and shape affect balance and control. Longer handles are typical for easel work, while shorter handles are good for detail work at a table.
- Ferrule: The metal band that holds bristles to the handle; it should be secure and properly crimped. A poor ferrule can let bristles shed or loosen over time.
- Bristles: The working part of the brush; they come in natural hair, synthetic, or blends. Bristle type determines stiffness, paint-holding capacity, and the kinds of marks you can make.
- Heel, belly, tip: These describe bristle sections — heel (base), belly (middle that holds paint), and tip (the working point or edge). The shape and spring of these areas control how the brush releases paint.
Brush shapes and what they do
Shapes determine the marks you can make and how easily you can control paint for specific techniques. Different shapes suit different tasks such as washes, fine lines, blending, and edges.
| Shape | Description | Best for |
|---|---|---|
| Round | Tapered point with a rounded belly | Lines, detail, controlled strokes |
| Flat | Rectangular edge with a square tip | Bold strokes, blocking in, edges |
| Bright | Shorter, stiffer flat with a square edge | Controlled short strokes, heavy paint |
| Filbert | Oval tip that combines flat and round | Blending, soft edges, petals |
| Angular (angled) | Slanted flat edge | Tight corners, curves, precise strokes |
| Fan | Fanned bristles | Blending, softening, texture (e.g., foliage) |
| Mop | Large, rounded, high-bodied bristles | Laying washes, soft blends (watercolor/gouache) |
| Liner/Rigger | Very long, thin round | Long continuous lines, signature strokes |
| Dagger | Curved, tapered edge | Calligraphic strokes, sweeping curves |
| Wash | Wide, flat, large | Large washes and backgrounds (watercolor) |
You don’t need every shape right away, but a basic mix of round, flat, and filbert covers most beginner needs.
Brush sizes: what the numbers mean
Brush sizes are labeled with numbers that don’t translate directly across brands, but the smaller the number, the finer the brush. A size 0 or 2 is for detail; sizes like 6–12 are medium useful for general work; larger sizes (14+) are for broad coverage. Pay attention to the actual width and feel rather than relying only on the number.

Bristle types: synthetic, natural, and blends
Bristles determine responsiveness, paint-holding ability, and how a brush behaves with different mediums. Choose a bristle type based on the paint you use and the marks you want to make.
| Bristle Type | Characteristics | Best for |
|---|---|---|
| Natural (sable) | Soft, excellent spring and a fine point, high paint retention | Watercolor, fine detail, glazing |
| Natural (hog bristle) | Stiff, durable, holds a lot of oil/impasto paint | Oil painting, heavy-bodied acrylics |
| Synthetic (nylon/taklon) | Durable, springy, affordable, resists shedding | Acrylics, water-based oils, beginners |
| Blends (natural + synthetic) | Combine softness and durability | Versatile; works across acrylic, oil, and watercolor depending on blend |
For most beginners, high-quality synthetic brushes offer the best combination of cost, durability, and versatility—especially if you plan to use acrylics.
Choosing brushes by medium: acrylic, oil, and watercolor
Each medium performs best with certain brush characteristics. Picking brushes matched to your medium helps you control paint and achieve the results you want.
- Acrylic: Fast-drying nature requires brushes that resist damage and clean easily. Synthetic or synthetic-blend brushes are ideal because they tolerate water and the wear from acrylics. Flats and filberts are especially useful for acrylics where you need both broad coverage and blending.
- Oil: Oils work well with stiffer natural hog or oil-specific synthetic brushes that can move thick paint and retain bristles under pressure. Long-handled brushes are common for easel use. Flats, brights, and rounds are all useful; stiff bristles hold impasto better.
- Watercolor/Gouache: These require brushes that hold a lot of water and have a fine point. Sable (or sable-like synthetics) and large-bodied rounds or mops help you maintain smooth washes and crisp edges. Short-handled brushes are typical for table work.

Handle length and balance
Handle length affects how you paint and your posture. Long handles give distance and sweeping gestures for easel painting, while short handles allow close control for tabletop work. Balance matters too — a well-balanced brush feels comfortable and reduces hand fatigue.
Ferrule quality and handle construction
A tightly crimped, seamless ferrule keeps bristles secure and reduces shedding. Ferrules made of brass or nickel-plated metal resist corrosion from water and cleaners. Handles can be lacquered wood or plastic; look for a comfortable shape, no rough edges, and secure attachment to the ferrule.

Spring, tip, and paint-holding capacity
Spring is how quickly bristles return to shape after a stroke — it affects control and responsiveness. A good tip gives you precision for lines, while a large belly increases the brush’s capacity to hold paint. For detailed work, prioritize a sharp tip and responsive spring; for large areas, choose a fuller belly and wider head.
Synthetic vs. natural: pros and cons
| Property | Synthetic | Natural (e.g., sable, hog) |
|---|---|---|
| Price | Generally lower | Higher, especially sable |
| Durability | Highly durable, resists water | Can be less durable with water solvents |
| Point & spring | Modern synthetics can be springy and point well | Sable excels at point and soft glazes; hog is stiff |
| Paint-holding | Good with modern synthetics designed for it | Sable holds a lot of water; hog holds thick paint |
| Clean-up | Easier with water | Requires solvents for oil; more delicate |
For most beginners, synthetic or mixed brushes deliver the best value and are appropriate for multiple mediums.

How many brushes do you really need as a beginner?
You don’t need dozens of brushes to start. A small, versatile set can cover most beginner projects. Aim for a few sizes and shapes that let you handle details, edges, and broad areas.
Suggested starter set:
- Round sizes: 2 and 6 — for detail and medium strokes.
- Flat sizes: 6 and 12 — for blocking in and edges.
- Filbert size: 8 — for blending and soft shapes.
- A mop or wash brush (for watercolor) or a bright (for acrylic/oil) — for larger areas.
This gives you flexibility to experiment without being overwhelmed.
How to test a brush before buying
You can evaluate brushes in a store or when receiving online orders. Key tests include:
- Tip test: Look for a defined point or clean edge depending on shape. The tip should come to a fine point for rounds and stay true after you press gently.
- Spring test: Press the brush against your palm or a flat surface; it should return to its original shape quickly.
- Shedding: Gently pull across the bristles to see if any fall out — a few hairs can happen, but excessive shedding is a red flag.
- Water test: Dip the brush in water (or solvent for oils) and see how it holds paint and returns to shape after washing.
Cleaning and caring for your brushes
Proper cleaning extends brush life dramatically. The right method depends on your medium, but the basics are similar.
- For acrylics: Clean immediately after use with water and a soft brush soap or mild dish soap. Acrylic dries fast and can ruin bristles if left to dry.
- For oils: Remove excess paint with a rag, then use a solvent like odorless mineral spirit or turpentine for initial cleaning, followed by soap and water to remove residue. Finish by reshaping the tip and letting dry horizontally or tip up.
- For watercolors: Rinse thoroughly in clean water; use a gentle soap if pigment stains remain. Reshape and store upright to dry.
Steps for a thorough clean:
- Remove excess paint on a rag or paper towel.
- Rinse or wipe out as appropriate for your medium.
- Lather with a gentle brush soap or mild detergent while working the bristles from heel to tip.
- Rinse until water runs clear.
- Gently reshape the tip and let brushes dry horizontally or bristles up in a jar to prevent water seeping into the ferrule.
- Occasionally condition with a small amount of hair conditioner or brush balm for natural hair brushes.
Drying and storage best practices
Never leave brushes standing with bristles in water — this loosens the ferrule and warps the handle. Dry horizontally or bristles-up in a container after reshaping the tip. Store brushes with bristles protected (brush rolls, cases, or upright holders) to preserve shape and prevent dust build-up.
Common beginner mistakes and how to avoid them
Beginners often make predictable errors that reduce brush lifespan and painting enjoyment. Knowing these helps you avoid them.
- Letting paint dry on the brush: Clean promptly to prevent hardening.
- Using the wrong brush for the medium: Match stiffness and absorbency to paint type.
- Pressing too hard: Excess pressure damages tips and flattens natural points.
- Wiping repeatedly on a palette rag when using soft hair brushes: This wears down the tip fast — blot instead.
- Storing wet brushes bristle-down: This causes water to enter the ferrule and loosens glue.
When to replace a brush
Brushes wear out over time. Replace when:
- The tip is permanently splayed and won’t reform after cleaning.
- Bristles are shedding profusely.
- The ferrule has loosened or rusted.
- The brush no longer performs the strokes you need despite proper care.
You’ll likely replace inexpensive brushes more often; investing in a few higher-quality pieces can pay off long-term.
Budgeting for brushes: what to spend and where to save
You can start with inexpensive brushes and upgrade as you learn which features matter most to your practice. A basic set of synthetic brushes costs modestly, while specialty natural-hair brushes are pricier.
Guideline price ranges (approximate):
- Budget starter set: $10–$30 — decent synthetic brushes for learning.
- Mid-range: $30–$100 — better synthetic and some natural blends.
- Higher-end: $100+ — high-quality natural or specialized brushes (sable rounds, hog bristle flats).
Spend more on brushes you use daily (e.g., a favorite round or a large flat) and save on less-used specialty shapes.
Recommended brushes by medium: a simple reference
| Medium | Must-have brush shapes & sizes | Notes |
|---|---|---|
| Acrylic | Flat (6, 12), Filbert (8), Round (2, 6), Bright (6) | Use synthetic or blends; clean immediately |
| Oil | Hog bristle flat (10–16), Round (6–8), Bright (6–10), Filbert (8–12) | Stiff bristles for texture and impasto |
| Watercolor | Round (6, 10), Mop/Wash (10–20), Liner (0–2) | Sable or high-quality synthetic for water holding |
| Gouache | Round (6–10), Flat (6–12) | Similar to watercolor but less water needed |
This shortlist helps you prioritize purchases for your chosen medium.
Practical tips for using brushes effectively
- Load the brush correctly: For a round, load paint into the belly and not merely on the tip. That gives you consistent strokes.
- Vary pressure: Light pressure produces thin lines; increased pressure creates broader strokes.
- Use the correct angle: For sharp lines, use the tip; for wide coverage, turn the brush on its side.
- Keep a clean palette area for rinsing or wiping to avoid muddying colors.
Buying brushes online vs. in-store
Shopping in-store lets you test spring and tip, while online gives more options and reviews. When buying online, read reviews and look for detailed photos or videos. Pay attention to return policies — some retailers accept returns on brushes if they arrive damaged or misdescribed.
Starter kit checklist
Use this checklist when buying your first set or assembling a kit:
| Item | Why it’s useful |
|---|---|
| Round brushes (sizes 2, 6) | Detail work and medium strokes |
| Flat brushes (sizes 6, 12) | Blocking in, edges, coverage |
| Filbert (size 8) | Blending and soft edges |
| Large wash/mop (for watercolor) or bright (for acrylic/oil) | Large areas and textures |
| Brush soap or mild detergent | Proper cleaning and maintenance |
| Jar for rinsing and towel | Easy cleanup at work area |
| Brush roll/case | Protects bristles during storage and travel |
This kit keeps things simple yet versatile for a beginner.
Caring for specialty and expensive brushes
If you buy natural sable or premium brushes, treat them carefully: avoid harsh solvents for routine cleaning, condition occasionally, and use them only for appropriate paints. Store them protected and consider designating them for specific pigments or mediums to reduce staining and cross-contamination.
Frequently asked questions
Q: Can I use the same brushes for acrylics and oils? A: You can use the same synthetic brushes for both, but avoid using a brush that’s been in oil with watercolor without thorough cleaning. Also, natural hair brushes may degrade if used too much with acrylic unless cleaned quickly.
Q: Are synthetic brushes good for watercolor? A: Modern synthetic brushes designed for watercolor can perform very well. They may not hold quite as much water as pure sable, but many are excellent and much more affordable.
Q: How do I stop my brushes from splaying? A: Avoid excessive pressure, clean them properly, reshape tips after each wash, and store them protectively. Overworking bristles on hard surfaces will cause splaying.
Q: What’s a filbert used for? A: Filberts are great for blending and creating soft, tapered strokes — ideal for petals, rounded forms, and transitions.
Q: Should you wet synthetic brushes before using them with acrylics? A: You can slightly dampen some synthetic brushes to help with smoother application for water-based paints, but you don’t want them soaking wet for acrylic because the paint needs body to build layers.
Final tips and encouragement
Start with a small, well-rounded selection and grow your collection with experience. Try different brands, shapes, and sizes until you find the brushes that feel right in your hand. Practice basic strokes and cleaning routines — consistent care and sensible choices will make your brushes last longer and help you focus on improving your painting skills.
You don’t need every type of brush to be a good painter; you just need a few dependable brushes and the confidence to experiment. With the right tools and a little practice, you’ll be amazed at how much your control and results improve.