Buffing chalk paint wax is an essential step in achieving a smooth and lustrous finish on your furniture or decorative items. In this informative article, you will learn the step-by-step process of how to effectively buff chalk paint wax. From selecting the right tools and materials to mastering the technique, this guide will provide you with all the necessary tips and tricks for successful wax buffing. By following these instructions, you will be able to transform your painted surfaces into stunning pieces that exude a professional and refined look. So, let’s dive into the art of buffing chalk paint wax and elevate your painting projects to new heights of excellence.

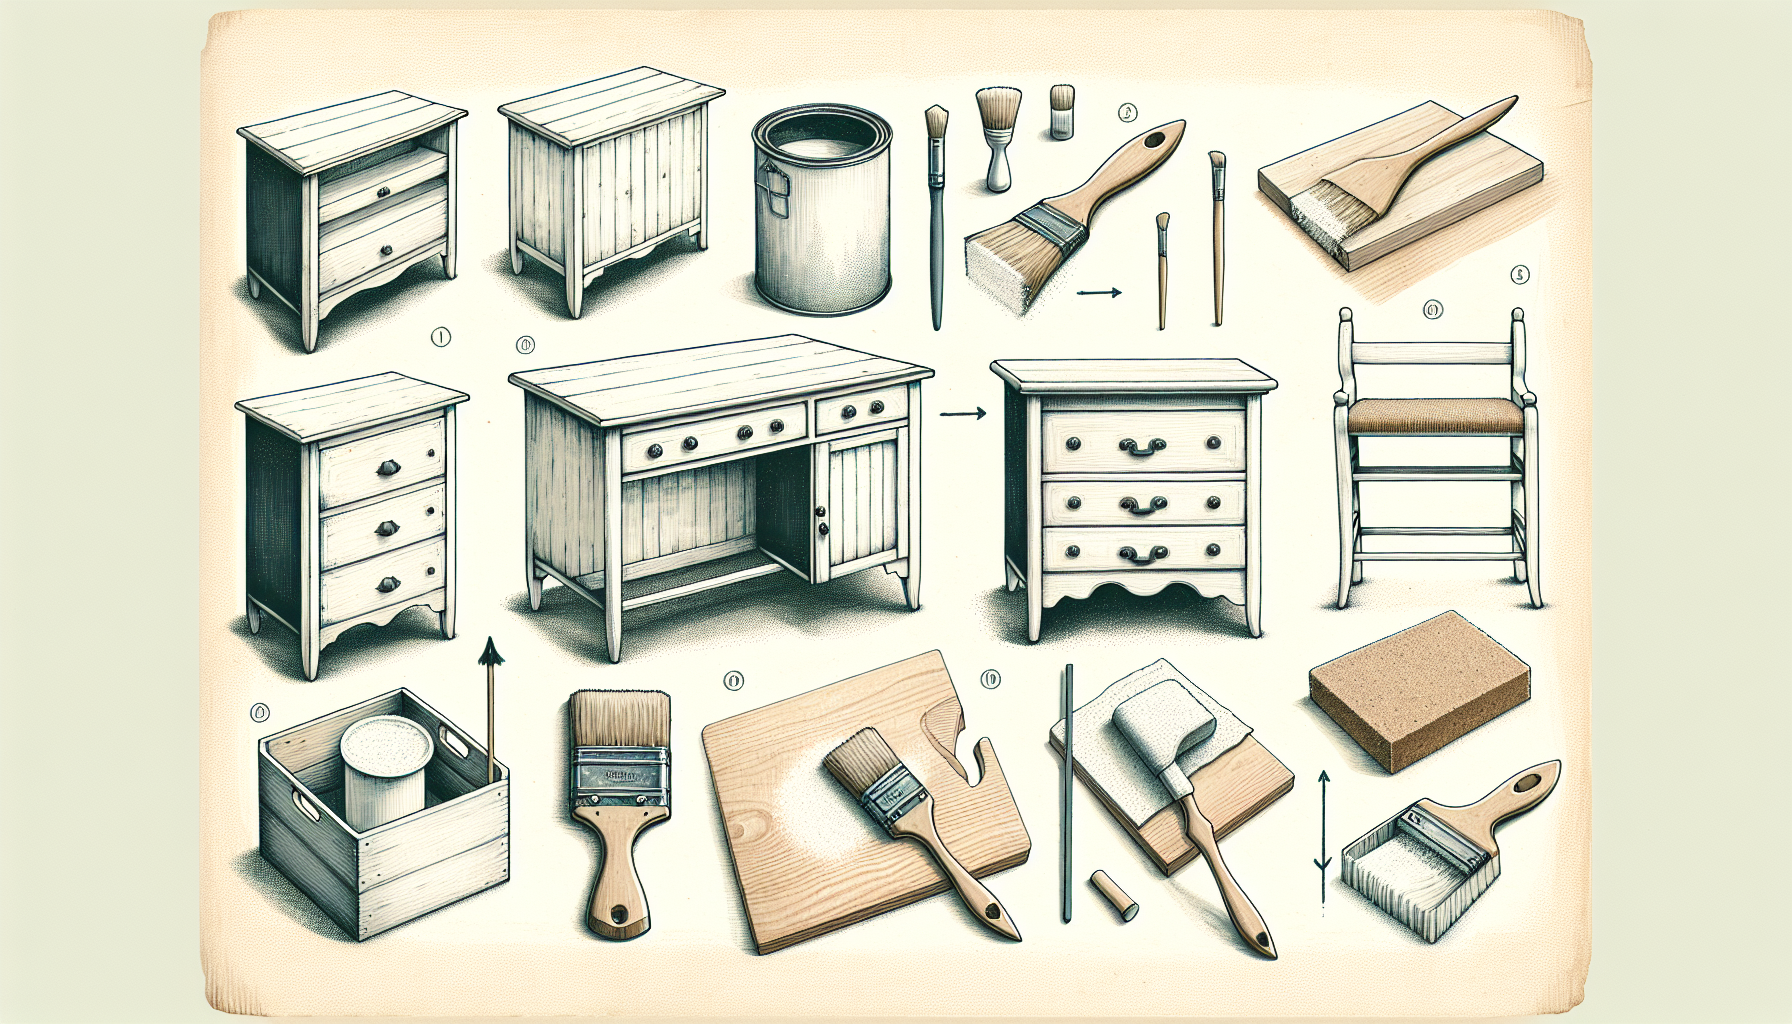
Preparing Your Surface
Clean the Surface
Before applying wax to your surface, it is essential to clean it thoroughly. Use a mild detergent and water to remove any dirt, dust, or grime. Avoid using harsh chemicals or abrasives that can damage the surface. Rinse the surface well and allow it to dry completely before proceeding to the next step.
Remove any Existing Wax or Finish
If there is any existing wax or finish on your surface, it is crucial to remove it before applying the new wax. You can use a wax stripper or a gentle, non-abrasive solution to dissolve the old wax. Follow the manufacturer’s instructions and ensure complete removal of the previous wax or finish.
Repair any Damaged Areas
Inspect your surface for any damaged or blemished areas. If you come across scratches or imperfections, it is best to address them before applying the wax. You can gently sand the damaged areas to even them out and create a smooth surface for wax application. Make sure to clean the sanded areas thoroughly before moving on.
Choosing the Right Tools
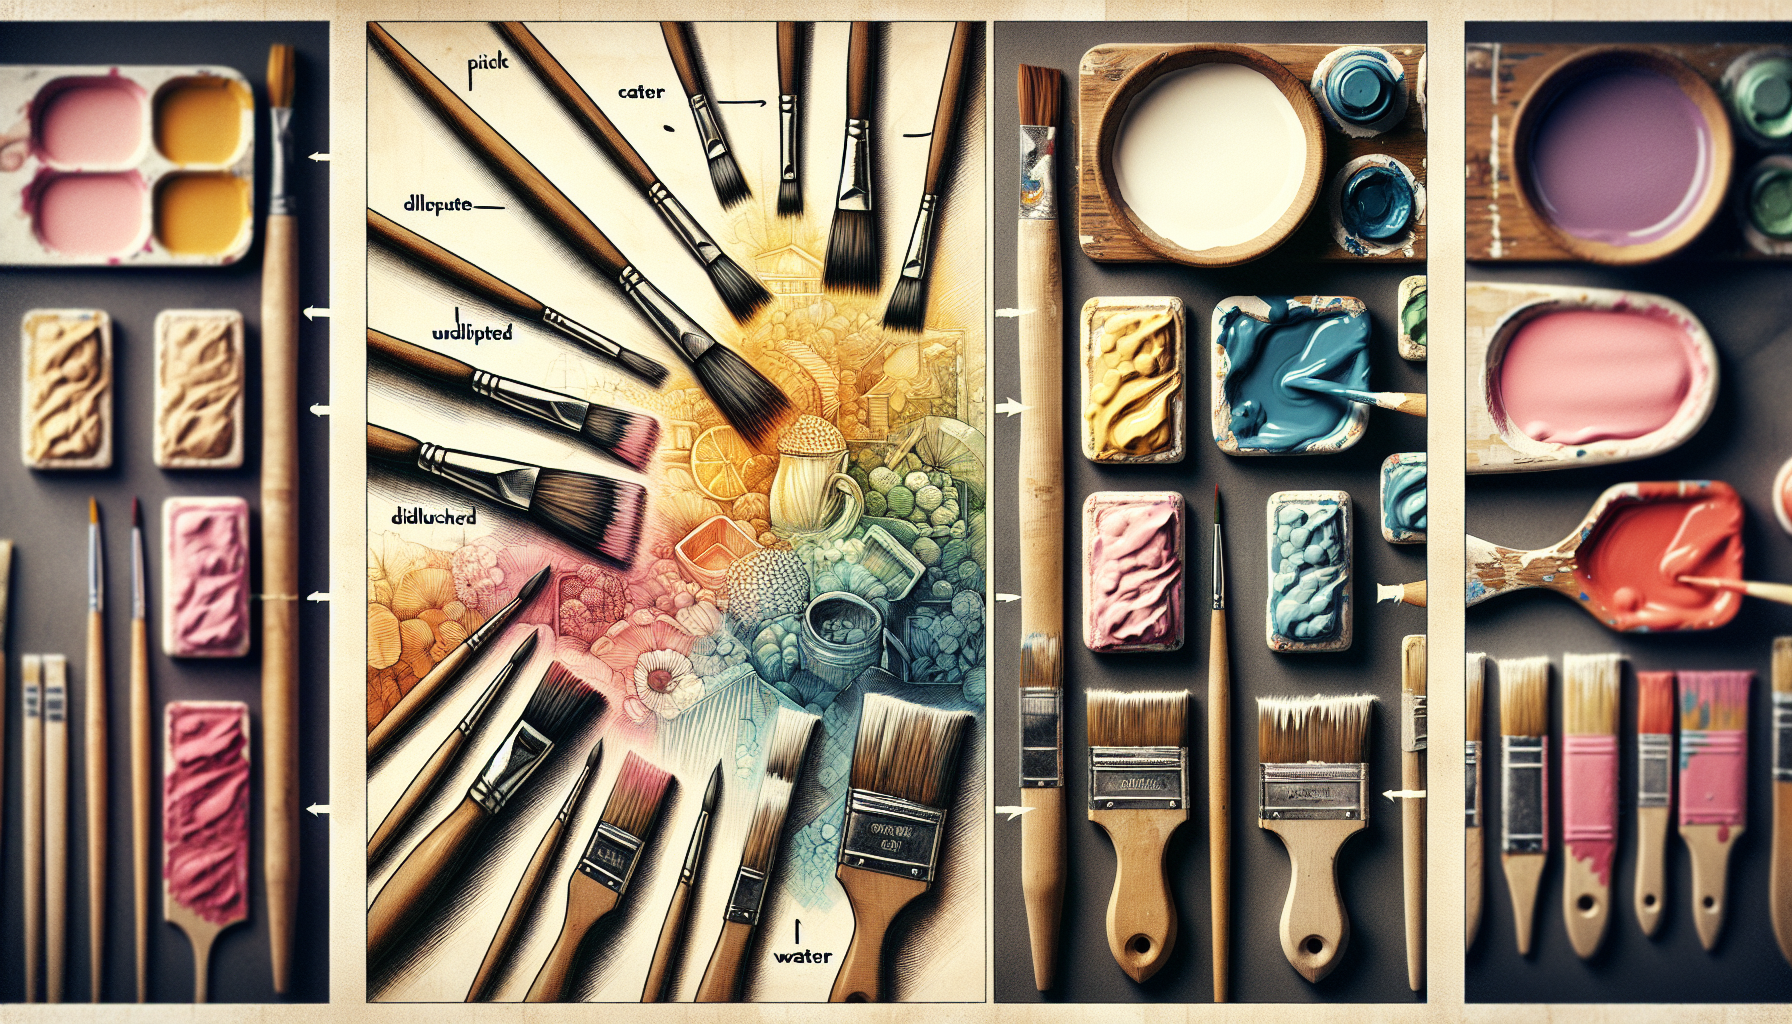
Select High-Quality Waxing Brushes
Investing in high-quality waxing brushes can make a significant difference in the outcome of your waxing project. Look for brushes made of natural bristles, as they tend to offer better coverage and smoother application. Ensure the brushes are clean and free from any previous wax or debris before using them.
Consider Using a Waxing Pad or Cloth
Besides brushes, you can also opt for waxing pads or cloths to apply wax to your surface. These tools are particularly useful for small, intricate areas where brushes may not reach easily. Waxing pads provide a controlled application and help achieve a smooth finish. Choose a cloth or pad specifically designed for waxing to ensure optimal results.
Applying the Wax
Start with a Thin Coat
When applying wax to your surface, it is important to start with a thin coat. Dip your brush or cloth into the wax and remove any excess. Apply the wax in a thin, even layer, ensuring that you cover the entire surface. Starting with a thin coat prevents buildup and uneven distribution, ensuring a more professional finish.
Work in Small Sections
To ensure thorough coverage and consistent results, work in small sections when applying the wax. This approach allows you to focus on one area at a time, ensuring that all nooks, corners, and edges are adequately waxed. By working in small sections, you can also maintain control over the application process and achieve a more even finish.
Apply Even Pressure
Maintaining even pressure while applying the wax is crucial for achieving a beautiful finish. Whether using a brush or a cloth, gently press the wax into the surface using smooth and deliberate strokes. Avoid pressing too hard or dragging the brush or cloth, as this can result in streaks or an uneven distribution of wax.
Use Smooth and Overlapping Strokes
To ensure a seamless finish, use smooth and overlapping strokes when applying the wax. This technique helps to spread the wax evenly and avoid visible brush strokes or cloth marks. Work in one direction, such as back and forth or in a circular motion, depending on the desired effect. Pay attention to any missed spots and ensure full coverage before proceeding.
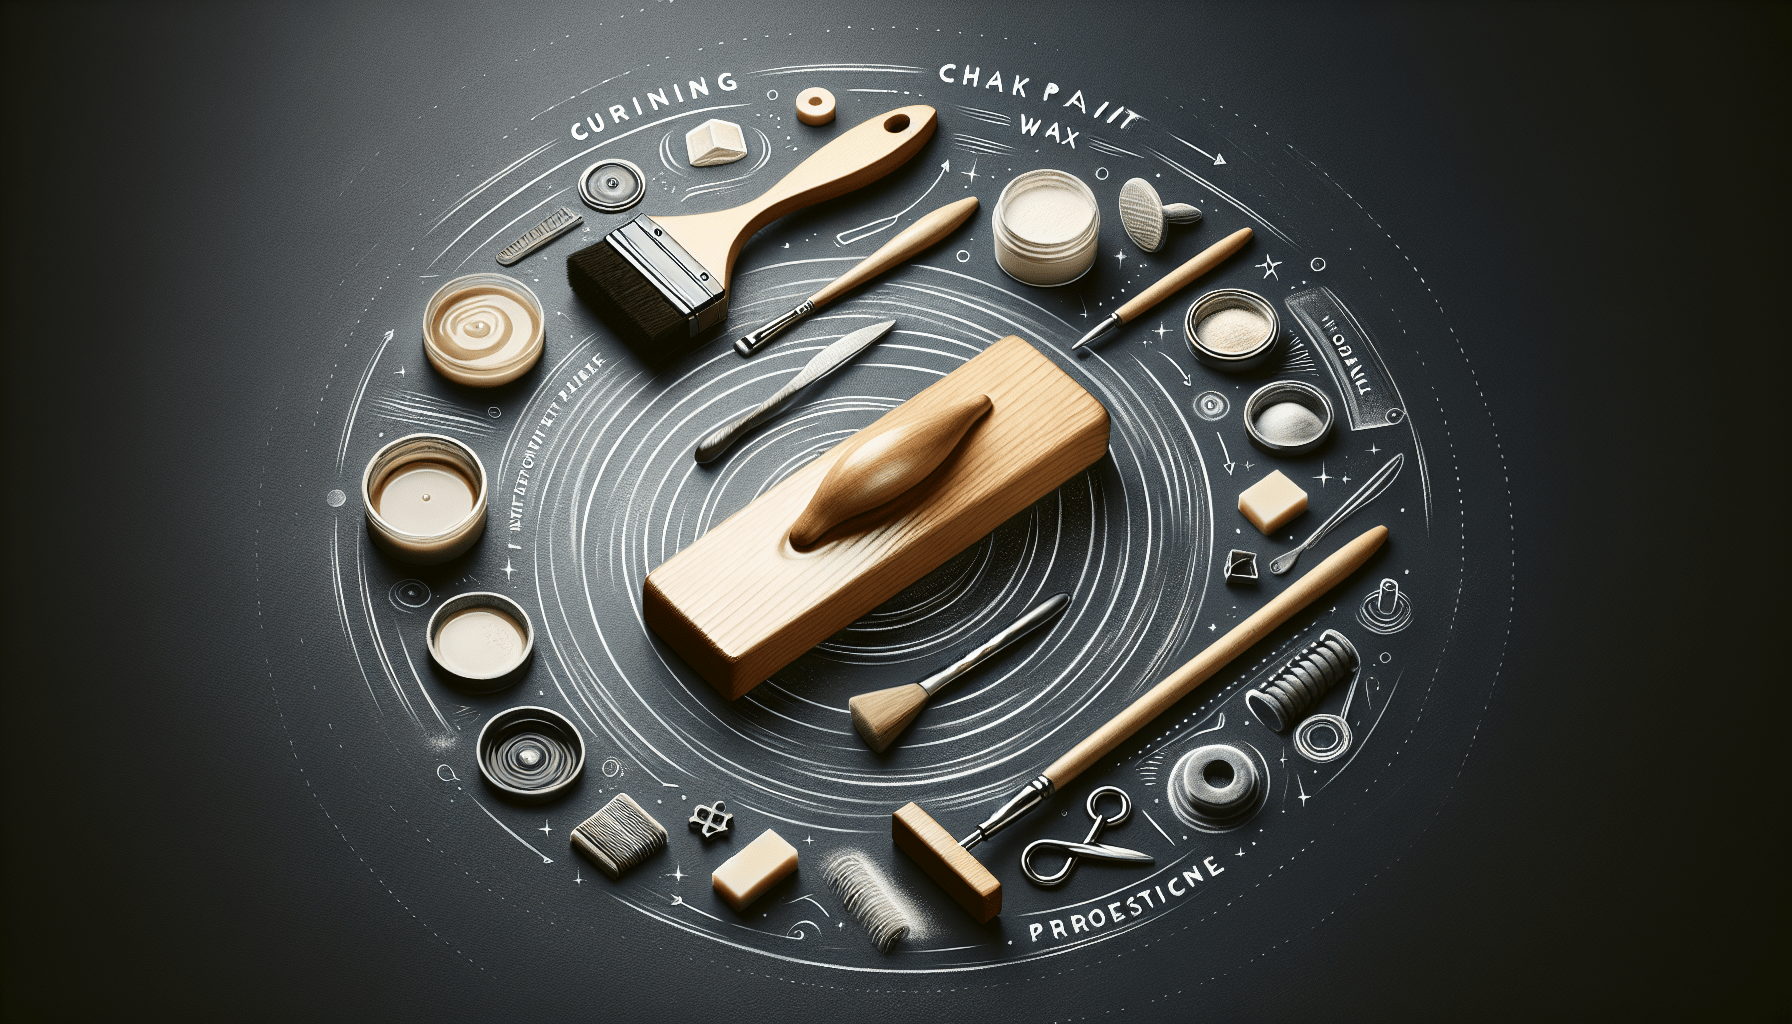
Drying and Curing
Allow Sufficient Drying Time
After applying the wax, allow it to dry completely before moving on to the next steps. The drying time can vary depending on the type of wax used, environmental conditions, and the thickness of the applied coat. Follow the manufacturer’s recommended drying time to ensure that the wax sets properly and achieves the desired finish.
Avoid Touching or Disturbing the Surface
During the drying process, it is crucial to avoid touching or disturbing the waxed surface. Touching the wax prematurely can leave fingerprints or smudges, disrupting the smooth finish you are trying to achieve. Be patient and let the wax cure undisturbed to ensure a flawless result.
Provide Adequate Ventilation
Adequate ventilation is important to ensure proper drying and curing of the wax. Open windows or turn on fans to promote air circulation in the room. This helps in dissipating any fumes or odors emitted by the wax and facilitates a faster drying process. Avoid waxing in poorly ventilated areas to prevent the buildup of fumes or potential health hazards.

Preparing for Buffing
Inspect the Surface
Before proceeding with buffing, inspect the waxed surface to ensure that it is dry and free from any imperfections. Look for any areas where the wax may have pooled or dried unevenly. If you notice any high spots or rough patches, gently sand them to create a smooth and even surface for buffing.
Gently Sand any Imperfections
If you find any imperfections on the waxed surface, gently sand them using fine-grit sandpaper. Use light pressure and work in a circular motion to level out any uneven areas. Make sure to clean the sanded surface thoroughly to remove any sanding residue before moving on to the buffing process.
Ensure the Wax is Fully Dry
Before commencing with the buffing process, ensure that the wax is fully dry. You can do a quick touch test by lightly touching a small area of the waxed surface. If it feels tacky or sticky, allow more drying time. Buffing prematurely can result in uneven shine and may even remove the wax entirely.
Buffing Techniques
Choose the Right Buffing Tool
Selecting the appropriate buffing tool is crucial for achieving the desired result. Depending on the size and nature of your surface, you can choose between a buffing pad, a microfiber cloth, or an electric buffer. Buffing pads are suitable for smaller areas, while an electric buffer can make the task quicker and more efficient for larger surfaces. Ensure that your chosen tool is clean and free from any debris before using it.
Apply Moderate Pressure
When buffing the waxed surface, it is important to apply moderate pressure. Excessive pressure can result in swirl marks or uneven shine, while too little pressure may not yield the desired effect. Maintain a steady hand and apply consistent pressure while moving the buffing tool across the surface. Experiment with different pressure levels to determine what works best for your specific surface and desired outcome.
Use Circular Motions
To achieve a smooth and even shine, use circular motions when buffing the waxed surface. Circular motions help to distribute the wax evenly and blend it into the surface. Avoid buffing in a straight line or back and forth motion, as this can create visible marks or streaks. Keep your movements fluid and consistent throughout the buffing process.
Buff in Small Sections
To ensure comprehensive and consistent buffing, work in small sections. Focusing on one area at a time allows you to achieve even coverage and better control over the buffing process. Buff each section until you achieve the desired shine before moving on to the next. Take your time and make sure to blend the edges of each section carefully for a seamless result.
Achieving the Desired Shine
Determine the Level of Shine
Before finalizing the buffing process, determine the level of shine you want to achieve. Some prefer a subtle sheen, while others aim for a high-gloss finish. Experiment with different buffing techniques and observe the shine level as you progress. Keep in mind that certain waxes may naturally provide a higher gloss, while others may require additional steps or products to achieve the desired shine.
Experiment with Different Buffing Techniques
Buffing can be a creative process, and each surface may respond differently to various techniques. Don’t be afraid to experiment with different buffing techniques to achieve your desired result. Try adjusting the pressure, speed, or motion of the buffing tool to see what works best for your specific surface. Remember to test any new techniques on a small, inconspicuous area before applying them to the entire surface.
Consider Using a High-Gloss Finishing Wax
If you desire an extra level of shine, consider using a high-gloss finishing wax. These specialized waxes are formulated to provide a brilliant, mirror-like finish. Apply the finishing wax according to the manufacturer’s instructions after the initial wax has been buffed. The high-gloss finishing wax can enhance the shine and give your surface a professional, showroom-quality appearance.
Maintaining the Waxed Surface
Regularly Dust and Clean the Surface
To keep your waxed surface looking its best, it is essential to regularly dust and clean it. Dusting with a soft, lint-free cloth helps remove any surface particles and maintains the shine. For routine cleaning, use a gentle cleaner specifically designed for waxed surfaces. Avoid harsh chemicals or abrasives that can strip away the wax and damage the surface. Follow the manufacturer’s recommendations for cleaning products and techniques.
Avoid Harsh Chemicals or Abrasives
When cleaning your waxed surface, it is vital to avoid harsh chemicals or abrasives that can harm the wax and underlying finish. Opt for mild, non-abrasive cleaners and avoid scrubbing too vigorously. Harsh chemicals can strip away the wax and leave your surface vulnerable to damage or discoloration. Be mindful of what cleaning products you use and always test them in a small, inconspicuous area before applying them to the entire surface.
Reapply Wax as Needed
Over time, the protective layer of wax on your surface may wear off due to regular use and cleaning. To maintain the surface’s beauty and protection, periodically reapply wax as needed. The frequency of waxing depends on the level of use and environmental factors. You may notice signs such as diminished shine or water no longer beading on the surface. When these signs become noticeable, it is time to reapply the wax to ensure adequate protection and maintain the desired appearance.
Troubleshooting Tips
Removing Excess Wax
If you accidentally apply too much wax or notice excess wax after buffing, there are methods to resolve this issue. One option is to use a clean, lint-free cloth to gently wipe away the excess wax. Alternatively, you can dampen the cloth slightly with a neutral cleaning solution and carefully remove the excess wax. Take care not to damage the underlying finish while doing so, and always follow up with buffing to restore the desired shine.
Fixing Uneven Shine
In some instances, you may notice areas with uneven shine after buffing. This can occur due to variations in pressure, speed, or application technique. To fix uneven shine, revisit the affected areas and carefully buff with the appropriate tool. Adjust the pressure and motion to blend the wax and achieve a consistent shine across the surface. Take your time and be attentive to achieve a seamless result.
Repairing Scratches or Blemishes
If your waxed surface experiences scratches or blemishes, there are ways to address them without needing to strip and reapply the wax entirely. For minor scratches, you can use a wax crayon or colored furniture marker that matches the surface color. Gently fill in the scratch or blemish with the appropriate product, following the manufacturer’s instructions. Once applied, buff the area to blend it with the surrounding wax and achieve a more uniform appearance.
Final Tips and Recommendations
Practice on a Small, Inconspicuous Area First
Before tackling the entire surface, it is always wise to practice your waxing and buffing techniques on a small, inconspicuous area. This allows you to refine your skills, become familiar with the products and tools, and gauge the expected outcome. Once you are confident and comfortable with the process, you can proceed to wax and buff the rest of your surface.
Follow the Manufacturer’s Instructions
When working with specific wax products, it is crucial to follow the manufacturer’s instructions carefully. Different waxes may have specific application, drying, and buffing requirements. Adhering to these instructions ensures optimal results and avoids any potential damage or inconsistencies. Take the time to read and understand the instructions provided with your chosen wax to achieve the best outcome.
Experiment and Have Fun!
Waxing and buffing your surfaces can be an enjoyable and rewarding experience. Allow yourself the freedom to experiment with different techniques, tools, and products to find what works best for you. Embrace the opportunity to express your creativity and enjoy the process of transforming your surfaces into beautiful, polished works of art. With practice and a sense of adventure, you can achieve stunning results and take pride in your waxing and buffing skills.