Acrylic paint is a versatile and popular medium used by artists around the world. However, one common challenge that artists often encounter is the presence of visible brush strokes on their finished paintings. These brush strokes can distract from the overall aesthetic and professional appearance of the artwork. In this article, you will discover effective techniques and tips on how to avoid brush strokes when working with acrylic paint. By implementing these strategies, you can achieve a smooth and flawless finish that enhances the visual impact of your paintings.
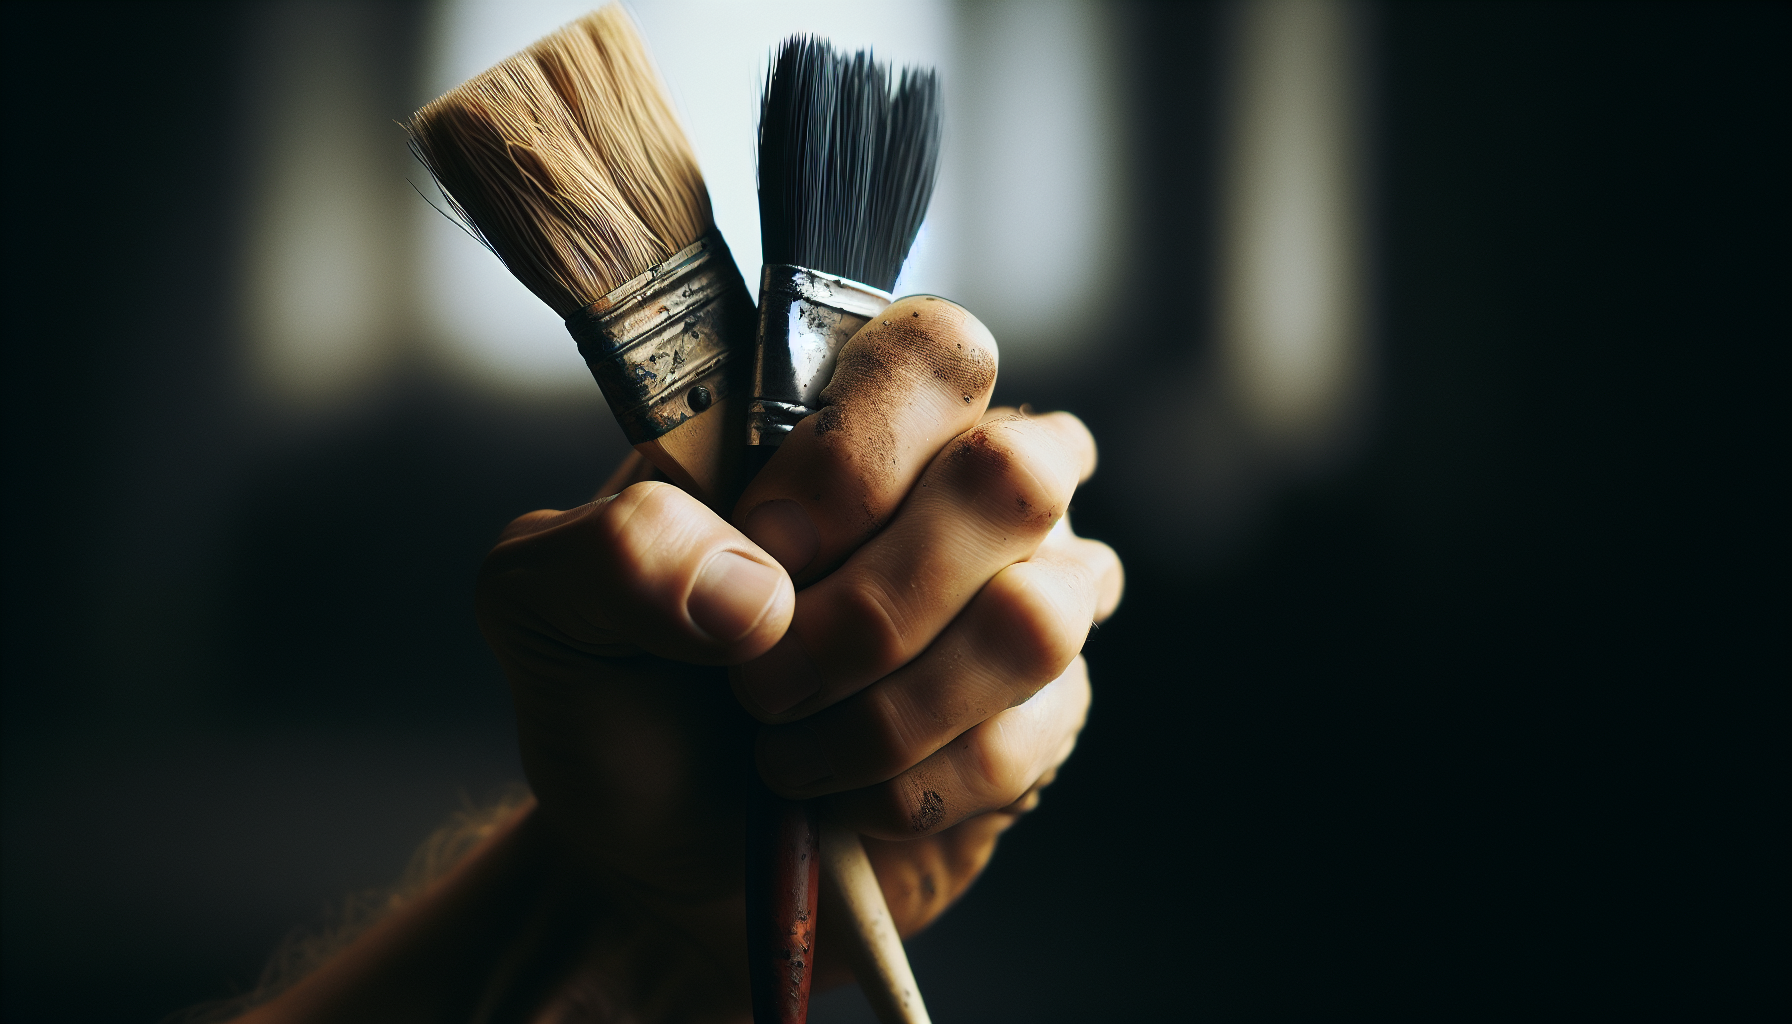
Choosing the Right Brush
When it comes to acrylic painting, choosing the right brush is crucial for achieving the desired results. There are several factors to consider when selecting a brush for your painting project.

Consider the type of brush
The first thing to consider is the type of brush you will need. Acrylic paints work well with synthetic brushes, as these brushes are more durable and can withstand the harshness of acrylic paints. Compared to natural brushes, synthetic brushes are less likely to shed bristles, which helps in achieving a smooth finish.
Look for synthetic brushes
Synthetic brushes are made from nylon, polyester, or a combination of both. These brushes are more versatile and can be used for different techniques such as blending, glazing, and detailing. They also tend to be more affordable compared to natural brushes, making them a popular choice among acrylic painters.
Choose a brush with softer bristles
When selecting a brush, it is important to choose one with softer bristles. Soft bristles are more flexible and will provide better control over your brushstrokes. They also allow for smoother application of paint on the canvas, reducing the likelihood of visible brush strokes. Brushes with softer bristles are especially useful when working on larger areas where a smooth finish is desired.
Opt for brushes with a good tip
Another important factor to consider is the tip of the brush. A brush with a good tip will allow for greater precision and detail in your painting. As acrylic paint dries quickly, having a brush with a fine point will enable you to achieve intricate details without worrying about the paint drying out too quickly.
Select brushes with different sizes for different strokes
Lastly, it is recommended to have a variety of brush sizes in your collection. Different brush sizes are used for different strokes and techniques. Larger brushes are ideal for covering large areas quickly, while smaller brushes are necessary for fine details and precision work. By having a range of brush sizes, you can achieve a variety of brushstroke effects and create depth and texture in your paintings.
Preparing Your Canvas
Before you begin painting with acrylics, proper preparation of your canvas is essential to ensure a smooth and long-lasting finish.
Ensure your canvas is clean and free of debris
The first step in preparing your canvas is to make sure it is clean and free of any debris. Dust and dirt particles can mix with the paint and create unwanted texture, resulting in visible brush strokes. Use a soft cloth or brush to remove any loose particles before applying any paint.
Apply a layer of gesso to create a smooth surface
Next, it is recommended to apply a layer of gesso to your canvas. Gesso acts as a primer that creates a smooth and even surface, allowing the paint to adhere better. Apply the gesso evenly using a brush or a roller, following the manufacturer’s instructions. Let the gesso dry completely before proceeding to the next step.
Sand the canvas to remove any imperfections
After the gesso has dried, you may notice some imperfections on the canvas such as bumps or rough spots. To achieve a smoother surface, lightly sand the canvas with fine-grit sandpaper. Be careful not to sand too hard or for too long, as it may damage the canvas. Once the canvas feels smooth to the touch, remove any dust with a soft cloth.
Use a primer to enhance paint adhesion
In addition to applying gesso, using a primer specifically formulated for acrylic paints can further enhance paint adhesion. Primers create a sealed barrier between the canvas and paint, preventing the paint from being absorbed too quickly. This allows for smoother brush strokes and better color vibrancy. Follow the manufacturer’s instructions on how to apply the primer and ensure it is fully dry before proceeding.
Allow the primer to dry properly
Lastly, it is crucial to let the primer dry properly before beginning to paint. Acrylic paint adheres best to a fully dry surface, reducing the likelihood of brush strokes caused by the paint not adhering properly. It is recommended to allow the primer to dry for at least 24 hours, although the exact drying time may vary depending on the brand and type of primer used.
Mixing and Preparing the Paint
The way you mix and prepare your acrylic paint can greatly affect the final outcome of your painting. It is important to take the necessary steps to ensure that the paint is at the right consistency and applies smoothly onto the canvas.
Use high-quality acrylic paint
Using high-quality acrylic paint is essential for achieving a professional finish and minimizing the appearance of brush strokes. Low-quality paints may contain more fillers and impurities, which can affect the smoothness of the paint. Invest in paints from reputable brands that are specifically formulated for acrylic painting.
Thoroughly stir the paint before use
Before you start painting, it is important to thoroughly stir the paint to ensure that the pigment is evenly distributed. Acrylic paint can sometimes separate, with the pigment settling at the bottom of the container. Use a palette knife or a stir stick to mix the paint until it has a consistent texture and color.
Mix in a small amount of water to achieve desired consistency
Depending on the brand and type of acrylic paint, you may need to mix in a small amount of water to achieve the desired consistency. Adding water can help thin the paint, making it easier to apply and reducing the appearance of brush strokes. Be cautious not to add too much water, as this can weaken the paint’s adhesion and affect the color intensity.
Avoid over-diluting the paint
While adding water can improve the flow of the paint, it is crucial to avoid over-diluting the paint. Over-diluting can lead to poor coverage and may result in a streaky or transparent finish. It is recommended to add small amounts of water at a time and test the consistency on a test surface before applying it to your artwork.
Add an acrylic paint medium for smoother application
If you want an even smoother application and better blending capabilities, consider adding an acrylic paint medium to your paint. Acrylic paint mediums are additives that can alter the texture, drying time, and working properties of the paint. They can help reduce brush strokes and create a more fluid consistency, making it easier to achieve seamless transitions and soft edges.
Applying the Paint
Now that you have prepared your canvas and mixed your paint, it’s time to start applying the paint to create your masterpiece. By using the right techniques and approach, you can minimize the visibility of brush strokes and achieve a smooth and professional-looking finish.
Use a light touch and avoid pressing too hard
One common mistake that can lead to visible brush strokes is pressing the brush too hard onto the canvas. To avoid this, it is important to use a light touch when applying the paint. Allow the paint to glide smoothly onto the canvas, rather than forcefully pushing it onto the surface. Applying gentle pressure will help create a more even coverage and reduce the chance of leaving visible brush marks.
Apply thin layers of paint
Another effective way to minimize brush strokes is to apply thin layers of paint instead of thick, heavy coats. Thick layers of paint tend to retain more texture from the brush, resulting in visible brush strokes. By applying thin layers and building up the paint gradually, you can achieve a smoother and more blended finish. Allow each layer to dry before applying the next to prevent the colors from mixing and smudging.
Work in small sections at a time
To maintain better control over the paint and achieve a smoother finish, it is advisable to work in small sections at a time. This allows you to focus on one area and blend the colors seamlessly, reducing the likelihood of visible brush strokes. Avoid painting large areas all at once, as it can be challenging to achieve consistent brushwork and maintain a smooth finish throughout.
Blend colors while wet for smoother transitions
One of the advantages of working with acrylic paint is its relatively fast drying time. Take advantage of this by blending colors while they are still wet to achieve smoother transitions and gradients. Wet-on-wet blending allows the colors to mix more seamlessly, reducing the visibility of brush strokes. Use a clean, damp brush or a blending sponge to gently blend the colors together.
Allow each layer to dry before applying the next
To prevent colors from mixing and smudging, it is crucial to allow each layer of paint to fully dry before applying the next layer. If you paint over partially dry or tacky paint, it can disturb the underlying layers and result in visible brush marks. Patience is key when working with acrylics, as allowing each layer to dry properly will contribute to a smoother and more professional-looking finish.
Brushing Techniques
Mastering different brushing techniques can greatly enhance your acrylic painting skills and help you achieve more controlled and refined brushstrokes. Experimenting with various brush strokes allows you to create different textures and effects, while minimizing the appearance of brush marks.
Experiment with different brush strokes
There are numerous brushstroke techniques that you can explore and experiment with in acrylic painting. Some popular techniques include stippling, cross-hatching, scumbling, dry brushing, and glazing. Each technique has its own unique characteristics and applications, and practicing with different brush strokes will help you gain a better understanding of how they can be used to create the desired effect.
Use long, smooth brush strokes
One effective way to minimize brush strokes is to use long, smooth brush strokes. By using longer strokes, you can cover a larger area, reducing the chances of overlapping and visible brush marks. Additionally, long brush strokes can create a sense of flow and continuity in your paintings, resulting in a more cohesive and professional appearance.
Work with the direction of the form
When applying brush strokes, it is important to work with the direction of the form you are painting. For example, if you are painting a tree trunk, brush strokes that follow the vertical direction of the trunk will help create a more realistic and three-dimensional look. Working against the natural direction of the form can lead to unnatural and distracting brush strokes.
Avoid excessive brushing and overworking the paint
Excessive brushing and overworking the paint can increase the visibility of brush strokes and create a muddled appearance. It is essential to know when to stop and avoid going over the same area repeatedly. Knowing when to leave brush strokes as they are and allowing the paint to dry can result in a more controlled and cohesive look.
Learn to control the pressure and angle of the brush
Being able to control the pressure and angle of the brush is essential for achieving controlled brush strokes. Lighter pressure can create softer and smoother brushwork, while heavier pressure can result in more textured and pronounced brush strokes. Similarly, changing the angle of the brush can create different effects and textures. Experiment with different pressures and angles to find what works best for your desired outcome.
Tools and Techniques for Smoothing
While brushstrokes can add texture and character to a painting, there are times when a smoother finish is desired. Fortunately, there are various tools and techniques that you can employ to achieve a smoother appearance while still retaining the integrity of your brushwork.
Use a palette knife to smooth out strokes
A palette knife can be a useful tool for smoothing out brush strokes and creating a more uniform and polished appearance. Gently scrape the palette knife over the brushstrokes to soften their appearance and blend the colors together. Be careful not to overdo it, as excessive smoothing can lead to a loss of texture and character in your painting.
Try dry brushing technique
Dry brushing is a technique that involves using a relatively dry brush with minimal paint. By lightly brushing the dry brush over the surface of the painting, you can create a softer and more diffused look, minimizing the appearance of brush strokes. This technique works particularly well for creating subtle textures and atmospheric effects.
Use a fan brush to create softer textures
A fan brush can be a valuable tool for creating softer textures and blending colors together. The fan-shaped bristles allow for more delicate and feathery brush strokes, resulting in a smoother and more blended appearance. Use the fan brush to gently brush over the surface of the painting, blending the colors and softening any visible brush strokes.
Blend colors with a soft brush or a blending sponge
To achieve smoother transitions between colors, you can use a soft brush or a blending sponge to blend the colors together. After applying the paint, lightly brush over the area or gently dab with a blending sponge to create a more seamless and blended look. This technique is particularly effective for creating gradients and soft edges.
Use a spray bottle to mist the surface for a smoother finish
Another useful technique for achieving a smoother finish is misting the surface with water using a spray bottle. Lightly misting the surface can help soften visible brush strokes and create a more diffused and blended appearance. Be cautious not to oversaturate the surface, as it can cause the paint to become too thin and runny.
Drying and Curing
Proper drying and curing of acrylic paint is essential to ensure a long-lasting and durable finish. Following the recommended drying times and methods will help preserve the integrity of your painting and minimize the chances of surface imperfections.

Allow the paint to dry completely between layers
To avoid disturbing the underlying layers and creating visible brush strokes, it is important to allow each layer of paint to dry completely before applying the next layer. Acrylic paint dries relatively quickly, but the exact drying time can vary based on factors such as humidity, thickness of the paint, and the brand of paint used. Refer to the manufacturer’s instructions for the recommended drying time and ensure that each layer is fully dry before continuing.
Avoid direct sunlight and high heat for drying
While it can be tempting to expedite the drying process by placing your painting under direct sunlight or near a heat source, it is not recommended. Direct sunlight and high heat can cause the paint to dry too quickly and unevenly, resulting in visible brush strokes and possible cracking or peeling. Choose a well-ventilated area with consistent temperature and avoid exposing your painting to extreme conditions.
Consider using a hairdryer on low heat setting
If you are looking for a way to accelerate the drying process, you can use a hairdryer on a low heat setting. Hold the hairdryer a few inches away from the painting and use gentle, sweeping motions. However, be cautious not to hold the hairdryer too close or use high heat, as it can cause the paint to bubble or blister.
Allow the painting to cure for a few days before varnishing
While the paint may feel dry to the touch after the recommended drying time, it is important to note that acrylic paint takes longer to cure fully. To ensure the paint has hardened and is ready to be varnished, it is best to wait a few days before applying the varnish. This will allow the paint to fully cure and provide a more durable and protective surface.
Follow the recommended drying time on acrylic paint
Different brands and types of acrylic paint may have varying drying times. It is important to read and follow the recommended drying time indicated on the paint tubes or containers. Following the manufacturer’s instructions will help you achieve the best results and minimize the chances of visible brush strokes caused by premature drying.
Troubleshooting Uneven Brush Strokes
Even with the best techniques and practices, it is not uncommon to encounter uneven brush strokes in your acrylic painting. Fortunately, there are several troubleshooting methods that you can employ to correct and smooth out uneven areas.
Sand and reapply the paint to smooth out uneven areas
If you notice areas with uneven brush strokes or texture, one option is to gently sand the surface and reapply a layer of paint. Use fine-grit sandpaper and lightly sand the affected areas in a circular motion. Be careful not to apply too much pressure or sand too aggressively, as it can damage the underlying layers. After sanding, remove any dust and reapply a thin layer of paint to achieve a smoother finish.
Use a glaze to create a translucent layer over brush strokes
Another way to minimize the visibility of uneven brush strokes is to apply a glaze over the affected areas. A glaze is a transparent or semi-transparent layer of paint that can be used to subtly alter the color or tone of an area. By applying a thin glaze over the brush strokes, you can create a translucent effect that helps to soften and blend the unevenness.
Apply another layer of paint to even out the surface
If the uneven brush strokes are minor, you can try applying another layer of paint over the affected areas. Using a brush with soft bristles, gently brush over the surface with long, smooth strokes. This additional layer of paint can help even out the texture and minimize the appearance of brush strokes. Be mindful not to apply too much paint or to work the area excessively, as it can create more visible brush marks.
Use a soft cloth to gently buff the surface
In some cases, you may be able to smooth out minor brush strokes by gently buffing the surface with a soft cloth. After the paint has dried, use a clean cloth and gently rub the affected area in circular motions. The friction created by the cloth can help soften and blend the brush strokes, creating a smoother appearance. Be cautious not to apply too much pressure, as it can remove the paint or create new texture.
Practice brush stroke techniques to improve control
In the long run, the best way to minimize brush strokes is to practice and improve your brush stroke techniques. Regular practice allows you to become more proficient in controlling the pressure, angle, and direction of your brush. Experiment with different brush sizes and shapes, and try various stroke techniques to develop your skills and achieve more controlled and refined brushwork.
Cleaning and Maintaining Brushes
Properly cleaning and maintaining your brushes is essential to prolong their lifespan and ensure that they perform optimally. Taking good care of your brushes will help prevent bristle damage, maintain their shape, and minimize the chances of leaving unwanted brush marks on your artwork.
Clean brushes immediately after use
It is important to clean your brushes as soon as possible after each painting session. Acrylic paint dries quickly, and if left to dry on the bristles, it can harden and become difficult to remove. Rinse the brushes with warm water immediately after use to remove any excess paint and prevent it from settling deeper into the bristles.
Use warm soapy water to remove acrylic paint
To thoroughly clean your brushes, use warm soapy water. Use a mild soap or brush cleaner specifically formulated for acrylic paints. Gently swirl the brushes in the soapy water, working the bristles to remove any remaining paint. Rinse the brushes thoroughly until the water runs clear.
Avoid using harsh chemicals
While warm soapy water is sufficient for cleaning acrylic paint from brushes, it is important to avoid using harsh chemicals or solvents. These substances can damage the bristles and compromise the integrity of the brush. Stick to gentle soap or specifically formulated brush cleaners to ensure the longevity and performance of your brushes.
Reshape the brush bristles while wet
After cleaning your brushes, reshape the bristles while they are still wet. Use your fingers to gently reshape the bristles back to their original shape and remove any tangles or misshapen areas. This will help the brushes maintain their structure and prevent bristle damage. Avoid storing brushes with wet or misshapen bristles, as this can lead to deformation and affect their performance.
Store brushes properly to avoid deformation
Proper storage is crucial to prevent bristle deformation and maintain the shape of your brushes. Store your brushes upright in a container or a brush holder, with the bristles facing up. This will help prevent the bristles from bending or flattening. Avoid storing brushes in a crowded or tight space, as this can cause the bristles to become misshapen or frayed.
Practice and Patience
Acrylic painting, like any other skill, requires practice and patience to achieve mastery. While it may be tempting to compare your work to others or get discouraged by initial results, it is important to remember that progress comes with time and dedication.
Practice regularly to improve your brush stroke technique
Regular practice is key to improving your brush stroke technique and minimizing visible brush strokes. Set aside dedicated time for painting regularly, even if it’s just a few minutes each day. By consistently working on your skills, you will gradually develop greater control over your brushwork and achieve smoother and more refined results.
Be patient and take your time
Acrylic painting is a process that requires patience and attention to detail. Rushing through a painting can lead to hasty brushwork and visible brush marks. Take your time, work gradually, and focus on each brushstroke. By being patient and allowing each layer to dry properly, you can achieve a smoother and more professional finish.
Don’t get discouraged by initial results
It is common to feel frustrated or discouraged when you don’t achieve the desired results right away. It’s important to remember that mastering any skill takes time and practice. Instead of getting discouraged by initial results, view them as stepping stones towards improvement. Embrace the learning process and use each painting as an opportunity to grow and refine your technique.
Experiment with different painting styles and methods
Acrylic painting is a versatile medium that allows for a wide range of painting styles and methods. Don’t be afraid to experiment with different techniques, brushstrokes, and styles. Trying out new approaches can help you discover new ways to minimize brush strokes and create unique and interesting effects in your artwork.
Enjoy the process and have fun with acrylic painting
Above all, remember to enjoy the process of acrylic painting and have fun with it. Embrace the fluidity of the medium and allow yourself to explore and create without self-imposed pressure. Enjoy the various textures and brushstrokes that acrylic painting offers and let your creativity guide you. With the right techniques and a positive attitude, you can create beautiful artworks while minimizing the appearance of brush strokes.