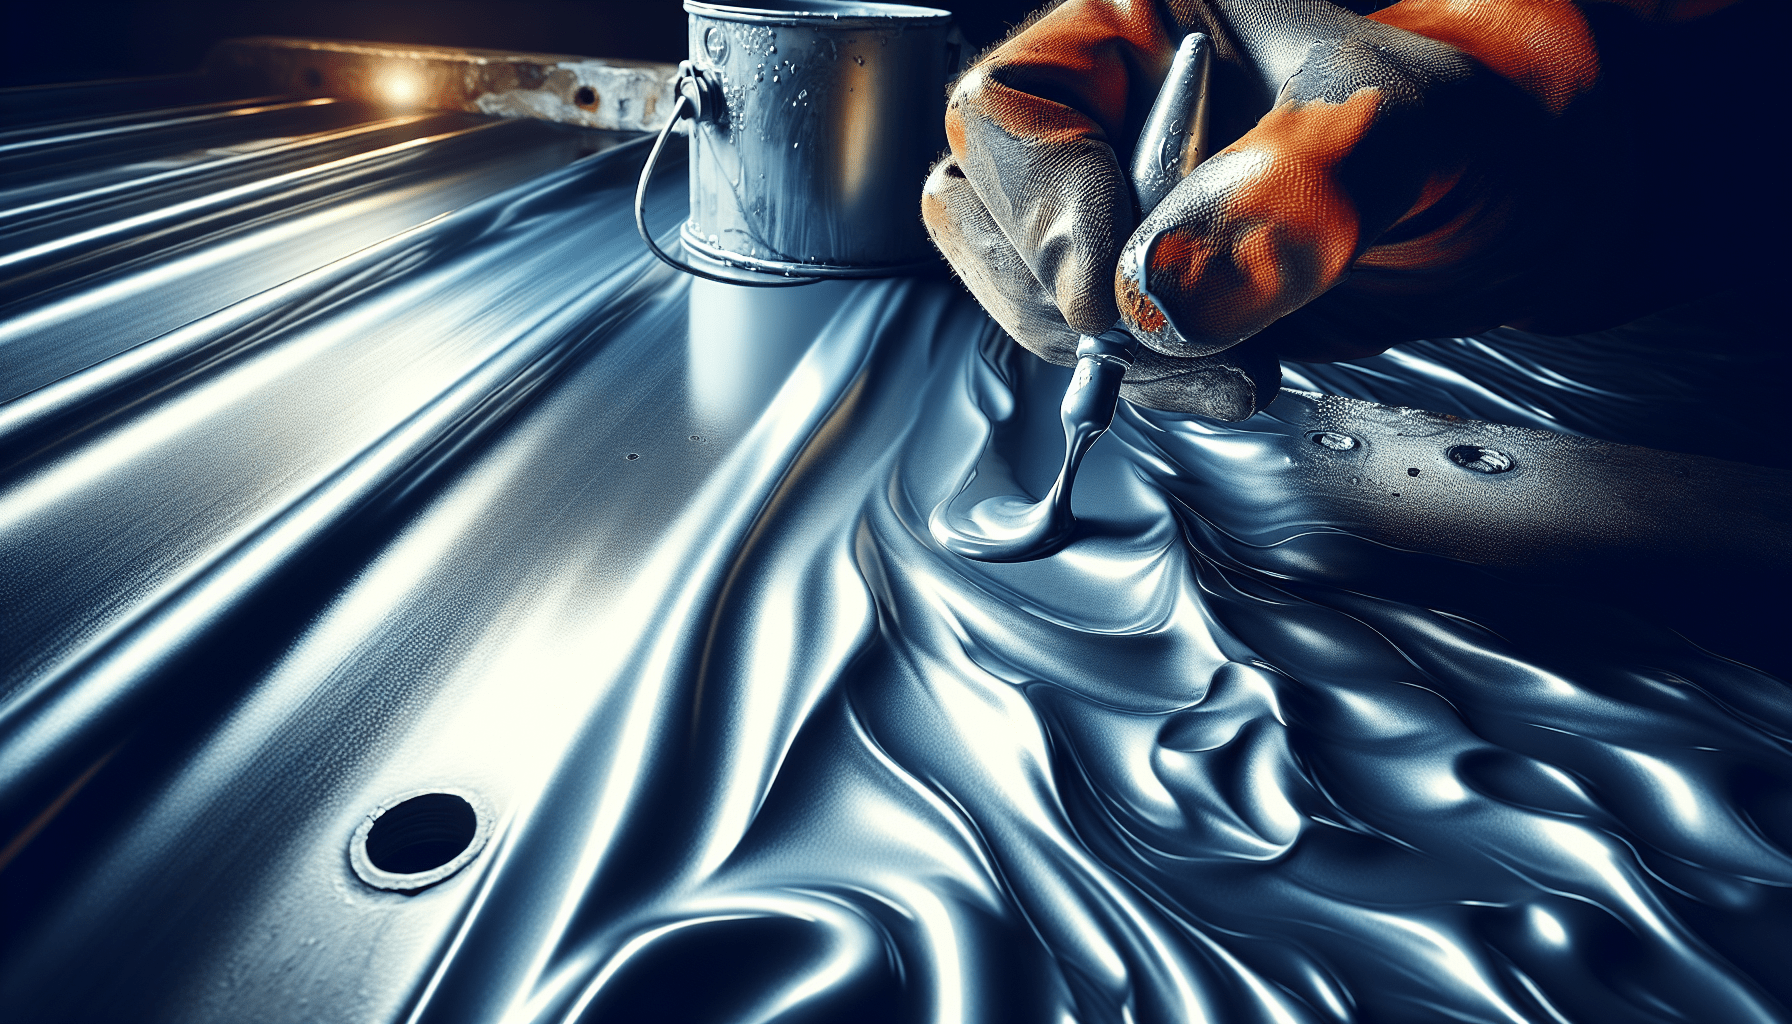
Epoxy floor paint is a durable and long-lasting solution for enhancing the look and durability of concrete floors. In this article, you will learn the step-by-step process of applying epoxy floor paint to achieve a professional and seamless finish. From surface preparation to applying the primer and epoxy coating, we will guide you through each stage, ensuring that you have all the necessary information and techniques to successfully transform your floors with epoxy floor paint. So, let’s get started and discover the secrets of achieving a beautifully coated floor.

Preparing the Surface
Before applying epoxy floor paint, it is crucial to properly prepare the surface to ensure a durable and long-lasting finish. Here are the essential steps to follow:
Clean the floor thoroughly
Start by thoroughly cleaning the floor surface to remove any dirt, debris, or stains. Use a broom or vacuum cleaner to remove loose dirt and dust. Then, mop the floor with a suitable cleaner or degreaser to eliminate any grease or stubborn stains. Rinse the floor thoroughly with clean water and allow it to dry completely before proceeding.
Repair any cracks or damages
Inspect the floor for any cracks or damages and repair them before applying epoxy paint. Use a putty knife to fill in any cracks or holes with an appropriate epoxy filler or putty. Smooth the surface with the putty knife and allow it to dry and cure according to the manufacturer’s instructions.
Remove any existing paint or coating
If there is any existing paint or coating on the floor surface, it is essential to remove it before applying epoxy paint. Use a scraper or sanding equipment to remove the old paint or coating. Be sure to follow proper safety precautions, such as wearing gloves and safety glasses, when using these tools.
Etch the surface
Etching the surface is an important step to create a proper bond between the epoxy paint and the floor. Use an appropriate etching solution, typically a mixture of water and muriatic acid or citric acid, to etch the surface. Follow the manufacturer’s instructions for the correct dilution ratio and application method. Use a mop or scrub brush to spread the solution evenly over the floor. After the recommended dwell time, rinse the floor thoroughly with clean water and allow it to dry completely.
Gathering the Materials
To successfully apply epoxy floor paint, gather all the necessary materials before starting the process. Here are the materials you will need:
Epoxy floor paint
Choose an epoxy floor paint that is suitable for your specific floor type and intended usage. There are different types of epoxy paints available, such as water-based or solvent-based, so be sure to select the one that best meets your requirements. Consider factors such as durability, chemical resistance, and ease of application when choosing the epoxy paint.
Appropriate primer
In most cases, applying a primer is necessary before applying epoxy floor paint. The primer helps improve adhesion, durability, and overall performance of the epoxy paint. Select a primer that is compatible with the epoxy paint you have chosen and recommended for your specific floor type.
Stir sticks and rollers
Stir sticks and rollers are essential for mixing the epoxy paint and applying it evenly on the floor surface. Make sure to have sufficient stir sticks and rollers of the appropriate size to ensure a smooth and uniform application.
Protective gear (gloves, safety glasses, etc.)
When working with epoxy floor paint, it is vital to protect yourself from potential hazards. Wear appropriate protective gear, such as gloves, safety glasses, and a respirator or mask, to ensure your safety during the application process. Follow the manufacturer’s instructions and safety guidelines for the specific protective gear you use.
Painter’s tape
Painter’s tape is useful for protecting walls, baseboards, or any areas that you don’t want to be painted. Apply painter’s tape along the edges of these areas to create clean lines and prevent accidental paint splatters or drips.
Putty knife
A putty knife is necessary for repairing any cracks or holes in the floor surface. It is also useful for removing excess paint or smoothing out uneven areas during the application process.
Sanding equipment
Depending on the condition of the floor surface, you may need to use sanding equipment to smooth out rough or uneven areas. Use sandpaper or a sanding machine to achieve a smooth and even surface before applying the epoxy paint.
Choosing the Right Epoxy Floor Paint
Selecting the appropriate epoxy floor paint is crucial to ensure a successful application and desired results. Consider the following factors when choosing the right epoxy paint for your floor:
Consider the type of floor and its usage
Different floors have different requirements and demands. Consider the type of floor you have, whether it’s concrete, wood, or another material, and the specific usage of the floor. For example, a garage floor may require a more durable and chemical-resistant epoxy paint compared to a residential basement floor.
Look for epoxy paints suitable for your floor
Ensure that the epoxy paint you choose is compatible with your specific floor type. Some epoxy paints are specifically formulated for concrete floors, while others may be suitable for a variety of surfaces. Read the product labels or consult with a flooring professional to find the right epoxy paint for your floor.
Check for VOC content and odor
Volatile Organic Compounds (VOCs) are chemicals that can be released from certain paints and coatings, which may be harmful to human health and the environment. Consider epoxy paints with low or no VOC content to minimize any potential health risks. Additionally, choose an epoxy paint with a low odor, especially if you are applying it in an enclosed area.
Consider color options and finish
Epoxy floor paints come in a variety of colors and finishes. Choose a color that complements your overall design aesthetic and consider the finish, such as glossy or matte, based on your personal preference. Keep in mind that darker colors may show imperfections or dirt more easily than lighter colors.
Applying Primer
Applying a primer is an essential step to ensure proper adhesion and performance of the epoxy floor paint. Here is how to apply the primer:
Clean the floor again
After preparing the surface, clean the floor once more to remove any dust or debris that may have accumulated during the previous steps. Use a broom or vacuum cleaner followed by a damp mop to ensure a clean and dust-free surface.
Apply the primer evenly
Stir the primer thoroughly to ensure a consistent mixture. Begin applying the primer from one corner of the room, using a brush or roller. Work in small sections, applying the primer in smooth and even strokes. Make sure to coat the entire floor surface evenly. Avoid applying the primer too thick or leaving any puddles.
Allow sufficient drying time
After applying the primer, allow it to dry completely. Follow the manufacturer’s instructions for the recommended drying time. It is essential to wait until the primer is fully dry and cured before proceeding with the application of the epoxy floor paint. Failure to do so may result in poor adhesion and compromised durability of the epoxy paint.

Mixing and Applying Epoxy Floor Paint
Properly mixing and applying the epoxy floor paint is crucial to achieving the desired results. Follow these steps for a successful application:
Prepare the epoxy paint mixture following the manufacturer’s instructions
Different epoxy paints may have specific mixing instructions, so read the product label carefully and follow the manufacturer’s instructions. Typically, epoxy paints consist of a resin and a hardener that need to be mixed together. Use clean stir sticks and mix thoroughly until the two components are well-blended.
Start applying the epoxy paint from one corner of the room
Begin applying the epoxy paint from one corner of the room, working your way toward the exit. This ensures that you don’t get trapped in a corner and allows for easy access to leave the area once you finish applying the paint.
Use a roller or brush to ensure even coverage
Depending on the size of the floor area, you can use a roller or brush to apply the epoxy paint. Start by cutting in along the edges with a brush, then use a roller to cover the rest of the floor surface. Work in small sections, applying the paint in smooth and even strokes. Avoid applying the paint too thick, as it may result in uneven drying and curing.
Work in small sections to avoid drying
Epoxy paint can dry relatively quickly, especially in warmer temperatures. To avoid the paint drying before you can finish applying it, work in small sections. Divide the floor into manageable areas and focus on one section at a time, ensuring that each section overlaps with the previous one slightly.
Apply multiple coats if necessary, allowing drying time between each coat
Depending on the desired thickness and finish, you may need to apply multiple coats of epoxy paint. Follow the manufacturer’s instructions for the recommended number of coats. Allow each coat to dry and cure fully before applying the next one. Most epoxy paints require a waiting period of several hours to overnight between coats.
Adding Decorative Elements
To enhance the appearance of your epoxy floor, consider adding decorative flakes or chips. Here’s how to incorporate these decorative elements:
Consider adding decorative flakes or chips
Decorative flakes or chips can add texture and visual interest to your epoxy floor. They come in various colors, shapes, and sizes, allowing you to customize the appearance of your floor. Choose flakes or chips that complement the color of your epoxy paint and the overall aesthetics of the space.
Sprinkle them over the wet epoxy paint
Once you have applied the epoxy paint on the floor, sprinkle the decorative flakes or chips over the wet paint. Use a broadcast method to ensure even distribution. Sprinkle the flakes or chips lightly at first, and add more as desired. You can also experiment with different patterns or arrangements to create a unique look.
Allow the paint to dry completely
After adding the decorative flakes or chips, let the epoxy paint dry completely. Follow the manufacturer’s instructions for the recommended drying time. Avoid walking on the floor or touching the surface until it is fully dry to prevent any damage or disruption to the decorative elements.
Remove any excess flakes and seal the floor with a clear topcoat
Once the epoxy paint has dried, use a broom or vacuum cleaner to remove any excess flakes or loose particles. This step helps ensure a smooth and even finish. After removing the excess flakes, consider applying a clear topcoat to seal the floor and enhance its durability and protection. Follow the manufacturer’s instructions for applying the topcoat.
Allowing Sufficient Drying and Curing Time
After applying the epoxy floor paint and any additional layers or decorative elements, it is crucial to allow sufficient drying and curing time. Here’s what you need to know:
Follow the manufacturer’s instructions for drying and curing time
Different epoxy paints may have varying drying and curing times, so it is essential to follow the manufacturer’s instructions meticulously. Typically, epoxy paints require several hours to dry to the touch and several days to fully cure. Rushing the drying and curing process can result in soft or tacky spots on the floor, compromising its durability and performance.
Ensure proper ventilation during the process
Proper ventilation is crucial during the drying and curing process of epoxy floor paint. Open windows and doors or use fans to ensure adequate airflow. This helps reduce drying time and allows any potentially harmful fumes or odors to dissipate. Avoid applying epoxy paint in poorly ventilated areas or confined spaces without proper respiratory protection.
Avoid walking or placing heavy objects on the floor until fully cured
During the drying and curing process, it is essential to avoid walking on the floor or placing heavy furniture or objects on it until it is fully cured. This can take several days to a week, depending on the product and environmental conditions. Prematurely subjecting the floor to heavy use or traffic can result in scratches, scuffs, or indentations on the surface.
Maintaining the Epoxy Floor
Proper maintenance of your epoxy floor is essential to preserve its appearance and longevity. Follow these guidelines to keep your floor in optimal condition:
Use non-abrasive cleaners to maintain the floor’s shine
To clean your epoxy floor, use non-abrasive cleaners or mild detergents. Avoid using harsh chemicals or abrasive scrubbers, as they can dull the shine and potentially damage the epoxy coating. Regularly mop the floor with a soft mop or microfiber cloth dampened with the appropriate cleaning solution. Rinse the floor thoroughly with clean water and allow it to dry.
Regularly sweep or vacuum the floor to remove debris
Prevent dirt, dust, and debris from accumulating on your epoxy floor by regularly sweeping or vacuuming. This simple step helps maintain the floor’s cleanliness and prevents scratches or abrasions caused by abrasive particles.
Avoid using harsh chemicals or abrasive scrubbers
Epoxy floors are generally resistant to chemicals, but some harsh substances can cause damage or discoloration over time. Avoid using acidic or alkaline cleaners, bleach, or ammonia-based products on your epoxy floor. Stick to mild detergents or recommended cleaning solutions specifically formulated for epoxy surfaces.
Consider reapplying a topcoat every few years for added protection
Over time, the topcoat of your epoxy floor may wear down, especially in high-traffic areas or under intense use. Consider reapplying a clear topcoat every few years to provide an additional layer of protection and restore the floor’s shine and durability. Lightly sand the floor before applying the topcoat to ensure proper adhesion.
Ensuring Safety and Precautions
When working with epoxy floor paint, it is crucial to prioritize safety and take necessary precautions to protect yourself and the environment. Here are some important safety measures to follow:
Wear appropriate protective gear
Always wear appropriate protective gear when handling epoxy floor paint, including gloves, safety glasses or goggles, and a respirator or mask. These safety items help protect you from potential contact with the paint or inhalation of harmful fumes. Follow the manufacturer’s instructions and safety guidelines for the specific protective gear you use.
Work in a well-ventilated area
Ensure you work in a well-ventilated area when applying epoxy floor paint. Open windows and doors to promote airflow and use fans if necessary. This helps minimize the concentration of fumes and allows for proper drying and curing of the paint. Avoid working in confined or poorly ventilated spaces without adequate respiratory protection.
Follow proper disposal guidelines for unused paint and materials
Dispose of any unused epoxy floor paint and related materials according to proper disposal guidelines. Some epoxy paints and materials may contain hazardous chemicals, so it is essential to follow local regulations and guidelines for responsible disposal. Contact your local waste management facility for guidance on how to dispose of these items safely and responsibly.
Seeking Professional Help if Needed
If you feel unsure or uncomfortable about applying epoxy floor paint yourself, it is recommended to hire a professional for the job. Professionals have the expertise, experience, and proper equipment to ensure the surface is adequately prepared and the paint is applied correctly. They can guide you through the selection process and provide seamless application, resulting in a professionally finished epoxy floor.
By following these comprehensive steps and guidelines, you can successfully apply epoxy floor paint and enjoy a durable, aesthetically pleasing, and long-lasting floor surface. Proper surface preparation, careful material selection, and precise application techniques are key to achieving optimal results. Whether you choose to tackle the project yourself or hire a professional, an epoxy floor can transform and enhance the appearance of any space while providing exceptional durability and protection.


