In this article, you will learn the step-by-step process of antiquing furniture with chalk paint. By following these techniques, you can achieve a rustic and aged look to your furniture pieces, transforming them into timeless treasures. From prepping the surface to applying the final wax coat, this guide will walk you through the entire process of creating a beautifully antiqued piece of furniture with the use of chalk paint. Have you ever wanted to give your furniture a unique and aged look without spending a fortune on expensive accessories? With chalk paint, you can easily achieve an antique finish on your furniture to add character and charm to your home. In this guide, we will walk you through the process of antiquing furniture using chalk paint, step by step.

Gathering Supplies
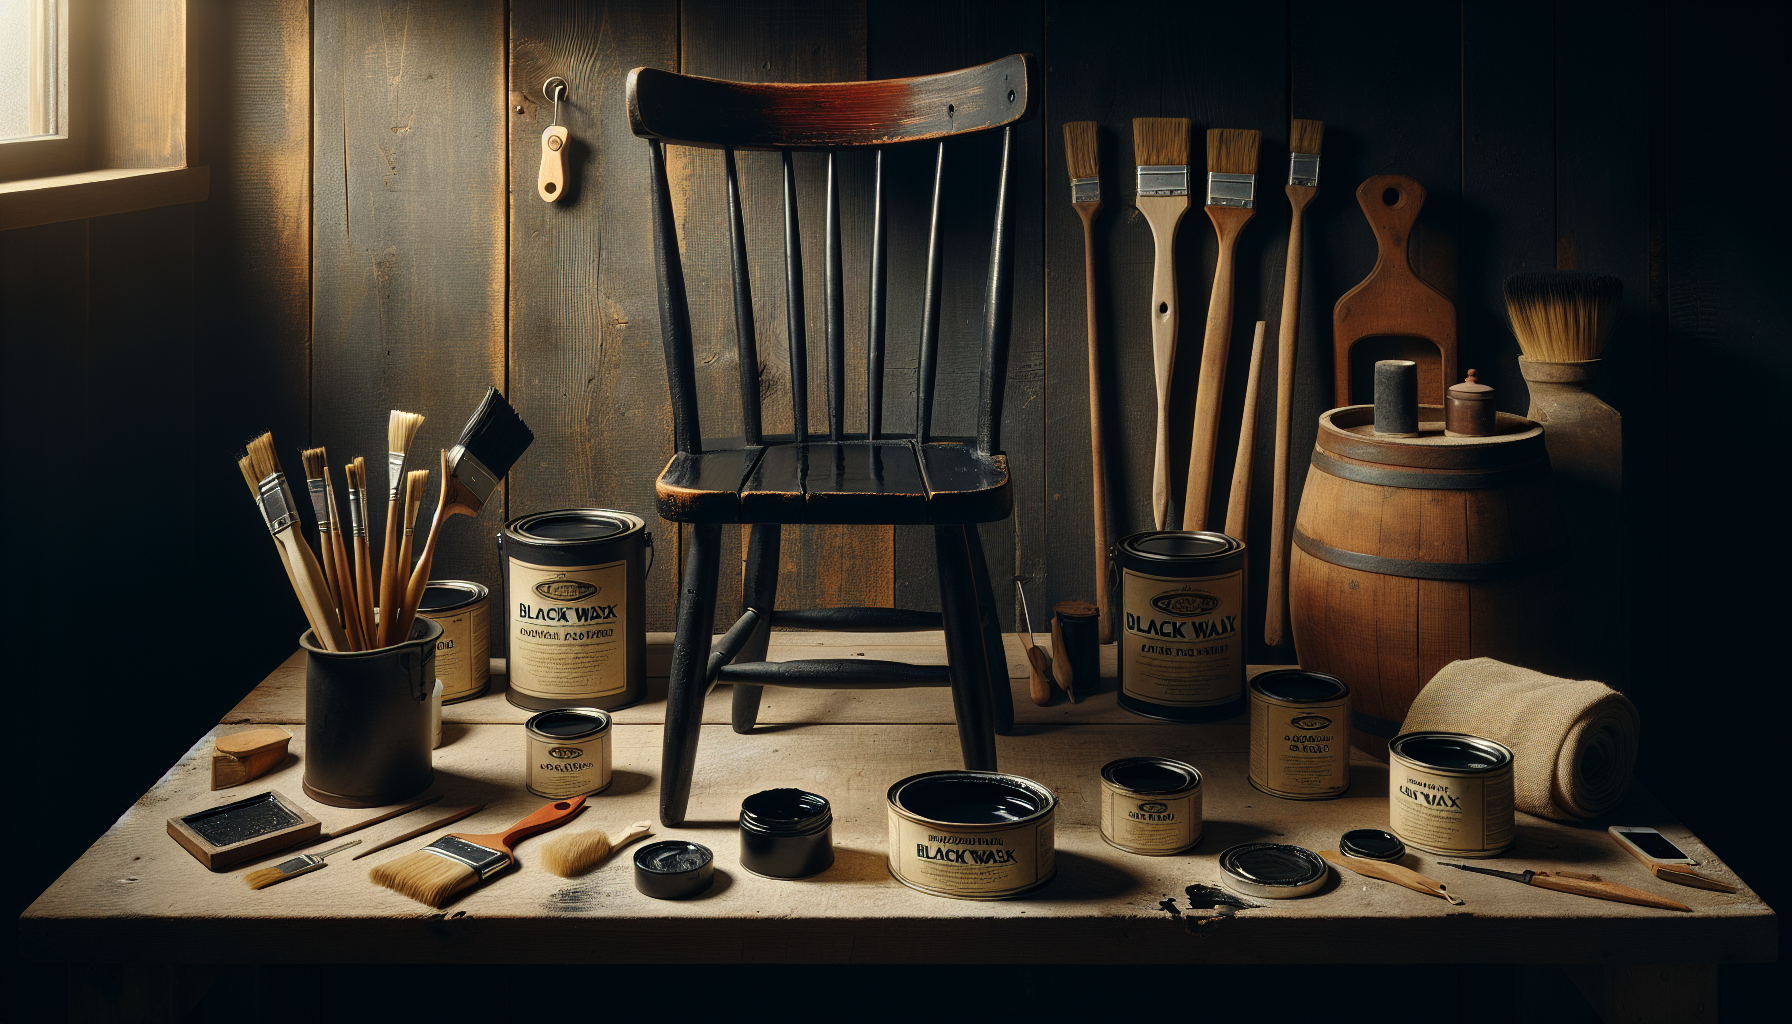
Before you begin the antiquing process, make sure you have all the necessary supplies on hand.
Chalk paint (in the color of your choice) Furniture piece to paint Sandpaper or sanding block Painter’s tape Paintbrushes (both large and small) Clear wax Dark wax Lint-free cloth Once you have gathered all the supplies, you are ready to start the antiquing process.
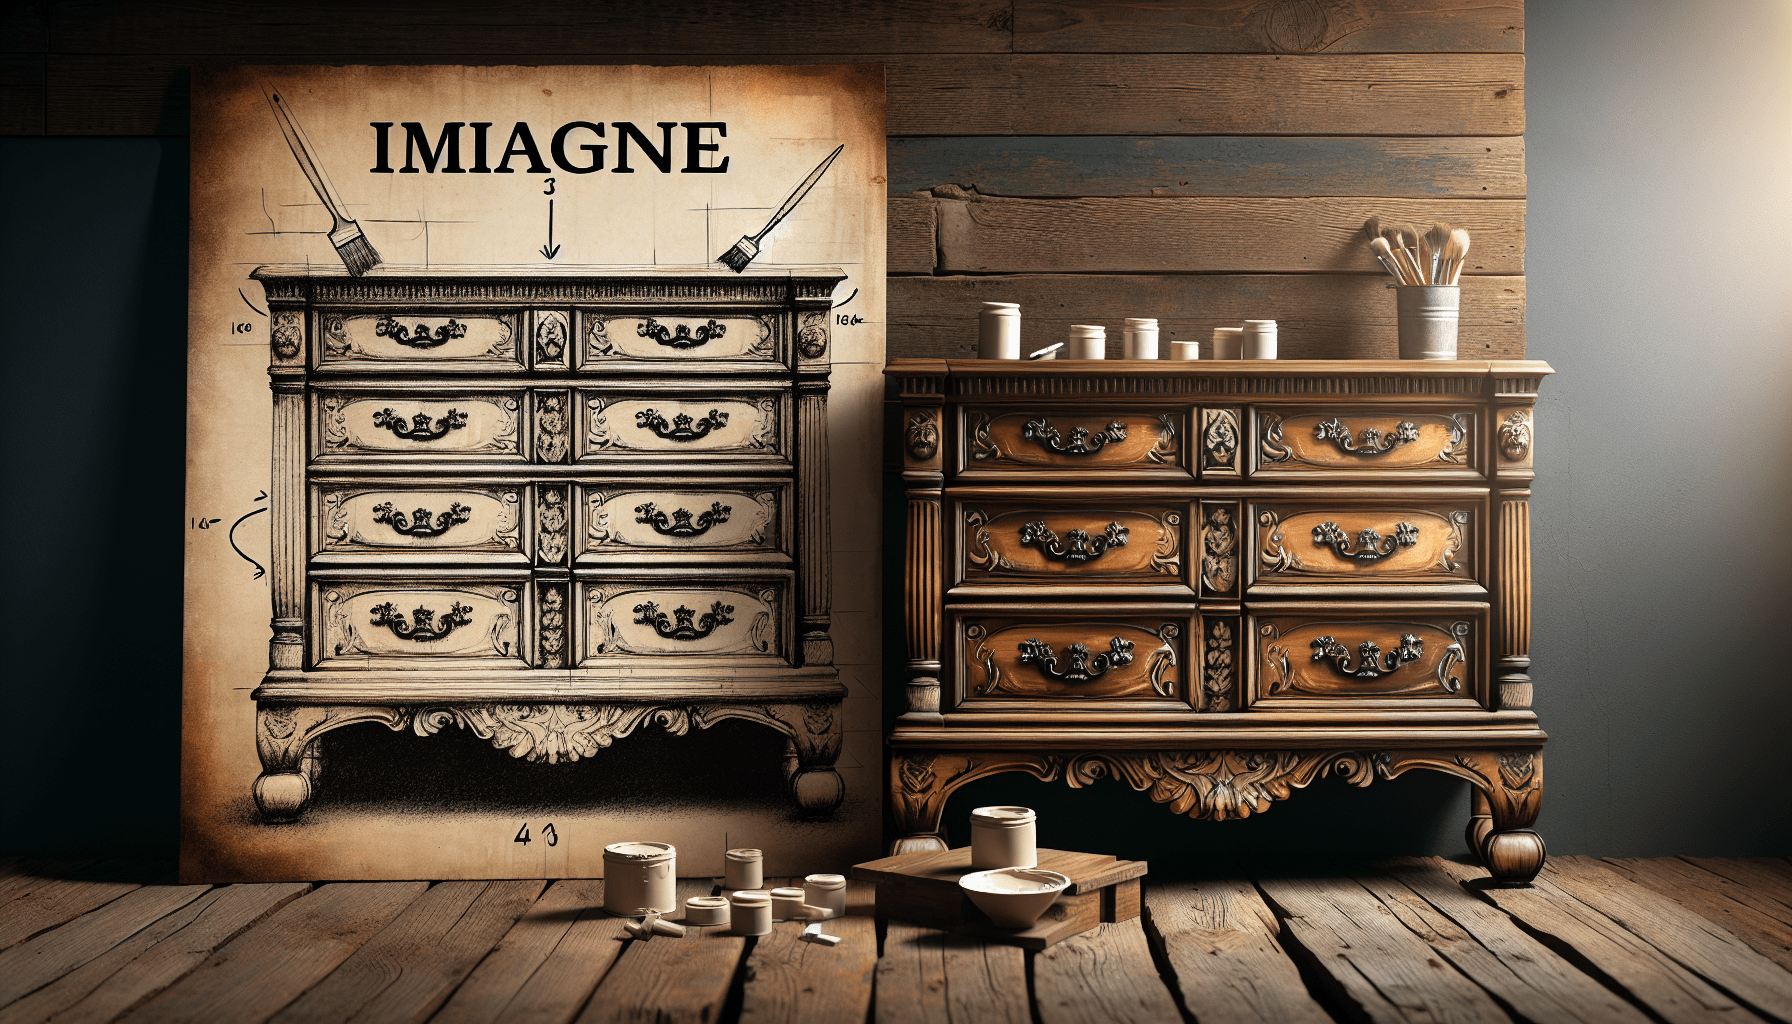
Preparing the Furniture
The first step in antiquing furniture with chalk paint is to prepare the piece you will be working on.
Start by cleaning the furniture with a damp cloth to remove any dirt or grime. Allow the piece to dry completely before proceeding. If the furniture has any existing finish, you may need to sand it down to create a smooth surface for the chalk paint to adhere to. Use sandpaper or a sanding block to gently sand the furniture, focusing on any rough or uneven areas. Once the furniture is clean and smooth, use painter’s tape to mask off any areas you do not want to paint, such as hardware or intricate details. With the furniture prepped and ready to go, you can move on to the next step in the antiquing process.
Applying Chalk Paint
Now it’s time to start painting your furniture with chalk paint.
Begin by applying a base coat of chalk paint to the entire piece, using a large paintbrush for larger areas and a small paintbrush for details. Allow the first coat of paint to dry completely before applying a second coat. This will ensure full coverage and a more durable finish. For a distressed look, you can lightly sand the edges and corners of the furniture after the final coat of chalk paint has dried. This will reveal some of the original wood or paint underneath, adding to the antique feel. Once you are satisfied with the paint coverage and distressing, you can move on to the next step in the antiquing process.
Adding Depth with Dark Wax
To achieve an aged and antique look, you will need to apply a dark wax over the chalk paint.
Using a clean paintbrush or lint-free cloth, apply a small amount of dark wax to the furniture, focusing on areas that would naturally wear over time, such as corners and edges. Work the wax into the chalk paint, making sure to cover the entire surface evenly. The dark wax will settle into the crevices of the furniture, adding depth and dimension to the finish. After applying the dark wax, use a clean cloth to buff the surface of the furniture, removing any excess wax and creating a subtle sheen. For a more distressed look, you can use sandpaper to further distress the painted surface after applying the dark wax. This will create a more worn and weathered appearance. With the dark wax applied and buffed, your furniture should now have a beautiful antiqued finish. However, there is one final step to complete the look.

Sealing with Clear Wax
To protect the antique finish and add a final layer of sheen, you will need to seal the furniture with clear wax.
Using a clean paintbrush or lint-free cloth, apply a thin layer of clear wax over the entire surface of the furniture. Work the wax into the chalk paint, making sure to cover all areas evenly. Allow the clear wax to dry for at least 24 hours before using or moving the furniture. This will ensure that the finish is fully cured and protected. For added durability, you can apply a second coat of clear wax after the first coat has dried. This will provide an extra layer of protection against wear and tear. Once the clear wax has dried, your antiqued furniture is complete and ready to be enjoyed in your home. The chalk paint finish will give your furniture a unique and aged look, adding character and charm to any room.
Tips for Success
Here are a few additional tips to help you achieve the best results when antiquing furniture with chalk paint:
Work in a well-ventilated area to avoid inhaling paint fumes. Take your time and be patient with the process, as each coat of paint and wax needs to dry completely before moving on to the next step. Experiment with different colors of chalk paint and waxes to create a custom antique finish that complements your home decor. Practice on a small piece of furniture or a practice board before tackling a larger project to get a feel for the process. Don’t be afraid to make mistakes or embrace imperfections – the beauty of antiquing furniture is in its unique and aged appearance. By following these tips and steps, you can easily antique furniture with chalk paint and create a one-of-a-kind piece for your home. Whether you are a beginner or an experienced crafter, antiquing furniture is a fun and rewarding DIY project that can breathe new life into old furniture pieces.