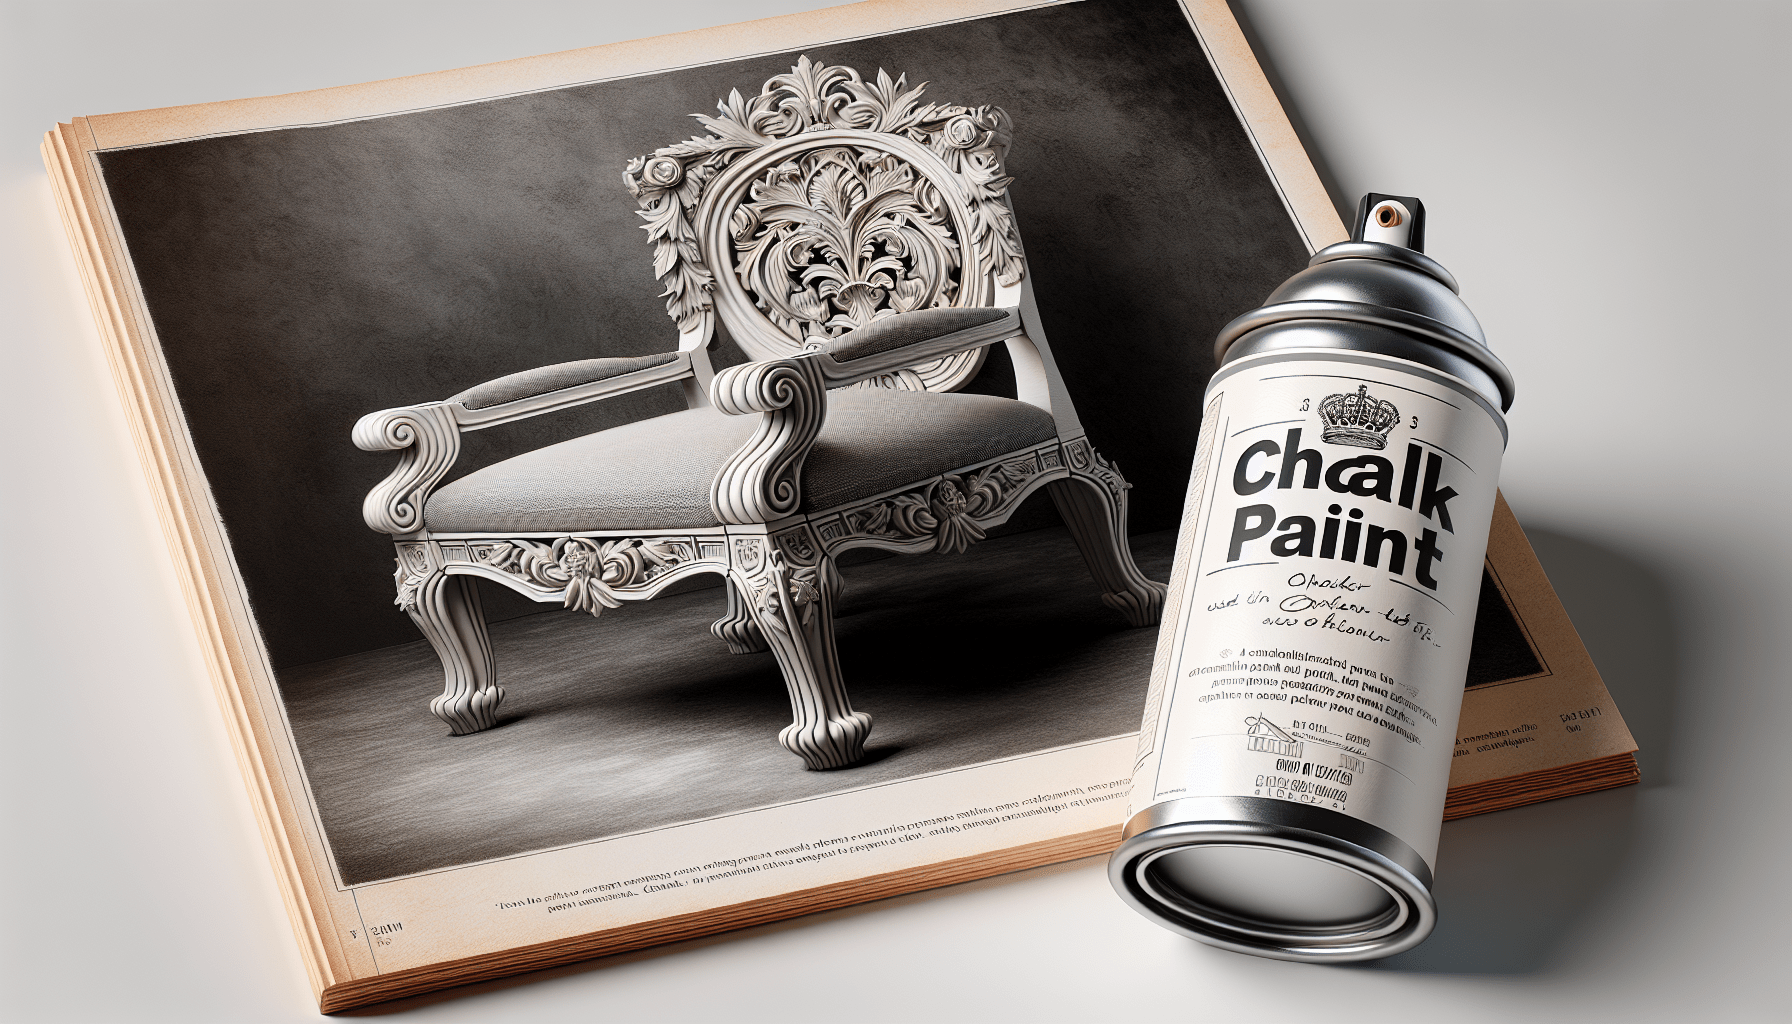
In the world of furniture restoration and DIY projects, chalk paint has become a popular choice due to its versatility and ability to create unique and vintage finishes. However, achieving the perfect result requires more than just applying the paint itself. One crucial step in the process is the application of wax, which not only protects the surface but also enhances the appearance of the paint. But, how many coats of wax on chalk paint should you apply to achieve the desired finish? Discover the answer to this question and unlock the secrets to a flawless chalk paint transformation.
Applying Wax on Chalk Paint
When it comes to applying wax on chalk paint, there are several factors to consider in order to achieve a professional and long-lasting finish. This article will guide you through each step of the process, from understanding the purpose of wax to maintaining the chalk paint finish. By following these guidelines, you can ensure that your chalk paint project is preserved, enhanced, and protected for years to come.
Understanding the Purpose of Wax
The first step in applying wax on chalk paint is understanding its purpose. Wax serves multiple functions in the chalk paint finishing process. First and foremost, it preserves and protects the chalk paint, acting as a barrier against moisture, stains, and general wear and tear. Additionally, wax enhances the appearance and sheen of the chalk paint, giving it a smooth and polished look. It also helps to improve the durability and longevity of the paint, preventing chipping or flaking. Finally, wax creates a subtle aging effect, adding depth and character to your finished piece.

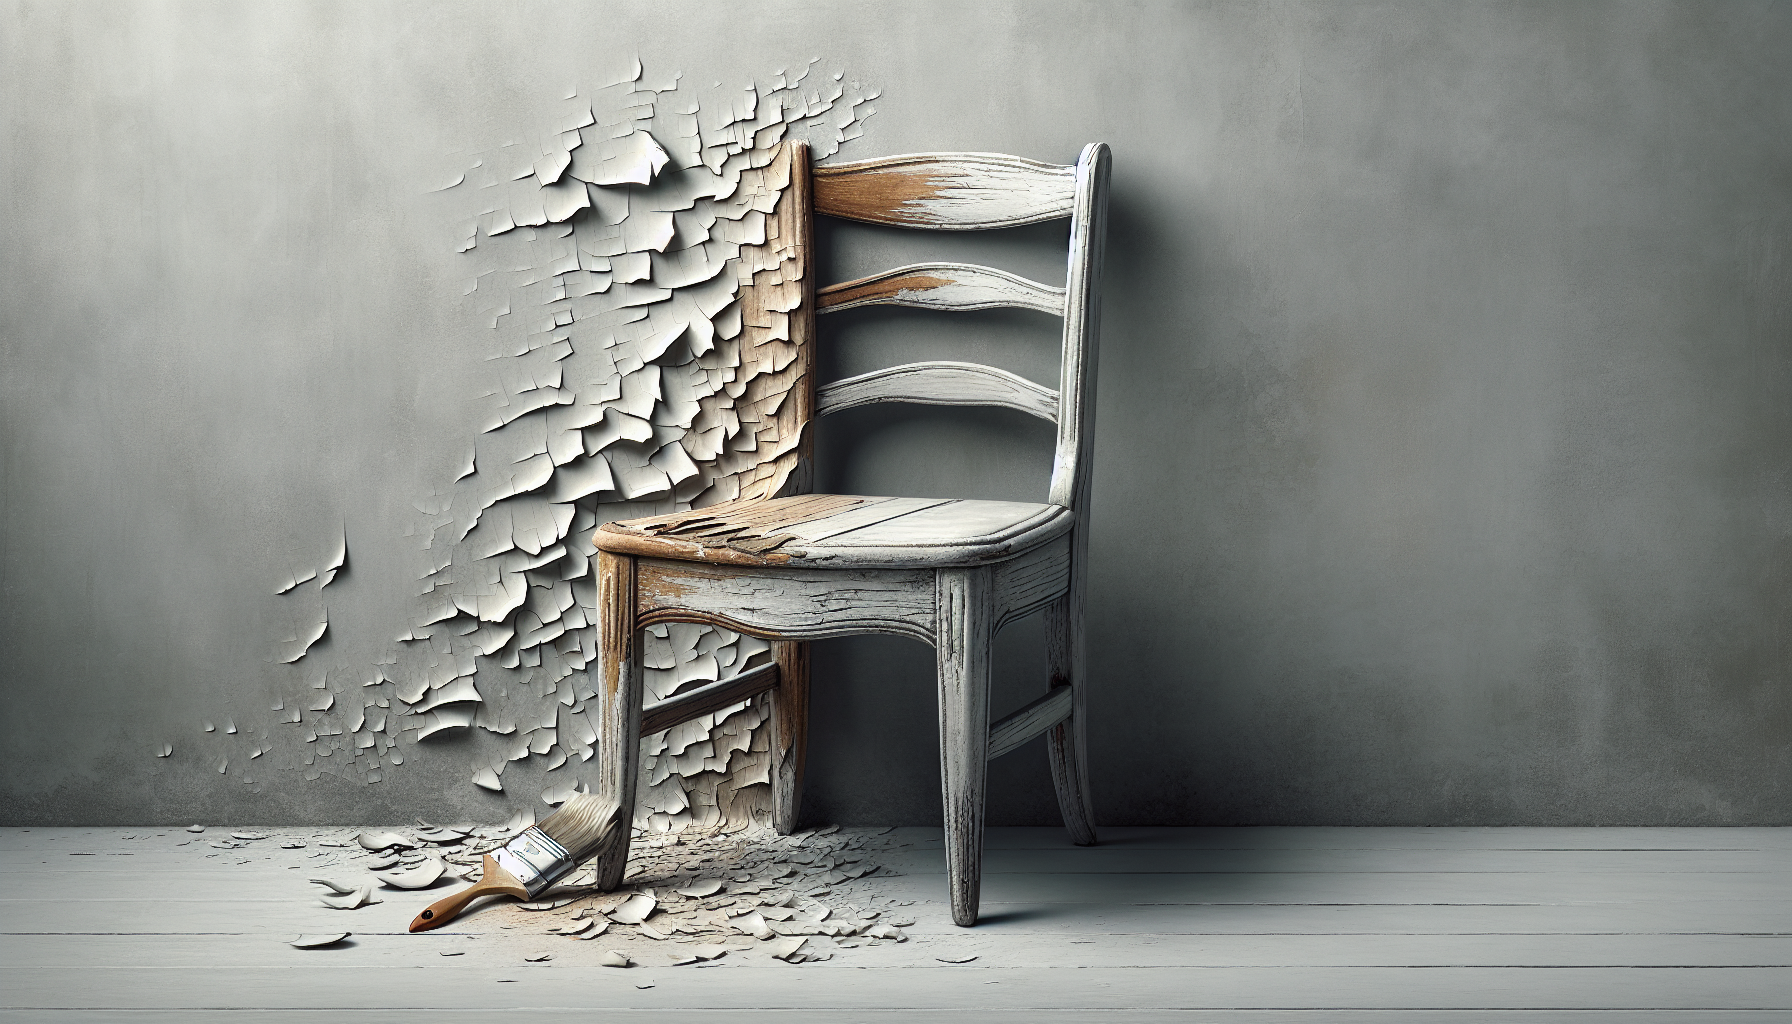
Preparing the Chalk Paint
Before applying wax, it is essential to properly prepare the chalk paint surface. This involves sanding and cleaning the surface to ensure proper adhesion and a smooth finish. Use a fine-grit sandpaper to lightly sand the surface, removing any rough patches or imperfections. After sanding, clean the surface with a mild cleaner or water and allow it to fully dry before proceeding. It is also important to choose the right chalk paint formula for your project, as different formulas have varying drying times and finishes. Additionally, ensure the paint is thoroughly mixed or shaken to ensure consistent color and texture. Apply multiple coats of chalk paint if necessary, allowing sufficient drying time between each coat. Finally, inspect the paint finish to ensure it is smooth and even before proceeding with wax application.
Choosing the Right Wax
Choosing the right wax is crucial for achieving the desired finish on your chalk paint project. There are various types of wax available, including clear and dark wax. Clear wax is ideal for preserving the color and natural appearance of the paint, while dark wax adds depth and richness to the finish. Consider the specific qualities you want to achieve, such as a glossy or matte finish, and select a wax accordingly. It is also important to evaluate the quality of the wax, considering factors such as ease of application, coverage, and durability. Take into account personal preference and aesthetic goals when selecting the appropriate wax for your project.

Applying the First Coat of Wax
To apply the first coat of wax, start by preparing the wax for application. If using a solid wax, use a wax brush to scrape off a small amount of wax and transfer it onto a waxing cloth. If using a liquid wax, simply pour a small amount onto the cloth. Begin applying the wax in small sections, working in circular motions to ensure even distribution. As you apply the wax, work it into the chalk paint, allowing it to penetrate the surface. Be sure to remove any excess wax to avoid buildup or an uneven finish. Once the first coat has been applied, allow sufficient drying and curing time before proceeding to additional coats.
Factors to Consider for Additional Coats
The number of additional coats of wax to apply depends on several factors. Consider the absorption rate of the chalk paint, as some paints may require more coats to achieve the desired level of sheen and protection. The surface texture and porosity also play a role, as rougher surfaces may require additional coats to achieve a smooth finish. Additionally, consider the intended usage and wear of the finished piece. If it will be subjected to heavy use or exposure to harsh conditions, additional coats of wax may be necessary. Lastly, personal preference and aesthetic goals should be taken into account when determining the number of coats to apply.
How Many Coats are Typically Recommended?
While the number of coats of wax recommended varies depending on several factors, there are some general guidelines to consider. Manufacturers of chalk paint and wax often provide recommendations based on their specific products, which should be followed to achieve the best results. It is also helpful to consult with experts or experienced professionals in the field, as they can provide valuable advice and best practices. Additionally, consider the needs and preferences of your clientele or customers if you are completing a project for a specific audience.
Alternatives to Multiple Coats of Wax
If you prefer to explore alternatives to multiple coats of wax, there are several options to consider. One alternative is using a topcoat or sealant specifically designed for chalk paint. These products provide similar protection and durability while offering different finishes and application methods. Another option is to explore varied finishing options, such as glazes or metallic waxes, to achieve unique effects. Spray wax or aerosols can also be considered for easier and quicker application. Polishing techniques, such as buffing or burnishing, can enhance the sheen of the chalk paint without the need for additional coats of wax. Lastly, tinted wax can be used to add color or depth to the finished piece while providing the same protective benefits.
Signs That Indicate the Need for Another Coat
There are several signs that may indicate the need for another coat of wax on your chalk paint project. Visible imperfections or unevenness in the finish may suggest that an additional coat is required to achieve a smooth and polished look. If the chalk paint lacks sufficient sheen or gloss, this may also indicate that another coat of wax is needed to enhance the overall appearance. Reduction in smoothness or softness, as well as susceptibility to scratches or damages, can be improved with an additional coat of wax. Lastly, if the piece will be exposed to harsh environmental factors, such as moisture or sunlight, it may require an extra coat for increased protection.
Finishing and Curing the Wax
Once you have applied the desired number of coats of wax, it is important to properly finish and cure the wax. After the final coat has dried, gently buff the surface with a clean and lint-free cloth to achieve a smooth and polished finish. Allow the wax to cure for the recommended time provided by the manufacturer, as this ensures maximum protection and durability. During the curing process, it is important to avoid excessive use or exposure to moisture. Once the wax has fully cured, your chalk paint project will be ready for use and will maintain its beauty for an extended period of time.
Maintaining the Chalk Paint Finish
To ensure the longevity of your chalk paint finish, it is important to implement proper maintenance practices. Routine cleaning and dusting with a soft cloth or feather duster will help to keep the surface free from dirt and debris. If necessary, utilize mild cleaners or soaps specifically designed for chalk paint surfaces. Avoid using harsh chemicals or abrasives, as these can damage the wax and paint layers. Regularly inspect the finish for any signs of wear or damage and touch up the wax as needed to maintain its protective qualities. By following these maintenance steps, you can enjoy your beautiful chalk paint finish for years to come.