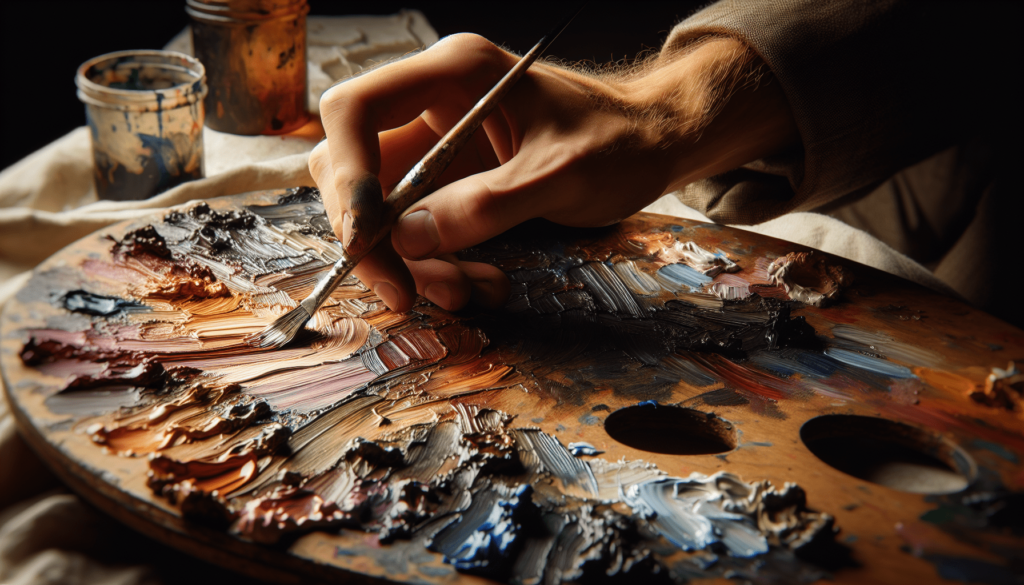
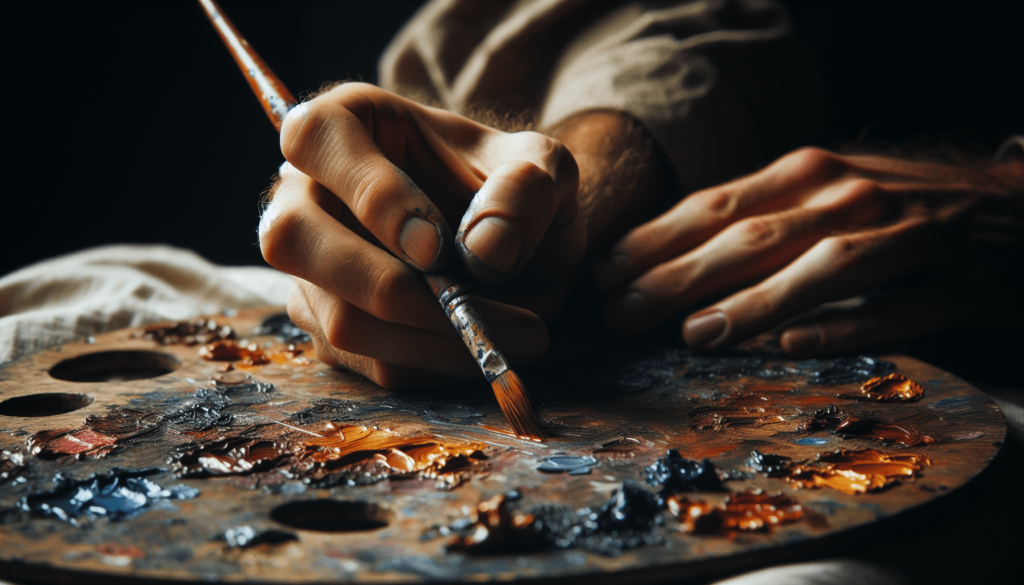
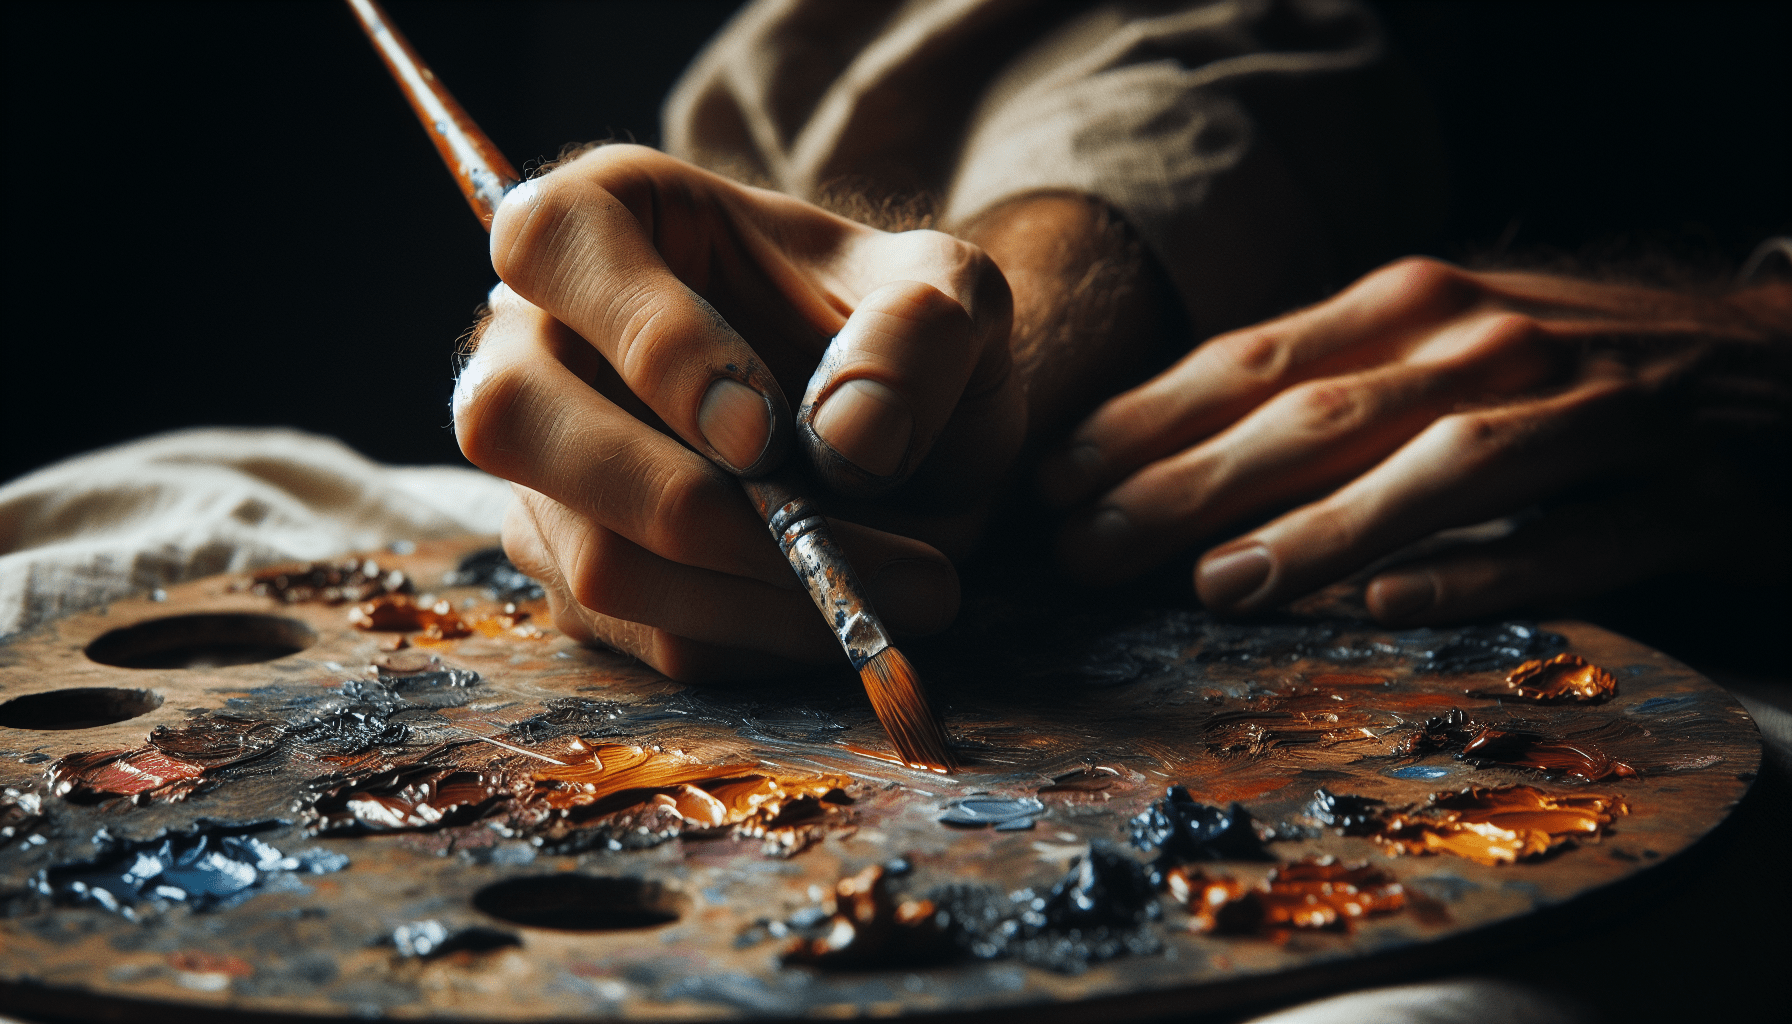
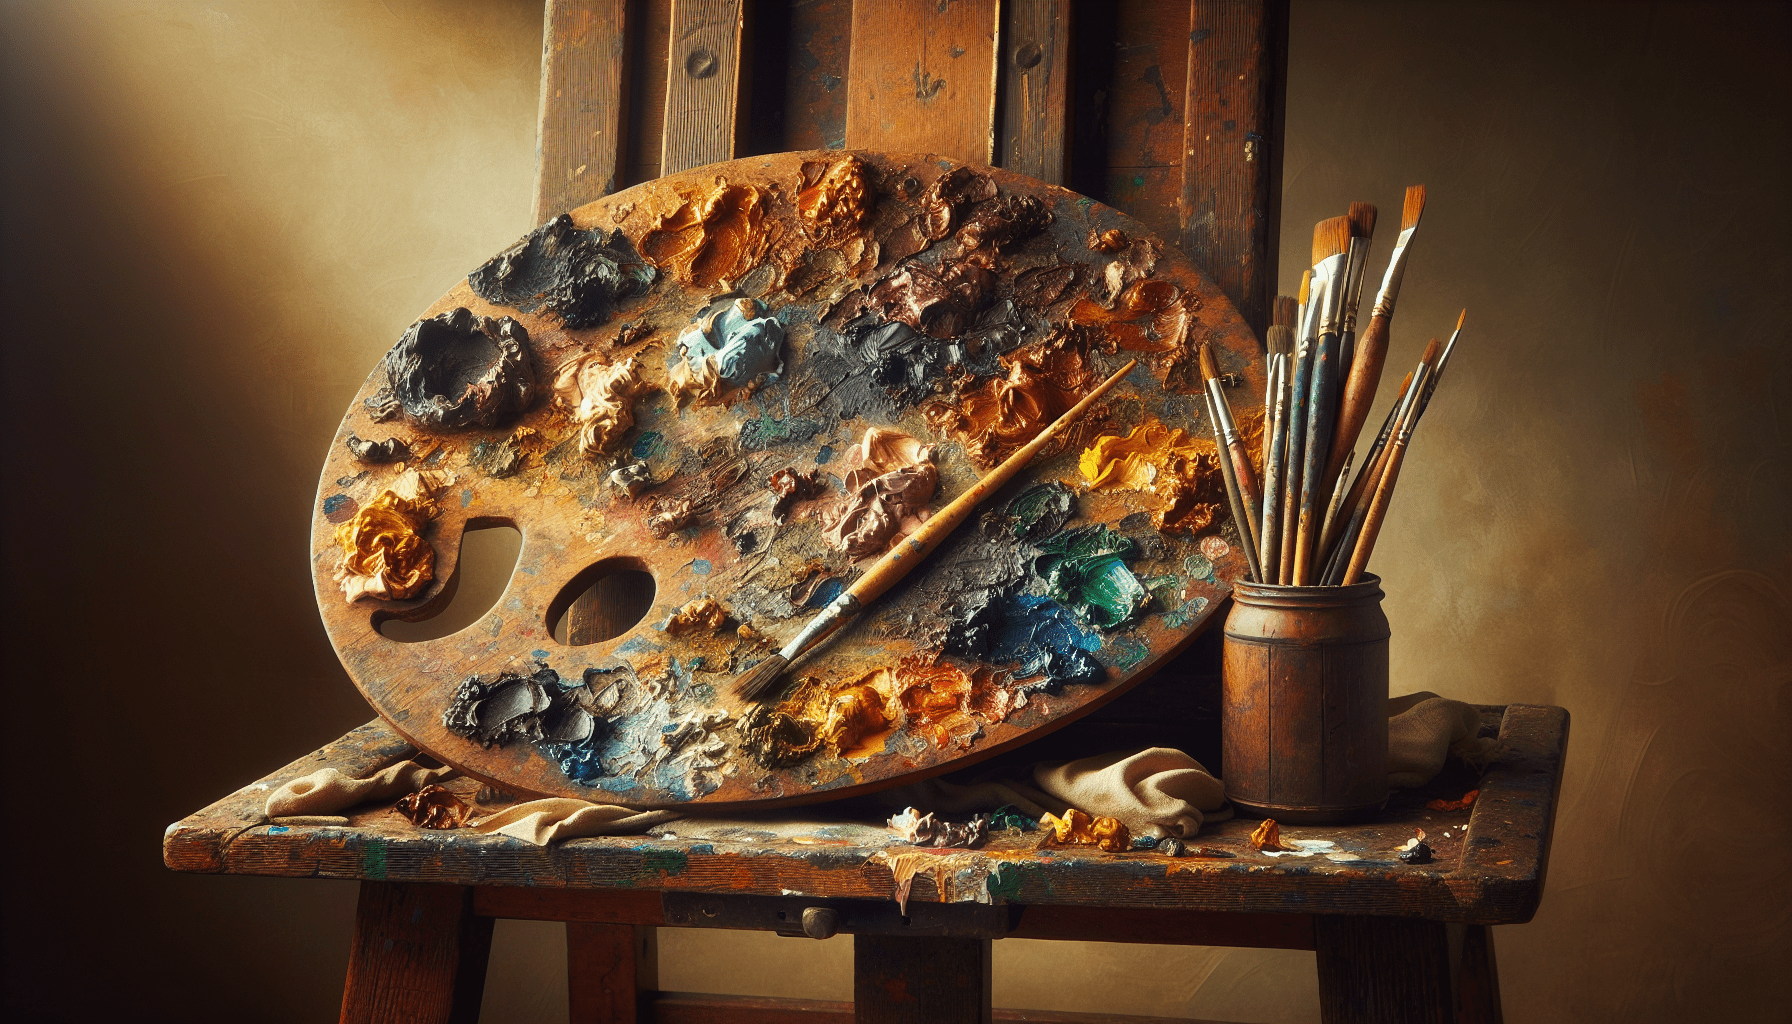
In this article, “How Do You Thin Oil Paint,” you’ll gain insightful knowledge into the art of fine-tuning your oil paints’ texture. Understanding how to thin oil paint can greatly enhance your painting experience, allowing for smoother brush strokes, more balanced color blending, and superior control over opacity. Enrich your artistic endeavors with these practical methods and techniques, tailor-made to suit your requirements.
Understanding Oil Paint
The magic of art often lies in the intricate use of various types of paints. Among them, oil paint holds a distinctive place due to its unique characteristics and stunning visual effects. It’s a crucial tool for artists around the globe, lauded for its versatility and distinctive results, not to mention its long-standing history in the art world.
What is Oil Paint
Oil paint is a type of slow-drying paint composed of minute pigment particles suspended in a drying oil, typically linseed oil. The unique drying process of oil paint allows for smooth blending of colors right on the canvas, resulting in rich and vibrant artwork that has enthralled art connoisseurs for centuries.
Properties of Oil Paint
The key properties of oil paint include its slow drying time, enabled by its oil base; its ability to be layered and blended, perfect for complex compositions; and its varying levels of transparency depending on the pigments and materials used. It’s these properties that create the much-desired luminous effect in many classic and contemporary oil paintings.
Importance of Thinning Oil Paint
While oil paint certainly has its merits, it may be too thick or heavy to work with straight from the tube. Thinning oil paint can drastically improve its workability, making it easier to handle for varied artistic techniques and effects. It’s a necessary step most artists take to create their masterpieces.
Reasons to Thin Oil Paint
Thinning oil paint not only improves its viscosity but also brings about several other benefits to the overall painting process and result.
Easier Application
Thinned paint spreads more easily across the canvas, making it quicker and more efficient to cover large areas or complete intricate detailing. The lessened density facilitates smooth strokes and a more pleasing painting experience.
Enhanced Drying Time
While the slow drying time of oil paints can be a boon for blending and reworking, it can also be a hindrance in some scenarios. Thinning the oil paint can speed up the drying time, thus allowing quicker layering and completion of artwork.
Greater Control Over Opacity and Transparency
With thinned paint, you have more control over the opacity and transparency of your strokes. You can adjust the thickness of your paint to create varying levels of visible layering that adds depth to your artwork.
Creating Glazes and Washes
Thinning oil paint enables you to create stunning glazes and washes, laying thin veils of color that can lend an ethereal quality to your artwork.
Reducing Brush Marks
Thinned paint reduces the visibility of brush marks on the canvas, giving your artwork a smoother finish. This can be particularly beneficial for techniques like glazing and scumbling where a smooth surface is more desirable.

Methods to Thin Oil Paint
There are three prevalent methods to thin oil paints: adding a solvent, using a medium, or mixing with oil or varnish. Each method has its pros and cons and can offer different effects and finishes.
Adding a Solvent
One of the most common methods is by introducing solvents, which break down the oil in the paint, reducing its viscosity.
Using a Medium
Another method involves the use of mediums like linseed oil or alkyd. Mediums can augment the paint’s texture and drying time and are often used to achieve specific visual effects.
Mixing with Oil or Varnish
This method incorporates the use of oils or varnishes. Like mediums, these can also modify the paint’s texture and drying time, as well as enhancing the paint’s sheen and the overall look of the final artwork.
Adding a Solvent
Adding a solvent is a popular method for thinning oil paint, largely due to its simplicity and efficiency.
Common Solvents (Turpentine, Mineral Spirits)
Turpentine and mineral spirits are traditional solvents used for thinning oil paint. They are efficient in breaking down the oil component of the paint, lowering the viscosity and facilitating a smoother application.
Step-by-Step Guide to Thinning with a Solvent
To thin your oil paint with a solvent, pour a small amount of solvent into a clean container. Dip your paintbrush into the solvent, then into the paint. Mix well until your paint has reached the desired consistency. Remember, it’s better to add the solvent gradually—you can always add more if required.

Using a Medium
Using a medium not only alters the consistency of oil paint, but it also enhances its overall appearance and drying time.
Types of Mediums (Linseed Oil, Stand Oil, Alkyd)
Linseed oil, stand oil, and alkyd are common mediums used to thin oil paint. Each medium offers different qualities, with linseed oil enhancing flow and gloss, stand oil providing a smooth and enamel-like finish, and alkyd speeding the drying process.
Benefits of Using a Medium
Using a medium permits more control over the drying time, consistency, and finish of the paint. It can improve flow, increase gloss or matte finish, and facilitate better layering and blending.
Step-by-Step Guide to Thinning with a Medium
Begin by placing a small amount of paint on your palette. Pour a small quantity of the selected medium next to the paint. Use your paintbrush to take a small amount of medium and mix it with your paint until you achieve the desired consistency. Remember to add the medium gradually, adjusting as necessary.
Mixing with Oil or Varnish
Mixing with oil or varnish provides an alternative way to thin oil paint, with the additional benefit of influencing the paint’s sheen and drying time.
Reasons to Mix with Oil or Varnish
Mixing oil paint with oil or varnish can help you achieve a variety of effects, depending on the type of oil or varnish used. It may quicken drying time, enhance the gloss of the paint or increase its fluidity.
Step-by-Step Guide to Thinning with Oil or Varnish
Select the oil or varnish you wish to use. Pour a small quantity onto your palette and mix with your paint using a palette knife or paintbrush. As with other thinning methods, remember to gradually add the oil or varnish to avoid thinning the paint too much.
Important Considerations
While thinning oil paint can significantly improve its workability, there are several important factors to consider to ensure the best results.
Proper Ventilation
Ventilation is crucial when working with oil paints, particularly when using solvents or mediums. These substances can produce harmful fumes, which may cause health issues if inhaled in high concentration. Always work in a well-ventilated area to ensure safe and comfortable painting.
Safety Precautions
Wear gloves or use barrier cream to protect your skin when working with solvents or mediums. If you get any on your skin, wash it off immediately. Keep these substances out of reach from children or pets to ensure safety.
Avoiding Over-Thinning
Over-thinning your paint can lead to a number of issues, including reduced opacity and adhesion. Always add thinning agents in a gradual manner to maintain control over the paint’s consistency.
Testing Consistency
It’s recommended to test the consistency of your thinned paint before applying it to your painting. You can do this by applying a small amount to a scrap piece of canvas or paper. This will help you gauge the transparency, fluidity, and drying time of your thinned paint.
Experimentation with Different Ratios
Experiment with different ratios of paint to thinning agents to achieve various effects. Much of the beauty of oil painting lies in the endless possibilities for creativity and experimentation.
Tools and Supplies
Before embarking on the process of thinning oil paint, you’ll need a basic set of tools and supplies. You’ll need oil paint, a choice of thinning agent (solvent, medium, or oil/varnish), a mixing palette, palette knife or paintbrush, and containers for holding your thinning agent. Additionally, you might need gloves or barrier cream for safety, and canvas or paper for testing your paint’s consistency.
Techniques for Applying Thinned Oil Paint
Once you’ve thinned your oil paint, you can explore various painting techniques that take advantage of the modified consistency.
Brushing
Thinned paint can flow more easily across your brush, facilitating smoother and more effective brush strokes. This can be particularly beneficial for creating smooth gradients and blended areas in your artwork.
Glazing
Thinned oil paint is ideal for glazing, a technique that involves applying thin layers of transparent paint over previous layers to produce depth and luminosity.
Layering
The thinner consistency of the paint allows for quicker drying, enabling you to layer your paint more rapidly. Layering with thinned oil paint can create fascinating visual effects and allow for complex compositions.
Impasto
Though traditionally associated with thick paint, you can also use thinned paint with the impasto technique, creating interesting contrasts between thin and thick areas in your painting.
Scumbling
Thinned oil paint is perfect for scumbling—a technique where a thin, semi-opaque layer of paint is lightly brushed over another dried layer of paint. This can add complexity and atmospheric effects to your artwork.
Cleaning Up Thinned Oil Paint
After you’ve completed your artwork and savored the creative process, it’s time to clean up.
Proper Disposal of Waste
Always dispose of waste materials responsibly. Consult your local regulations regarding the disposal of solvents, mediums, or thinned paint.
Cleaning Brushes and Palettes
Clean your brushes and palettes thoroughly after use. You can use a solvent for brushes, but remember to dry them properly afterwards. Palettes can be cleaned with a palette knife and then wiped clean with a rag.
Mastering the art of thinning oil paint can open a world of possibilities in your artistic journey. Remember, experimentation is key, and with each new attempt, you’ll uncover more about this fascinating medium. Happy painting!


