In the world of fabric painting, one crucial step to ensure the longevity and vibrancy of your designs is heat setting. Heat setting fabric paint involves using heat to bond the paint to the fibers, creating a durable and washable finish. But how exactly do you heat set fabric paint? In this article, we will discuss the various methods and techniques for properly heat setting fabric paint, allowing you to confidently create and wear your own personalized masterpieces. So, whether you’re a seasoned artist or a novice in the realm of fabric painting, read on to discover the essential knowledge and steps to successfully heat set your fabric paint creations.
What is heat setting fabric paint?
Definition and purpose
Heat setting fabric paint refers to the process of applying heat to painted fabric in order to permanently bond the paint with the textile fibers. This technique is used to ensure that the paint adheres securely to the fabric, making it durable and long-lasting. Heat setting allows the fabric to be washed and used without the risk of the paint fading or washing off.
Importance of heat setting
Heat setting is a crucial step in the fabric painting process as it ensures that the paint becomes permanent and washable. Without heat setting, the paint may not adhere properly to the fabric and can easily be washed off or fade over time. Heat setting fabric paint prevents cracking, peeling, and discoloration, making the painted fabric more resistant to wear and tear. It is essential to follow the correct heat setting methods to achieve the best results and maximize the longevity of the artwork on the fabric.
Preparation before heat setting
Choosing the right fabric paint
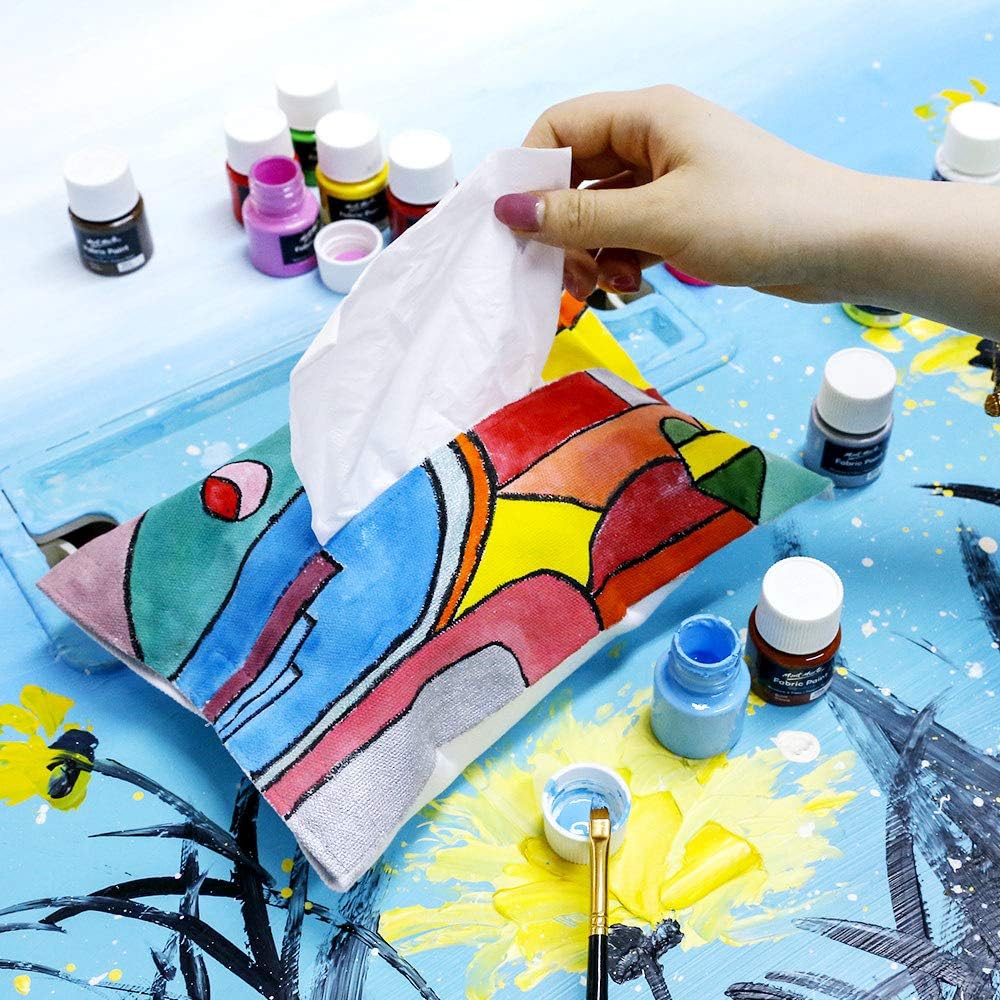
Before heat setting, it is important to select a fabric paint that is specifically designed for this purpose. Look for fabric paints that are labeled as “heat set” or “washable” to ensure that they can withstand the heat setting process and maintain their color and vibrancy. Different types of fabric paints, such as acrylic or fabric markers, may require different heat setting techniques, so be sure to check the manufacturer’s instructions for the recommended heat setting method.
Allowing the painted fabric to dry completely
Before applying heat to the painted fabric, it is crucial to allow it to dry completely. This usually takes a few hours or overnight, depending on the type of fabric paint used and the thickness of the paint layer. Rushing the drying process can result in uneven heat setting and may cause the paint to crack or peel. Ensure that the fabric is completely dry to the touch before proceeding with heat setting.
Protecting the surrounding area
When heat setting fabric paint, it is important to protect the surrounding area from any potential damage. Lay down a clean, heat-resistant surface such as a silicone baking mat or a layer of parchment paper to prevent any excess paint or heat from transferring to the work surface. This will also make cleanup easier and protect the fabric from any unwanted marks or stains.
Setting up a heat source
Depending on the method you choose for heat setting, make sure to set up the appropriate heat source. For methods like ironing or using a heat press machine, ensure that the iron or machine is clean and in good working condition. If using an oven, preheat it to the recommended temperature for setting fabric paint. If using a blow dryer, ensure it is set to high heat and has a continuous airflow. Having a properly functioning and suitable heat source is crucial to achieving the desired results when heat setting fabric paint.

Methods to heat set fabric paint
Ironing method
The ironing method is one of the most popular and accessible ways to heat set fabric paint. Here is a step-by-step guide to heat setting with an iron:
Using a heat press machine
A heat press machine is a more professional and efficient way to heat set fabric paint. Follow these steps to heat set fabric paint using a heat press machine:
Using an oven
Using an oven is another effective method for heat setting fabric paint. Here is a step-by-step guide for heat setting in an oven:
Using a blow dryer
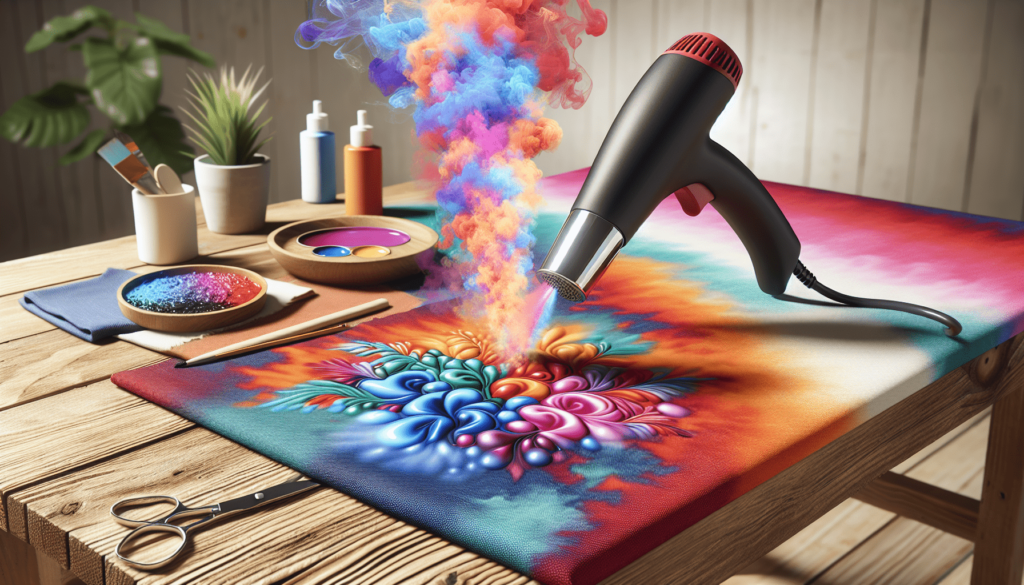
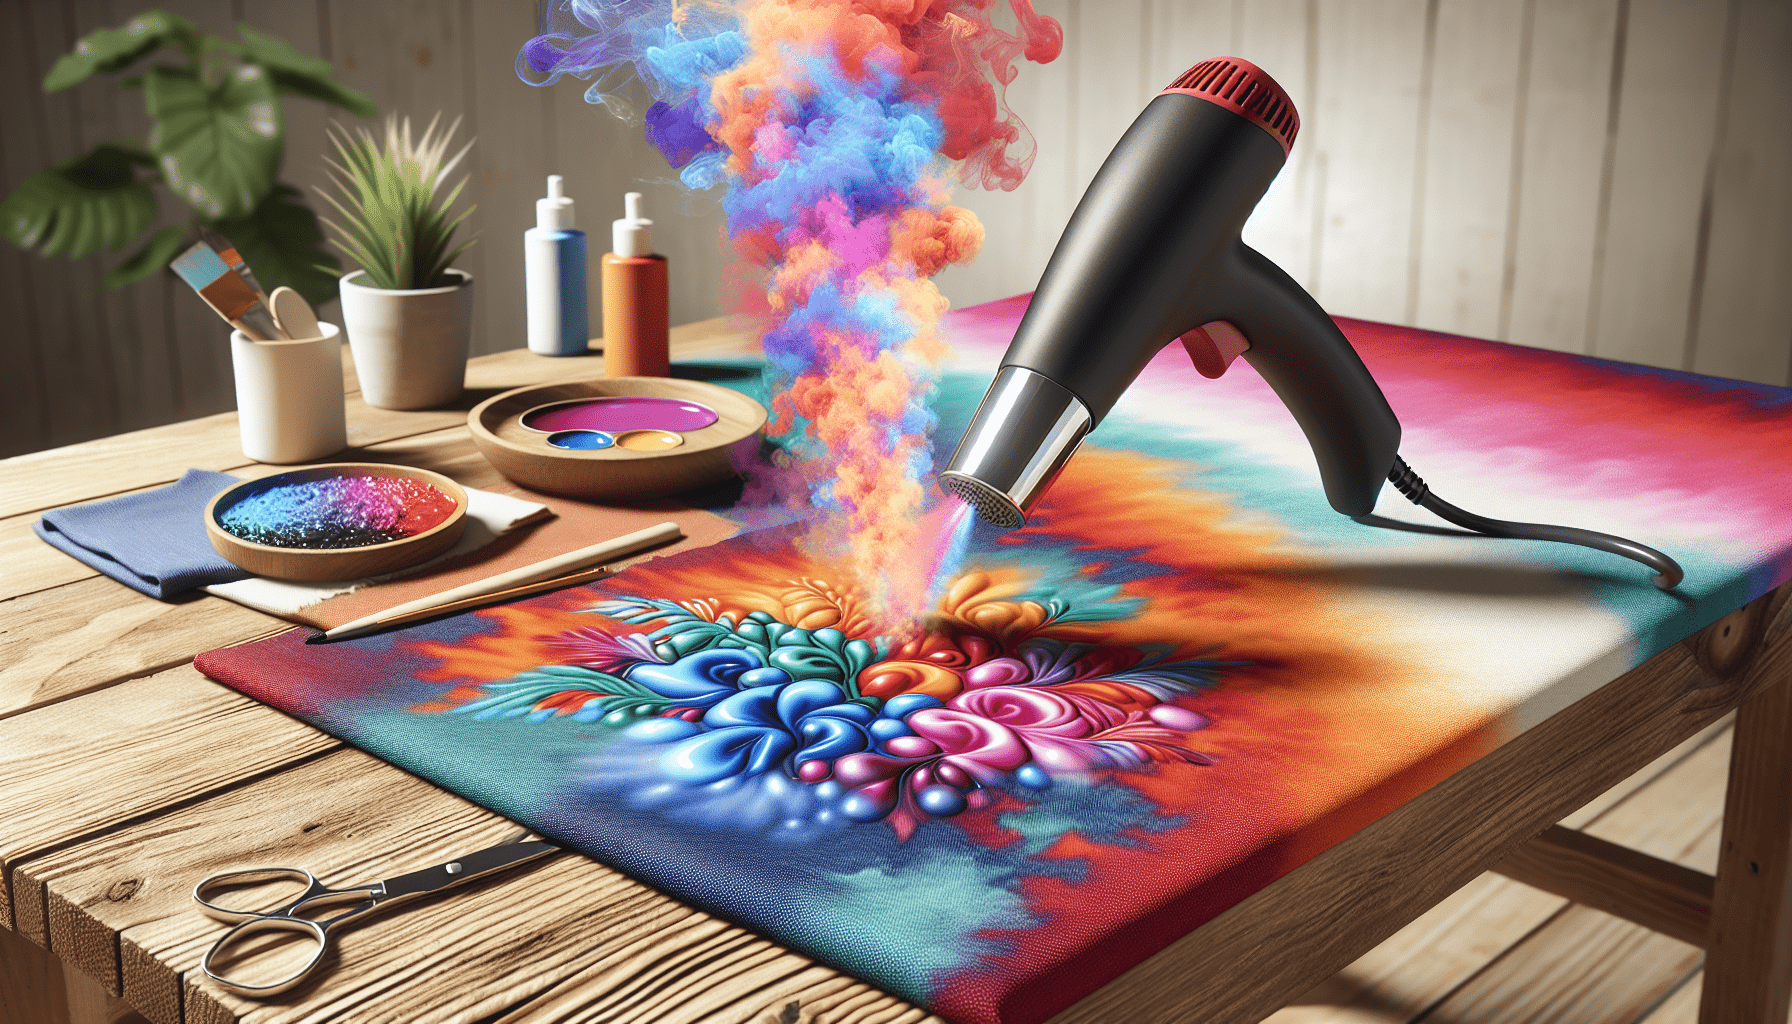
For those who don’t have access to an iron or heat press machine, using a blow dryer is a practical alternative for heat setting fabric paint. Follow these steps to heat set fabric paint with a blow dryer:
Heat setting with an iron
Selecting appropriate heat setting
Different fabrics require different heat settings to prevent damage. Adjust the iron to the appropriate temperature for the fabric type being used. Always start with the lowest heat setting and gradually increase if needed. Refer to the fabric’s care label or the manufacturer’s instructions for the recommended heat setting.
Placing a protective layer over the painted fabric
To protect the painted fabric from direct contact with the iron, place a clean cotton or muslin cloth over the painted area. This acts as a barrier between the hot iron and the paint, preventing any potential damage or distortion.
Applying heat evenly and in a circular motion
With the protective cloth in place, gently press the heated iron on top of the cloth-covered painted fabric. Apply even heat and pressure in a circular motion for a consistent heat setting across the entire painted area. Avoid sliding the iron or applying too much pressure, as this can cause smudging or distortion of the design.
Checking for any signs of melting or burning
While heat setting, periodically lift the iron and check the fabric for any signs of melting or burning. If you notice any issues, immediately stop the heat setting process and adjust the temperature. It is crucial to closely monitor the fabric to avoid any damage or unwanted changes to the painted design.

Heat setting with a heat press machine
Setting the machine according to fabric type
Different fabrics require different heat and pressure settings. Refer to the manufacturer’s instructions or consult a heat press machine manual to determine the appropriate settings for the fabric being used. Adjust the temperature and pressure accordingly before proceeding with the heat setting process.
Positioning the fabric and applying pressure
Place the painted fabric on the heated press surface, ensuring that it is positioned correctly according to the machine’s guidelines. Close the machine’s lid and apply even pressure to the fabric. The heat and pressure from the machine will facilitate the bonding process between the paint and the fabric.
Ensuring even heat distribution
Check to ensure that the heat press machine applies heat evenly across the fabric’s surface. Uneven heat distribution can lead to inconsistent heat setting and potential issues with the painted design. If necessary, adjust the fabric’s position or the machine’s settings to achieve even heat distribution.
Timing the heat press process
Follow the recommended heat press time for the specific fabric paint being used. Different fabric paints may have different heat press times, so it is important to consult the manufacturer’s instructions or do a test on a scrap fabric beforehand. Timing the heat press process accurately will ensure optimal heat setting and durability of the fabric paint.
Heat setting in an oven
Setting the oven temperature
Preheat the oven to the recommended temperature for heat setting fabric paint. Refer to the fabric paint manufacturer’s instructions for the appropriate temperature. It is essential to set the oven to the correct temperature to prevent the paint from melting or burning.
Placing the painted fabric on a baking sheet
Line a baking sheet with aluminum foil or parchment paper and place the painted fabric on top. This will prevent the paint from sticking or transferring onto the baking sheet. Ensure that the fabric is flat and not folded or creased to achieve an even heat set.
Monitoring the fabric closely
Keep a close eye on the fabric while it is in the oven. Check for any signs of melting, burning, or discoloration. If any issues occur, immediately remove the fabric from the oven and adjust the temperature accordingly. Continuously checking the fabric will help prevent any heat damage to the paint or fabric.
Removing the fabric from the oven
Once the recommended heat setting time has elapsed, carefully remove the baking sheet from the oven. Be cautious when handling the hot fabric and the baking sheet. Set the fabric aside to cool down completely before handling or washing to allow the paint to fully bond with the fibers.
Heat setting with a blow dryer
Setting the dryer to high heat
Adjust the blow dryer to its highest heat setting. Proper heat is necessary to activate the heat setting process and bond the fabric paint with the textile fibers effectively. If the heat is too low, the paint may not set properly.
Holding the dryer close to the fabric
Hold the blow dryer approximately 2-3 inches away from the painted fabric. This will ensure that the hot air reaches the paint and aids in the heat setting process. Holding the dryer too far away may result in incomplete heat setting, while holding it too close may cause the paint to melt or warp.
Moving the dryer continuously
Keep the blow dryer in constant motion, moving it evenly across the entire painted fabric. This will ensure that the heat is evenly distributed and prevent overheating or damage to the fabric. Avoid keeping the dryer in one spot for too long, as this may cause the paint to bubble or burn.
Allowing the fabric to cool down
Once the heat setting process is complete, set the painted fabric aside and allow it to cool down naturally. Avoid touching or moving the fabric too soon, as this can disrupt the bonding process between the paint and the fabric. Allowing the fabric to cool down thoroughly will ensure that the heat set is complete and durable.
After heat setting precautions
Avoid washing the fabric too soon
After heat setting fabric paint, it is important to avoid washing the fabric too soon. Allow the paint to fully bond with the fabric for at least 72 hours before washing. This will ensure maximum durability and prevent the paint from washing off prematurely.
Hand washing or gentle machine washing
When it comes time to clean heat-set fabric, it is best to hand wash or use a gentle machine wash cycle. Gentle handling will help maintain the integrity of the paint and the fabric. Avoid using harsh washing methods such as vigorous rubbing or machine washing on a regular cycle, as this can damage the paint and the fabric.
Avoiding harsh detergents or bleach
To preserve the vibrancy and longevity of the fabric paint, it is recommended to avoid using harsh detergents or bleach during the washing process. Stick to mild or gentle detergents that are specifically designed for delicate fabrics. Harsh chemicals can cause the paint to fade or deteriorate over time.
Ironing the fabric on reverse
If ironing the fabric after washing, it is best to iron it on the reverse side. Ironing on the reverse will protect the painted design and help maintain its vibrancy. Use a low to medium heat setting and avoid applying excessive pressure to the painted area.
Troubleshooting heat setting issues
Paint cracking or peeling
If the fabric paint cracks or peels after heat setting, it may be an indication that the paint was not applied or dried properly. To troubleshoot, ensure that the paint is applied evenly and allowed to dry completely before heat setting. Adjust the heat setting technique or follow the manufacturer’s instructions for better results.
Fabric discoloration
Fabric discoloration can occur if the heat setting temperature is too high or if the fabric paint is not suitable for the fabric type. To prevent discoloration, always follow the manufacturer’s instructions for both the fabric paint and the heat setting process. Perform a test on a scrap fabric to determine the ideal heat setting temperature before applying it to the actual project.
Uneven heat setting
Uneven heat setting can result in inconsistent color saturation or adhesion. To ensure even heat setting, follow the recommended techniques, such as applying heat evenly and in circular motions. Adjust the heat source or heat contact time if necessary to achieve a more uniform heat setting.
Heat damage to fabric
Heat damage can occur if the heat source is too hot or if the fabric is exposed to heat for an extended period. It is crucial to closely monitor the fabric during the heat setting process and promptly adjust the temperature or remove the fabric if any signs of heat damage, such as melting or burning, occur.
Final Tips
Testing heat set on a scrap fabric
Before heat setting on the actual fabric project, it is highly recommended to test the heat set process on a small scrap of fabric or a similar material. This will allow you to evaluate the heat setting method, adjust the temperature, or troubleshoot any issues without risking damage to your main project.
Following manufacturer’s instructions
Always refer to the fabric paint manufacturer’s instructions when heat setting. The instructions will provide specific guidelines on the suitable heat setting method, temperature, and duration for optimal results. Following the manufacturer’s instructions will ensure that the fabric paint bonds correctly with the fabric and maintains its quality over time.
Experimenting with different techniques
Don’t be afraid to experiment with different heat setting techniques to find the one that works best for you and your fabric projects. Each fabric paint and fabric type may require slight variations in heat setting methods, so feel free to explore and discover new ways to achieve exceptional results.
Enjoying the creative process
Above all, enjoy the creative process of heat setting fabric paint. Experimenting with different colors, techniques, and fabric types can be a rewarding and inspiring experience. Heat setting your fabric paint ensures that your creations can be cherished and enjoyed for a long time to come.


