How do you get a smooth finish with metallic paint? This is a question many DIY enthusiasts, artists, and professionals often ponder when aiming for a flawless, reflective surface. Metallic paint can add a stunning and sophisticated look to various surfaces, but achieving a smooth finish requires attention to detail, proper preparation, and the right techniques. This article provides a detailed guide to help you understand and execute the process efficiently.
Understanding Metallic Paint
Before diving into the techniques for a smooth finish, it’s crucial to understand what metallic paint is and how it differs from other types of paint.
What is Metallic Paint?
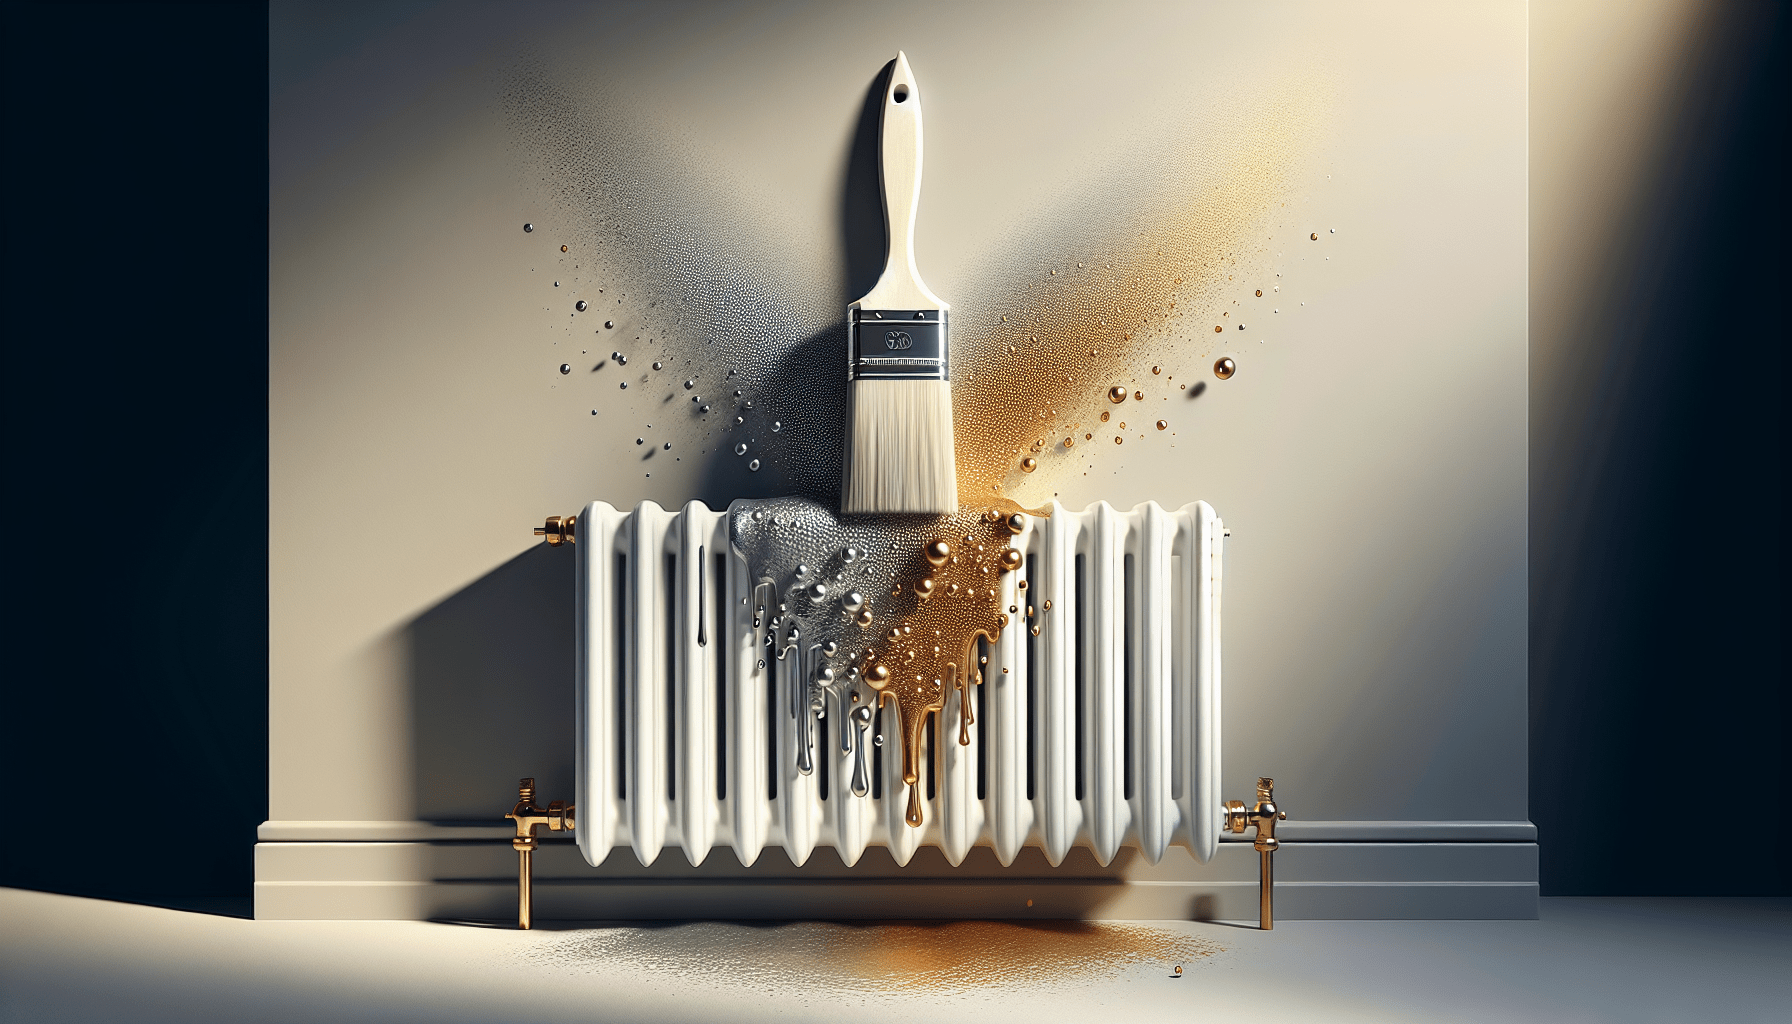
Metallic paint contains tiny flakes of metal (usually aluminum) that reflect light, giving the paint its signature sheen. These particles can create various effects depending on how they are applied and the lighting conditions.
Benefits of Metallic Paint
- Aesthetic Appeal: Provides a stylish and sophisticated look that can enhance the value and appearance of your project.
- Durability: Often more resilient to scratches and wear and tear than standard paint.
- Variety: Available in a wide range of colors and finishes.
Preparing the Surface
The preparation of the surface is arguably the most critical step in achieving a smooth finish with metallic paint. A well-prepared surface ensures better adhesion and a more professional look.
Cleaning the Surface
Start by thoroughly cleaning the surface to remove dust, grease, or any other contaminants.
- Dust Removal: Use a soft cloth or an air blower to remove dust.
- Grease Removal: Use a degreaser or a mix of water and mild detergent to clean greasy spots.
Sanding
Sanding is essential to create a smooth base for the paint to adhere to.
- Initial Sanding: Start with a lower grit sandpaper (around 80-120 grit) to remove any rough patches.
- Fine Sanding: Progress to a finer grit (220-320 grit) to create a smooth surface.
- Dust Removal Post-Sanding: Wipe down the surface with a tack cloth to remove any sanding dust.
| Sandpaper Grit | Purpose |
|---|---|
| 80-120 | Initial rough sanding |
| 220-320 | Fine finishing |
Priming
Applying a primer is an essential step for metallic paints. It provides a uniform surface and helps the paint adhere better.
- Choosing the Right Primer: Select a primer compatible with your metallic paint.
- Application: Use a brush, roller, or spray gun to apply the primer. Follow the manufacturer’s instructions regarding drying times.
- Sanding the Primer: Lightly sand the primer with a fine-grit sandpaper (320-400 grit) to ensure smoothness.

Paint Application Techniques
Applying metallic paint requires a bit more finesse than standard paint due to the reflective particles. Here we will discuss different techniques that can help you achieve that elusive smooth finish.
Choosing the Right Tools
The tools you use can significantly impact the outcome.
- Brushes: High-quality synthetic brushes often provide the best results.
- Rollers: Foam rollers can be useful for larger surfaces but must be used carefully to avoid leaving marks.
- Spray Guns: Provides the most uniform finish but requires skill and proper setup.
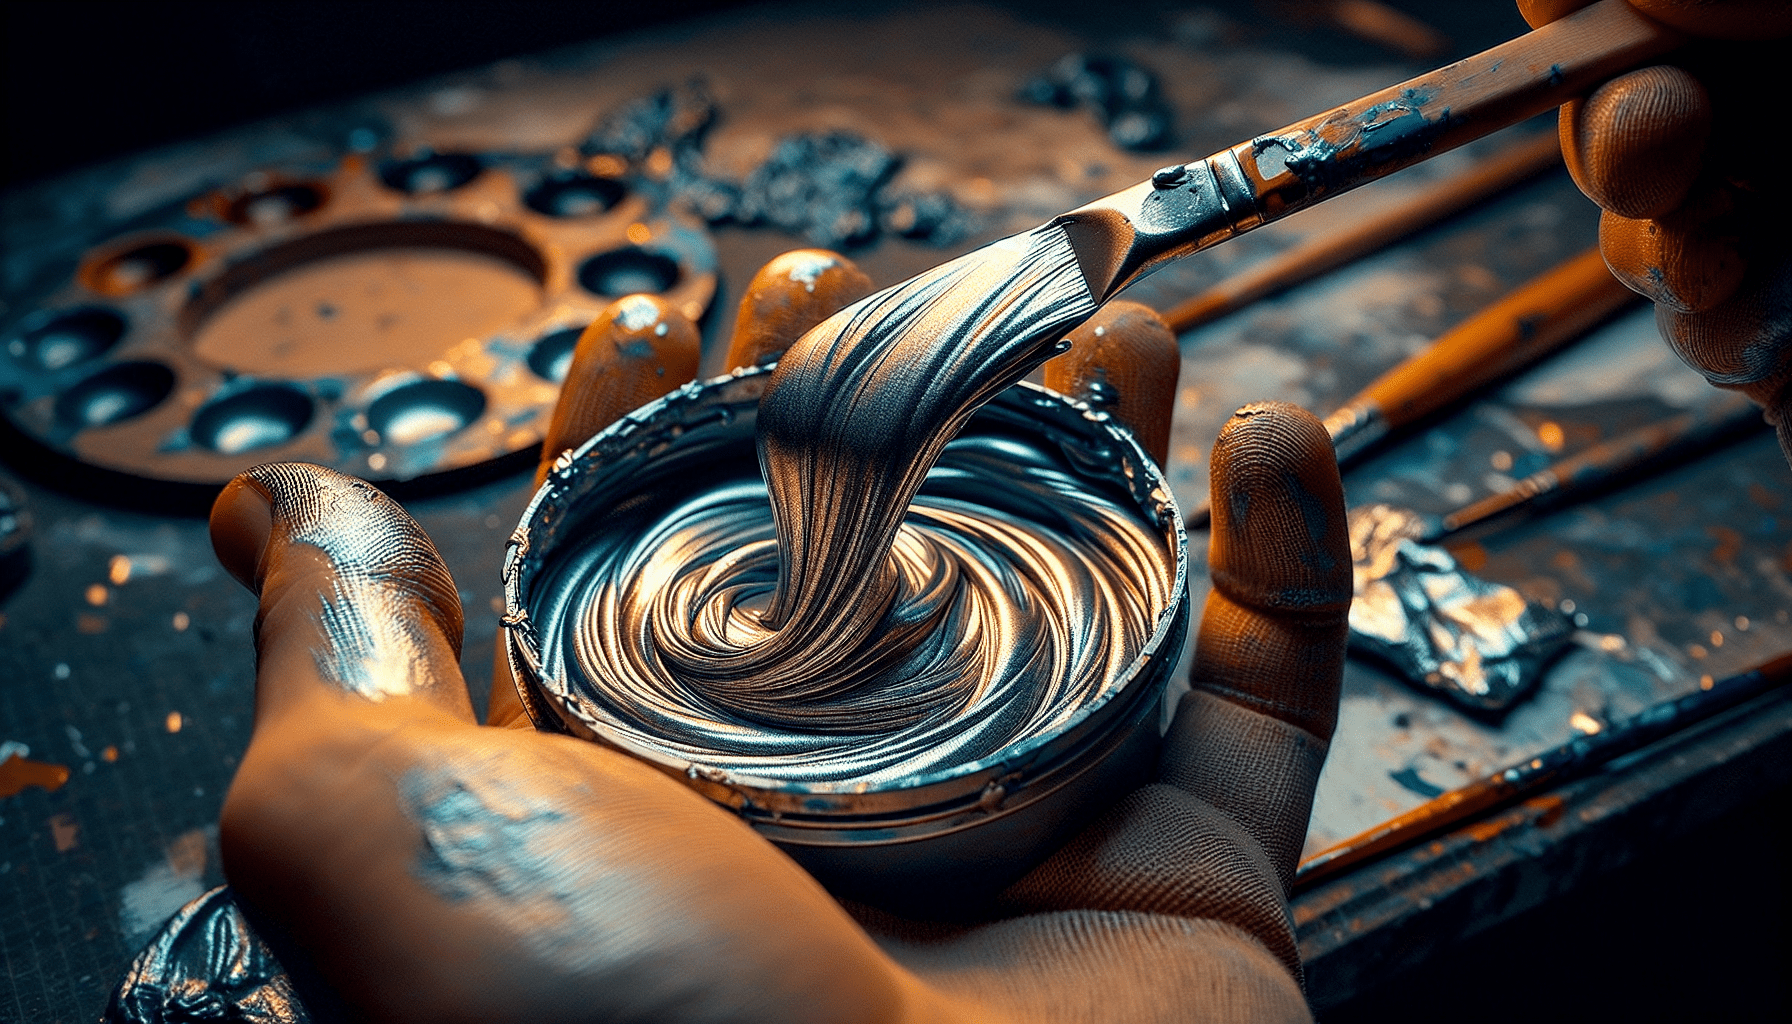
Mixing the Paint
Properly mixing the paint ensures an even distribution of metallic particles.
- Stirring: Stir the paint thoroughly before application.
- Straining: Use a paint strainer to remove any clumps or foreign particles.
Applying the Paint
- First Coat: Apply the first coat thinly and evenly.
- Drying Time: Allow sufficient drying time as per the manufacturer’s instructions.
- Subsequent Coats: Lightly sand between coats with a fine-grit sandpaper (400-600 grit) and apply subsequent coats until you achieve the desired finish.
Spraying Technique
If you opt for a spray gun, here are some additional tips:
- Consistent Distance: Maintain a consistent distance (usually 10-12 inches) between the spray gun and the surface.
- Even Passes: Move the spray gun in smooth, even passes to avoid drips and ensure uniform coverage.
- Overlap Passes: Overlap each pass by about 50% to ensure even coverage and avoid stripes.
Finishing Touches
After applying the paint, some additional steps can further enhance the smoothness and durability of the finish.
Clear Coating
A clear coat can provide extra protection and an even glossier finish.
- Type of Clear Coat: Choose a clear coat that is compatible with your metallic paint.
- Application: Apply thin, even layers, allowing sufficient drying time between coats.
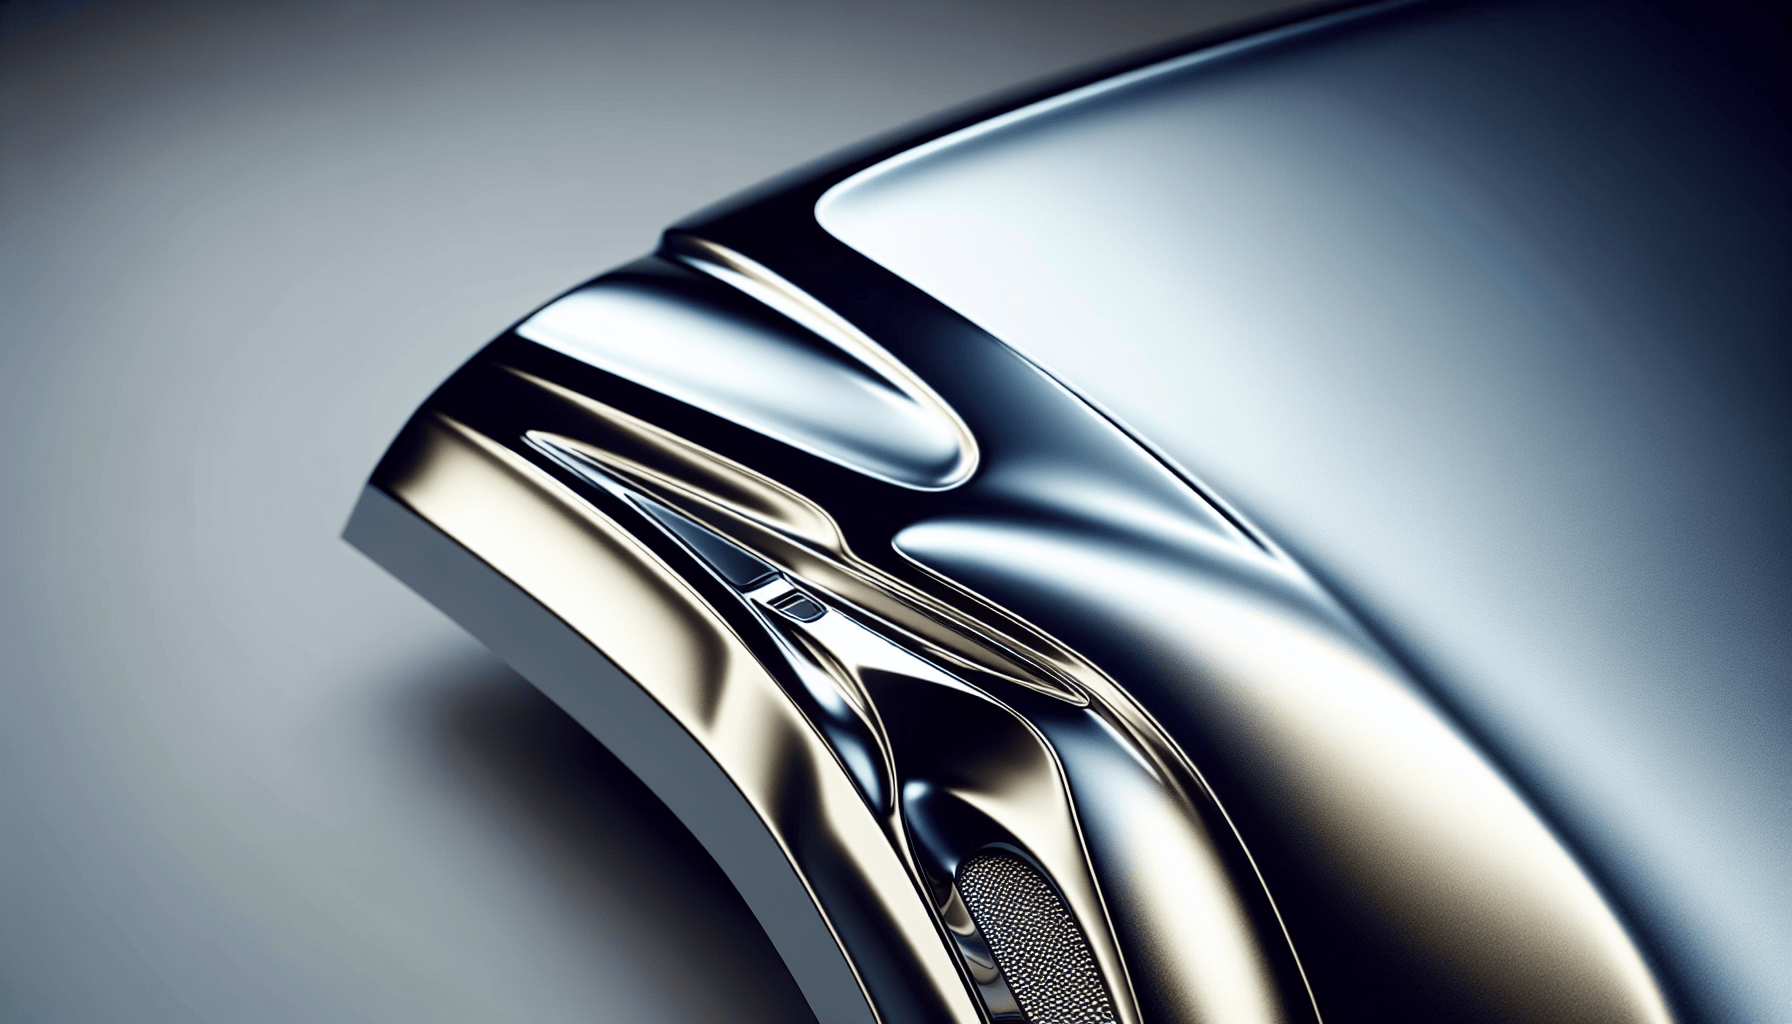
Polishing
Polishing can eliminate minor imperfections and enhance the shine.
- Polishing Compound: Use a polishing compound suitable for the type of paint.
- Polishing Pad: Use a soft polishing pad and work in small sections.
- Buffing: Buff the surface to a high shine using a clean cloth or a buffing pad.
Troubleshooting Common Issues
Achieving a flawless, smooth finish with metallic paint can come with its own set of challenges. Here’s how to address some common issues.
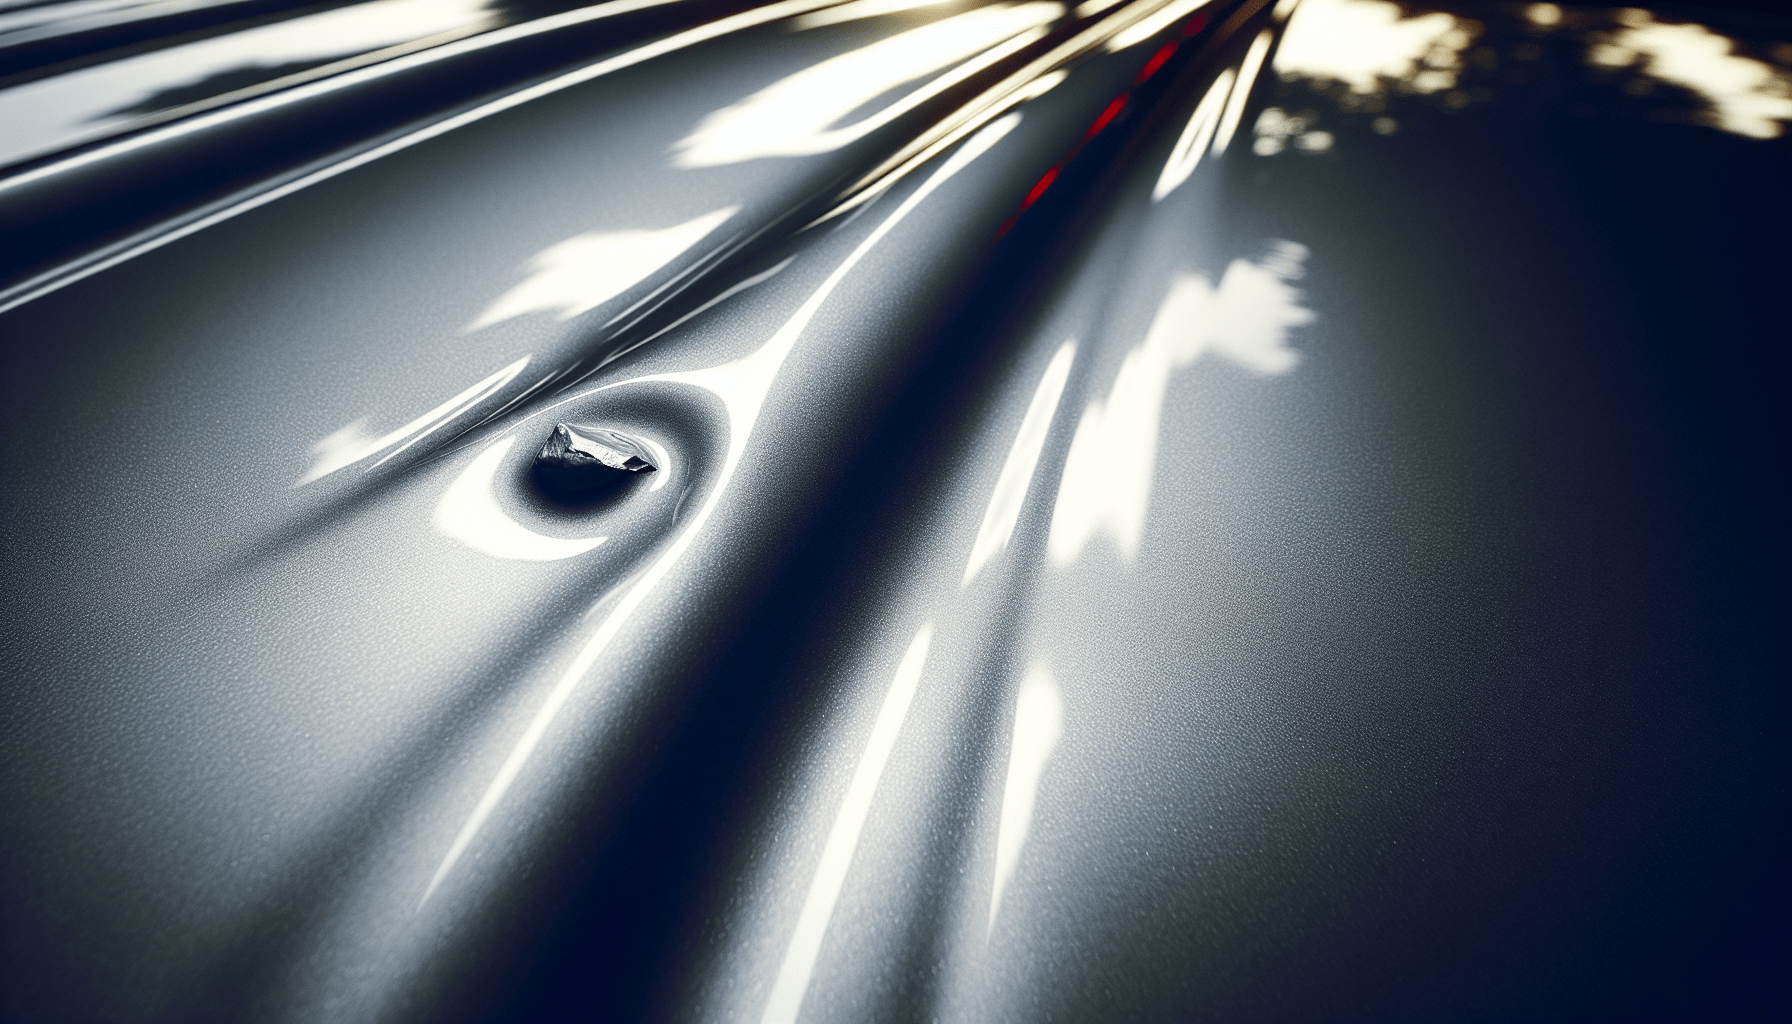
Drips and Runs
Drips and runs occur when too much paint is applied at once or the surface is not level.
- Solution: Allow the paint to dry completely, then sand the affected area smooth. Repaint the area with thin, even coats.
Uneven Texture
Uneven texture can result from improper mixing of the paint or inconsistent application.
- Solution: Ensure the paint is thoroughly mixed and apply thin, even coats. Sand between coats to maintain smoothness.
Orange Peel
Orange peel is a bumpy finish that looks similar to the surface of an orange.
- Solution: This can be fixed by wet sanding with very fine grit sandpaper (1000-2000 grit) and then polishing the surface.
Conclusion
Achieving a smooth finish with metallic paint requires careful preparation, the right tools, and meticulous application techniques. By understanding the properties of metallic paint and following the steps outlined above, you can create a stunning, professional-looking finish that enhances the overall appeal of your project. Remember, patience and attention to detail are your best tools in this endeavor.