Have you ever wondered how artists create those stunning watercolor paintings with intricate patterns that seem to magically repel the paint in certain areas? This magical effect is often achieved using a method known as resist techniques. As you delve into the world of watercolor resist, you will discover how to harness this method to craft your own beautiful artwork.
Understanding Resist Techniques in Watercolor
The resist technique in watercolor painting involves using a material that repels water to create designs and patterns on the paper. By painting over this material, the areas underneath remain untouched by the paint, creating stunning contrast and intricate designs. This method not only adds depth and complexity to your artwork but also offers a playful way to control the flow and direction of your paint.
Why Use Resist Techniques?
Resist techniques can elevate your watercolor paintings by introducing unique textures and shapes that are difficult to achieve with traditional brushwork alone. The method allows for a level of creativity that encourages experimentation and results in distinctive, eye-catching artwork. Whether you’re a beginner looking to explore new avenues in painting or an experienced artist seeking to refine your style, resist techniques offer a fresh approach to watercolor art.
Different Materials for Resist Techniques
Various materials can be used as a resist, each offering distinct effects and ease of use. Some common resist materials include:
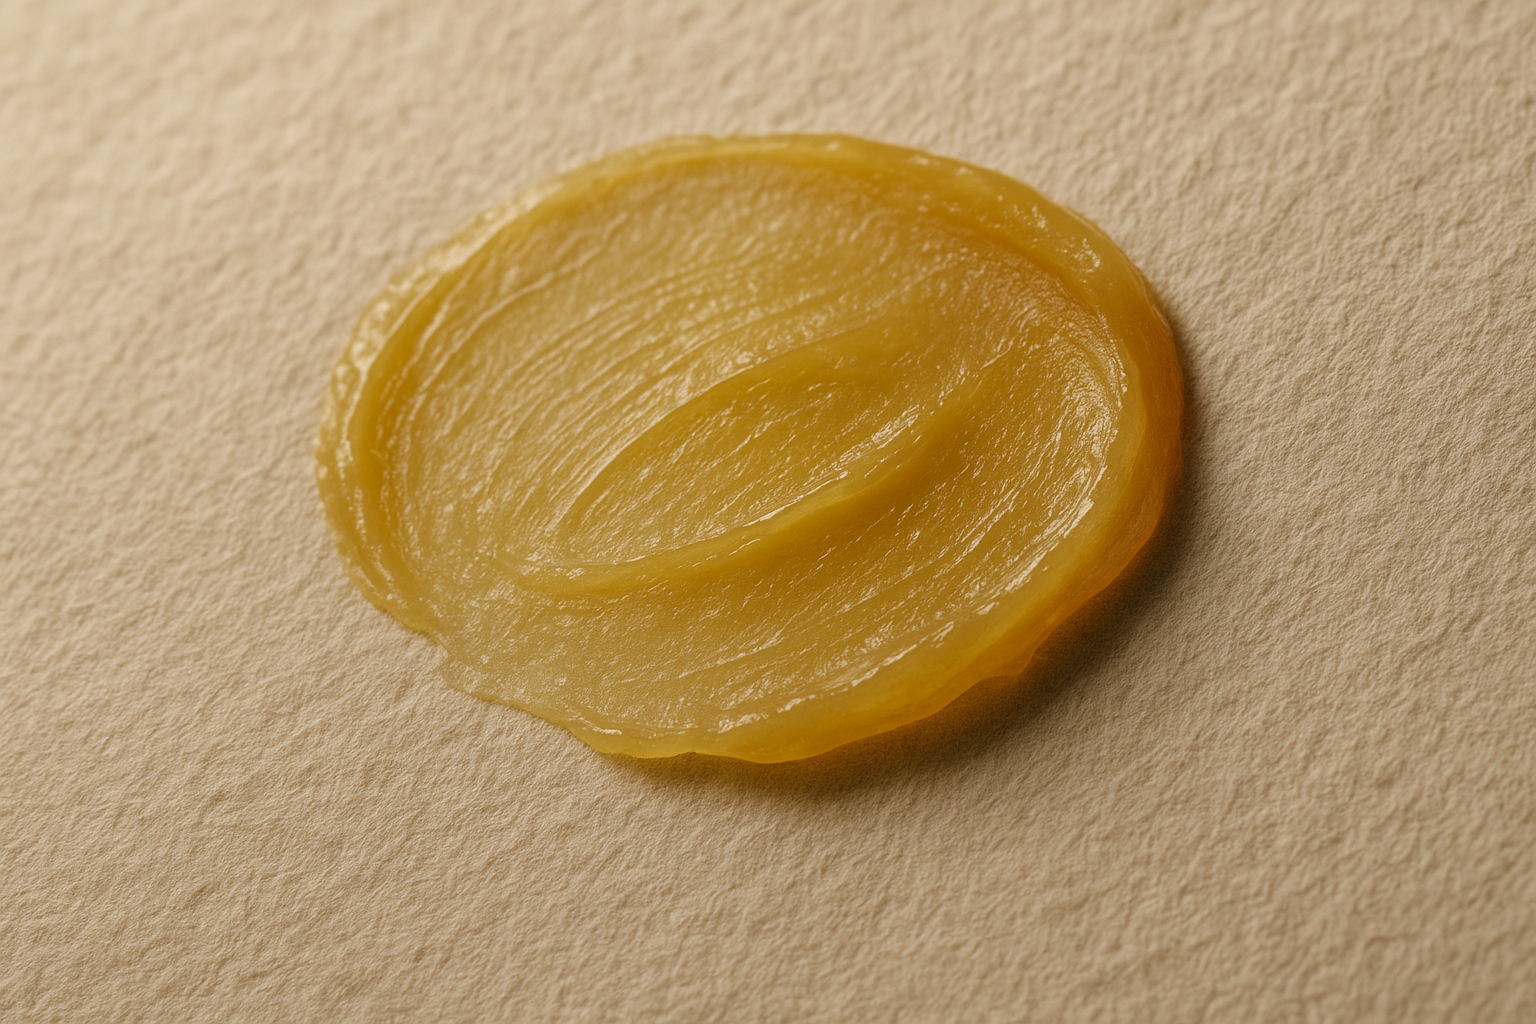
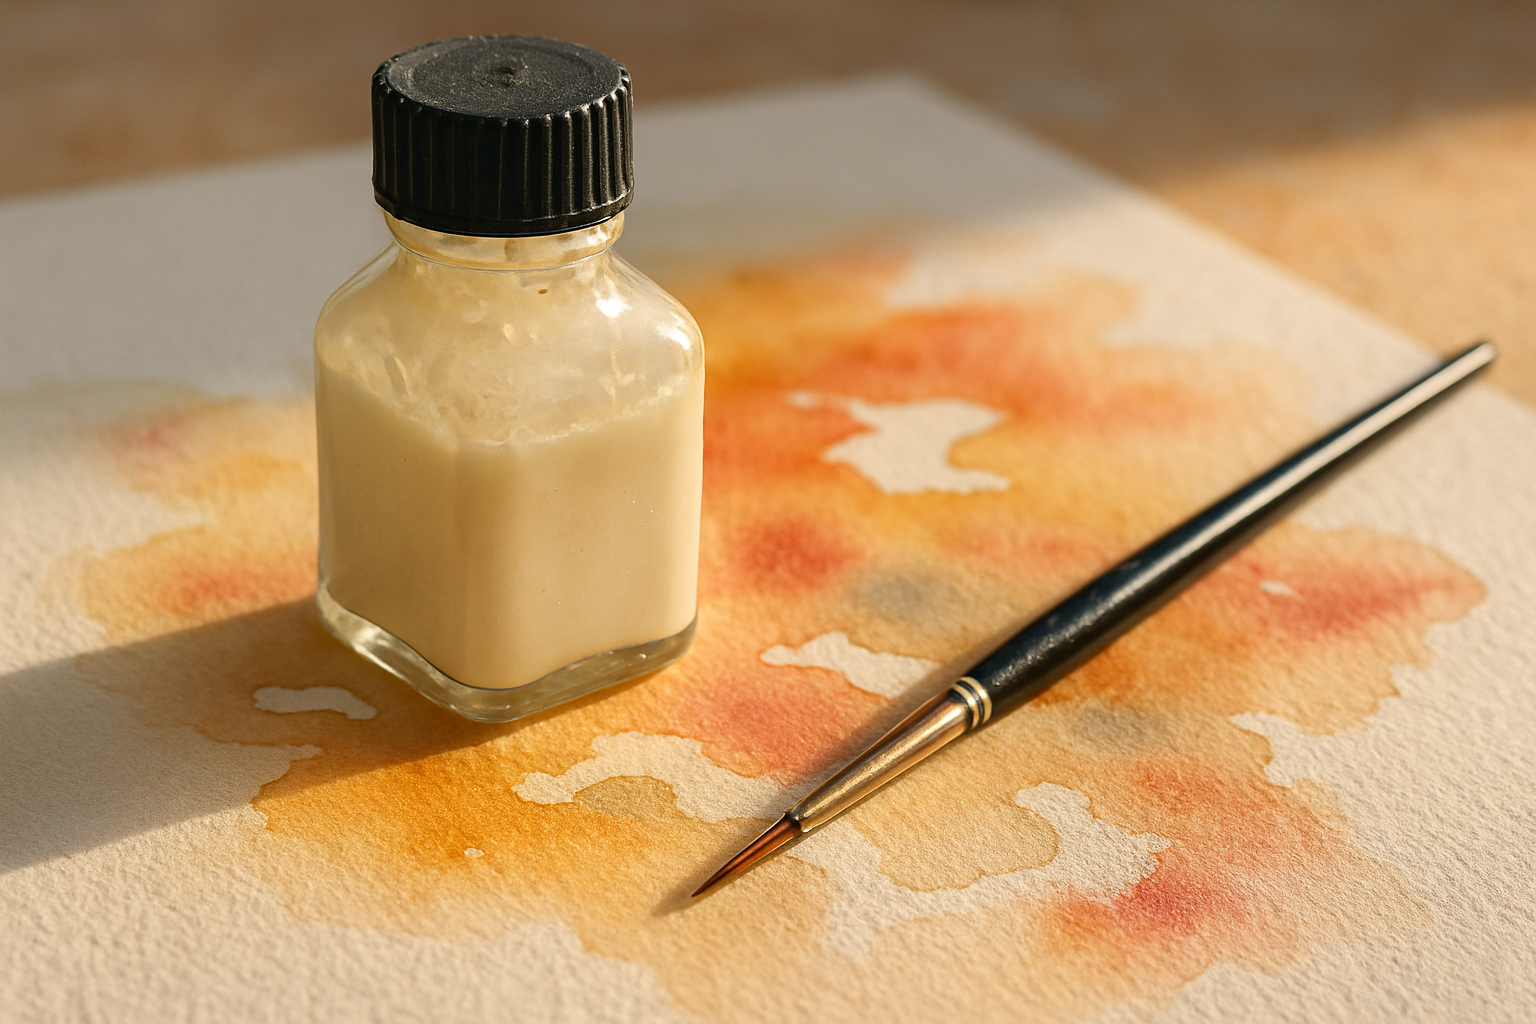
- Masking Fluid: Liquid latex that dries to form a waterproof mask.
- Crayons and Wax Candles: These can be used to draw designs before applying washes of color.
- Oil Pastels: Similar to crayons but typically offer more vibrant colors and smoother application.
- Rubber Cement: A glue that acts as a removable resist.
- Tape: Can be used to block out larger geometric shapes.
Understanding the properties of these materials enables you to choose the right one for your project and achieve the desired artistic effect.
Getting Started with Basic Resist Techniques
Before you start creating your masterpiece, it’s important to familiarize yourself with the basic resist materials and how they interact with watercolor paints.
Using Masking Fluid
Masking fluid is one of the most popular resist materials due to its precision and ease of use. When applying masking fluid:
-
Choose Your Tools: Use an old brush, dip pen, or a special tool designed for masking fluid application. These tools ensure precise lines and shapes.
-
Apply the Fluid: Carefully apply the fluid to the areas you want to resist the paint. Allow it to dry completely before adding any watercolor.
-
Apply Watercolor: Paint over the masked areas. Once dry, gently rub away the masking fluid to reveal white spaces beneath.
Experimenting with Crayons
Crayons provide an accessible and straightforward resist material. Here’s how to use them effectively:
-
Select Your Colors: Choose wax crayons in colors that will contrast with your watercolor palette.
-
Draw Your Design: Sketch your desired patterns directly onto the paper with the crayons.
-
Paint Over: Apply watercolor over the crayon design. The wax will prevent the paint from adhering to certain areas, revealing the crayon marks.
Incorporating Oil Pastels
Oil pastels offer a more sophisticated alternative to crayons, perfect for adult artists who want to retain vibrant, rich colors without sacrificing control.
-
Design and Draw: Use the oil pastels to create detailed designs on your paper.
-
Overlay with Watercolor: Apply paint over the pastel drawings. The oil in the pastels will resist the water, adding intensity to the colors.

Crafting Your Artwork: Projects and Inspirations
With the fundamentals of resist techniques in hand, it’s time to explore a few easy projects to test your skills and inspire further creativity.
Project 1: Resplendent Night Sky
Recreate the majestic beauty of a starry night by using masking fluid and watercolor.
-
Outline Your Stars: Use masking fluid to dot stars across your paper.
-
Create the Sky: Paint a gradient wash with deep blues and blacks, enhancing the night sky illusion.
-
Unveil the Stars: Once dry, remove the masking fluid to expose brilliant white stars against the dark sky.
Project 2: Vibrant Floral Patterns
Capture the essence of spring by blending wax crayon designs with watercolor botanicals.
-
Draw with Crayons: Sketch flowers and leaves using white or light-colored crayons.
-
Layer with Watercolor: Apply washes of vibrant green, yellow, or pink to reveal the crayon designs.
-
Detail and Finish: Add additional painted or inked details once the initial wash dries.
Project 3: Geometric Tape Designs
For a modern and bold piece, utilize tape to create structured geometric designs.
-
Plan and Tape: Lay tape across your watercolor paper to form shapes such as triangles or squares.
-
Apply Paint: Use varied colors to paint over the taped sections.
-
Remove the Tape: After drying, peel the tape carefully to exhibit your geometric design.
Advanced Resist Techniques to Explore
Once you are comfortable with the basic techniques, you can advance to more complex approaches that combine multiple materials for varied effects.
Combining Masking Fluid and Tape
Create layered designs by using both masking fluid and tape for intricate and textured artwork.
-
Apply Layered Resists: Start with tape for the large areas; add masking fluid for detailed sections.
-
Paint in Layers: Apply colors in layers, drying between applications, to build depth.
-
Reveal Your Work: Once all layers are dry, remove tape and fluid to see your finished piece.
Exploring Rubber Cement
Rubber cement serves a dual purpose as both a resist and an adhesive in mixed media artwork.
-
Create a Base: Apply rubber cement in sweeping patterns or specific shapes.
-
Overlay with Watercolors: Paint in vibrant hues over the dried cement.
-
Remove and Admire: Once thoroughly dry, rub away the cement to highlight your artistic intentions.

Troubleshooting and Tips for Success
As with any artistic technique, mastering resist in watercolor comes with its own set of challenges.
Common Issues and Solutions
Problem: Masking fluid tears the paper when removed.
- Solution: Ensure the paper is completely dry before removing the fluid and use a light hand.
Problem: Watercolor bleeds under the tape.
- Solution: Firmly press down on the tape edges to prevent leaks. Use high-quality masking paper and tape.
Best Practices
-
Test First: Always test your chosen resist material on a scrap piece of paper to see how it interacts with your watercolors.
-
Drying is Key: Allow ample drying time between applying and removing resist materials to avoid smudging or paper damage.
-
Layer with Intention: Carefully plan your layers and colors to create cohesive and meaningful artwork.
Conclusion
Harnessing resist techniques in watercolor painting offers you an opportunity to expand your artistic repertoire and create stunning, intricate works of art. Whether you’re aiming for crisp geometric designs or delicate floral patterns, understanding and utilizing these techniques allows for creative expression limited only by your imagination. As you continue to experiment and refine your skills, you will discover that the world of resist techniques provides endless possibilities for enriching your watercolor creations.