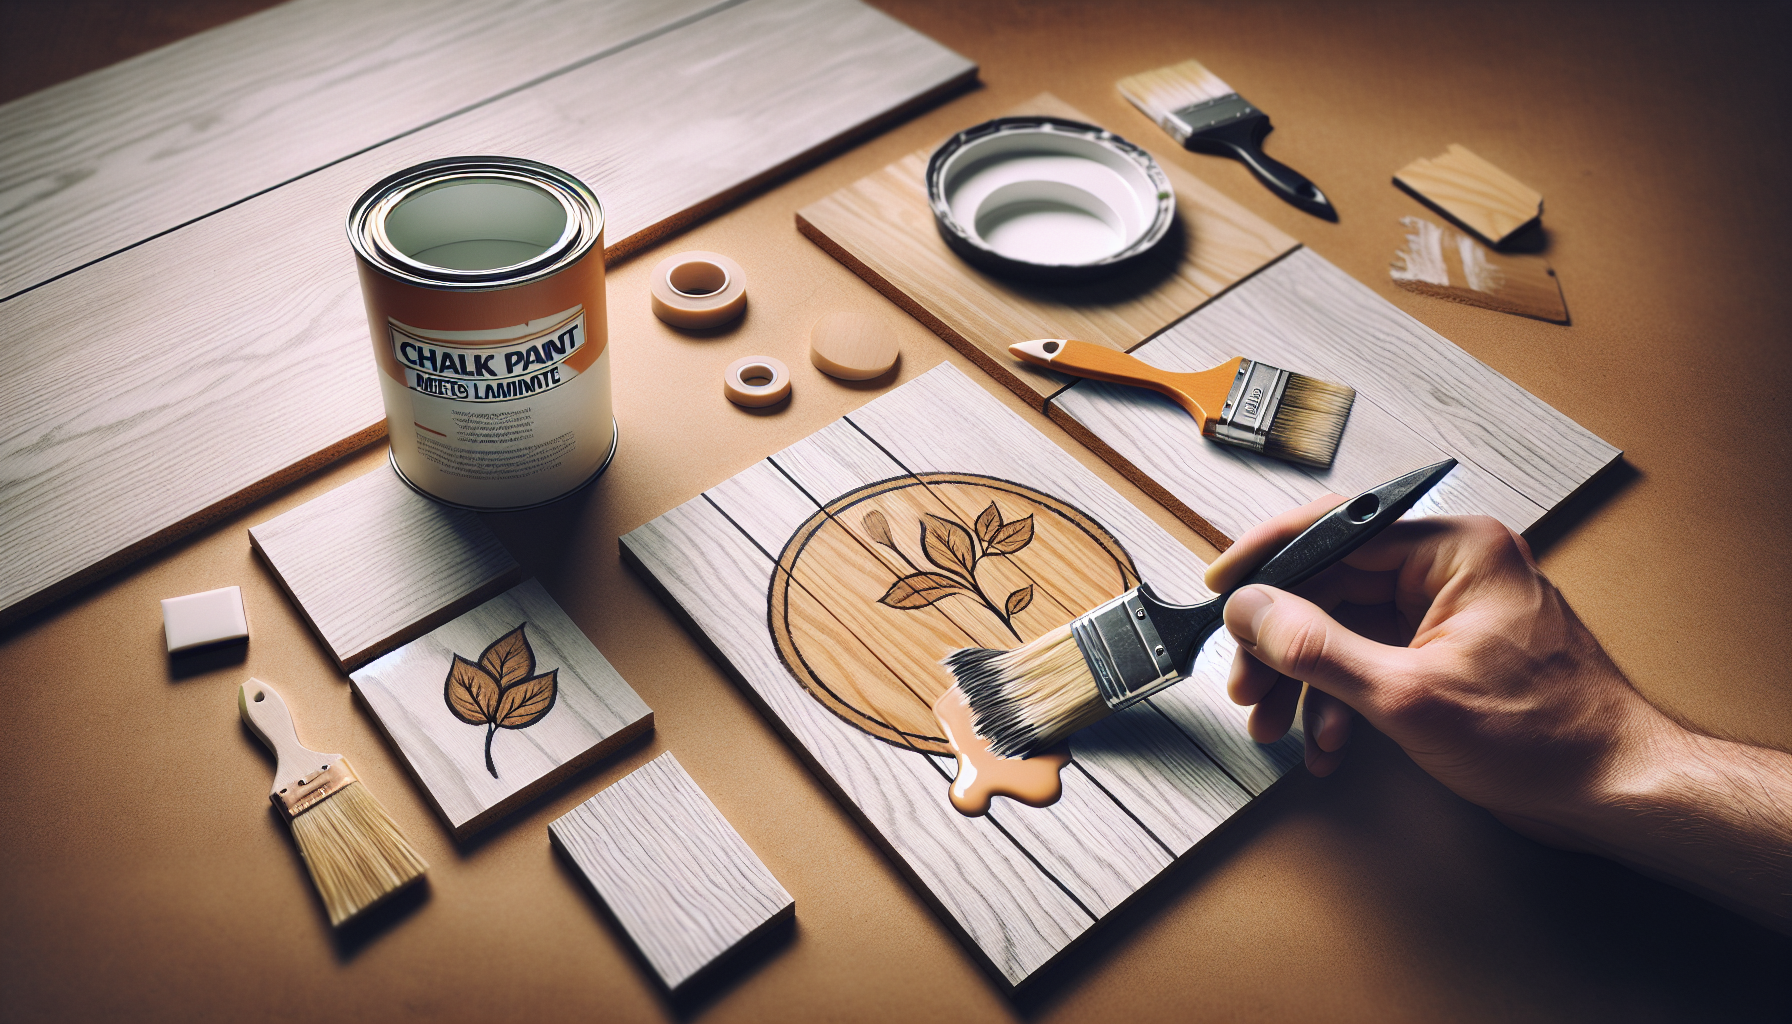
In the world of furniture refinishing and DIY projects, one popular technique that has gained considerable traction is using chalk paint. The matte, velvety finish it imparts on various surfaces has made it a go-to choice for anyone looking to revive tired furniture or give a fresh look to their home decor. However, with any painting task, there are often questions that arise regarding the best practices for achieving optimal results. One such query that frequently arises is whether or not it’s necessary to sand between coats of chalk paint. This article will shed light on this matter, offering insights and guidelines to help you navigate this aspect of your painting project with confidence and professionalism.
The Importance of Sanding Between Coats
Why is sanding necessary?
Sanding between coats of chalk paint is a crucial step in achieving a smooth and professional finish. While it may seem time-consuming, this process greatly enhances the overall appearance and longevity of your painted surface. Sanding helps to remove any imperfections, such as brush strokes, drips, or uneven texture, that may have occurred during the painting process. It also provides better adhesion for subsequent coats, allowing for a flawless and durable final result.
Benefits of sanding between coats
There are several benefits to sanding between coats of chalk paint. Firstly, it helps to create a smoother finish by leveling out any unevenness or imperfections. This is particularly important if you’re aiming for a sleek and polished look. Sanding also improves the paint’s adhesion to the surface, ensuring that subsequent coats adhere properly and don’t peel or chip over time. Additionally, sanding between coats allows for better color coverage and saturation, as the paint can penetrate more evenly into the surface.
Achieving a smoother finish
The primary goal of sanding between coats is to achieve a seamless and smooth finish. By sanding the surface, you can eliminate any visible brush strokes, drips, or rough texture that may have occurred during the painting process. It helps to create a more refined and professional appearance, especially for furniture or decorative pieces where a flawless finish is desired. Sanding also prepares the paint surface for subsequent coats, ensuring that each layer goes on evenly and smoothly.
Creating better adhesion for subsequent coats
Another significant advantage of sanding between coats is that it improves the adhesion of subsequent coats of chalk paint. Sanding creates a slightly rough surface, allowing the paint to adhere more effectively. This is particularly important when using chalk paint, as it is known to have a matte and chalky finish that can be prone to chipping or peeling. By sanding between coats, you enhance the bond between the paint layers, making them more durable and resistant to wear and tear.
When to Sand Between Coats
Before applying the first coat
It is recommended to sand the surface before applying the first coat of chalk paint. Sanding the bare surface helps to remove any dirt, debris, or previous finishes that may interfere with the paint’s adhesion. Sanding also creates a smooth base for the paint to adhere to, ensuring an even and consistent finish. By starting with a properly prepared surface, you set the foundation for a successful painting project.
After the first coat has dried
Once the first coat of chalk paint has dried, it is essential to sand the surface before proceeding with additional coats. This step allows you to address any imperfections or unevenness that may have occurred during the application of the first coat. Sanding at this stage helps to level out the surface and create a smoother canvas for the subsequent coats of paint. It is crucial to wait until the first coat is completely dry before sanding, as sanding a wet or tacky surface can result in a less desirable finish.
Between successive coats
Sanding between successive coats is a critical step in achieving a flawless and professional finish. After each coat of chalk paint has dried, lightly sand the surface to remove any visible brush strokes, drips, or texture. This process helps to create a more refined and seamless appearance, with each subsequent coat building upon the previous one. Sanding between coats also improves the paint’s adhesion, ensuring that the layers adhere well and create a strong and durable finish.
Final sanding before sealing
Before sealing or applying a protective topcoat, it is recommended to perform a final sanding. This step helps to ensure that the surface is smooth and free from any imperfections before the final finish is applied. It allows you to address any remaining rough spots, drips, or brush strokes, creating a polished and professional look. The final sanding before sealing also enhances the bond between the paint and the sealer, resulting in a more robust and long-lasting protective layer.

Tools and Materials Required
Sandpaper with different grits
To sand between coats of chalk paint, you will need sandpaper with different grits. The appropriate grit depends on the level of roughness or imperfections you need to address. Coarser grits, such as 80 or 120, are suitable for removing more substantial imperfections or previous finishes. Finer grits, such as 220 or 320, are ideal for smoothing the surface between coats and achieving a polished finish. It is recommended to have a range of grits available to accommodate varying needs throughout the sanding process.
Sandpaper holder or sanding block
Using a sandpaper holder or sanding block can make the sanding process more efficient and comfortable. These tools provide a firm grip on the sandpaper, allowing for better control and a consistent sanding motion. A sandpaper holder or block also helps to distribute pressure evenly, preventing uneven sanding or accidental gouging of the surface. These accessories are readily available in hardware stores and are worth investing in for a smoother and more professional sanding experience.
Tack cloth or lint-free cloth
A tack cloth or lint-free cloth is essential for removing dust and debris after sanding. These cloths are slightly sticky and effectively pick up any residual particles left behind on the surface. After sanding, gently wipe the painted area with a tack cloth to eliminate any sanding dust, ensuring that the surface is clean and ready for the next coat. Avoid using regular rags or towels, as they may leave lint or fibers on the surface, which can affect the final finish.
Proper Sanding Technique
Choosing the right grit
When it comes to sanding between coats of chalk paint, choosing the right grit is crucial. As mentioned earlier, coarser grits, such as 80 or 120, are suitable for removing more significant imperfections or previous finishes. Finer grits, such as 220 or 320, are ideal for smoothing the surface between coats and achieving a polished finish. It is recommended to start with a coarser grit if you have significant imperfections to address and gradually move to finer grits as you progress through the sanding process.
Sanding in a consistent direction
To achieve a professional and uniform finish, it is essential to sand in a consistent direction. When sanding, move the sandpaper or sanding block back and forth within the same direction. This helps to create even and smooth sanding marks, preventing any noticeable variations in texture. It is best to sand in the direction of the grain, if applicable, as this will further enhance the overall appearance and blend the sanding marks seamlessly with the wood.
Applying even pressure
Applying even pressure while sanding is essential to avoid uneven results. Use a firm and even pressure when sanding the surface, ensuring that you cover the area evenly. Avoid pressing too hard, as this can result in accidental gouging or excessive removal of the paint layers. Conversely, insufficient pressure may not effectively address imperfections or create the desired smoothness. Finding the right balance in your sanding technique is key to achieving optimal results.
Removing dust with a tack cloth
After sanding, it is crucial to remove any sanding dust or debris from the surface before proceeding with the next coat of paint. Use a tack cloth or lint-free cloth to gently wipe the area, picking up any residual particles. This step ensures that the surface is clean and free from contaminants, allowing for better adhesion and a flawless finish. Take care not to apply too much pressure while using the tack cloth, as this can inadvertently remove excess paint or create smudges.

Precautions to Take
Avoid oversanding
While sanding is an integral part of achieving a smooth finish, it is essential to avoid oversanding. Oversanding refers to excessive sanding that removes too much paint or alters the integrity of the surface. This can result in unevenness, patchiness, or even damage to the underlying material. To avoid oversanding, exercise caution and regularly check the progress of the sanding. Remember that it’s easier to remove paint gradually than to repair or repaint overly sanded areas.
Protecting surrounding surfaces
When sanding, it is crucial to protect any surrounding surfaces or areas that you do not want to be affected by sanding dust or accidental scratching. Use painter’s tape or plastic sheets to cover adjacent surfaces, ensuring that they remain clean and untouched by the sanding process. Additionally, consider working in a well-ventilated area or outdoors to minimize the spread of dust and ensure proper air circulation.
Wearing appropriate personal protective equipment (PPE)
To ensure your safety during the sanding process, it is important to wear appropriate personal protective equipment (PPE). Particularly, wear a dust mask or respirator to prevent inhaling any sanding dust particles. Gloves are also recommended to protect your hands from possible injuries or skin irritation. Safety glasses or goggles can shield your eyes from flying debris or accidental contact with the sandpaper. Prioritizing your safety by wearing the necessary PPE is a crucial aspect of any painting project.
Common Mistakes to Avoid
Skipping sanding between coats
One common mistake to avoid is skipping the sanding process between coats of chalk paint. While it may seem tempting to skip this step to save time or effort, it can result in an inferior and less durable finish. Sanding between coats is necessary to create a smooth and professional appearance, ensuring that each subsequent coat adheres correctly and provides optimal coverage. By neglecting to sand between coats, you risk a finish that may have visible imperfections, unevenness, or diminished adhesion.
Not using the correct sandpaper grit
Using the correct sandpaper grit is crucial for achieving desired results. It is important to select the appropriate grit for the task at hand, based on the level of imperfections or previous finishes you need to address. Using a grit that is too coarse may remove excessive paint or damage the surface, while a grit that is too fine may not effectively smooth out imperfections. Experimentation and testing with different grits on inconspicuous areas can help determine the most suitable sandpaper for your specific project.
Neglecting to remove dust before applying the next coat
Another common mistake to avoid is neglecting to remove dust or debris before applying the next coat of paint. Failure to remove sanding dust can result in poor adhesion, an uneven finish, or particles embedded in the fresh paint. After sanding, always use a tack cloth or lint-free cloth to wipe the surface clean of any residual dust, ensuring a clean and smooth canvas for the next coat. This small but crucial step greatly contributes to achieving a flawless and professional result.
Alternative Approaches to Achieving a Smooth Finish
Using a fine-grit sanding sponge
In addition to traditional sandpaper, a fine-grit sanding sponge can be an effective alternative for achieving a smooth finish. Sanding sponges are made of foam material and offer flexibility and ease of use. They are available in various grits, allowing you to choose the most suitable option for your project. Sanding sponges can be particularly useful for working on curved or intricate surfaces, as their flexibility allows for better maneuverability and contouring.
Buffing the final coat with steel wool
For an extra level of smoothness and shine, consider buffing the final coat of chalk paint with steel wool. After the final coat has dried, gently rub the surface with fine-grade steel wool, following the direction of the grain. This process helps to further smoothen the surface, remove any remaining imperfections, and create a subtle sheen. Be cautious not to apply too much pressure, as excessive buffing can result in over-smoothness or even remove layers of the paint.
Applying a wax or topcoat for added smoothness
Another approach to achieving a smoother finish is to apply a wax or topcoat over the painted surface. Wax or topcoat products can help fill in any remaining imperfections, create a subtle sheen, and enhance the overall smoothness of the finish. They provide an additional protective layer, making the painted surface more resistant to wear and tear. It is important to follow the manufacturer’s instructions when applying wax or topcoat, as each product may have specific application techniques or drying times.
Factors Influencing the Need for Sanding
The condition of the surface being painted
The condition of the surface being painted is an essential factor in determining the need for sanding between coats. If the surface is smooth, clean, and free from imperfections, the need for extensive sanding may be minimal. However, if the surface has previous finishes, scratches, or roughness, sanding becomes crucial to create a suitable base for the paint. Assess the condition of the surface and make a judgment call based on the desired end result and the level of smoothness required.
Quality and consistency of the chalk paint
The quality and consistency of the chalk paint can also influence the need for sanding. Some chalk paints are formulated to be self-leveling and may dry to a smooth finish without requiring extensive sanding between coats. However, other brands or variations of chalk paint may benefit from additional sanding to achieve the desired level of smoothness. Consider the specific characteristics and properties of the chalk paint you are using and adjust your sanding technique accordingly.
Desired finish and level of smoothness
The desired finish and level of smoothness are subjective and play a significant role in determining the need for sanding between coats. If you prefer a more rustic or distressed look, extensive sanding may not be necessary or desired. However, if you aim for a sleek and polished appearance, sanding becomes crucial to eliminate any imperfections or texture. Consider your personal preferences and the overall aesthetic you wish to achieve when deciding on the extent of sanding required for your project.
Expert Opinions on Sanding Between Coats
The views of professional painters
Professional painters often emphasize the importance of sanding between coats to achieve optimal results. They recognize the value of this step in creating a smooth and durable finish, particularly in high-end projects or when working with clients who expect a flawless appearance. Professional painters recommend using the appropriate sandpaper grit, following consistent sanding techniques, and removing dust thoroughly before proceeding with additional coats. Their firsthand experience and expertise validate the benefits and necessity of sanding between coats.
Advice from experienced DIY enthusiasts
Experienced DIY enthusiasts who have tackled various painting projects also advocate for sanding between coats of chalk paint. They have learned through trial and error the difference it makes in achieving a polished and professional finish. DIY enthusiasts often emphasize the importance of patience and attention to detail during the sanding process. They encourage beginners to embrace sanding as an integral part of the painting process and to not shy away from this crucial step.
Considering different perspectives
While the views of professional painters and experienced DIY enthusiasts hold significant weight, it is essential to consider different perspectives when deciding whether to sand between coats of chalk paint. Each project and individual preferences may vary, leading to different approaches and outcomes. Some individuals may prefer a more distressed or textured finish, where extensive sanding may not be necessary. Ultimately, it is crucial to experiment, learn from your own experiences, and find what works best for you and your specific project.
Final Thoughts
Sandpaper may not be the most glamorous tool in your painting arsenal, but its role in achieving a smooth and professional finish cannot be overstated. Sanding between coats of chalk paint is a necessary step that should not be overlooked or skipped. By sanding, you create a smoother finish, eliminate imperfections, and improve the adhesion of subsequent coats. It is important to follow the proper sanding technique, choose the right sandpaper grit, and remove dust before applying the next coat. While sanding may require time and effort, the long-lasting and impeccable results are well worth it. By embracing sanding as an integral part of your painting process, you can ensure that your chalk paint projects maintain their integrity and enjoy a beautiful and flawless finish.