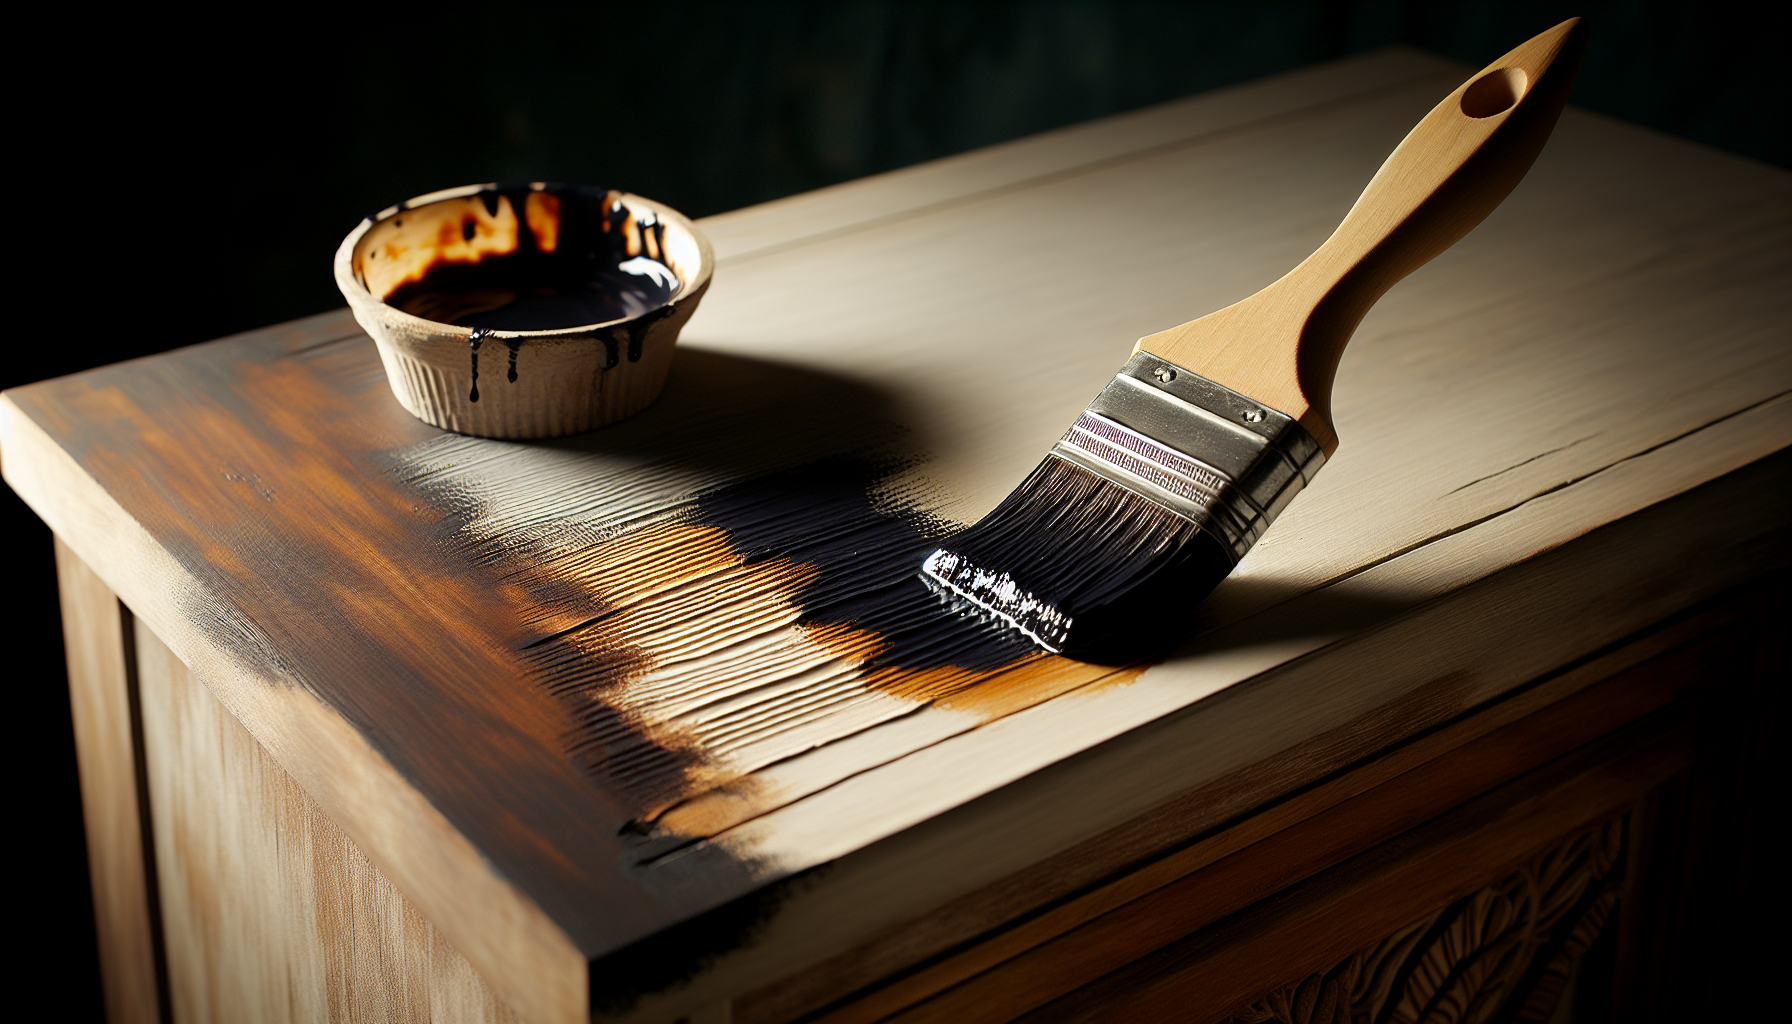
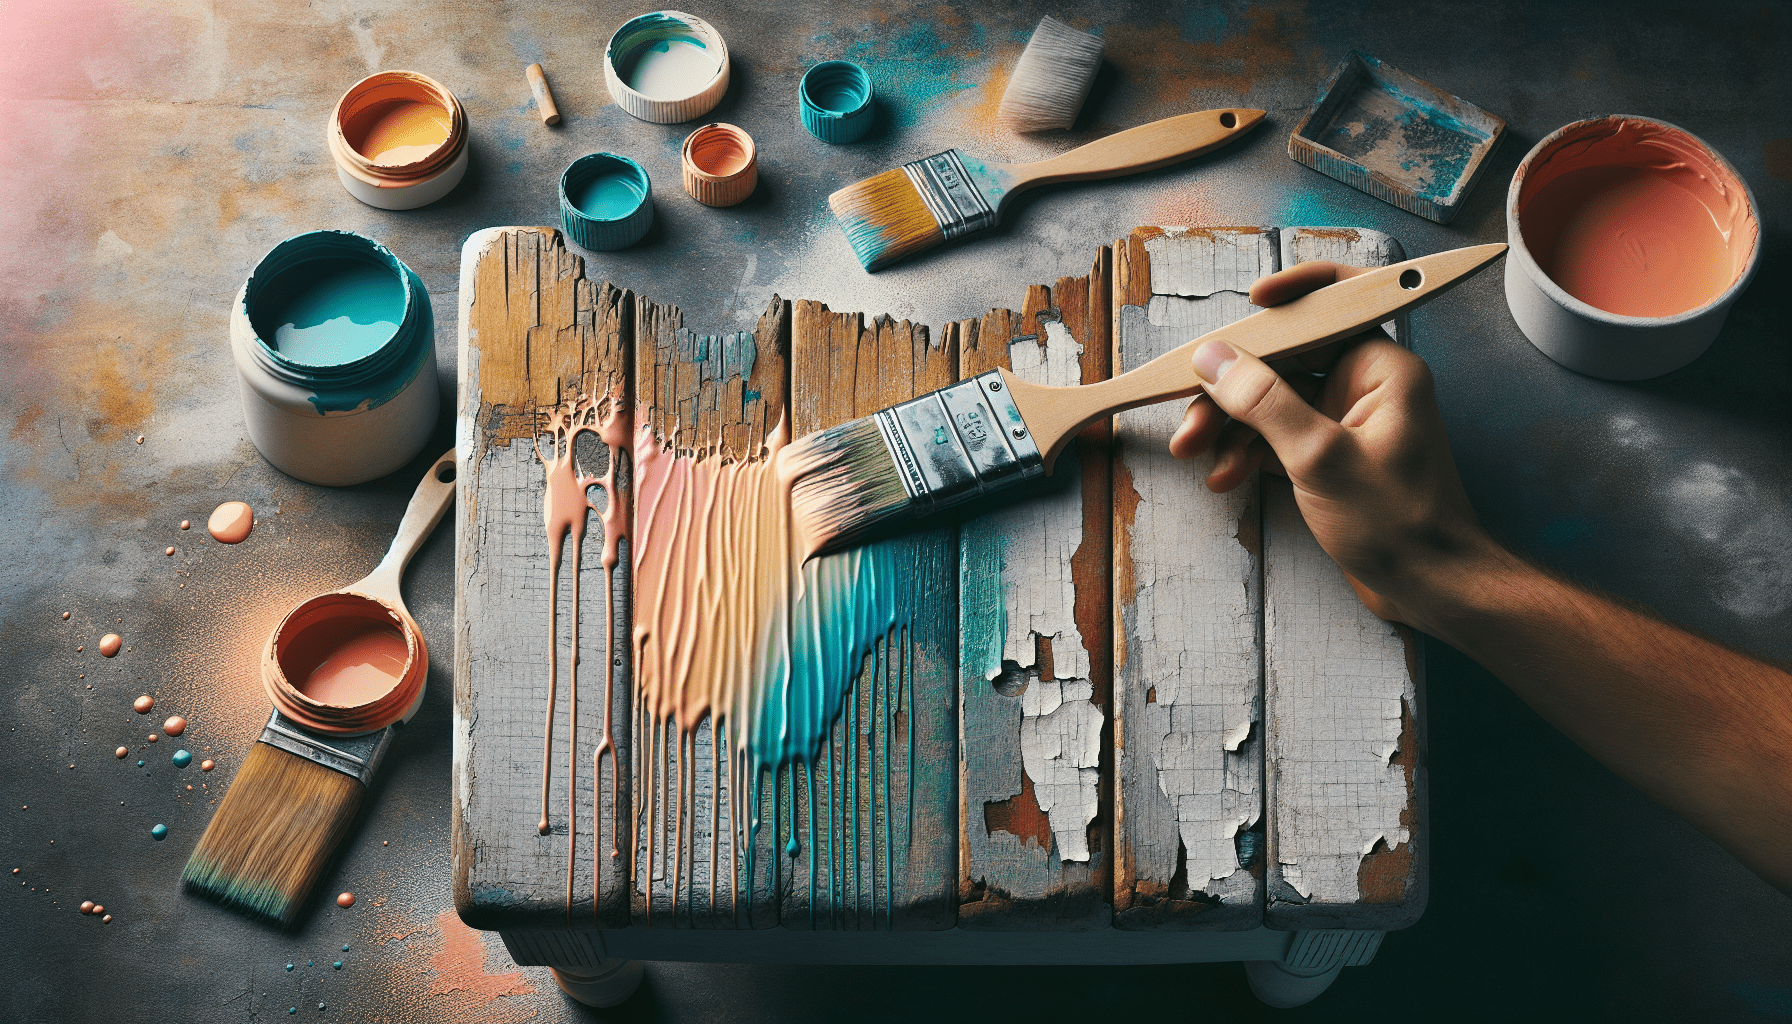
When using chalk paint, the question of whether to buff between coats of wax often arises. Buffing between coats provides a smooth and flawless finish, enhancing the overall appearance of the chalk paint. However, opinions on this matter differ among professionals. Some argue that buffing between coats allows the subsequent layer of wax to adhere better, ensuring a longer-lasting finish. Others believe that excessive buffing can potentially remove the previous layer of wax and disrupt the overall integrity of the paint. Understanding the merits and potential drawbacks of buffing between coats of wax can help you make an informed decision and achieve the desired results in your chalk paint project.
What is Chalk Paint
Chalk paint is a type of paint that is known for its matte, velvety finish. It is commonly used on furniture and other surfaces to create a distressed or vintage look. Unlike traditional paint, chalk paint does not require priming or sanding before application, making it a popular choice for DIY projects.
Definition
Chalk paint is a water-based paint that contains chalk as one of its key ingredients. The chalk provides the paint with its unique texture and allows for easy application and adhesion to various surfaces. This type of paint is often favored by those who want to achieve a shabby-chic or rustic look on their furniture or home decor.
Characteristics
Chalk paint has several characteristics that set it apart from other types of paint. Firstly, it has a high level of pigmentation, which means that it provides excellent coverage even with just one coat. This can be a time-saving factor for those who are working on large projects.
Secondly, chalk paint has a quick drying time, typically within 30 minutes to an hour. This allows for multiple coats to be applied in a relatively short amount of time, speeding up the overall painting process.
Thirdly, chalk paint has a unique matte finish. This finish is often described as chalky or velvety and adds a touch of elegance to any surface it is applied to. The matte finish also helps to hide imperfections and gives a more authentic vintage or distressed look.
Lastly, chalk paint is known for its ease of use. It adheres well to most surfaces, including wood, metal, and even glass. It also has a low odor, making it a suitable choice for indoor projects.
Applying Wax on Chalk Paint
Once you have applied chalk paint to your desired surface, it is common practice to apply a coat of wax to protect the paint and enhance its longevity. Wax acts as a sealant, creating a durable barrier that helps prevent chipping and scratching.
Choosing the Right Wax
There are various types of wax available for use on chalk paint, such as clear wax, dark wax, and colored waxes. Clear wax is the most commonly used option as it allows the paint color to show through while providing a protective layer. Dark wax, on the other hand, is used to create an aged or distressed look by darkening the paint color. Colored waxes can add a pop of color or enhance the existing shade of the paint.
When choosing wax, it is essential to consider the desired outcome and the look you want to achieve. Clear wax is recommended for beginners as it is more forgiving and easier to work with.
Preparing the Surface
Before applying wax, it is crucial to prepare the surface properly. Ensure that the paint has fully dried and cured, usually within 24 hours. It is also important to remove any dust or debris from the surface by lightly sanding it or using a tack cloth.
Applying the First Coat of Wax
To apply the first coat of wax, use a wax brush or a lint-free cloth. Load the brush with a small amount of wax and apply it in a thin, even layer. Work in small sections, applying the wax in a circular motion. Make sure to cover all painted areas.
Once the entire surface is covered in the first coat of wax, allow it to dry for the recommended amount of time specified by the wax manufacturer. This is typically around 24 hours.
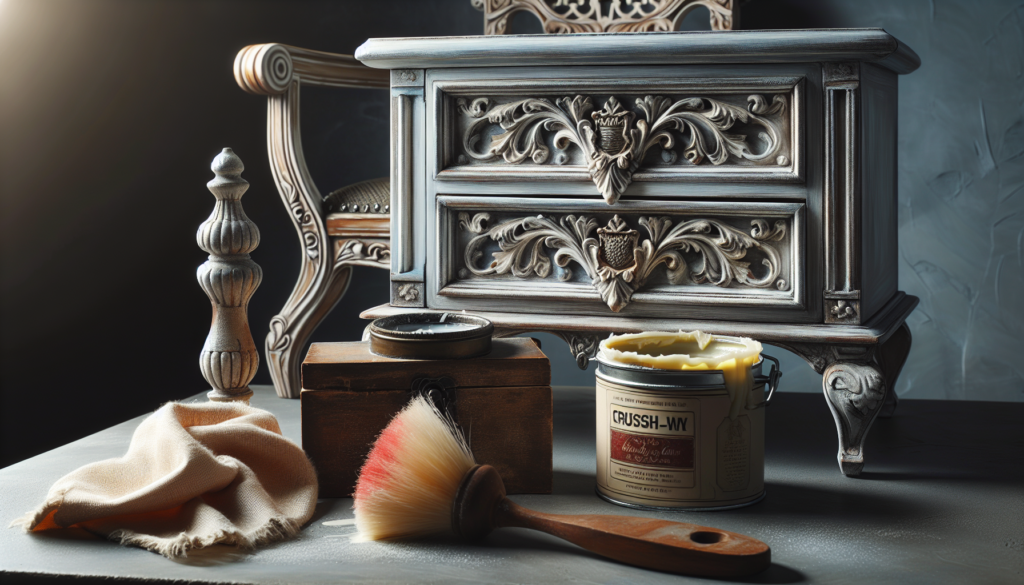
Do you Need to Buff Between Coats of Wax?
Buffing between coats of wax is a commonly debated topic among DIY enthusiasts. While some swear by the benefits of buffing, others argue that it is unnecessary. Let’s explore the advantages of buffing and the factors to consider before deciding whether or not to buff between coats of wax.
Benefits of Buffing
Buffing between coats of wax helps to achieve a smooth and flawless finish. It removes any excess wax and evens out the surface, leaving a professional-looking result. Buffing also enhances the luster and sheen of the wax, giving it a more polished appearance.
Furthermore, buffing can help to minimize any streaks or brush marks that may have been left behind during the application of the wax. It ensures an even distribution of the wax, creating a more consistent finish.
Factors to Consider
While buffing has its benefits, there are factors to consider before incorporating this step into your waxing process. The first factor to consider is the type of wax you are using. Some waxes are formulated to be self-leveling and do not require buffing. If you are using such a wax, buffing may not be necessary.
The second factor to consider is the desired level of sheen or shine. Buffing can enhance the luster of the wax, but if you prefer a more subdued finish, buffing may not be necessary.
Lastly, consider the time and effort you are willing to invest. Buffing can be a time-consuming process, especially if you are working on a large surface area. If you are looking for a quick and easy application, you may choose to skip buffing.
Alternatives to Buffing
If you decide not to buff between coats of wax, there are alternatives to consider. One option is to use a wax with a self-leveling formula that does not require buffing. Another alternative is to apply the wax in thinner coats, ensuring that each coat is spread evenly and thinly. This can help minimize the need for buffing while still achieving a smooth finish.
Buffing Techniques
If you have decided to incorporate buffing into your waxing process, there are several techniques you can use. The choice of technique depends on personal preference and the tools you have on hand.
Using a Cloth
One of the most common buffing techniques is using a cloth. This can be a lint-free cloth, an old t-shirt, or even a piece of cheesecloth. Fold the cloth into a manageable size and gently rub it over the waxed surface in circular motions. Apply light to medium pressure to achieve the desired level of shine.
Using Steel Wool
Steel wool can be used for more intensive buffing or when dealing with stubborn wax buildup. Ensure that you are using a fine-grade steel wool to avoid scratching the surface. Similar to the cloth technique, apply light pressure and buff in circular motions. Be cautious not to over-buff, as this can remove too much wax and affect the protective layer.
Using Sandpaper
If you are aiming for a distressed or aged look, sandpaper can be used to create the desired effect. Use a fine-grit sandpaper and gently rub it over the waxed surface, focusing on the edges and areas that would naturally wear over time. This technique removes some of the wax and paint, giving a weathered appearance.
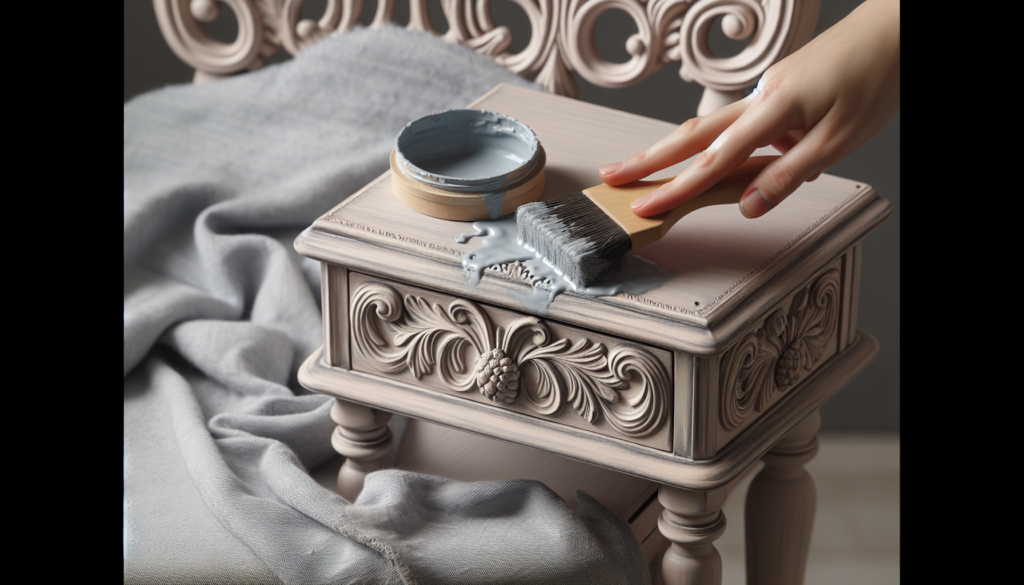
How to Buff between Coats of Wax
Buffing between coats of wax involves a few additional steps to ensure a smooth and even finish. Follow these steps to achieve the best results.
Cleaning the Surface
Before applying a second coat of wax, lightly clean the surface to remove any dust or debris that may have accumulated since the application of the first coat. Use a clean, lint-free cloth or a soft brush to gently wipe or brush away any particles. This step is crucial to ensure that the second coat of wax adheres properly.
Applying Second Coat of Wax
Once the surface is clean, apply the second coat of wax using the same technique as the first coat. Remember to work in small sections, applying the wax in a thin, even layer. Take care to cover any missed spots or areas that may require additional protection.
Buffing the First Coat
After applying the second coat of wax, allow it to dry for the recommended amount of time specified by the wax manufacturer. Once the wax is dry, use your chosen buffing technique to even out the surface and enhance the shine. Buff in circular motions, applying light to medium pressure. Take your time and ensure that the wax is evenly spread.
Frequency and Number of Coats
The frequency and number of coats of wax required vary depending on the desired level of protection and the specific project. However, there are some general guidelines to consider.
Importance of Multiple Coats
Applying multiple coats of wax is recommended to achieve maximum durability and protection. Each coat adds an additional layer of sealing and enhances the strength of the finish. Multiple coats also help to build up the desired level of sheen or shine.
Drying Time between Coats
It is crucial to follow the recommended drying time specified by the wax manufacturer between each coat. Rushing the process can lead to uneven drying, adhesion issues, or even surface damage. Typically, the drying time ranges from 12 to 24 hours, but it is best to consult the specific wax product for accurate information.
Number of Coats Required
The number of coats required depends on personal preference and the condition of the surface. As a general guideline, two to three coats of wax are often sufficient for most projects. However, heavily used surfaces or high-traffic areas may benefit from additional coats for added protection.
Maintaining Chalk Painted Surfaces
Proper maintenance is key to keeping your chalk-painted surfaces looking their best. Follow these maintenance tips to ensure the longevity and beauty of your painted creations.
Regular Dusting
Dust can accumulate over time and dull the finish of chalk-painted surfaces. To prevent this, regularly dust the surface with a soft cloth or a feather duster. This will help maintain the sheen and keep your piece looking fresh and clean.
Cleaning with Mild Soap
If your chalk-painted surface requires deeper cleaning, use a mild soap diluted in warm water. Dip a soft cloth or sponge into the soapy solution and gently clean the surface. Avoid harsh chemicals or abrasive cleaners, as these can damage the paint and wax.
After cleaning, make sure to thoroughly rinse the surface with clean water to remove any soap residue. Allow the surface to dry completely before applying additional wax or maintenance products.
Reapplying Wax
Over time, the wax on chalk-painted surfaces may wear down or become less effective. To maintain the protective barrier and sheen, it is recommended to periodically reapply wax. This can be done by following the same steps for applying the first coat of wax. Buffing can be done if desired or necessary.
Common Mistakes to Avoid
While working with chalk paint and wax, it is important to be aware of certain common mistakes that can affect the final result. By avoiding these mistakes, you can achieve a professional-looking finish.
Applying Too Thick Coats
One of the most common mistakes is applying thick coats of wax. Thick coats take longer to dry and can result in an uneven finish. Additionally, excessive wax can lead to a sticky or slippery surface. To avoid this, always apply thin, even layers of wax, allowing each coat to dry fully before applying the next.
Not Allowing Sufficient Drying Time
Proper drying time is crucial for the wax to cure and create a durable protective layer. Rushing the drying process can lead to a compromised finish. Ensure that each coat of wax is given ample time to dry according to the manufacturer’s recommendations.
Not Buffing Properly
Buffing is an important step in achieving a smooth and polished finish. If buffing is part of your waxing process, make sure to take your time and use the correct technique. Apply light to medium pressure and work in circular motions to even out the surface and enhance the sheen.
Final Thoughts
When it comes to waxing between coats of chalk paint, the decision ultimately comes down to personal preference and the desired outcome. Some individuals prefer to buff between coats to achieve a flawless and polished finish, while others find it unnecessary. Experimenting with different techniques and finding what works best for you is key.
Remember to choose the right wax for your project, prepare the surface properly before waxing, and apply thin, even coats of wax. Regular maintenance and proper cleaning will help to keep your chalk-painted surfaces looking beautiful for years to come.
FAQs
Can I Wax Over an Existing Wax Coat?
Yes, you can wax over an existing wax coat. However, it is essential to ensure that the existing wax is clean and free of any debris or residue before applying a new coat. If the existing wax is dirty or has lost its sheen, it is recommended to clean and lightly buff the surface before reapplying wax.
Do I Need to Buff if I’m Not Applying Multiple Coats?
Buffing is not necessary if you are not applying multiple coats of wax. Buffing is typically done between coats to achieve a smooth and polished finish. If you are only applying one coat of wax, you can simply apply the wax in a thin, even layer and allow it to cure without buffing.
Can I Apply Wax without Using Chalk Paint?
While wax is commonly used as a protective finish for chalk paint, it can also be used on other types of paint or surfaces. However, it is important to note that the adhesion and compatibility of the wax may vary depending on the specific paint and surface. It is recommended to test the wax on a small, inconspicuous area before applying it to the entire surface.

