?Would you like to create a safe, sensory, and visually engaging art activity that teaches kids about color, pattern, and cause-and-effect?

DIY Shaving Cream Marbling For Kids
DIY shaving cream marbling is a simple, low-cost, and highly engaging art activity that produces beautiful marbled paper and fabrics. You will find this technique particularly useful for classroom projects, rainy-day crafts, or family art time because it combines sensory play with clear, teachable steps and immediate visual rewards.
What is shaving cream marbling?
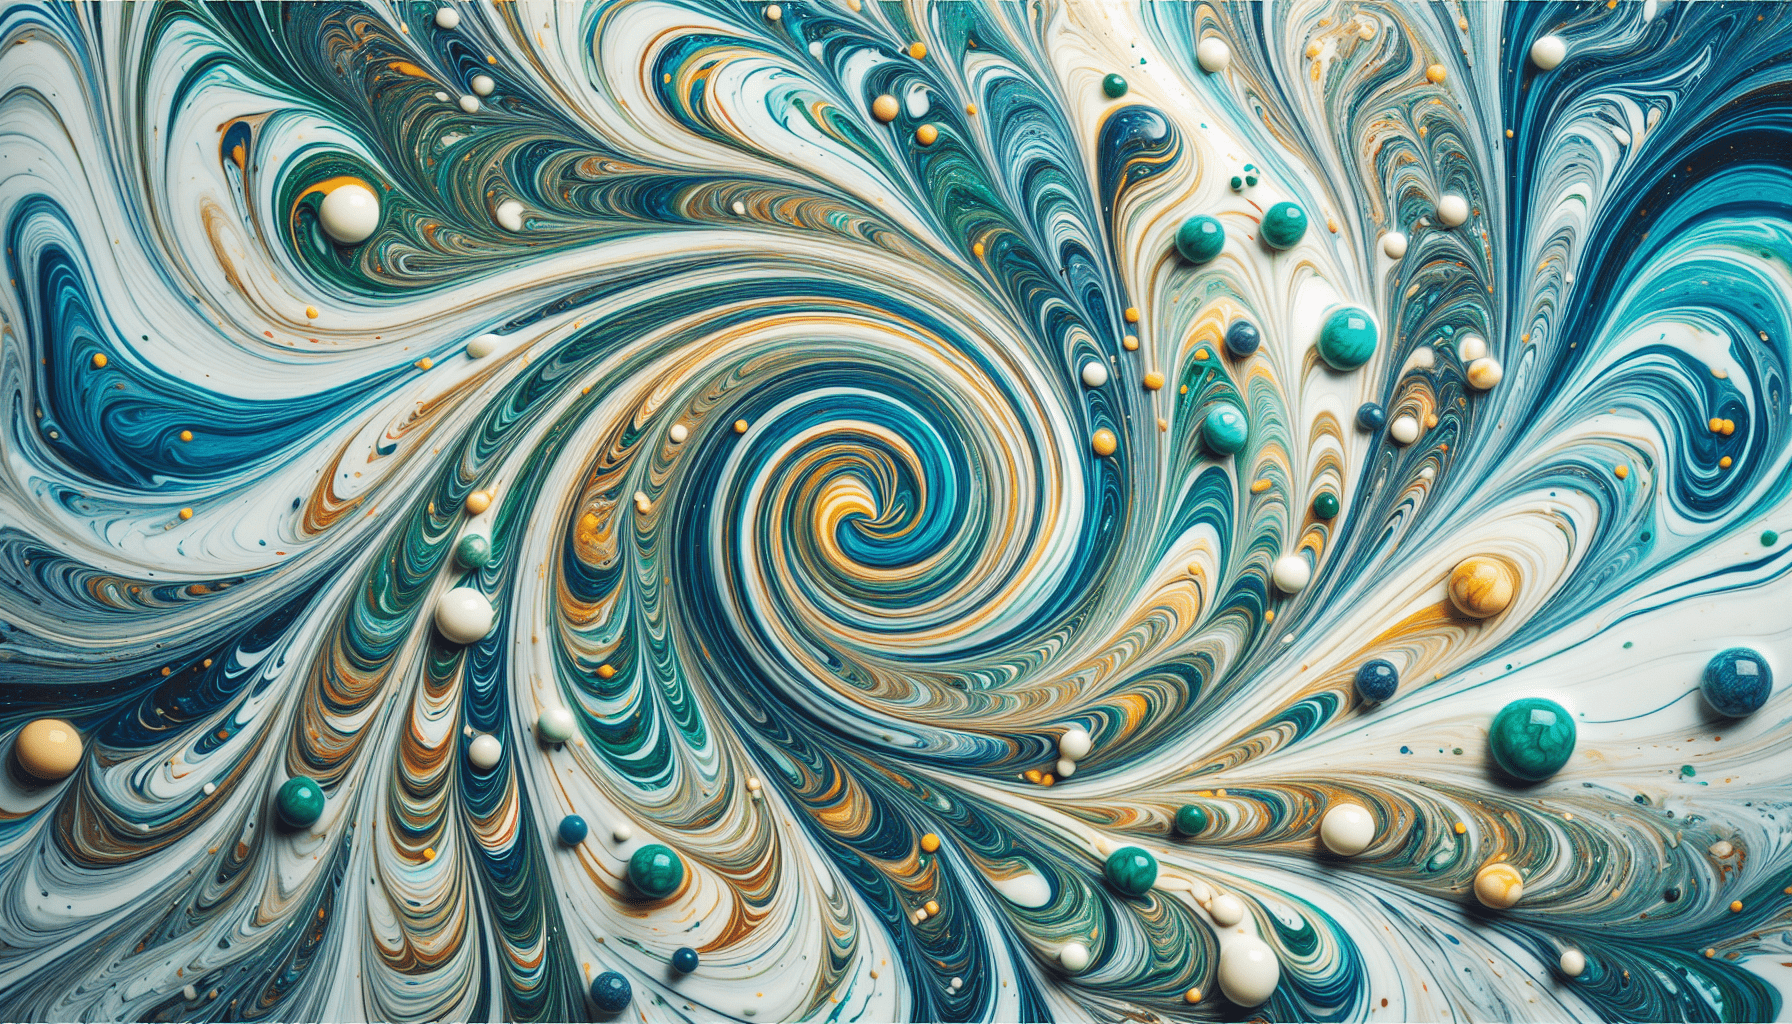
Shaving cream marbling is a surface-printing technique where you use shaving cream as a medium to float inks or liquid paints and transfer the resulting patterns onto paper or fabric. The shaving cream acts as a temporary, textured surface that holds color while you manipulate it into swirls, waves, and patterns that mimic traditional marbled paper.
Why use shaving cream for marbling with kids?
You will appreciate that shaving cream marbling is quick to set up, uses materials commonly available in households, and allows for repeated experimentation. It gives children tactile feedback and a nearly instantaneous result, which supports learning through trial and correction. The activity is also adaptable to many ages and skill levels.
Safety and materials
Always prioritize safety and consider allergy and contact precautions before starting. You will find this section useful to prepare responsibly.
Safety considerations
You must ensure that the shaving cream you use is non-aerosol or labeled safe for skin contact, especially with younger children. Avoid foam or gels that contain irritants, fragrances, or antibacterials if any participant has sensitive skin. Supervise children closely to prevent ingestion or contact with eyes. Keep wet wipes, water, and a first-aid kit on hand.
Materials list
The following table summarizes recommended materials, why they are used, and suggested alternatives.
| Item | Purpose | Recommended alternatives |
|---|---|---|
| Shaving cream (non-aerosol or sensitive skin formula) | Base medium that holds paint for marbling | Non-aerosol shaving soap whipped to foam; whipped shampoo (test for safety) |
| Food coloring or liquid water-based paint (tempera or acrylic thinned) | Provides color that floats on shaving cream | Liquid watercolor, fabric dye (for fabric projects) |
| Disposable shallow tray or baking sheet | Holds the shaving cream layer | Reusable plastic tray (lined with wax paper for easier cleanup) |
| Stir sticks, plastic spoons, or toothpicks | Manipulate colors to create patterns | Paintbrush handles, skewers |
| Ruler or straight edge | Remove excess shaving cream from paper | Cardboard scraper, credit card (old) |
| Heavyweight paper, cardstock, or fabric (cotton or silk) | Receives marbled design | Printable fabric sheets, rice paper |
| Gloves (optional) | Protect hands from staining | None, but recommended for younger kids |
| Apron or protective clothing | Protect clothing from stains | Old shirts, smocks |
| Paper towels and wet wipes | Immediate cleanup of hands and surfaces | Soft cloths, bucket of water |
| Small cups or droppers | Dispense color precisely | Pipettes, medicine droppers |
Age recommendations and supervision
Shaving cream marbling is adaptable but requires varying levels of supervision depending on age.
| Age group | Supervision level | Notes |
|---|---|---|
| 2–4 years | Constant, hands-on | Focus on sensory exploration with very safe materials; avoid ingestible items |
| 5–7 years | High | Guide color use and provide assistance with transferring prints |
| 8–12 years | Moderate | Encourage experimentation with patterns and color mixing |
| Teens | Low to moderate | Allow design planning and more complex techniques; discuss color chemistry |
Preparation and workspace setup
Organizing your workspace will ensure the activity runs smoothly and safely. You will spend less time on cleanup and more time on the creative process when you prepare well.
Choosing a workspace
Set up on a flat, stable surface that is easy to clean, such as a table covered with a disposable tablecloth or craft paper. Consider doing the activity outdoors when weather permits to reduce inhalation concerns and make cleanup easier.
Preparing the shaving cream base
Shake or whip the shaving cream if required (follow product instructions). Use enough shaving cream to create a 1/4 to 1/2 inch layer across your tray. The thickness should be consistent so the color floats evenly. If you are using a non-aerosol shaving soap, whip it with a handheld mixer and water to reach a fluffy consistency.
Preparing colors
Dilute liquid paints or food coloring with small amounts of water so they are fluid enough to float without sinking. Place each color in a small cup or in a squeeze bottle for controlled application. Test each color in a small drop in the shaving cream to make sure it stays on the surface.
Step-by-step marbling technique
This section provides a clear, stepwise approach to achieving consistent marbled results. Follow each step carefully to reduce mess and maximize artistic outcomes.
Step 1: Spread the shaving cream
Evenly spread the shaving cream across your tray using a spatula or gloved hand to create a flat surface. The layer should be smooth and level, not lumpy. A flat surface yields more predictable patterns.
Step 2: Add drops of color
Dispense small drops of color onto the surface of the shaving cream. Space the drops apart so they do not immediately merge; this allows you to manipulate shapes and create more intricate patterns. Use a color palette that contrasts well (e.g., dark colors on light cream) for maximal visual impact.
Step 3: Create patterns with tools
Use toothpicks, skewers, or stir sticks to drag colors across the shaving cream. Create lines, circles, loops, and other shapes. You will notice that different tool motions create different effects: pulling a stick straight through creates feathery lines, while swirling creates concentric shapes.
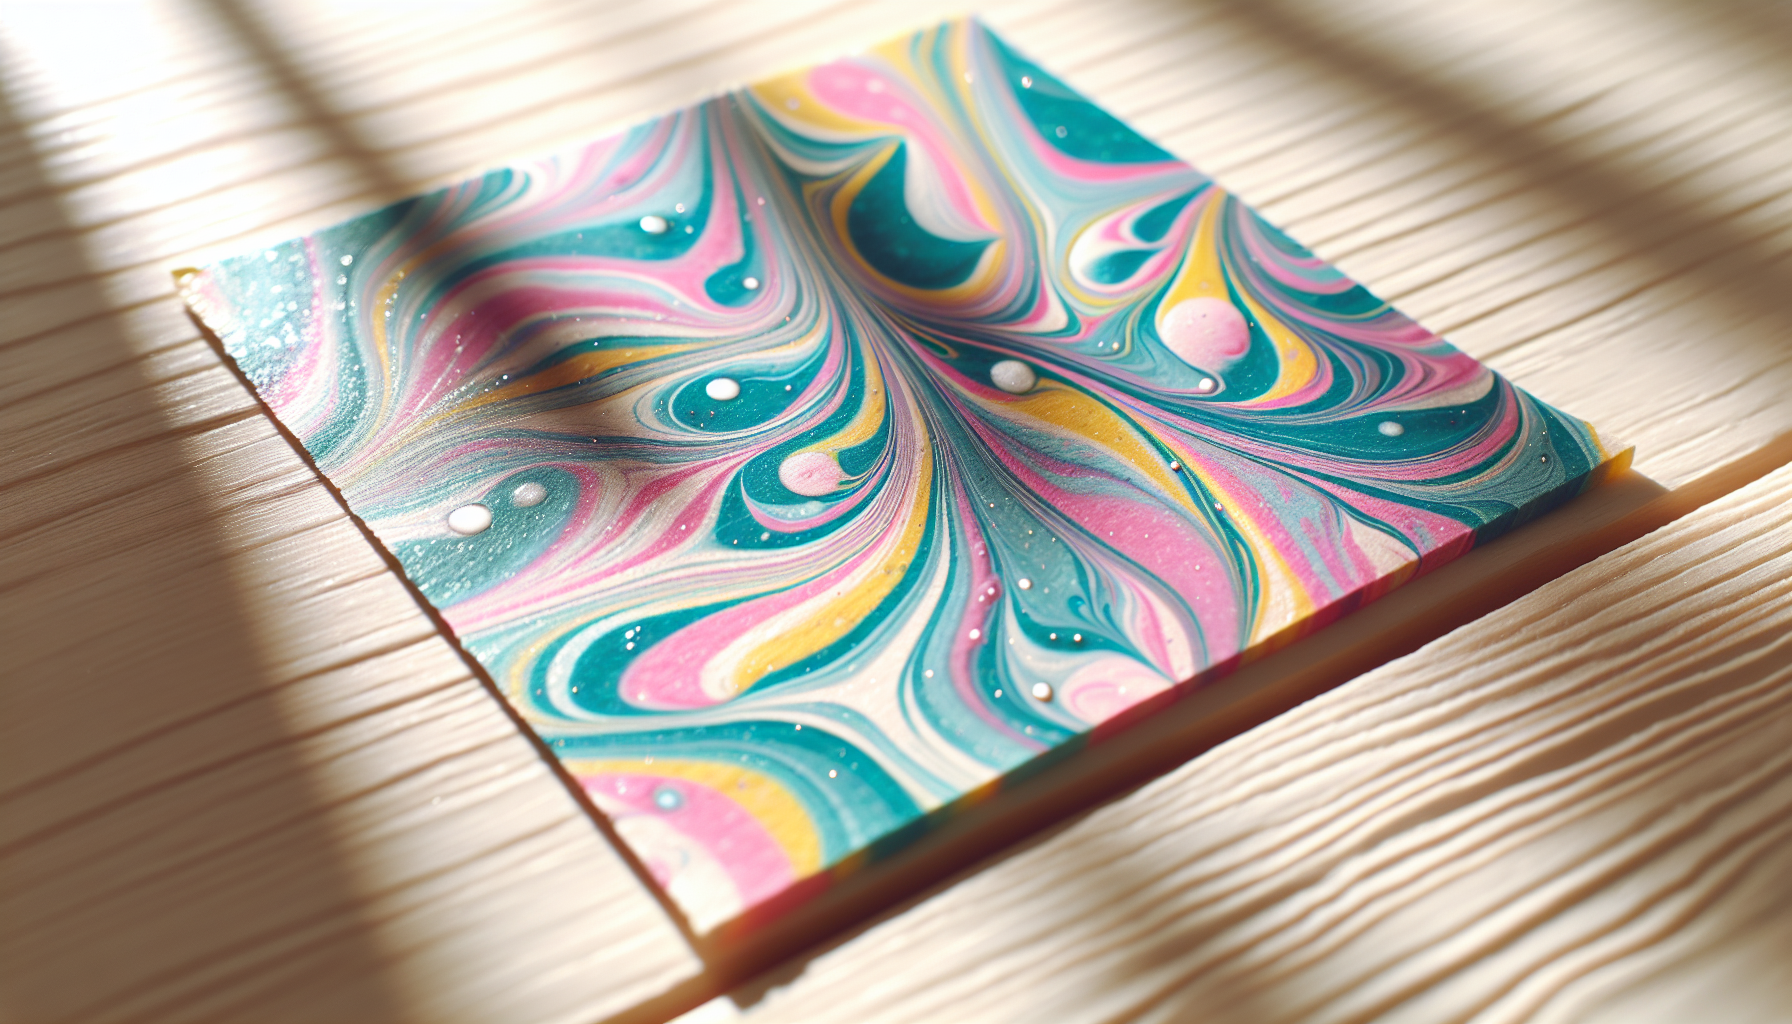
Step 4: Transfer the pattern to paper or fabric
Lay the paper or fabric gently on top of the shaving cream surface. Press lightly to ensure full contact without dragging. Allow the material to sit for a few seconds so pigment adheres, then lift straight up to avoid smearing. For fabric, press for a slightly longer time to achieve better dye transfer.
Step 5: Remove excess shaving cream
Place the marbled piece face-up and use a ruler or straight edge to gently scrape away the shaving cream, moving in one direction. Wipe the shaving cream onto a paper towel and repeat until the colors are cleanly revealed. If using paper, avoid excessive scrubbing, which can remove pigment.
Step 6: Rinse and dry
If you used washable paints or food coloring, lightly rinse the piece under cold water if working with fabric or if excess shaving cream residue remains. Lay paper flat to dry on a protected surface; hang fabric to dry on a line or flat on a rack. Do not stack wet prints.
Variations and creative extensions
You will expand the activity by modifying colors, substrates, and techniques to match your learning goals and aesthetic aims.
Color and substrate variations
- Use metallic or pearlescent paints for a more sophisticated finish.
- Try natural dyes for a more eco-friendly approach, recognizing that color intensity may be lower.
- Experiment with different papers: watercolor paper yields richer colors due to its absorbency; glossy cardstock produces softer transfers.
- Marble small fabric projects like handkerchiefs, bandanas, or patches made of cotton or silk.
Technique variations
- Float multiple colors and create combed patterns by running a combed edge through the surface.
- Use stencils to limit where the pattern transfers; remove the stencil carefully for crisp edges.
- Layer patterns by making a print, letting it dry, and reapplying marbling on top using complementary or contrasting colors.
Educational extensions
- Integrate lessons on color theory: have children predict secondary colors by combining primary colors on the shaving cream.
- Teach basic physics concepts such as surface tension and immiscibility (why colors float rather than sink).
- Combine marbled paper with collage, card making, or bookbinding projects.
Science behind marbling: a simple explanation for kids
Understanding the underlying science adds educational value and helps you discuss cause-and-effect. Keep explanations age-appropriate.
Why colors float on shaving cream
Colors often float because shaving cream creates a light, foam-filled surface that reduces the paint’s ability to sink. The air bubbles and cream structure trap color particles at the top. When you manipulate the surface, you are changing how the colors are arranged without letting them sink into the cream.
Surface tension and immiscibility
Surface tension is a force that makes liquid surfaces behave like a thin elastic sheet. The structure of shaving cream and the properties of water-based paints create areas where the liquids do not mix fully (immiscibility). This creates distinct color islands that you can shape into patterns.

Common problems and troubleshooting
You will encounter common issues; the table below helps you diagnose and resolve them quickly.
| Problem | Possible cause | Solution |
|---|---|---|
| Colors sink or soak into shaving cream | Paint too watery or heavy; shaving cream too thin | Thicken paint slightly, reduce water; whip a thicker shaving cream layer |
| Prints are faint | Too little pigment used or poor contact between substrate and surface | Use more concentrated color; press evenly and hold slightly longer |
| Colors muddy after transfer | Overmixing colors on the surface; too much scraping | Use fewer overlapping colors or scrape gently; use complementary color schemes |
| Paper tears when scraping | Paper too thin or wet | Use heavier paper or allow a shorter contact time; handle gently |
| Excess residue remains on print | Insufficient scraping or rinsing | Use a firmer straight edge for scraping; gently rinse fabric under cold water |
Cleanup and disposal
You will find that efficient cleanup maintains a safe and pleasant workspace. Use these guidelines to dispose of materials responsibly.
Cleaning surfaces and tools
Wipe trays and tools with paper towels to remove most shaving cream, then wash with warm, soapy water. For stubborn residue, let the tray soak. If you used fabric dye, follow manufacturer instructions for washing the fabric separately.
Disposal recommendations
Avoid pouring concentrated pigment-and-cream mixtures directly into drains in large quantities. Scoop solids into a trash bag and flush small, diluted rinses with plenty of water. Check local waste guidelines if using non-biodegradable or chemically treated materials.
Environmental considerations
Select biodegradable or eco-labeled shaving creams when possible. Use water-based paints rather than solvent-based dyes. Consider salvaging excess shaving cream by letting it dry and disposing of it with regular waste.
Preparing for repeated sessions and scaling up
If you plan to repeat the activity for a classroom or an event, you will benefit from efficient organization strategies.
Batch preparation tips
- Pre-measure color dilutions into small cups or squeeze bottles to reduce downtime between participants.
- Set up multiple stations to prevent crowding and allow simultaneous work.
- Use laminated instruction cards at each station that list step-by-step procedures and safety reminders.
Time management for groups
Estimate about 5–10 minutes per marbled print for younger children, plus drying time. If you have a large number of participants, rotate them through stations where some are printing, some are scraping/drying, and some are planning designs.
Project ideas and uses for marbled paper and fabric
Once you have marbled materials, you will find many practical and creative uses. This section suggests projects that convert marbled sheets into finished products.
Gift and stationery projects
- Handmade greeting cards: Cut marbled paper to card size and pair with plain colored liners.
- Wrapping accents: Use strips of marbled paper as decorative bands or gift tags.
- Book covers: Wrap notebooks or journals with marbled paper for a bespoke look.
Decorative and wearable items
- Fabric accessories: Create scarves, headbands, or pocket squares from marbled fabric.
- Home décor: Frame marbled paper as wall art or use it as a backing in picture frames.
- Lampshade refinishing: Carefully adhere marbled paper to a clean lampshade for a custom finish.
Educational and craft projects
- Collage and mixed media: Combine marbled elements with painting, stamping, or drawing.
- Classroom bulletin boards: Use large marbled sheets to create thematic displays.
- Story prompts: Have students design a marbled cover for a creative-writing project to connect visual art with literacy.
Storage and preservation
You will want your marbled creations to remain vivid and undamaged. Proper handling and storage are essential.
Storing paper prints
Store paper prints flat in a dry, cool area. Place acid-free tissue between sheets to prevent sticking and color transfer. Avoid folding or rolling prints unless you use a protective tube and interleaving tissue.
Caring for marbled fabric
After transferring color, set dye according to your paint or dye instructions—this often requires heat-setting (iron on the reverse side) or washing with a fixative. Follow fabric dye manufacturer recommendations for longevity and colorfastness.
Frequently asked questions (FAQ)
This FAQ addresses likely concerns you will have before and during the activity.
Is shaving cream safe for kids?
Most non-aerosol, unscented shaving creams formulated for sensitive skin are safe for supervised crafts. Avoid shaving products containing strong chemicals, and monitor for skin irritation. Always do a patch test if a child has known sensitivities.
Can you use aerosol shaving cream?
Aerosol shaving creams often contain propellants and perfumes that can irritate skin and respiratory systems. If you choose to use aerosol, ensure adequate ventilation and provide close supervision. Non-aerosol or whipped shaving soap is preferable.
Which paints work best for marbling?
Water-based paints like tempera, liquid watercolors, or thinned acrylics work well. Fabric dye works best for textile marbling. Avoid using heavy-bodied acrylics without thinning; they will not float as easily.
How many prints can you make from one mixing tray?
You can generally make several prints from one shaving cream layer; however, as colors mix, patterns will become muddier. Refresh the shaving cream and color layer after about 3–6 prints for the best results.
Can you marbled print on dark paper or fabric?
Marbling works best on light or white surfaces for color vibrancy. On dark substrates, use metallic paints or a white base coat to increase color visibility.
Assessment and learning outcomes for educators
If you are using this activity for teaching, you will find it supports multiple learning objectives.
Cognitive and motor skill development
Shaving cream marbling helps you teach fine motor control (manipulating tools), visual discrimination (observing color relationships), and pattern recognition. You can structure assessments around students’ ability to deliberate choices, predict outcomes, and refine techniques.
Cross-curricular connections
Use marbling to reinforce concepts in science (properties of matter and surface tension), math (symmetry and pattern), and language arts (descriptive vocabulary and art criticism).
Final tips and best practices
The following practical tips will improve your outcomes and the overall experience.
- Work in small batches to maintain attention and quality of prints.
- Encourage planning: ask children to sketch color combinations before starting.
- Keep a record: photograph successful patterns and note color ratios for reproducibility.
- Model careful scraping: demonstrate how to remove shaving cream without damaging the print.
- Use color contrast intentionally to create bold designs that photograph well.
Conclusion
Shaving cream marbling offers you a flexible, educative, and visually rewarding art activity for children that combines sensory play with clear skill development. By preparing materials properly, observing safety guidelines, and applying the techniques described, you will facilitate an engaging creative experience that yields striking results. Use the activity to teach color theory, scientific observation, and artistic planning, and consider scaling or adapting the process to meet your creative and educational goals.