Have you noticed how a raised ridge of paint can transform a flat canvas into a tactile landscape that demands attention?

Creating Texture With Palette Knives: Layering, Scraping, And Impasto
This article shows you how to use palette knives to create texture through layering, scraping, and impasto techniques. You will learn practical methods, material choices, step-by-step approaches, and troubleshooting tips so you can build confident, intentional textured surfaces.
Why texture matters in painting
Texture changes how a painting reads at close range and from a distance, affecting light, shadow, and perceived depth. You will use texture to emphasize form, guide the viewer’s eye, and introduce a physicality that flat brushwork cannot achieve.
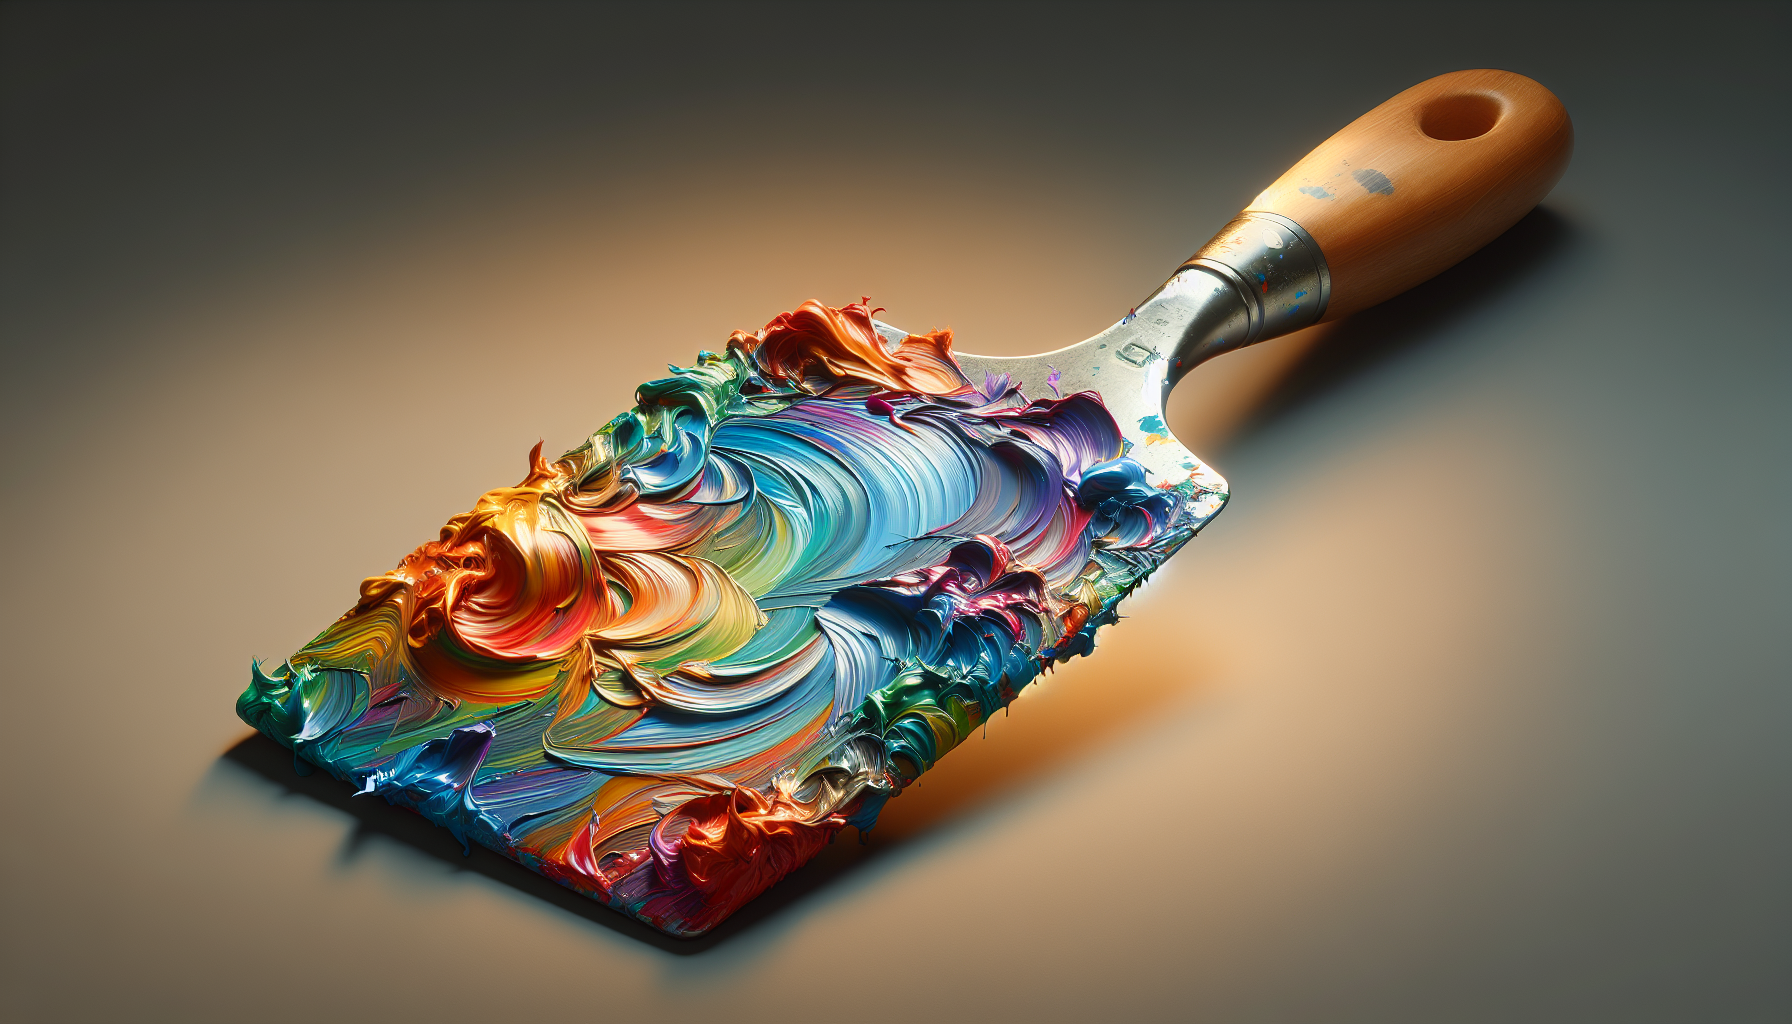
Understanding palette knives and their roles
Palette knives are specialized tools for applying and removing paint; they vary in shape, flexibility, and size. You will select specific knives for scraping, scoring, spreading, and sculpting paint, and learn how their design influences mark-making.
Common palette knife shapes and uses
Below is a concise guide to common shapes and their ideal uses so you can match knife geometry to the texture you want to create.
| Knife Shape | Typical Use | Effect on Paint |
|---|---|---|
| Diamond/pointed | Detail, fine strokes, scoring | Precise lines, small ridges |
| Rounded tip | Broad blending, soft strokes | Smooth spread, rounded edges |
| Rectangular/straight | Spreading, scraping, underpainting | Flat layers, even levelling |
| Angled/offset | Applying to vertical surfaces, reaching edges | Controlled pressure, angled strokes |
| Small curved | Sculptural marks, thick impasto | Short, elevated ridges |
Knife flexibility and handle considerations
You will notice stiffer blades push heavier paint and create pronounced ridges, while flexible blades allow more subtle modulation. Choose a comfortable handle that gives you control over pressure and angle.
Choosing paints and supports for texture
Your paint consistency and the support you use determine how well texture holds and how durable the surface becomes. Heavy body acrylics and oils are most suitable for pronounced impasto; supports must be rigid enough to prevent cracking.
Paint types: oils vs. acrylics
Both oils and acrylics can produce excellent textured effects, but they behave differently. You will manage drying times, medium compatibility, and surface sheen depending on whether you work in oil or acrylic.
- Oils: Longer open time, excellent for thick impasto, compatible with oil-based impasto mediums.
- Acrylics: Quicker drying, can be modified with slow-dry retarders and gels for thicker application.
Support selection and preparation
You will choose supports that resist flexing—hardboards, cradled panels, and primed canvases with rigid stretchers work well. Proper priming ensures tooth for adhesion and reduces the risk of cracking.
Mediums and additives you will use
Understanding the available mediums helps you tailor working properties: thickening, translucency, gloss, and drying time. You will use them to control how paint carries and retains texture.
| Medium/Additive | Purpose | Typical Effect |
|---|---|---|
| Impasto medium (oil or acrylic) | Increase body without thinning color | Stable, raised texture |
| Heavy gel (acrylic) | Thicken paint, keep brush/nife marks | Clear or glossy finish |
| Stand oil / Alkyd mediums | Slow drying, smoother leveling (oil) | More workable impasto |
| Retarder | Slow acrylic drying | Longer working time |
| Texture pastes | Build volume and structure | Can be sculpted and carved |
How to modify paint body safely
You will add medium incrementally, testing consistency on a palette. Avoid over-thinning with solvents when you need body; instead, use appropriate thickening mediums to preserve texture.
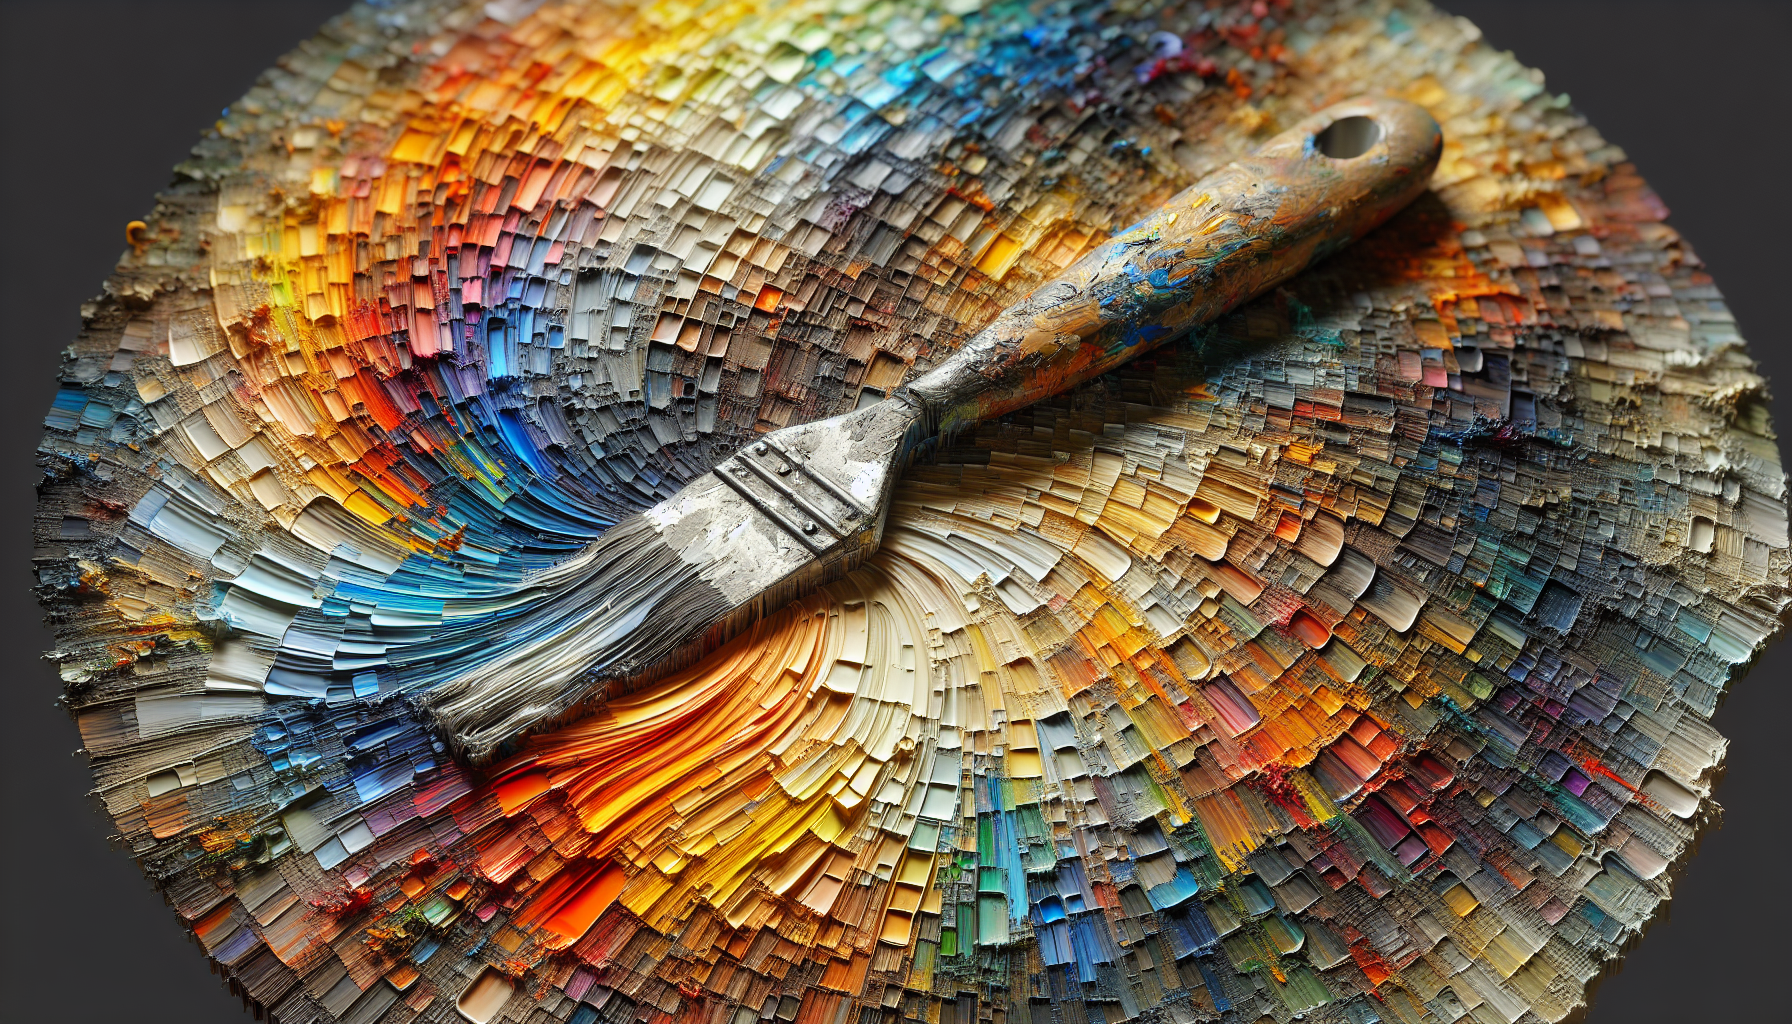
Basic palette knife handling techniques
Before attempting complex textures, you will master basic knife holding, angle control, and pressure modulation. These fundamentals determine the crispness and scale of your marks.
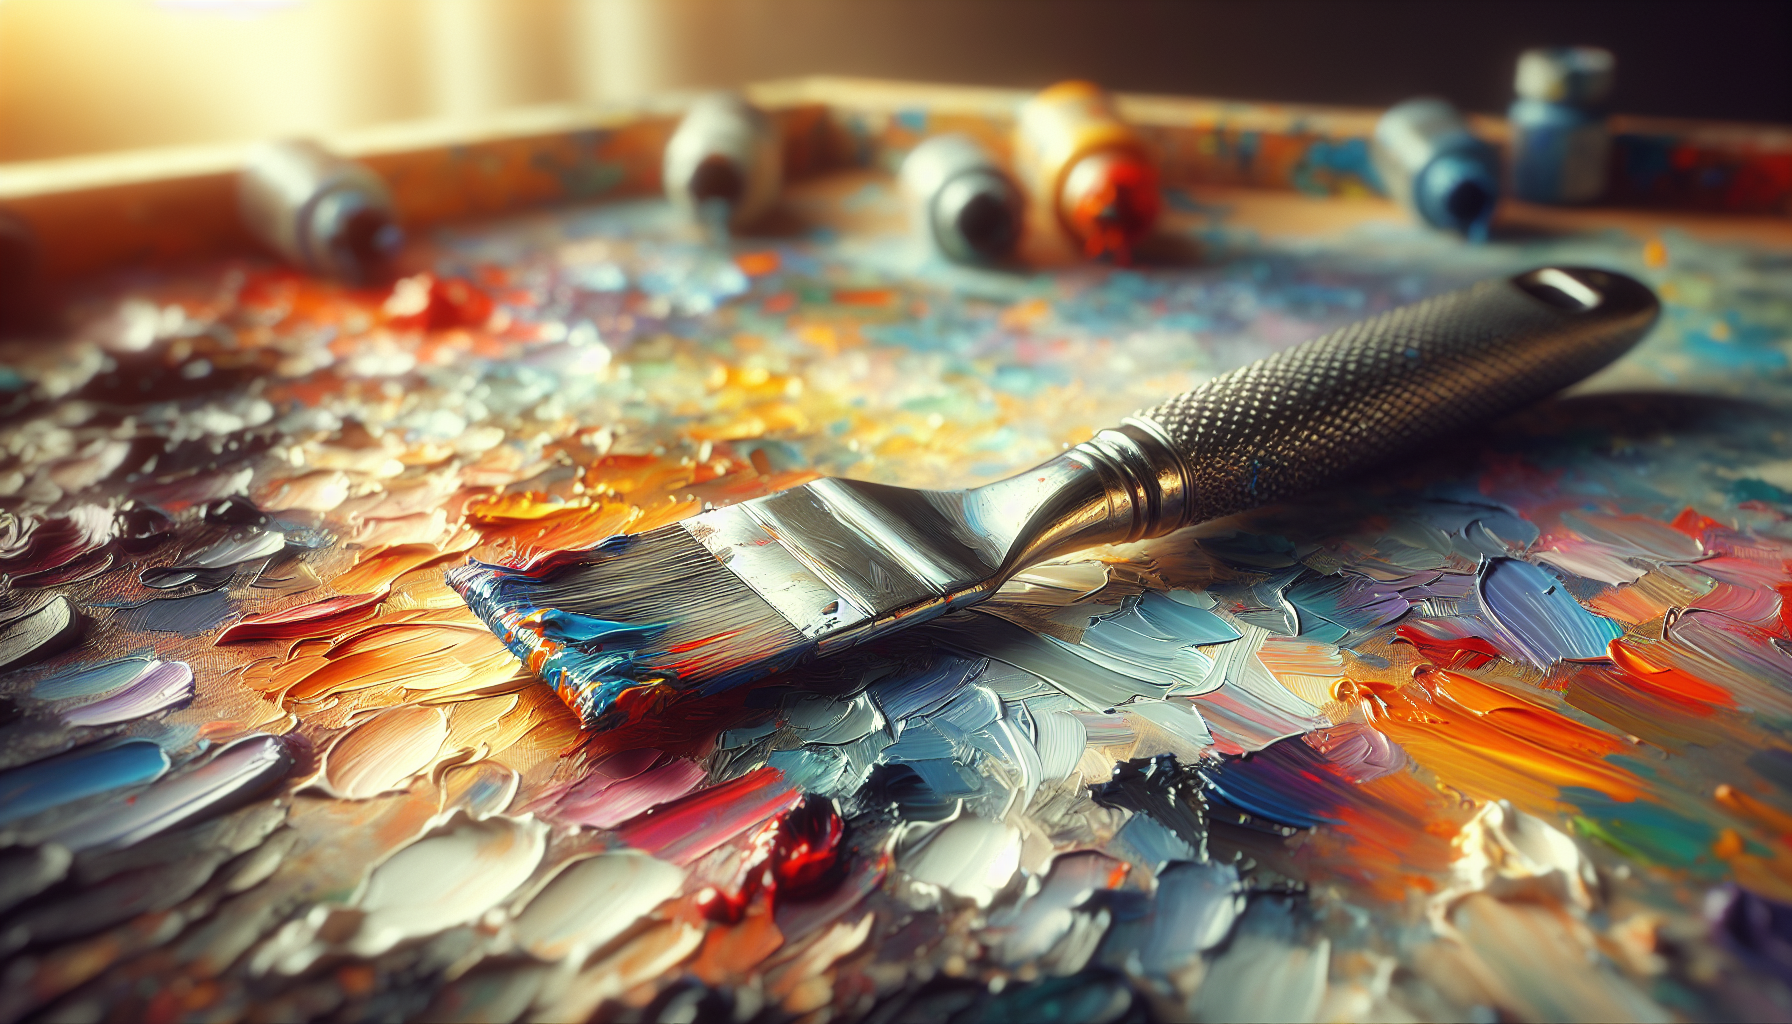
Loading the knife and applying paint
Load paint onto the edge or flat of the blade depending on the mark you want. You will practice: thin smear, thick scoop, and edge swipe to understand how paint behaves under pressure.
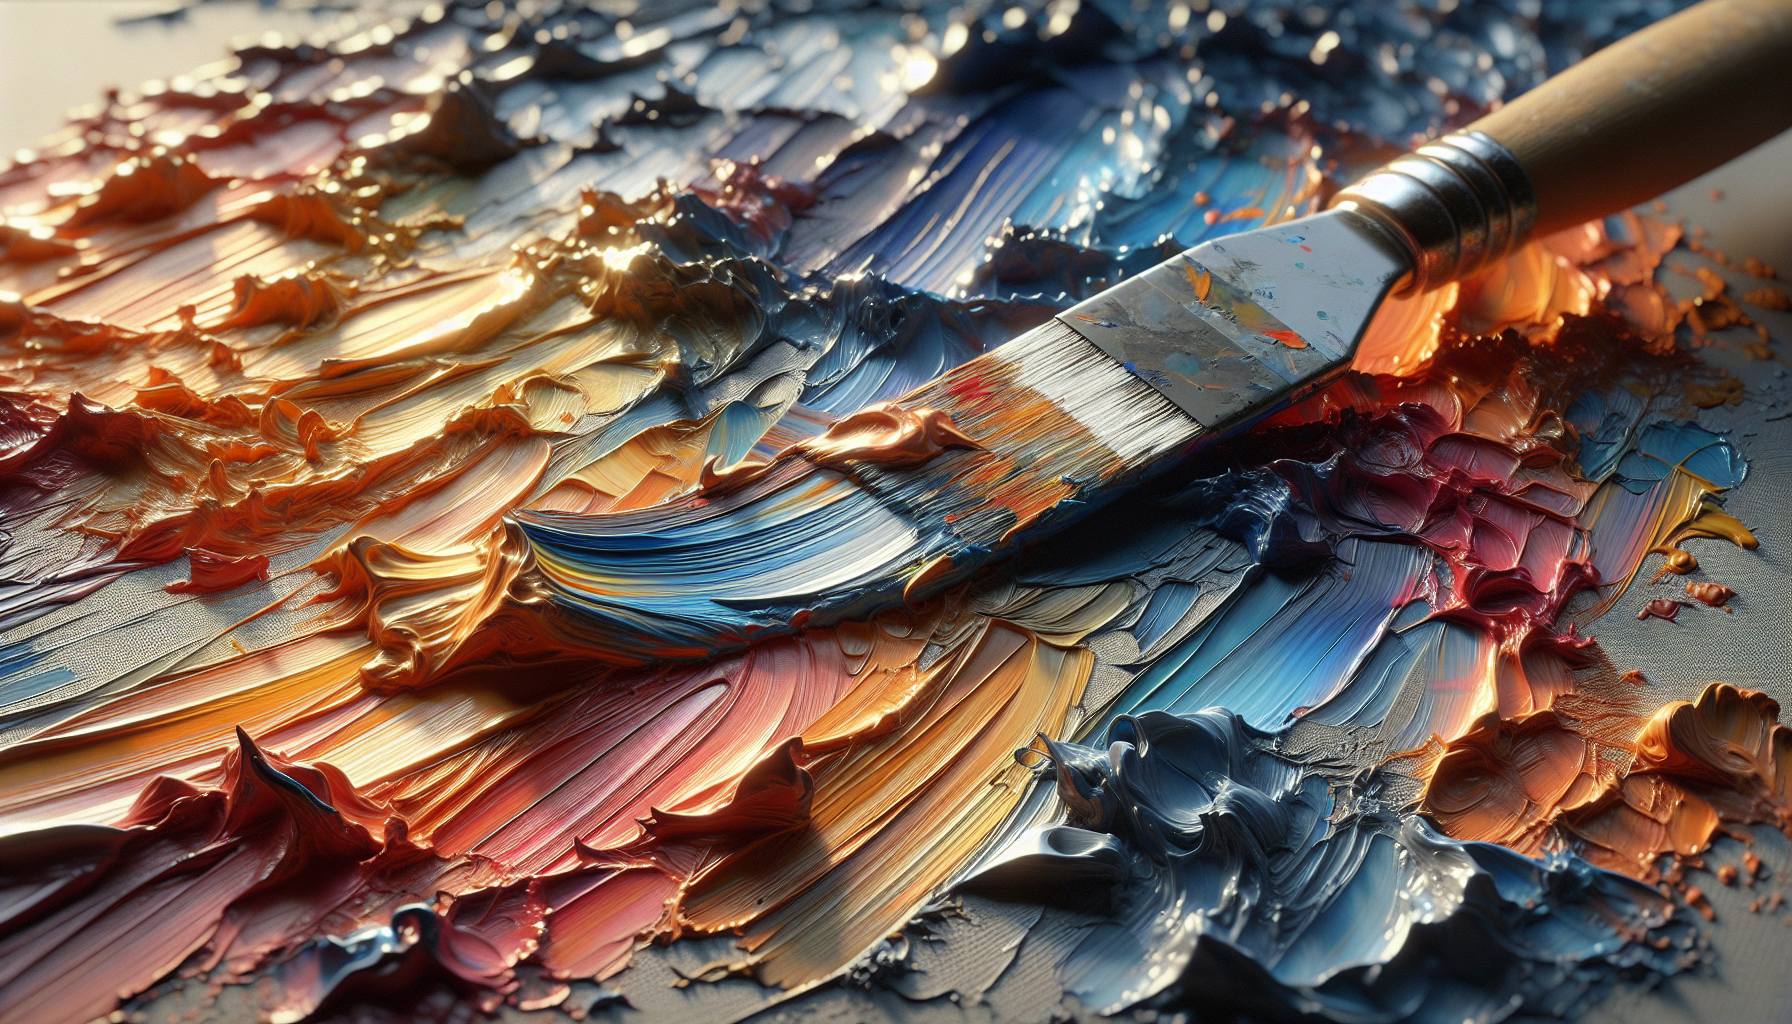
Angles, wrist action, and pressure
Hold the knife at different angles—nearly parallel for thin layers, more vertical for raised ridges—and vary pressure to change texture width and height. You will learn that subtle wrist motions often produce more controlled marks than large arm gestures.
Layering strategies for depth and complexity
Layering with a palette knife is not simply applying thick paint; it is an orchestration of underlayers, color relationships, and timing. You will plan layers to interact intelligently.
Underpainting and blocking-in with a knife
Start with a tonal or color underpainting to establish composition and values. You will use a flat knife to block large shapes and reserve the most textured work for later layers.
Wet-over-wet vs. wet-over-dry approaches
Wet-over-wet allows blending and gentle transitions, while wet-over-dry preserves edges and built-up texture. You will choose based on desired effect: merge colors for subtlety, or maintain crisp ridges for sculptural surfaces.
Building successive layers
Allow each layer to become stable before applying heavier impasto on top to reduce the likelihood of slumping or cracking. You will evaluate drying times and use adhesives or binding layers where necessary to increase adhesion between layers.
Impasto techniques and considerations
Impasto refers to thickly applied paint that creates relief on the surface. You will use impasto to emphasize highlights, suggest form, or make sculptural statements in your painting.
Mixing paint for impasto
Use heavy body paints or add impasto mediums; avoid excess solvent that weakens film strength. You will aim for a buttery consistency that holds peaks and knife marks without collapsing.
Structural integrity and thickness limits
Paint thickness and the support’s flexibility determine how durable the finished surface will be. You will be conservative with extreme thickness on flexible supports and consider built-up structure only on rigid panels.
Controlling peak formation and retention
Modify medium percentages to retain peaks if you want sharp ridges, or soften with small amounts of oil or retarder for gently rounded textures. You will test samples to refine your preferred peak quality.
Scraping and subtractive methods
Scraping reverses the additive process and is essential for revealing underlayers, creating furrows, or refining form. You will use knives, rags, or improvised tools to remove paint intentionally.
Sgraffito and scoring
Sgraffito is the process of scratching through a wet layer to reveal what lies beneath. You will score with a knife tip to create linear texture, veins, or reveal color contrast cleanly.
Controlled scraping to refine shapes
Use the flat of the blade to shave down ridges and refine transitions. You will maintain control by stabilizing the canvas and making decisive, single-pass movements to prevent smeared edges.
Creating accidental texture with removal
Sometimes removing paint creates more interest than additive marks. You will plan areas where scraping will occur and preserve strong underlayers for dramatic reveal.
Blending, edge control, and transitions
Texture often competes with or complements soft transitions; knowing when to blend and when to retain crispness is crucial. You will learn to manipulate edges to lead the viewer’s eye and to emphasize focal areas.
Softening impasto edges
Lightly drag the knife’s non-loaded edge over the perimeter of impasto to soften edges without losing height. You will gently feather to integrate ridges into surrounding space.
Preserving crisp edges
To emphasize form or light, keep knife strokes decisive and avoid overworking the edge area. You will allow the texture to cast shadow and provide visual interest through contrast with adjacent softer zones.
Creating specific textures and subject matter applications
Different subjects require unique textural approaches. You will adapt techniques to represent rocks, water, foliage, fabric, and skin with convincing tactile qualities.
Landscapes: rocks, trees, and skies
Use heavy, directional strokes for rock faces and tree trunks; for foliage, stipple or dab with the knife’s corner to imply leaf clusters. You will create skies with broad, sweeping strokes or thin scumbles for subtle cloud forms.
Portraiture and figure: hair, cloth, and highlights
In figurative work, palette knives can add tactile highlights to hair and clothing without becoming overpowering on skin. You will apply thin impasto for specular highlights and controlled scraping to suggest folds.
Abstract and gestural texture
Abstract paintings benefit from the physical energy of knife marks. You will use aggressive application, layered scraping, and color contrast to create rhythmic surfaces that read as texture rather than literal objects.
Color, value, and contrast when building texture
Texture interacts with color and value to increase legibility and drama. You will balance chroma and value across textured planes to maintain readability and prevent muddying.
Color application strategy for textured surfaces
Use saturated colors sparingly in the highest ridges to draw attention, and reserve mid-tones and neutrals for recessed areas. You will allow underlayers to influence final color through scraping and partial coverage.
Managing highlights and shadows
Impasto catches light differently; you will exaggerate highlights and deepened shadows where texture is prominent to enhance three-dimensionality and legibility.

Composition and design with texture in mind
Texture should serve composition and narrative rather than exist solely for its own sake. You will place textured areas strategically to anchor composition and to create visual hierarchy.
Balancing textured and smooth areas
Counterbalance heavy texture with smoother passages to provide rest and contrast for the eye. You will use texture to frame focal points and guide movement across the canvas.
Scale and repetition
Repeat particular marks or rhythms to create cohesion, and vary scale to avoid monotony. You will consider viewer distance—large textured gestures read well from afar, small intricate texture rewards close inspection.
Surface preparation, priming, and archival concerns
Good preparation ensures longevity. You will prime supports appropriately and understand how ground choice influences adhesion and aging.
Priming options and tooth
Use absorbent gesso for better mechanical adhesion of heavy layers; acrylic primers can be useful for acrylic impasto, while oil-primed grounds are traditional for oil impasto. You will aim for a surface that grips paint without excessive absorption.
Preventing delamination and cracking
Apply textured layers in a manner consistent with the “fat over lean” principle for oils, or compatible layering for acrylics, to reduce stress and cracking. You will avoid creating thick wet layers over flexible supports and always test your method on a sample board.
Drying times and timing your interventions
Timing influences how layers interact. You will plan your workflow around drying times to avoid unwanted mixing or to allow deliberate blending.
Approximate drying behaviors
- Acrylic heavy gels: surface set in hours, cure over days/weeks.
- Oil impasto: crusting in days, full cure may take months to years depending on thickness.
You will use tabled references for approximate timings and strategies to prolong or shorten working time.
| Material | Surface set | Handleable | Full cure (thick layer) |
|---|---|---|---|
| Heavy body acrylic alone | Hours | 1–2 days | 1–2 weeks |
| Acrylic with heavy gel | 1–24 hours | 1–3 days | 2–4 weeks |
| Oil (thin) | Days | 1–2 weeks | 6+ months |
| Oil impasto (thick) | Days to weeks | Weeks to months | 6–18 months+ |
Safety, studio practice, and cleanup
You will follow safe practices when using solvents, mediums, and aerosol varnishes. Proper ventilation, gloves, and responsible disposal protect your health and the environment.
Solvents and ventilation
If you use solvents for oil painting, work in a well-ventilated area and consider odorless solvents or low-VOC alternatives. You will keep containers closed and store solvents safely.
Tool maintenance and cleaning
Clean knives promptly after a session to prevent paint buildup that can alter stroke behavior. You will use appropriate cleaners—water for acrylics and solvent for oils—and store knives flat to preserve edges.
Troubleshooting common problems
When texture does not behave as expected, systematic debugging helps you identify causes and solutions. You will recognize symptoms and apply remedies based on underlying causes.
Common issues and fixes
- Slumping impasto: Use stiffer mediums or reduce thickness; allow underlayer to firm up.
- Cracking after drying: Reassess support flex and “fat over lean” compliance; avoid excessive thickness on flexible supports.
- Unwanted blend or muddy colors: Allow layers to dry or scrape back and reapply clean color.
Finishing, varnishing, and preservation
Finishing a textured painting requires special care. You will select varnishes that accommodate relief without producing pooling or gloss hotspots.
When and how to varnish textured paintings
Wait for full cure appropriate to the media before varnishing, particularly with oils. Use brush or spray varnish in thin, even coats; test on sample sections to ensure appearance and adhesion.
Framing and handling for tactile works
Use spacers and shallow box frames to protect textured surfaces from abrasion. You will ensure adequate clearance between the painting surface and glazing if framing behind glass—most heavy impasto works are better left unglazed.
Practice exercises to build skill
Deliberate practice accelerates mastery. You will work through targeted exercises to gain control over layering, scraping, and impasto expression.
Suggested exercises
- Controlled ridge study: Create a grid of single strokes varying angle and pressure to observe ridge behavior.
- Subtractive reveal: Lay down three distinct colors, then scrape patterns to reveal underlying layers.
- Simulated subject studies: Paint small panels of rock, tree bark, and fabric using only palette knives to focus on tactic application.
Setting a progression plan
Start with small studies and gradually increase scale and complexity. You will document what works and refine your materials list for larger projects.
Critical observation and learning from other artists
Study works by artists known for their knife work to understand application choices, scale, and compositional use of texture. You will analyze how they balance paint economy with expressive impact.
Artists and resources to consult
Look at contemporary and historical painters who use palette knives in varied ways; observe photographs of surfaces and, where possible, inspect originals in person or high-resolution images.
Final project planning and execution
When you attempt a major textured painting, plan materials, color harmonies, drying schedule, and shipping considerations in advance. You will save time and preserve the quality of your work by planning ahead.
Workflow checklist for a major textured painting
- Choose appropriate rigid support and prime it.
- Decide on a palette and prepare necessary mediums.
- Execute underpainting and mid-tones using broad knife methods.
- Build impasto highlights and textured features in planned passes.
- Allow adequate drying and consider varnish timeline.
Conclusion
Using palette knives for layering, scraping, and impasto expands your expressive range and gives your paintings a tactile, sculptural presence. You will benefit from disciplined practice, careful material choices, and thoughtful planning to harness these techniques effectively. Practice the exercises, maintain good studio habits, and continue to refine the balance between structure and spontaneity in your textured work.