In the world of arts and crafts, the question of which materials can be used on different surfaces often arises. Today, we address the compatibility of tempera paint with a beloved craft: Shrinky Dinks. As a fan of creativity and innovation, you may be wondering whether tempera paint, known for its versatility and vibrant colors, can be used effectively on Shrinky Dinks. In this article, we will explore the possibilities, considerations, and potential outcomes of using tempera paint on this popular shrinkable plastic material.

Introduction
When it comes to creating unique and personalized crafts, Shrinky Dinks offer a fun and creative outlet. These plastic sheets can be easily transformed into various shapes and designs through a simple heating process. However, the question arises: Can you use tempera paint on Shrinky Dinks? In this comprehensive article, we will explore the world of Shrinky Dinks and tempera paint, examining their compatibility, the process of painting Shrinky Dinks with tempera paint, and alternative paint options.
What are Shrinky Dinks?
Definition
Shrinky Dinks are plastic sheets that shrink when heated in an oven. They are often used for creating jewelry, keychains, and various other crafts. The concept behind Shrinky Dinks is simple but fascinating. The plastic sheet, usually made of polystyrene, is first colored or painted and then cut into desired shapes. When heated, the sheet shrinks to about one-third of its original size and becomes thicker, resulting in a sturdy and durable finished piece.
Materials
To create Shrinky Dinks, a few materials are necessary. These include:
- Shrinky Dink plastic sheets: These sheets are specifically designed to shrink when heated. They can be found in craft stores or purchased online.
- Markers or colored pencils: These are often used to add color and design to the plastic sheets before shrinking.
- Scissors or craft knife: These tools are used to cut the plastic sheets into desired shapes.
- Hole punch or jewelry findings: Depending on the intended use of the Shrinky Dinks, a hole punch or jewelry findings may be needed to attach them to keychains or jewelry.
Process
Creating Shrinky Dinks involves several steps. First, the plastic sheets must be cut into desired shapes. These shapes can range from simple circles to intricate designs. Once the shapes are cut, they can be colored or painted using various art supplies such as markers or colored pencils. Finally, the colored Shrinky Dinks are placed in the oven, where they undergo the shrinking process. After a few minutes, the pieces have transformed into smaller and thicker versions of their original form.
Understanding Tempera Paint
Definition
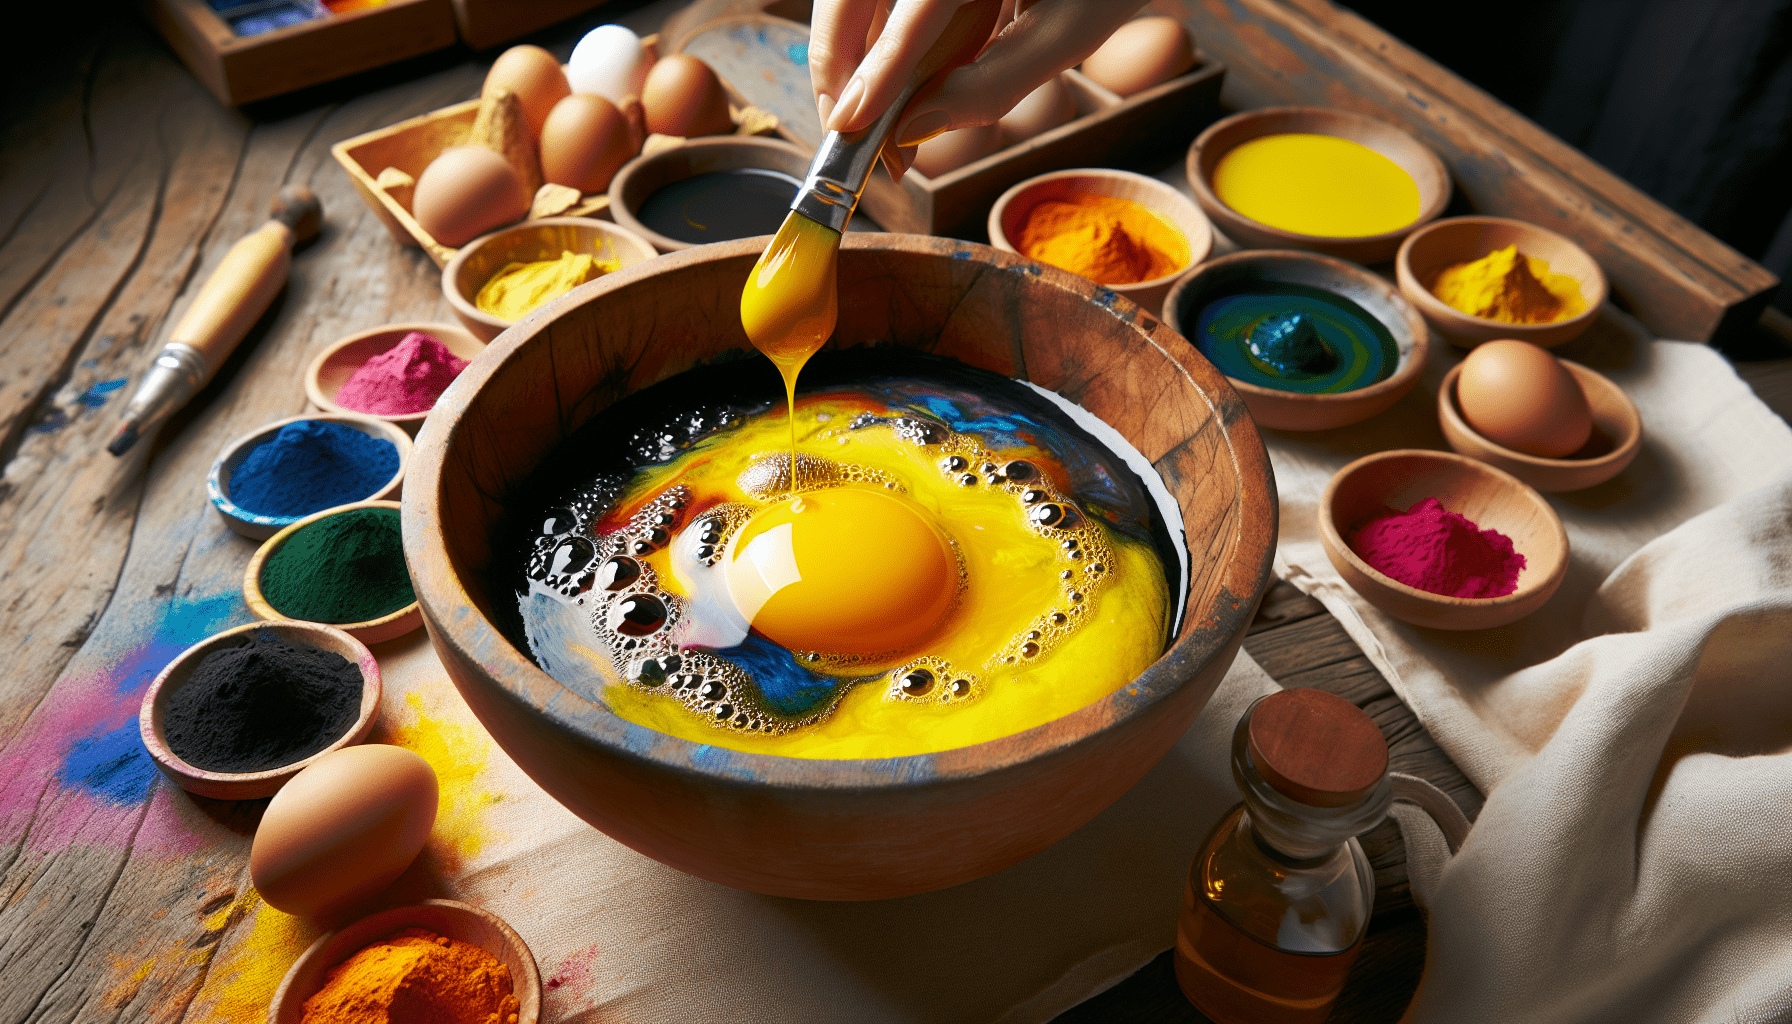
Tempera paint is a popular choice for arts and crafts projects, known for its vibrant colors and smooth consistency. It is a water-based paint that is made by combining pigment with a water-soluble binder, such as egg yolk, glue, or milk. Its name is derived from the Latin word “temperare,” meaning “to mix,” highlighting the need to properly mix the paint before use.
Composition
Tempera paint consists of pigments, a binder, and sometimes additives for texture or drying time. The pigments provide the color, while the binder holds the pigment particles together and adheres them to the surface. Common binders in tempera paint include egg yolk, calcium carbonate, casein (milk protein), or synthetic binders like polyvinyl acetate (PVA). Additives may include preservatives, thickeners, or flow-improving agents.
Properties
One of the key properties of tempera paint is its opacity, allowing for vibrant and solid colors to be achieved. It generally dries with a matte finish and has good lightfastness, meaning the colors resist fading over time when exposed to light. Tempera paint also has a quick-drying time, which can be advantageous for craft projects that require multiple layers or quick completion.
Compatibility of Tempera Paint with Shrinky Dinks
Factors to Consider
When considering the compatibility of tempera paint with Shrinky Dinks, several factors come into play. Firstly, the type of plastic used in the Shrinky Dinks must be taken into account. Not all plastic sheets are compatible with tempera paint, as some may not adhere properly or may react negatively to the paint. Additionally, the application method and drying process can also affect the compatibility of tempera paint with Shrinky Dinks.
Advantages of Using Tempera Paint
Using tempera paint on Shrinky Dinks offers several advantages. The wide range of colors available in tempera paint allows for vibrant and eye-catching designs. The quick-drying nature of tempera paint also ensures that the paint sets quickly, reducing the risk of smudging or smearing during the heating process. Furthermore, tempera paint is water-based, making it easy to clean up and less toxic than some other types of paint.
Disadvantages of Using Tempera Paint
Despite its advantages, there are some disadvantages to using tempera paint on Shrinky Dinks. One of the main challenges is achieving long-lasting adhesion. Tempera paint may not adhere as firmly to the plastic surface as other options, leading to potential flaking or chipping over time. Additionally, tempera paint may not provide the same level of durability as some other paints, which could be a concern for items that will receive frequent handling or wear.

Preparing Shrinky Dinks for Painting
Cleaning the Surface
Before applying any paint, it is crucial to clean the surface of the Shrinky Dinks. This ensures that any dust or debris is removed, allowing the paint to adhere properly. A gentle wipe with a damp cloth or rubbing alcohol can effectively clean the surface, ensuring optimal paint adhesion.
Sanding the Surface
In some cases, sanding the surface of the Shrinky Dinks can enhance paint adhesion. Lightly sanding the plastic with a fine-grit sandpaper helps create a slightly textured surface that allows the paint to grip better. However, it is important to be cautious and avoid sanding too aggressively to prevent damaging the plastic.
Applying a Primer
Using a primer can also improve paint adhesion and durability. A primer specifically designed for use on plastics can create a more receptive surface for the paint. Follow the manufacturer’s instructions regarding application and drying time. Once the primer has fully dried, the Shrinky Dinks are ready for painting.
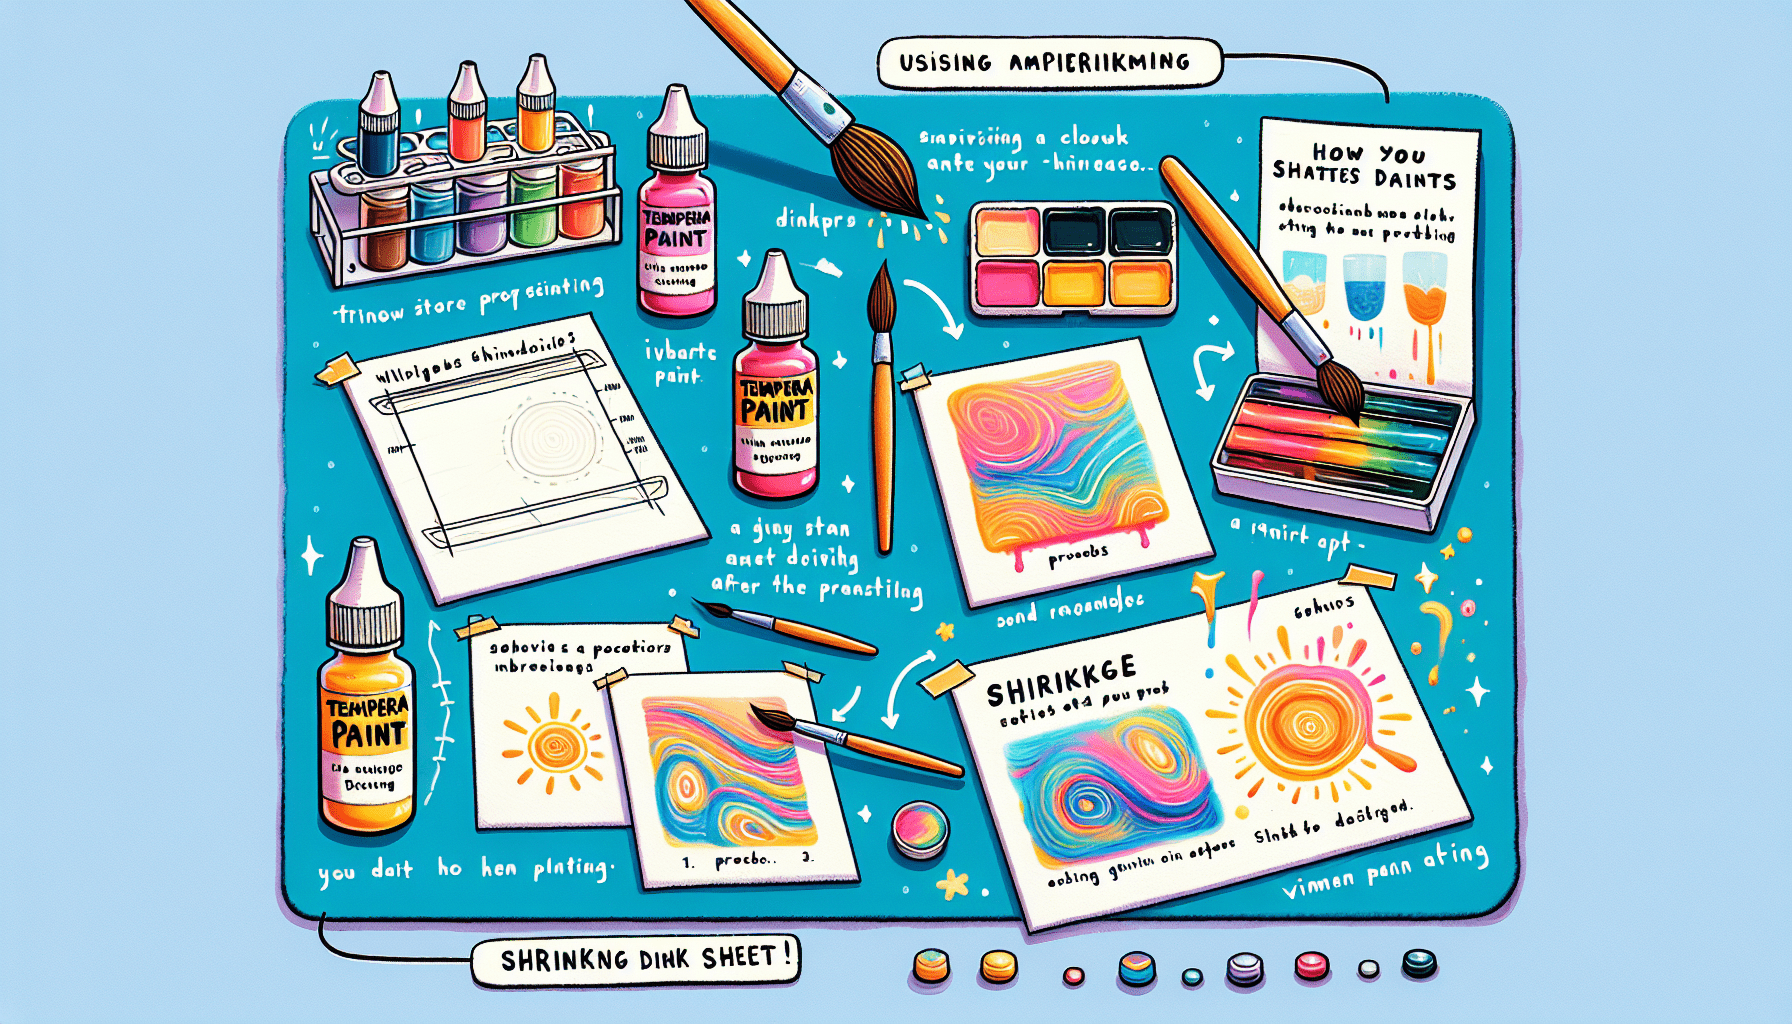
Painting Shrinky Dinks with Tempera Paint
Step-by-step Process
- Start by preparing the tempera paint according to the manufacturer’s instructions. If necessary, thin the paint with water to achieve the desired consistency.
- Lay the Shrinky Dinks on a flat and protected surface, ensuring they are stable and won’t move during the painting process.
- Use a small, fine brush to apply the tempera paint to the Shrinky Dinks. Take care to paint evenly and cover the entire surface, including the edges.
- If desired, create multiple layers or mix colors to achieve different effects. Allow each layer to dry completely before adding additional paint.
- Once the painting is complete, let the Shrinky Dinks dry according to the recommended drying time for the tempera paint.
Tips and Techniques
When painting Shrinky Dinks with tempera paint, there are a few tips and techniques to keep in mind for optimal results:
- Work in thin layers: Applying thin layers of paint allows for quicker drying time and reduces the risk of paint buildup or uneven drying.
- Use light strokes: Apply the paint with light strokes to avoid excess pressure that could cause damage to the plastic surface.
- Mix colors before painting: Create a palette of mixed colors before painting to achieve unique shades and gradients.
- Experiment with different brushes: Try using various brush sizes and shapes to vary the brushstroke effects and create different textures.
Drying and Curing
Air Drying
Once the painting process is complete, the painted Shrinky Dinks can be left to air dry. Air drying can take several hours, depending on the thickness of the paint layers and the ambient humidity. Ensure that the Shrinky Dinks are placed in a clean and dust-free area to avoid any unwanted particles sticking to the surface.
Oven Drying
For a faster drying process, oven drying can be employed. Preheat the oven to the temperature specified by the Shrinky Dinks manufacturer. Place the painted Shrinky Dinks on a cookie sheet or a heat-safe surface and carefully put them in the oven. Follow the manufacturer’s instructions regarding heating time, typically ranging from 1 to 5 minutes. Keep a close eye to prevent over-shrinking or burning. Once dry, remove the Shrinky Dinks from the oven and let them cool before handling.
Finishing Touches
Applying a Sealant
To protect the painted designs and enhance their longevity, applying a sealant is recommended. A clear acrylic sealant specifically formulated for use on plastics can be sprayed or brushed onto the surface of the Shrinky Dinks. The sealant acts as a protective barrier, guarding against scratches, fading, and moisture damage. Follow the instructions provided with the sealant for best results.
Adding Details
After sealing, additional details can be added to the painted Shrinky Dinks using fine-tipped markers, colored pencils, or other art supplies. These details can include outlines, shading, or small accents to enhance the overall design. Take care to use compatible art supplies that will adhere well to the sealed surface.
Alternative Paints for Shrinky Dinks
Acrylic Paint
Acrylic paint is a versatile option that can be used on Shrinky Dinks with great success. It adheres well to the plastic surface, dries quickly, and offers excellent color vibrancy. Acrylic paints also provide durable and long-lasting results, making them a popular choice for Shrinky Dink projects.
Permanent Markers
Permanent markers are another viable option for painting Shrinky Dinks. They provide vibrant colors, precision, and ease of use. However, it is important to ensure that the markers are specifically labeled as permanent to avoid any potential smudging or fading over time.
Colored Pencils
For a more subdued and textured look, colored pencils can also be used to color and add detail to Shrinky Dinks. Colored pencils offer control and precision, allowing for intricate designs and shading techniques.
Conclusion
In conclusion, tempera paint can be used on Shrinky Dinks with careful preparation and consideration. While tempera paint offers vibrant colors and a quick-drying nature, it may not provide the same level of adhesion and durability as other paint options. By properly cleaning, sanding, and priming the Shrinky Dinks, and following the appropriate painting and drying techniques, satisfactory results can be achieved with tempera paint. Additionally, alternative options such as acrylic paint, permanent markers, and colored pencils offer alternative choices for those seeking different effects or increased durability. Through experimentation and creativity, the world of Shrinky Dinks can be explored using a variety of paints, resulting in unique and captivating creations.