Tempera paint has long been a favorite among artists and educators alike for its vibrant colors and versatility. But can you use tempera paint on pumpkins? This question has sparked the curiosity of many, especially during the festive season when pumpkin decorating becomes a popular activity. In this article, we will explore the potential of using tempera paint on pumpkins, examining whether it is a suitable medium for creating eye-catching designs on these seasonal gourds. Whether you are a professional artist or simply looking to add a touch of creativity to your fall decorations, read on to discover the possibilities that tempera paint presents for pumpkin artistry.
Introduction
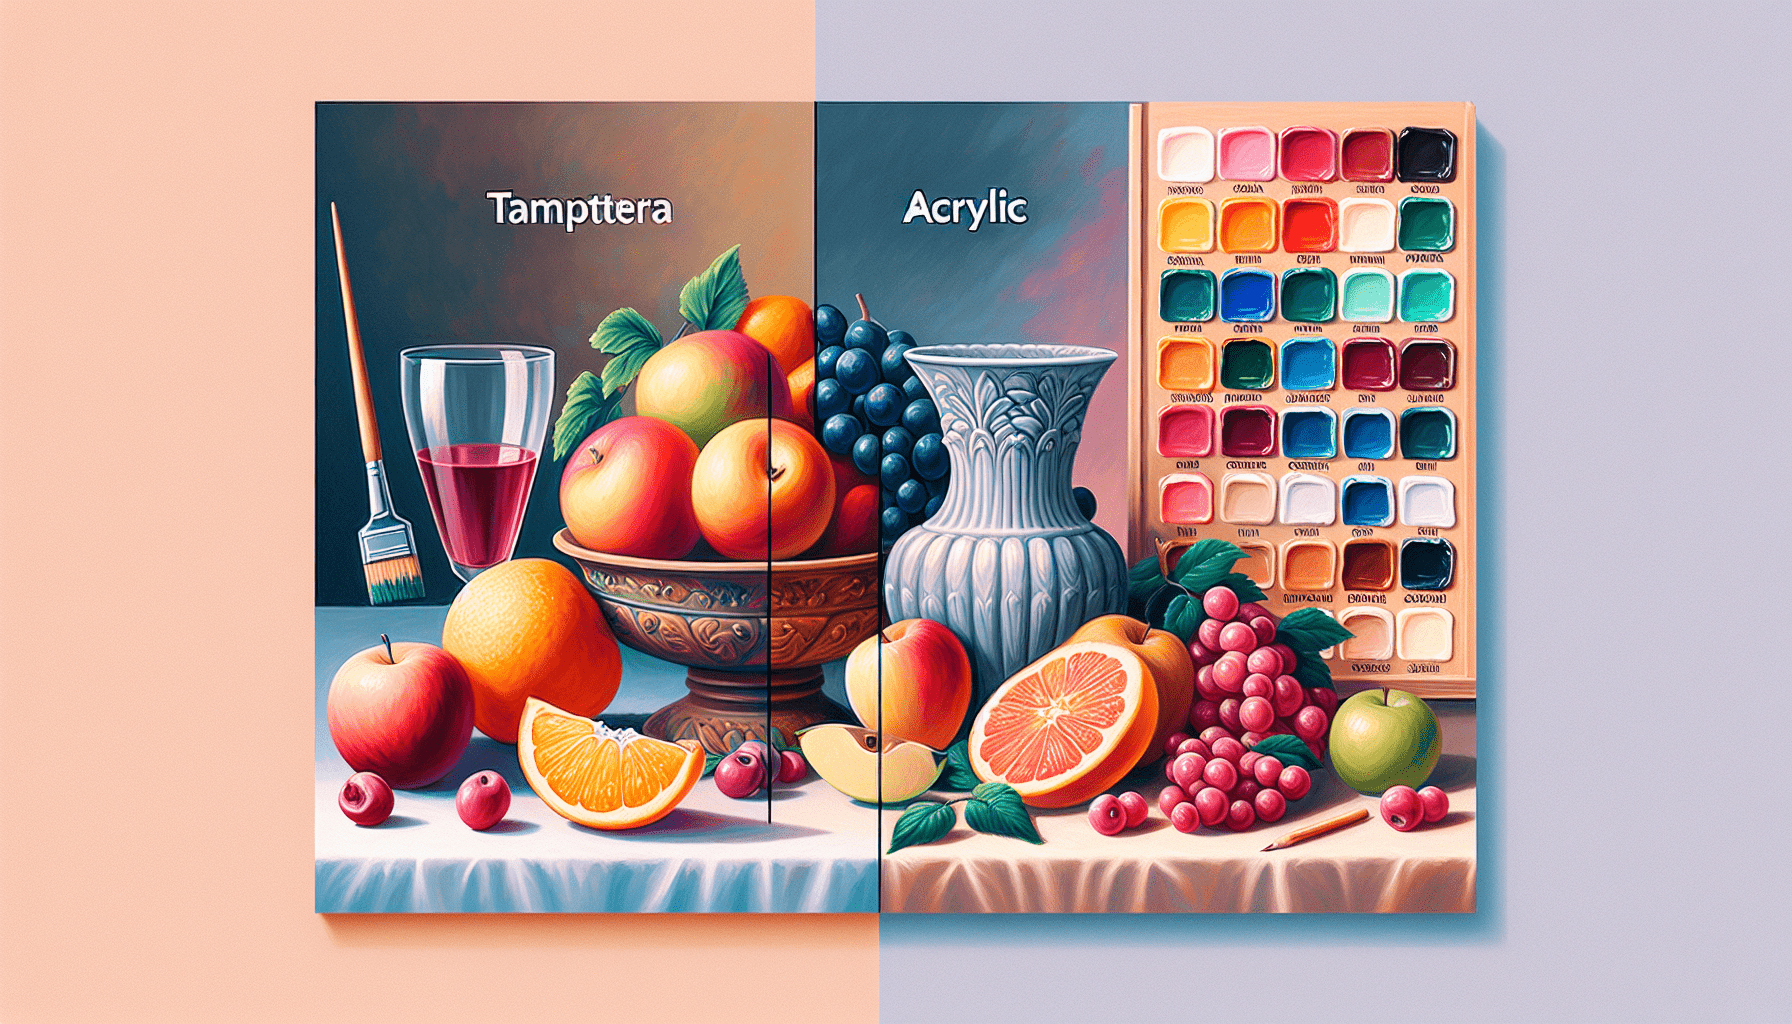
What is tempera paint?
Tempera paint is a water-based medium that is widely used for various art projects. It is known for its vibrant colors, ease of use, and versatility. Unlike oil or acrylic paints, tempera paint dries quickly and has a matte finish. It is made by combining pigments with a binder, usually egg yolk or a synthetic substitute, to create a smooth and creamy consistency. Tempera paint has been used for centuries and continues to be a popular choice among artists of all skill levels.
Why paint pumpkins?
Pumpkins have long been associated with autumn and the Halloween season. They serve as a blank canvas for artistic expression and provide countless opportunities to unleash your creativity. While traditional jack-o’-lanterns are carved, using tempera paint on pumpkins offers a unique and visually appealing alternative. Painting pumpkins allows for intricate designs, detailed patterns, and a wide range of color options that cannot be achieved through carving alone. Whether you are decorating for Halloween, a fall festival, or just enjoying some seasonal creativity, painting pumpkins with tempera paint is an exciting and enjoyable activity.
The appeal of tempera paint on pumpkins
When it comes to painting pumpkins, tempera paint has several advantages. First and foremost, it is highly accessible and affordable, making it a great choice for those who want to try their hand at pumpkin painting without breaking the bank. Tempera paint is also non-toxic, making it safe to use for artists of all ages. Its water-based formula makes cleanup a breeze, and its quick-drying nature allows for multiple layers or touch-ups to be applied without delay. Additionally, tempera paint provides excellent coverage and vibrant colors, ensuring that your painted pumpkins will stand out and impress. With its wide range of possibilities and ease of use, tempera paint on pumpkins is a fantastic way to explore your artistic side and create stunning seasonal decorations.
Preparing the Pumpkins
Selecting the right pumpkins
When painting pumpkins, it’s important to choose ones that are in good condition and have a smooth surface. Look for pumpkins that are free from soft spots, bruises, or mold. The shape and size of the pumpkins are also essential, depending on the design or theme you have in mind. Whether you prefer small, round pumpkins or long, elongated ones, selecting pumpkins that suit your artistic vision will ensure a satisfying end result.
Cleaning and drying the pumpkins
Before you can start painting, it’s crucial to clean and dry the pumpkins thoroughly. Use a damp cloth or sponge to remove dirt, debris, and any residue on the surface. Avoid using soap or harsh chemicals as they can seep into the pumpkin’s skin and affect the adhesion of the paint. After cleaning, allow the pumpkins to air dry completely, either indoors or in a well-ventilated area. This step is essential to ensure that the paint adheres properly and doesn’t encounter any issues during the painting process.
Creating a suitable work area
When painting pumpkins, it’s essential to create a suitable work area to avoid any messy or inconvenient situations. Lay down a plastic or disposable tablecloth or place a makeshift drop cloth on your working surface to protect it from paint splatters. Ensure that the area is well-ventilated to prevent the build-up of fumes while you work. Additionally, gathering all necessary painting tools (such as brushes, palette, water cups, and paper towels) within reach will make the painting process smoother and more efficient.

Using Tempera Paint on Pumpkins
Understanding the characteristics of tempera paint
Before diving into the pumpkin painting process, it’s important to familiarize yourself with the characteristics of tempera paint. Tempera paint has a smooth consistency and can be easily diluted with water to create different levels of opacity. It dries quickly, which allows for multiple layers or touch-ups to be applied without much waiting time. Tempera paint is also known for its ability to produce vibrant and opaque colors, making it ideal for creating striking designs on pumpkins.
Applying a basecoat on the pumpkins
To ensure an even and vibrant application of the tempera paint, it is recommended to apply a basecoat on the pumpkins. This basecoat serves as a foundation for the design and helps the subsequent layers of paint adhere better. Choose a color that complements or enhances your overall design. White or a light color is often used as a basecoat to make the subsequent colors appear more vivid. Apply an even layer of the basecoat with a paintbrush, covering the entire pumpkin’s surface, and allow it to dry completely before proceeding with the next steps.
Exploring different painting techniques
Tempera paint allows for a wide range of painting techniques to be used on pumpkins, depending on the desired effect and style. You can use brushes of various sizes to achieve different textures and strokes. Experiment with stippling, cross-hatching, or dry brushing to add depth and dimension to your design. Try using sponges, cotton swabs, or even stencils to create unique patterns or intricate details. The versatility of tempera paint enables you to unleash your creativity and explore different techniques to bring your pumpkin design to life.
Mixing and blending colors
One of the exciting aspects of using tempera paint on pumpkins is the ability to mix and blend colors to achieve unique hues and shades. Use a palette or a disposable plate to mix different colors together. Start with a small amount of paint and gradually add more until you achieve the desired color. Experiment with different color combinations to create gradients, ombre effects, or interesting color contrasts. Blending colors directly on the pumpkin’s surface can also create captivating visual effects. Take your time to explore the possibilities and let your imagination guide you in creating stunning color combinations.
Adding details and texture
To elevate your painted pumpkins to the next level, consider adding details and texture to your design. Use finer brushes or even toothpicks to create fine lines, dots, or small patterns. Incorporating texture can be achieved by layering different colors of tempera paint or using a dry brushing technique. You can also add depth and dimension by shading certain areas of your design. The versatility of tempera paint allows for endless possibilities when it comes to adding intricate details and texture, further enhancing the visual impact of your painted pumpkins.
Sealing the Paint
Benefits of sealing the paint
Sealing the paint on your painted pumpkins is a crucial step to ensure their longevity and durability. A sealant acts as a protective barrier, guarding the paint against scratches, fading, or smudging. It also helps prevent moisture from penetrating the pumpkin’s surface, which can lead to rotting or mold formation. By sealing the paint, you can preserve your painted pumpkins and enjoy them for an extended period, whether for display or future use.
Choosing the right sealer
When it comes to choosing a sealer for painted pumpkins, it’s important to select one that is compatible with tempera paint and suitable for outdoor use. Look for a sealant that is specifically designed for art or craft projects and provides protection against UV rays, water damage, and fading. It is also important to consider whether you want a glossy or matte finish for your painted pumpkins. Both options offer their own aesthetic appeal, so choose the one that best complements your overall design and personal preference.
Applying the sealer on painted pumpkins
Before applying the sealer, make sure the paint on the pumpkins is completely dry. Follow the instructions provided by the manufacturer on the chosen sealer’s label for the best results. Apply the sealer in thin, even coats, using a clean paintbrush or a foam brush, to avoid any streaks or clumps. Allow each coat to dry thoroughly before applying additional coats. Applying multiple coats will provide added protection and ensure the longevity of your painted pumpkins. Once the sealer is dry, your painted pumpkins are ready to be displayed.

Displaying and Preserving Painted Pumpkins
Choosing the right display location
When it comes to displaying your painted pumpkins, it’s important to choose a location that showcases them effectively while ensuring their safety. Indoors, consider placing them on a mantelpiece, side table, or as a centerpiece on a dining table. Outdoors, opt for a covered porch or patio area to protect them from weather elements, such as rain or excessive sunlight. Make sure the display location is stable and secure to prevent the painted pumpkins from falling or rolling over. Adding complementary elements, such as autumn leaves, fairy lights, or seasonal decor, can enhance the overall display and create a visually appealing setting.
Enhancing the painted pumpkins with accessories
To further enhance the visual impact of your painted pumpkins, consider adding accessories that complement your chosen design or theme. Ribbons, bows, or raffia can be tied around the pumpkin’s stem, adding a touch of elegance or rustic charm. Glitter, sequins, or even rhinestones can be glued onto certain areas to create a sparkling effect. Floral arrangements or seasonal foliage can be arranged around the pumpkins, creating a captivating display. Get creative with accessories that match your overall aesthetic and personal style, elevating your painted pumpkins to an impressive centerpiece or decorative piece.
Preserving the painted pumpkins
While painted pumpkins may not have the same longevity as their carved counterparts, there are steps you can take to preserve them for as long as possible. Keep the painted pumpkins away from direct sunlight, as excessive exposure to UV rays can cause the colors to fade. Additionally, ensure they are not exposed to excessive moisture or humidity, as this can lead to mold formation or rotting. Regularly dusting or gently wiping the painted pumpkins with a clean cloth can help maintain their appearance. With proper care and maintenance, your painted pumpkins can last throughout the fall season and bring joy to your space.
Safety Precautions
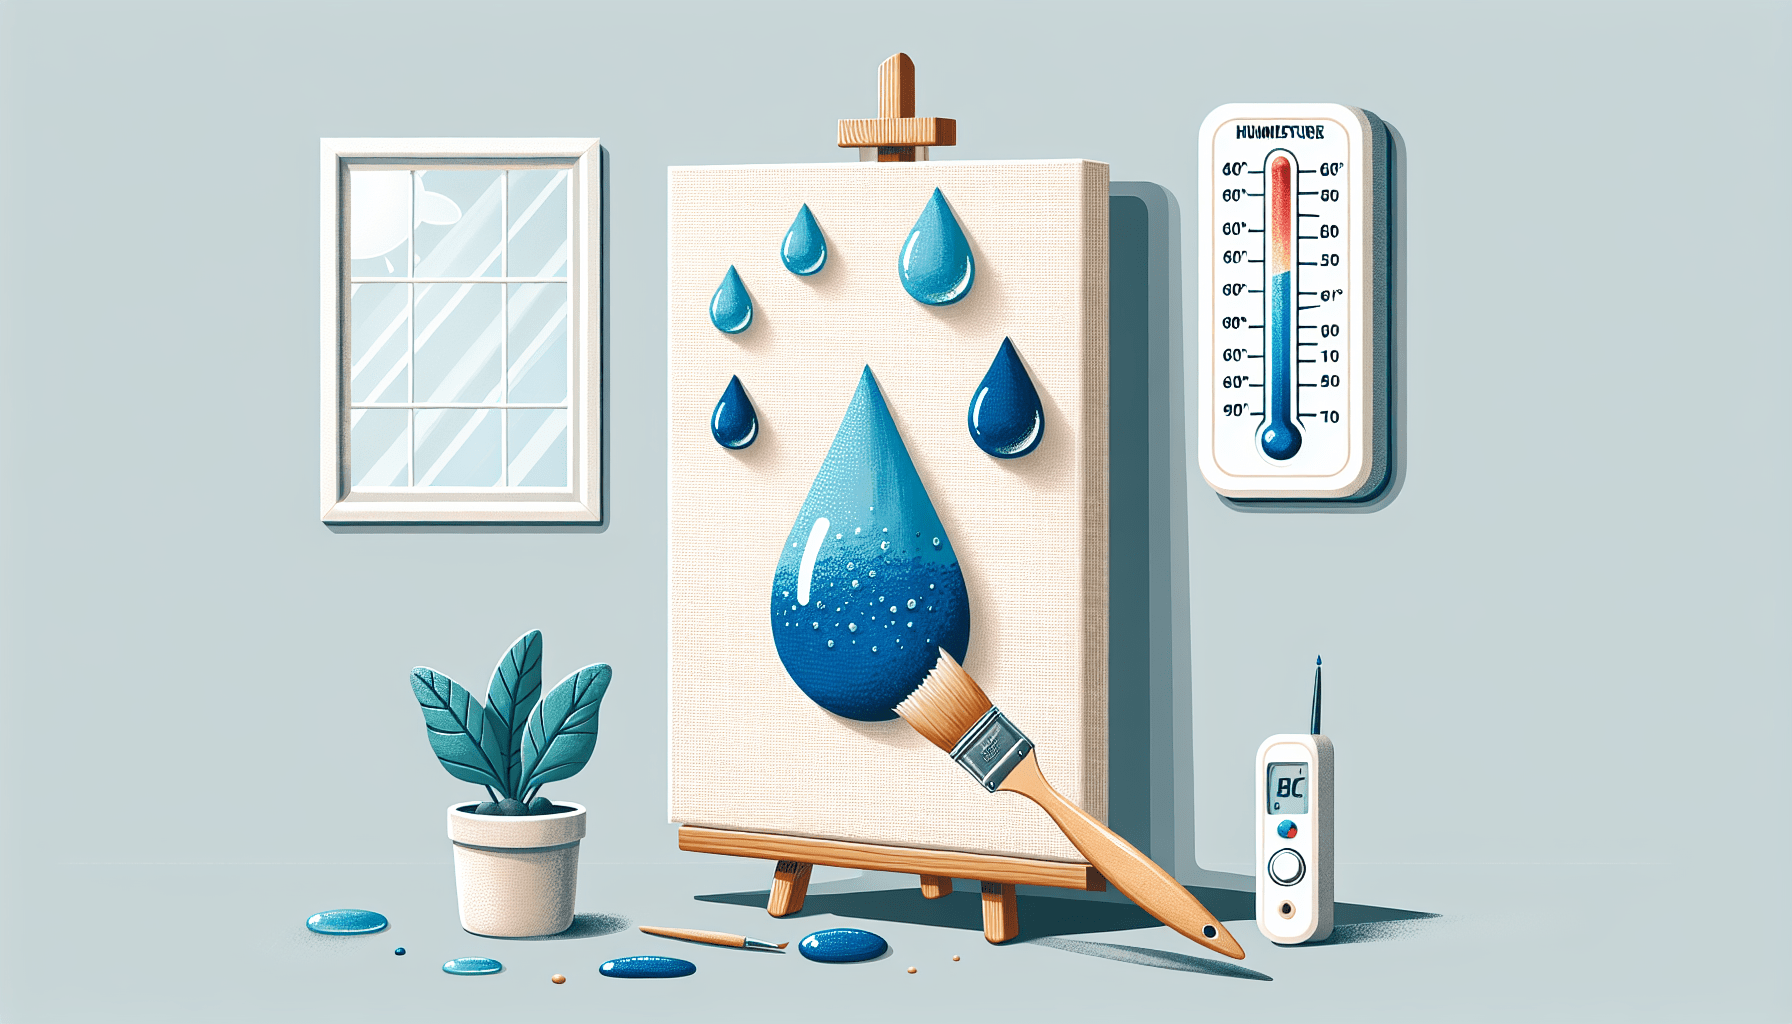
Working in a well-ventilated area
When using tempera paint for pumpkin painting, ensure you are working in a well-ventilated area. Open windows or doors to promote air circulation and prevent the buildup of paint fumes. If working indoors, consider using a fan or setting up a portable ventilation system to optimize air movement. Adequate ventilation is essential for your comfort and safety while painting.
Using non-toxic tempera paint
When selecting tempera paint for pumpkin painting, opt for non-toxic options. Non-toxic tempera paint is safe to use, especially when working with children or in enclosed spaces. Look for labels indicating that the paint is safe for use on skin and conforms to safety standards. This will give you peace of mind knowing that you are using a paint that is harmless and suitable for everyone involved.
Protective measures while painting
While painting pumpkins with tempera paint, it’s advisable to take necessary protective measures. Wear protective clothing, such as an apron or old clothes, to prevent stains or damage to your attire. Disposable gloves can also be worn to protect your hands from paint residue. Lay down a drop cloth or plastic sheeting to protect your working surface from any accidental spills or splatters. By taking these precautions, you can ensure both your safety and the cleanliness of your working environment.
Alternative Painting Options
Using acrylic paint on pumpkins
If you are looking for an alternative to tempera paint, acrylic paint can also be used on pumpkins. Acrylic paint offers a wide range of colors, and its water-resistant nature provides longevity. However, it is important to note that acrylic paint may produce a glossy finish, which may not be suitable for all design styles. Consider experimenting with acrylic paints to achieve different effects and explore a new dimension of pumpkin painting.
Experimenting with other types of paint
While tempera and acrylic paint are commonly used for pumpkin painting, there are other types of paint that you can experiment with. Watercolor paint, for example, can create a softer and more translucent look on pumpkins. Spray paint can also be used to cover larger areas quickly and achieve a smooth finish. Oil-based paints can be used for more permanent designs but require longer drying times. Don’t be afraid to explore different types of paint and see how they can enhance your pumpkin painting experience.
Inspiration and Ideas
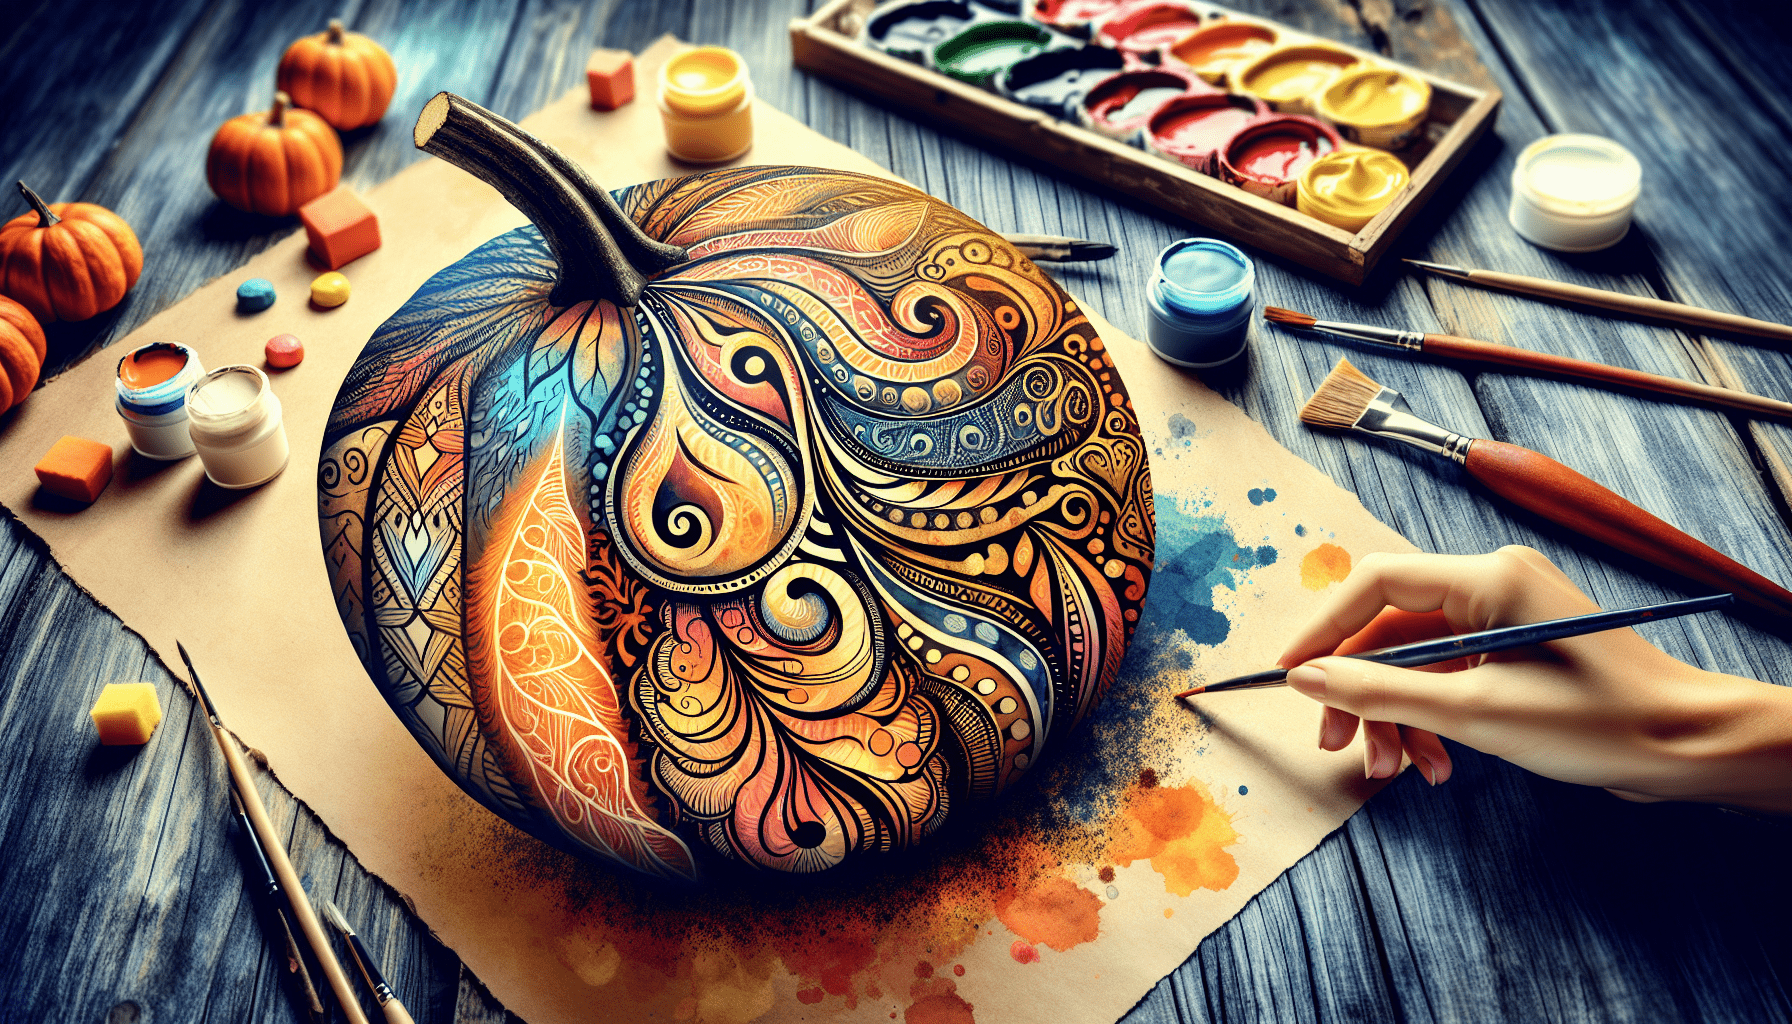
Painted pumpkin designs for Halloween
When it comes to Halloween-themed painted pumpkin designs, the possibilities are endless. From spooky ghosts and ghouls to cute witches and black cats, the world of Halloween provides a plethora of design ideas. Consider painting pumpkins to resemble iconic Halloween characters like Frankenstein, vampires, or Jack Skellington. Silhouettes of bats, web-like patterns, or eerie moonlit scenes can also be captivating options. Let your imagination run wild and create painted pumpkins that evoke the spirit of Halloween and delight those around you.
Seasonal and festive themes
Apart from Halloween, painted pumpkins can embrace various seasonal and festive themes. For fall, consider painting pumpkins with warm and earthy colors, incorporating motifs of falling leaves, pumpkins, or woodland animals. Thanksgiving offers opportunities to paint pumpkins with gratitude-inspired designs, featuring words of appreciation or simple harvest patterns. And for winter holidays, paint pumpkins with festive symbols such as snowflakes, ornaments, snowmen, or even Santa Claus. Exploring seasonal and festive themes allows you to create charming and decorative painted pumpkins that capture the essence of each occasion.
Painting techniques for different effects
Experimenting with different painting techniques can elevate your painted pumpkins to new heights. For a vintage or aged look, try using a dry brushing technique, lightly applying paint to the surface unevenly. Using sponges or brushes with stippling techniques can create interesting textures or patterns. Stencils or templates can be used to achieve precise shapes or designs. Play with layering colors to create depth and shadows. By exploring various painting techniques, you can achieve unique and visually stunning effects that make your painted pumpkins stand out.
Tips and Tricks for Success
Practicing on a test pumpkin
Before delving into your main design, it’s always helpful to practice on a test pumpkin. Use a small or less valuable pumpkin to experiment with different color combinations, brush strokes, and techniques. This allows you to get a feel for how the paint behaves on the pumpkin’s surface and gives you an opportunity to refine your skills before committing to your final design. Practice allows you to gain confidence and helps you visualize your ideas, ensuring greater success when painting on your chosen pumpkins.
Layering colors for depth
When painting pumpkins, layering colors can add depth and dimension to your design. Start with a base layer, such as a light color, and let it dry before applying subsequent layers of darker shades or contrasting colors. By layering colors, you can create shadows, highlights, or even blended effects. Experiment with different color combinations and layering techniques to achieve the desired visual impact and bring your painted pumpkins to life.
Working with stencils and templates
If you want to achieve precise shapes or intricate designs on your painted pumpkins, stencils and templates are valuable tools to have. You can purchase ready-made stencils or create your own by printing or drawing designs on sturdy paper or cardboard. Secure the stencil or template onto the pumpkin’s surface with tape or use repositionable adhesive spray to hold it in place. Trace the design using a pencil or a paintbrush dipped in paint, carefully following the lines. Remove the stencil or template, and you will have a precise and well-defined design on your painted pumpkin.
Conclusion
Using tempera paint on pumpkins offers a world of creative possibilities and allows you to express yourself through art. Whether you are painting pumpkins for Halloween, fall festivities, or any other occasion, tempera paint provides vibrant colors, easy application, and endless potential. From selecting the right pumpkins to applying a basecoat, exploring different techniques, and adding details, tempera paint offers versatility and a unique appeal to pumpkin painting. By following proper sealing and preservation methods, you can showcase your painted pumpkins with pride and enjoy them throughout the season. Whether you are new to pumpkin painting or a seasoned artist, tempera paint on pumpkins fosters creativity, enables self-expression, and brings joy to the creative process. So grab your brushes, choose your colors, and let your imagination run wild as you transform ordinary pumpkins into beautiful works of art.