As an artist or a DIY enthusiast, you might wonder about the compatibility of oil paints with wooden surfaces. The essence of this article is to enlighten and guide you towards a confident and informed decision. We will be detailing everything you need to know about the application of oil paint on wood, its benefits, drawbacks, and the steps necessary to achieve a perfect finish. Prepare yourself to gain a wealth of knowledge that will equip you with the expertise needed to conquer your forthcoming projects.
Introduction
Overview of using oil paint on wood
Yes, you can absolutely use oil paint on wood. Whether for a work of fine art, a DIY home decor, or a piece of restored antique furniture, oil paints can provide vibrant colors and a durable finish. The richness and versatility of oil painting have made it a preferred method for artists and crafters alike. The practice of oil painting on wood dates back centuries and is a time-honored technique that continues to be widely used today.
Advantages and Disadvantages
Using oil paint on wood has numerous advantages. Firstly, the viscosity of oil paint means you can create an array of textures, from thin and smooth to thick and voluminous. Secondly, oil paint takes much longer to dry than other types, allowing for more time to perfect your work and make adjustments. Lastly, once cured, the paint is resistant to water and other elements, making it suitable for indoor and outdoor applications.
However, there are a few drawbacks. Oil paint can take multiple days or weeks to fully dry and cure. Working with oils also requires some additional safety precautions due to the fumes produced by the paint and associated solvents. Moreover, improper preparation can result in yellowing, peeling, or cracking of the paint on the wood surface.
Preparing the Wood Surface
Cleaning the wood
Begin the preparation process by diligently cleaning the wood to remove any dirt or debris. Simply use a damp cloth to wipe the surface, ensuring that you do not saturate the wood as this can create issues down the line.
Sanding the wood
After cleaning, it is essential to move to the sanding stage. Using sandpaper, smooth away any imperfections or minor irregularities on the surface of the wood. This step promotes better adhesion of both the primer and the paint. A smooth, uneven surface will also produce a better final result. Make sure to remove all sanding dust before moving to the next stage.
Applying a primer
Application of a primer is a crucial step in preparing wood for oil painting. The role of the primer is twofold. First, it seals the porous surface of the wood, and second, it provides a neutral base color for your painting.
Choosing the right type of primer
For use with oil paints, an oil-based primer is typically recommended, although a high-quality acrylic primer can also do the trick. Select a primer that suits your specific project needs, taking into account factors like color, drying time, and cost.

Choosing and Applying Oil Paint
Selecting oil paint for wood
When choosing your oil paint, be mindful of the quality of the pigment. Higher-quality paints typically offer better coverage and a wider range of vibrant colors. Don’t shy away from mixing different colors to achieve the exact hue you want.
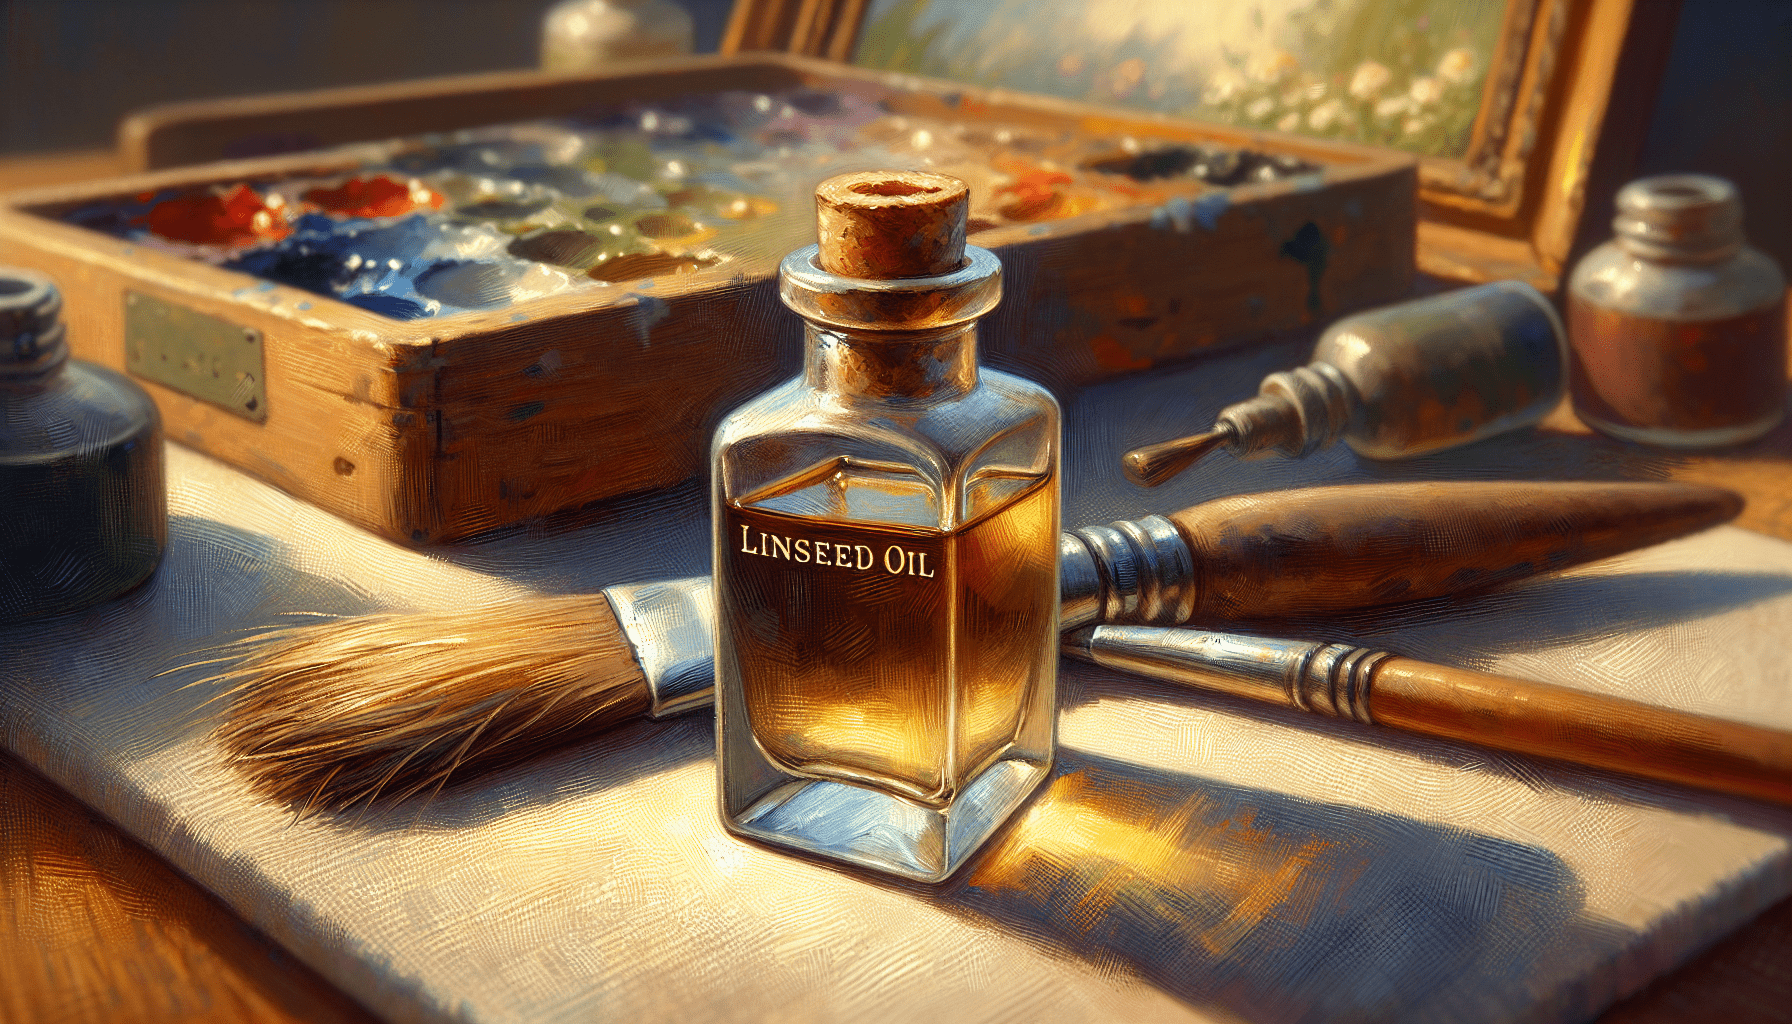
Using oil-based or water-based paint
Both oil-based and water-based oil paint can be used on wood, but each has its pros and cons. Oil-based paint generally provides a smoother finish and is more durable than water-based paint. However, it takes longer to dry and requires solvents for cleanup. Water-based paint dries faster and is easier to clean up but may not be as tough or smooth as an oil-based alternative.
Testing the paint on a small area
Before you start painting, it’s a good idea to test the oil paint on an inconspicuous area of the wood. This will give you a good idea of how the paint color will look on the actual wood surface and how the wood will react to the oil paint.
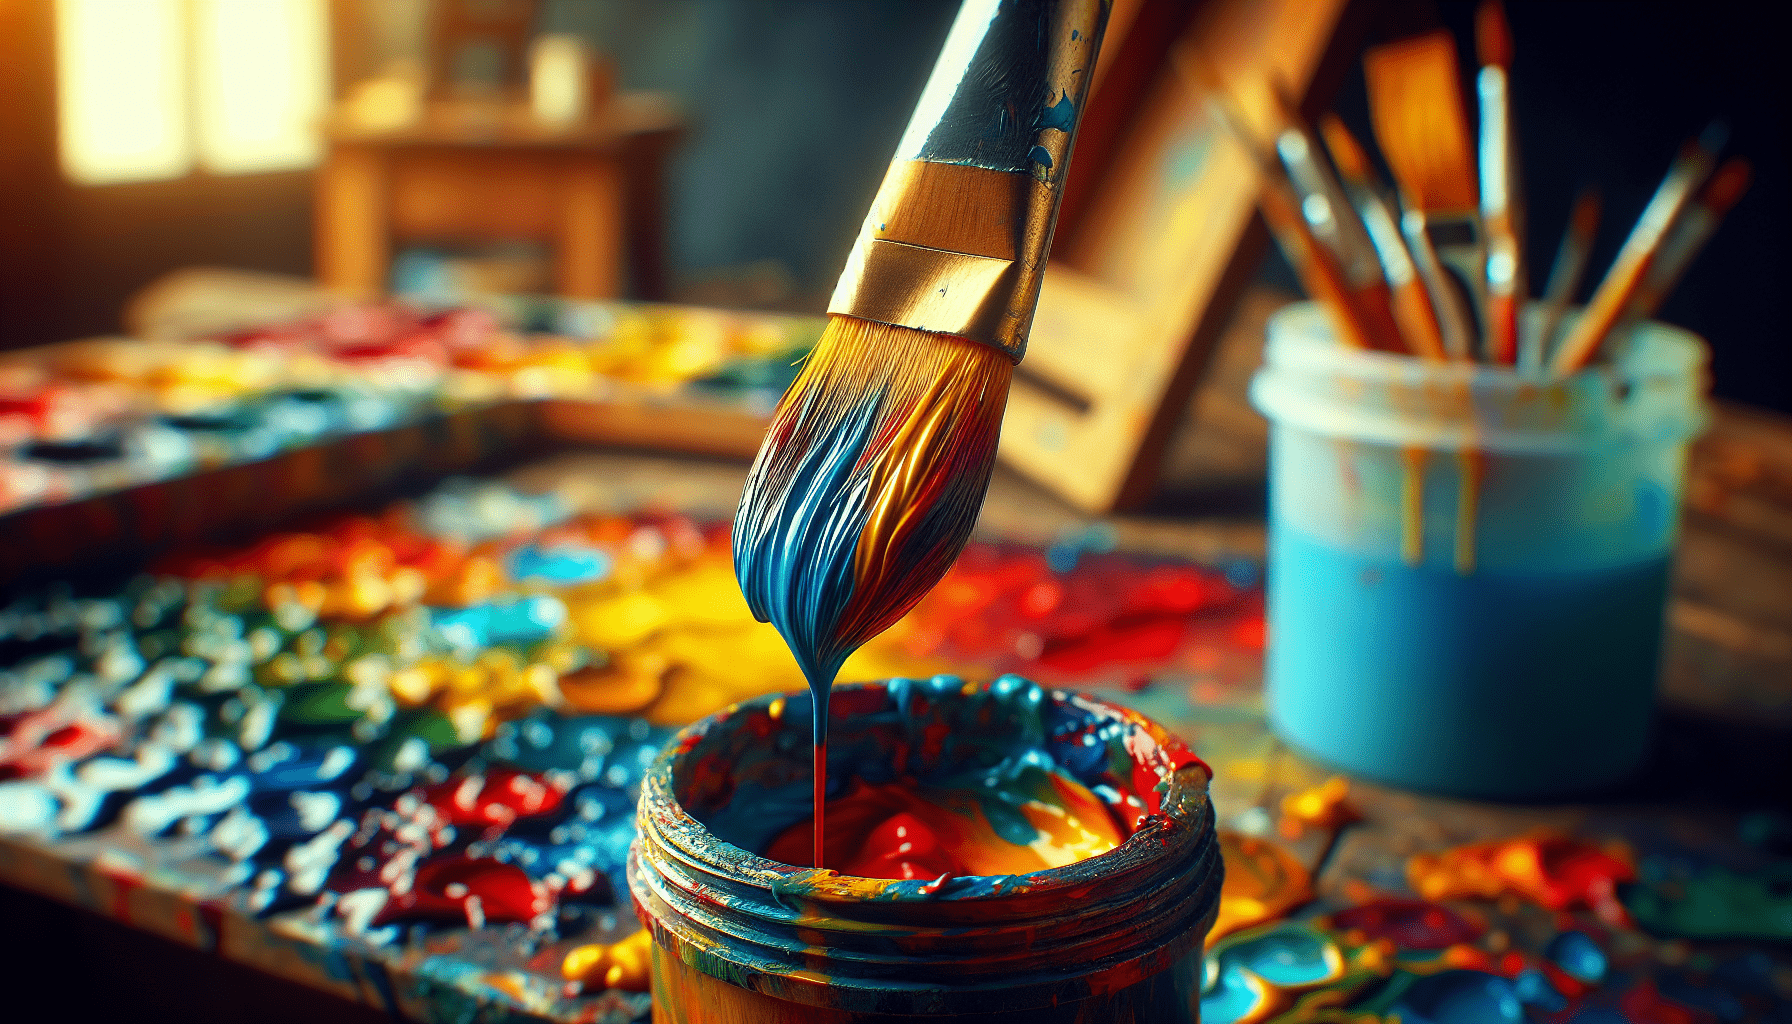
Applying the paint using different techniques
For applying your chosen oil paint, you can use a variety of techniques, including brushing, dabbing, or even using a palette knife. The choice of technique will depend upon the desired end result and the type of texture and depth you want in your painting.
Applying multiple layers of paint
Most often, you’ll need to apply multiple layers of paint to achieve the desired color intensity and depth. Ensure each layer is fully dry before moving onto the next to prevent any unwanted blending or smudging. This may take patience, as oil paint can take a while to dry.
Drying time and curing process
Drying times for oil paint vary based on factors like the thickness of paint, the type of oil used, and environmental conditions such as temperature and humidity. A thin layer of oil paint might dry in a couple of days, while thicker applications can take weeks or even months. Once dry, the oil paint undergoes a curing process, during which it hardens to a durable finish.
Tips and Techniques
Using brushes or other tools
While brushes are the most common tool for applying oil paint on wood, don’t be afraid to experiment with other tools, such as palette knives, sponges, or even your fingers.
Blending and layering colors
Oil paints are perfect for creating stunning blends and layers of color. By understanding and mastering this technique, you can create realistic, multidimensional artwork.
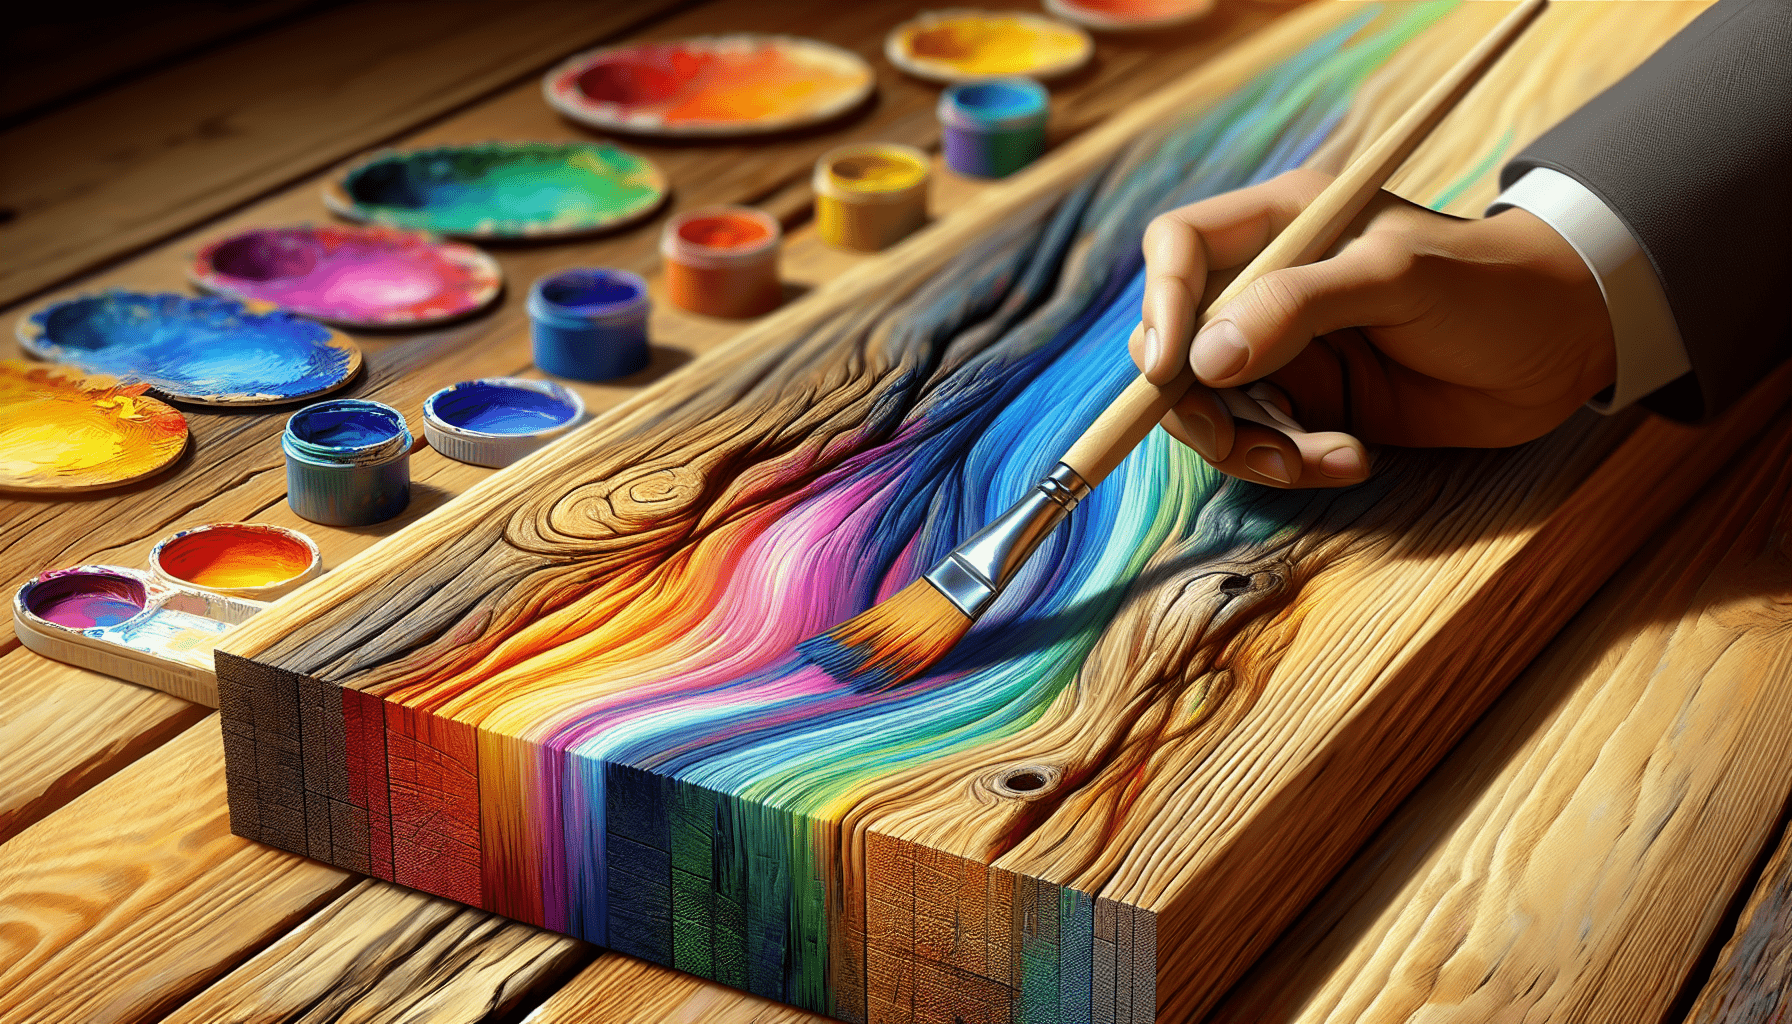
Creating texture and depth
The viscosity of oil paints makes them excellent for creating texture and depth. You can use thick, impasto techniques or thin layers to create a variety of effects.
Sealing and protecting the finished painting
Once your oil painting on wood is completed and fully dried, it’s a good idea to seal it with a varnish. This step protects the finished artwork from dust, sunlight, and other potential damage. It also enhances the colors and increases the depth and vibrancy of your work.
Considerations for outdoor wood artwork
If your oil painting will be displayed outdoors, be sure to use paints and primers specifically designed for outdoor use. These will be more resistant to weather conditions.

Common Issues and Troubleshooting
Cracking and peeling
Cracking or peeling of your oil paint on wood can be due to poor preparation of the wood surface, inconsistent drying conditions, or improper application of the paint.
Yellowing or discoloration
Yellowing or discoloration can occur if the wood wasn’t properly primed or the oil paint has been exposed to sunlight or harsh environmental conditions. Some types of varnish can also cause yellowing over time.
Uneven coverage
If your paint coverage seems uneven, it may be because the wood surface was not cleaned, sanded, or primed properly. It could also be due to the quality or the consistency of the paint used.
Fixing mistakes and making corrections
Thankfully, the slow dry time of oil paint gives you plenty of leeway to fix mistakes. If you’re not happy with a part of the painting, you can simply scrape off the paint and correct the error.
Safety Precautions
Ventilation and working in a well-ventilated area
As oil paint emits fumes that can be harmful if inhaled in large amounts, it’s important to work in a well-ventilated area.
Using personal protective equipment
For added safety, consider wearing gloves while painting and use a mask if you’re sensitive to fumes.
Proper disposal of paint and materials
Be sure to follow local regulations for the disposal of any leftover paint, solvents, or other materials.
Maintenance and Care
Cleaning and dusting the painted wood
Regular dusting can help to keep your oil painting looking its best. Avoid using water or any abrasive cleaners on your finished painting.
Avoiding direct sunlight and extreme temperatures
To prevent discoloration and other damage, avoid displaying your oil painting in direct sunlight or in areas with extreme temperatures.
Touching up and refinishing
With time, your oil painting might need some touch-ups or refinishing. This is normal, especially for pieces exposed to heavy use or outdoor elements.
Long-term preservation
Proper care and maintenance can help ensure your oil painting on wood lasts for many years, or even generations.
Alternatives to Oil Paint on Wood
Acrylic paint
Acrylic paint is a popular alternative to oil paint. It dries much more quickly and is water-soluble, making cleanup easier.
Watercolor paint
Watercolor paint is another option, although it’s generally not as durable or vivid as oil paint.
Staining wood
Staining wood can provide a rich, natural color without covering up the wood’s natural grain and texture.
Woodburning or pyrography
Woodburning, or pyrography, uses heat to create designs and patterns on the wood. It can be a unique alternative to paint.
Examples and Inspirations
Famous artists who used oil paint on wood
Over the centuries, many renowned artists, including Rembrandt and Vermeer, have used oil paint on wood to create some of their most celebrated works.
Different styles and techniques
There are numerous styles and techniques to explore when it comes to oil painting on wood, from realistic portraiture to abstract expressionism.
Ideas for wood painting projects
Consider oil painting on wood for all kinds of DIY projects, from repurposing furniture to making personalized signs or creating custom artwork.
Conclusion
Summary of using oil paint on wood
Oil paint on wood can be a wonderful medium to work with, offering rich, vibrant colors, and impressive durability. Whether you’re an experienced artist or a casual crafter, the above information should help guide you towards a successful project. Remember, the key lies in careful preparation of the wood, thoughtful color choice, and patient application. Happy painting!