Have you ever considered using metallic paint in an airbrush but were unsure if it would work or how to go about it? If so, you’re not alone. Many hobbyists, artists, and professionals ponder this very question.
Can You Use Metallic Paint In An Airbrush?
The simple answer is yes, you can use metallic paint in an airbrush. However, there are several considerations to keep in mind to ensure a successful and smooth application. Metallic paints can produce stunning and unique finishes when used correctly. To achieve the desired result, you need to be aware of certain factors, such as paint composition, thinning requirements, and spraying techniques. Below, let’s delve into the details to guide you through the process effectively.

Understanding Metallic Paint
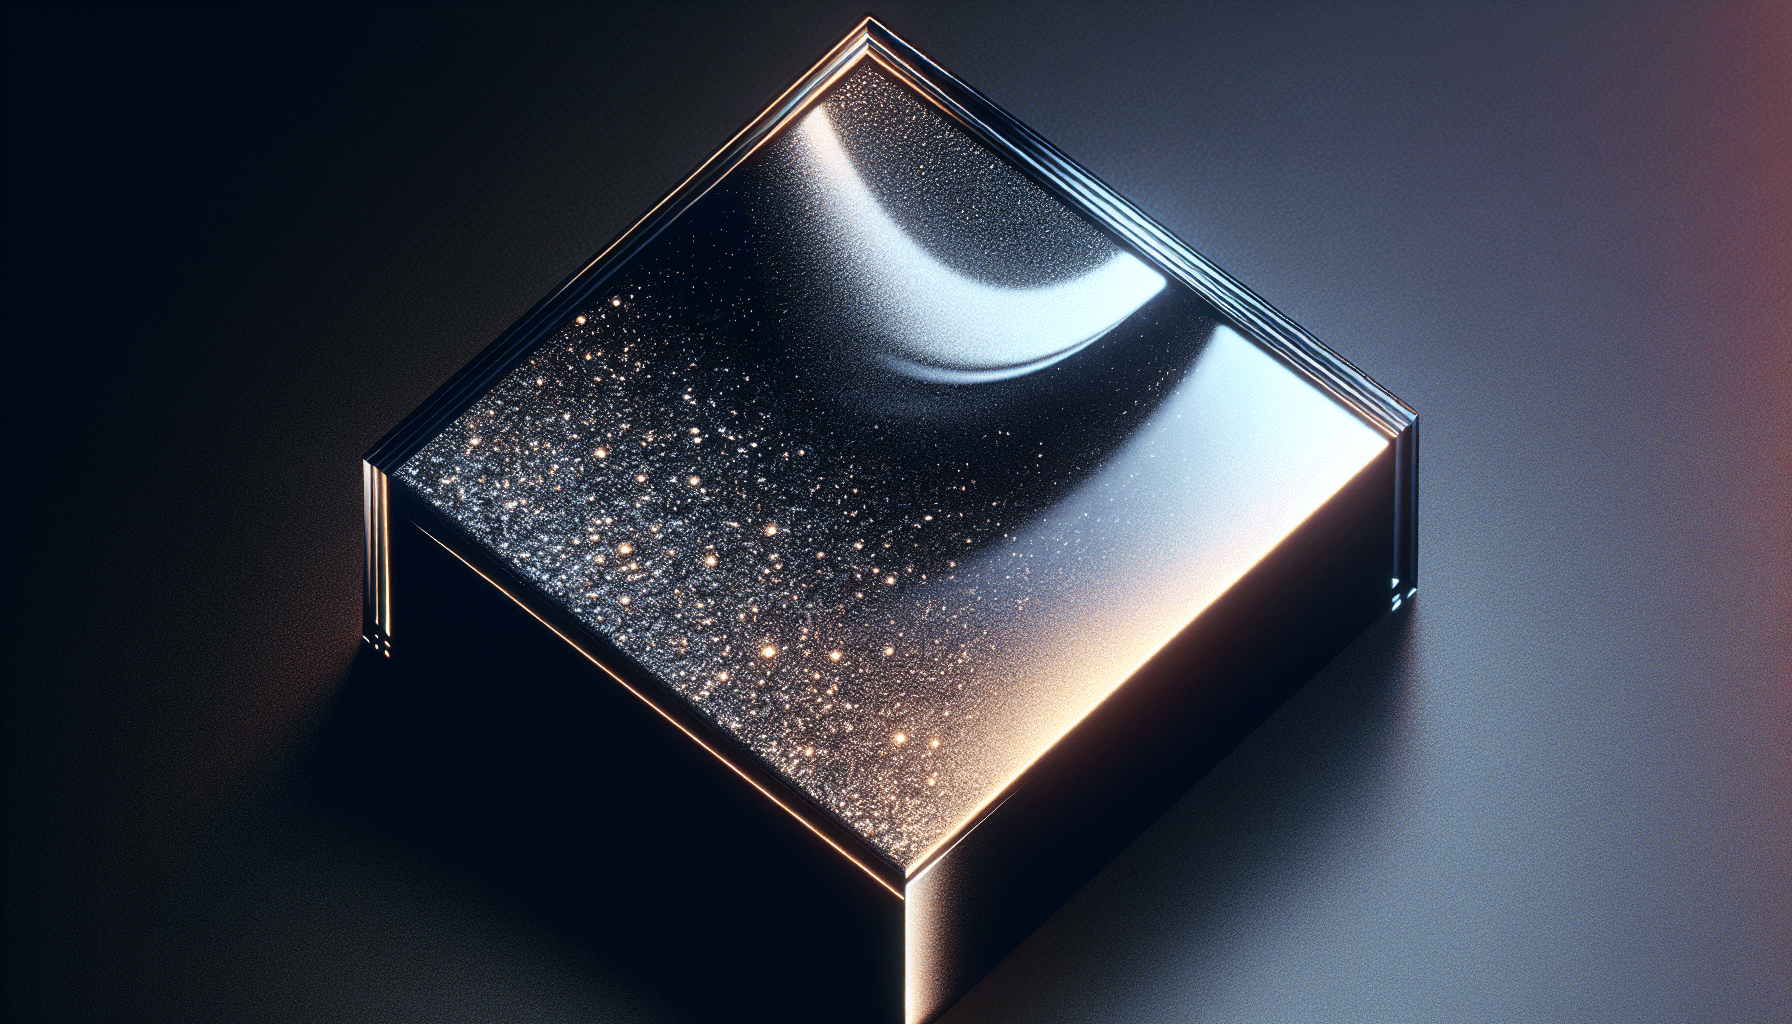
Metallic paint consists of small reflective particles, usually metals like aluminum, that produce a shimmering effect. The finish can range from a subtle metallic sheen to a highly reflective, chrome-like surface.
Comparison Table: Standard Paint vs. Metallic Paint
| Feature | Standard Paint | Metallic Paint |
|---|---|---|
| Particle Size | Uniform and small | Varying and larger |
| Composition | Pigments and binders | Pigments, binders, metal particles |
| Finish | Matt or Gloss | Shimmering and Reflective |
| Thinning Requirements | Simple | More complex |
| Spray Technique | Straightforward | Specialized |
Metallic paints create depth and variability in color due to the way light reflects off the metal particles, making the surface appearance more dynamic.
Equipment Considerations
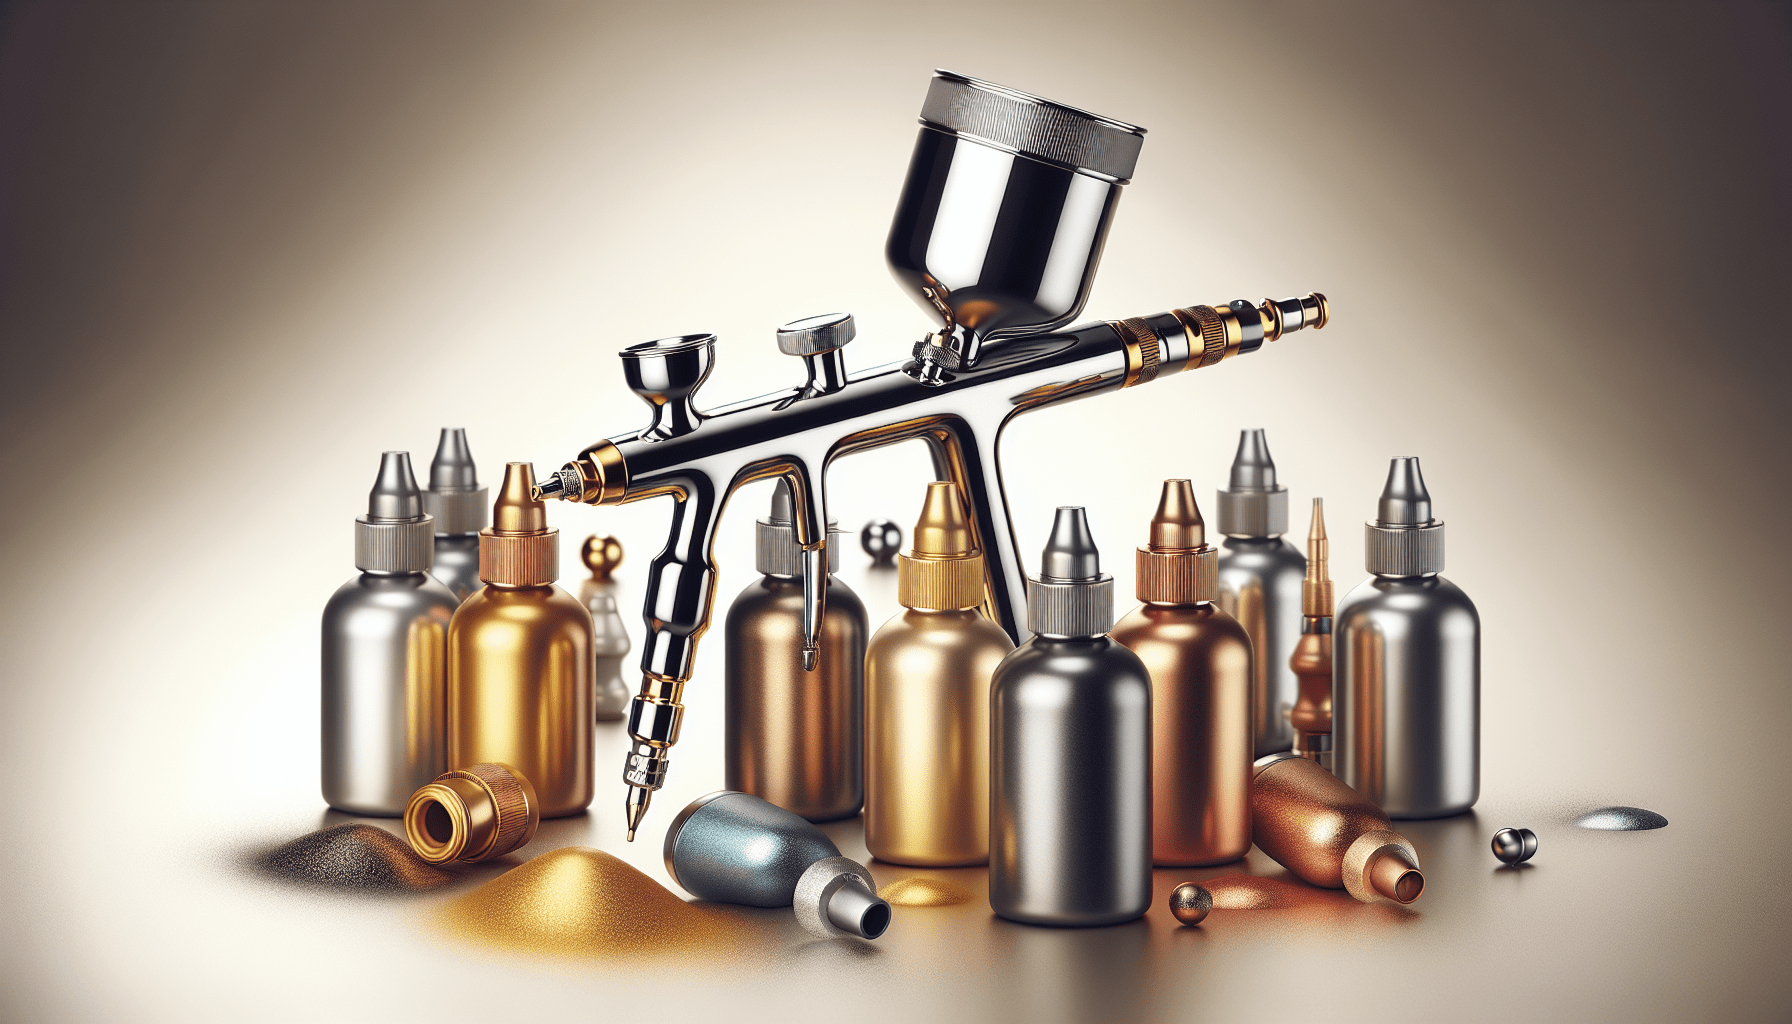
Using metallic paint in an airbrush requires some specific equipment considerations to avoid clogging and ensure an even application.
-
Airbrush Type: The type of airbrush you use can significantly affect the outcome. A double-action airbrush is generally preferred for metallic paints because it gives you better control over the airflow and paint mixture.
-
Needle and Nozzle Size: Metallic paints contain larger particles, so using an airbrush with a larger needle and nozzle size can help prevent clogging. Typically, a 0.5mm nozzle works well with metallic paints.
-
Compressor Settings: Opt for a compressor that provides a consistent PSI (pounds per square inch), typically between 20-30 PSI for metallic paints. Consistent pressure ensures an even application and excellent atomization of the metallic particles.
Paint Preparation
Proper preparation of metallic paint is crucial for successful spraying.
Mixing Paint
Metallic paints need thorough mixing to ensure that the metal particles are evenly distributed within the paint. Inadequately mixed paint can result in uneven finish and clogging of the airbrush. Shaking the container well or using a mechanical paint mixer is advised.
Thinning Paint
Metallic paints are often thicker than standard paints and may require thinning before airbrush use. Use a high-quality thinner recommended by the paint manufacturer. The thinning ratio typically falls between a 1:1 to 1:2 ratio of paint to thinner, but always refer to the manufacturer’s instructions.
Example Thinning Ratios
| Paint Type | Thinning Ratio (Paint:Thinner) |
|---|---|
| Acrylic Metallic | 1:1 to 1:2 |
| Enamel Metallic | 1:1 to 1:2 |
| Lacquer Metallic | 1:1 to 1:2 |
Filtering Paint
To avoid clogs, it’s beneficial to filter the metallic paint before adding it to your airbrush. Small mesh strainers or a nylon stocking can be used to remove any larger particulate matter.
Spraying Technique
A proficient spraying technique is essential for achieving a smooth finish with metallic paint.
Testing Spray Patterns
Before applying the paint to your final surface, test the spray pattern on a scrap piece of material. This allows you to adjust your techniques and settings without affecting your final project.
- Adjust the air pressure to between 20-30 PSI.
- Ensure your airbrush is loaded and properly mixed.
- Spray a few test patterns, observing for even dispersal of metallic particles.
Spraying in Layers
Applying metallic paint in multiple thin layers rather than a single thick coat yields better results. Thin layers allow the metallic particles to settle evenly, minimizing the risk of runs and pooling.
Procedure for Layering
- First Layer: Apply a thin base coat, holding the airbrush approximately 6-8 inches from the surface. Allow this layer to dry completely.
- Intermediate Layers: Apply additional thin layers, each time allowing adequate drying between layers. Ensure each layer is light to avoid build-up and running.
- Final Layer: Finish with a light, even coat to achieve the desired sheen.
Avoiding Common Issues
While airbrushing with metallic paints, you may encounter some common issues. Here are strategies to address them:
- Clogging: Ensure proper thinning and filtering of the paint. Clean your airbrush regularly during use.
- Uneven Finish: Apply thin, even coats and avoid overloading the surface with too much paint.
- Orange Peel Effect: Maintain consistent air pressure and distance from the work surface to avoid an uneven, bumpy finish.

Cleaning and Maintenance
Cleaning your airbrush thoroughly after using metallic paint is crucial due to the presence of metal particles that can damage your equipment.
Cleaning Steps
- Initial Rinsing: Rinse the paint cup and nozzle immediately after use with the appropriate cleaner for the type of paint (acrylic, enamel, lacquer).
- Detailed Cleaning: Disassemble the airbrush and clean each component individually.
- Needle and Nozzle: Pay special attention to cleaning the needle and nozzle, as residual metallic particles can cause clogging in future use.
Cleaning Solvents
- Acrylic Metallics: Use water or an acrylic cleaner.
- Enamel Metallics: Use mineral spirits.
- Lacquer Metallics: Use a lacquer thinner.
Surface Preparation and Application
To achieve the best results with metallic paints, proper surface preparation is essential.
Cleaning the Surface
Ensure that the surface is clean, dry, and free of any dust, oil, or other contaminants. Using a tack cloth can help remove small particles that might interfere with the paint adhesion.
Priming the Surface
Priming is crucial when using metallic paint. A good primer not only enhances paint adhesion but also provides a uniform base that can affect the final appearance of the metallic finish.
Types of Primers for Different Materials
| Surface Type | Recommended Primer |
|---|---|
| Plastic | Plastic-specific primer |
| Metal | Etching primer |
| Wood | Sanding sealer |
| Resin | Adhesion promoter |
Top Coat and Protective Layers
Often, metallic paints need to be sealed with a top coat to protect the finish and enhance durability.
Types of Top Coats
- Gloss Clear Coat: Provides a shiny, reflective finish, ideal for highlighting metallic effects.
- Matte/Satin Clear Coat: Offers a muted effect while still protecting the paint.
Application Tips
- Apply the top coat in thin, even layers as you did with the metallic paint.
- Allow adequate drying time between each coat to prevent clouding or hazing.
- For high-wear surfaces, multiple layers of top coat may be required.
Troubleshooting
If you encounter issues during or after the application process, here are some common problems and solutions:
Common Problems and Solutions
| Problem | Cause | Solution |
|---|---|---|
| Paint Clogging | Insufficient thinning | Increase thinner ratio; ensure paint is strained before use |
| Uneven Metallic Effect | Irregular spraying technique | Practice more uniform spraying techniques; adjust air pressure |
| Runs and Drips | Too much paint applied at once | Apply thinner coats and ensure adequate drying time between layers |
| Dull Finish | Contaminated surface or insufficient layers | Clean surface thoroughly; apply additional paint layers |
| Orange Peel Texture | High paint viscosity or air pressure | Adjust thinning ratio and air pressure; spray from the appropriate distance |
Safety Considerations
When using metallic paint, safety is paramount due to the particles and chemicals involved.
Personal Protective Equipment (PPE)
- Respirator or Face Mask: Prevents inhalation of fine particles and vapors.
- Safety Glasses: Protect your eyes from accidental splashes.
- Gloves: Keeps your skin safe from exposure to harmful chemicals.
- Protective Clothing: Wear long sleeves and aprons to shield your skin and clothes.
Ventilation
Ensure your workspace is well-ventilated. Using an extraction fan or working outdoors can help dissipate fumes and reduce inhalation risks.
Storage and Disposal
Store metallic paints in a cool, dry place away from direct sunlight. Dispose of any waste materials, including empty cans and used thinner, according to local regulations to ensure environmental safety.
Conclusion
The versatility and beauty of metallic paint make it an excellent choice for airbrush applications. While it requires specific preparation, technique, and equipment, the unique and stunning results are well worth the effort. Thoroughly mixing, thinning, and filtering the paint, using the right airbrush settings, practicing proper spraying techniques, and ensuring rigorous cleaning and maintenance will help you achieve a professional-quality finish. With these guidelines in hand, you can confidently use metallic paint in your airbrush to create spectacular work that stands out.