Craft foam is a versatile material that is commonly used in various art and craft projects. But have you ever wondered if it is possible to spray paint craft foam? In this article, we will explore this question and provide you with some valuable insights on how to effectively paint craft foam using spray paint. Whether you are a seasoned artist or a beginner, we will guide you through the process and share some helpful tips to ensure a successful outcome. So, let’s dive into the world of spray painting craft foam and discover the endless possibilities it brings to your creative endeavors.

This image is property of images.unsplash.com.
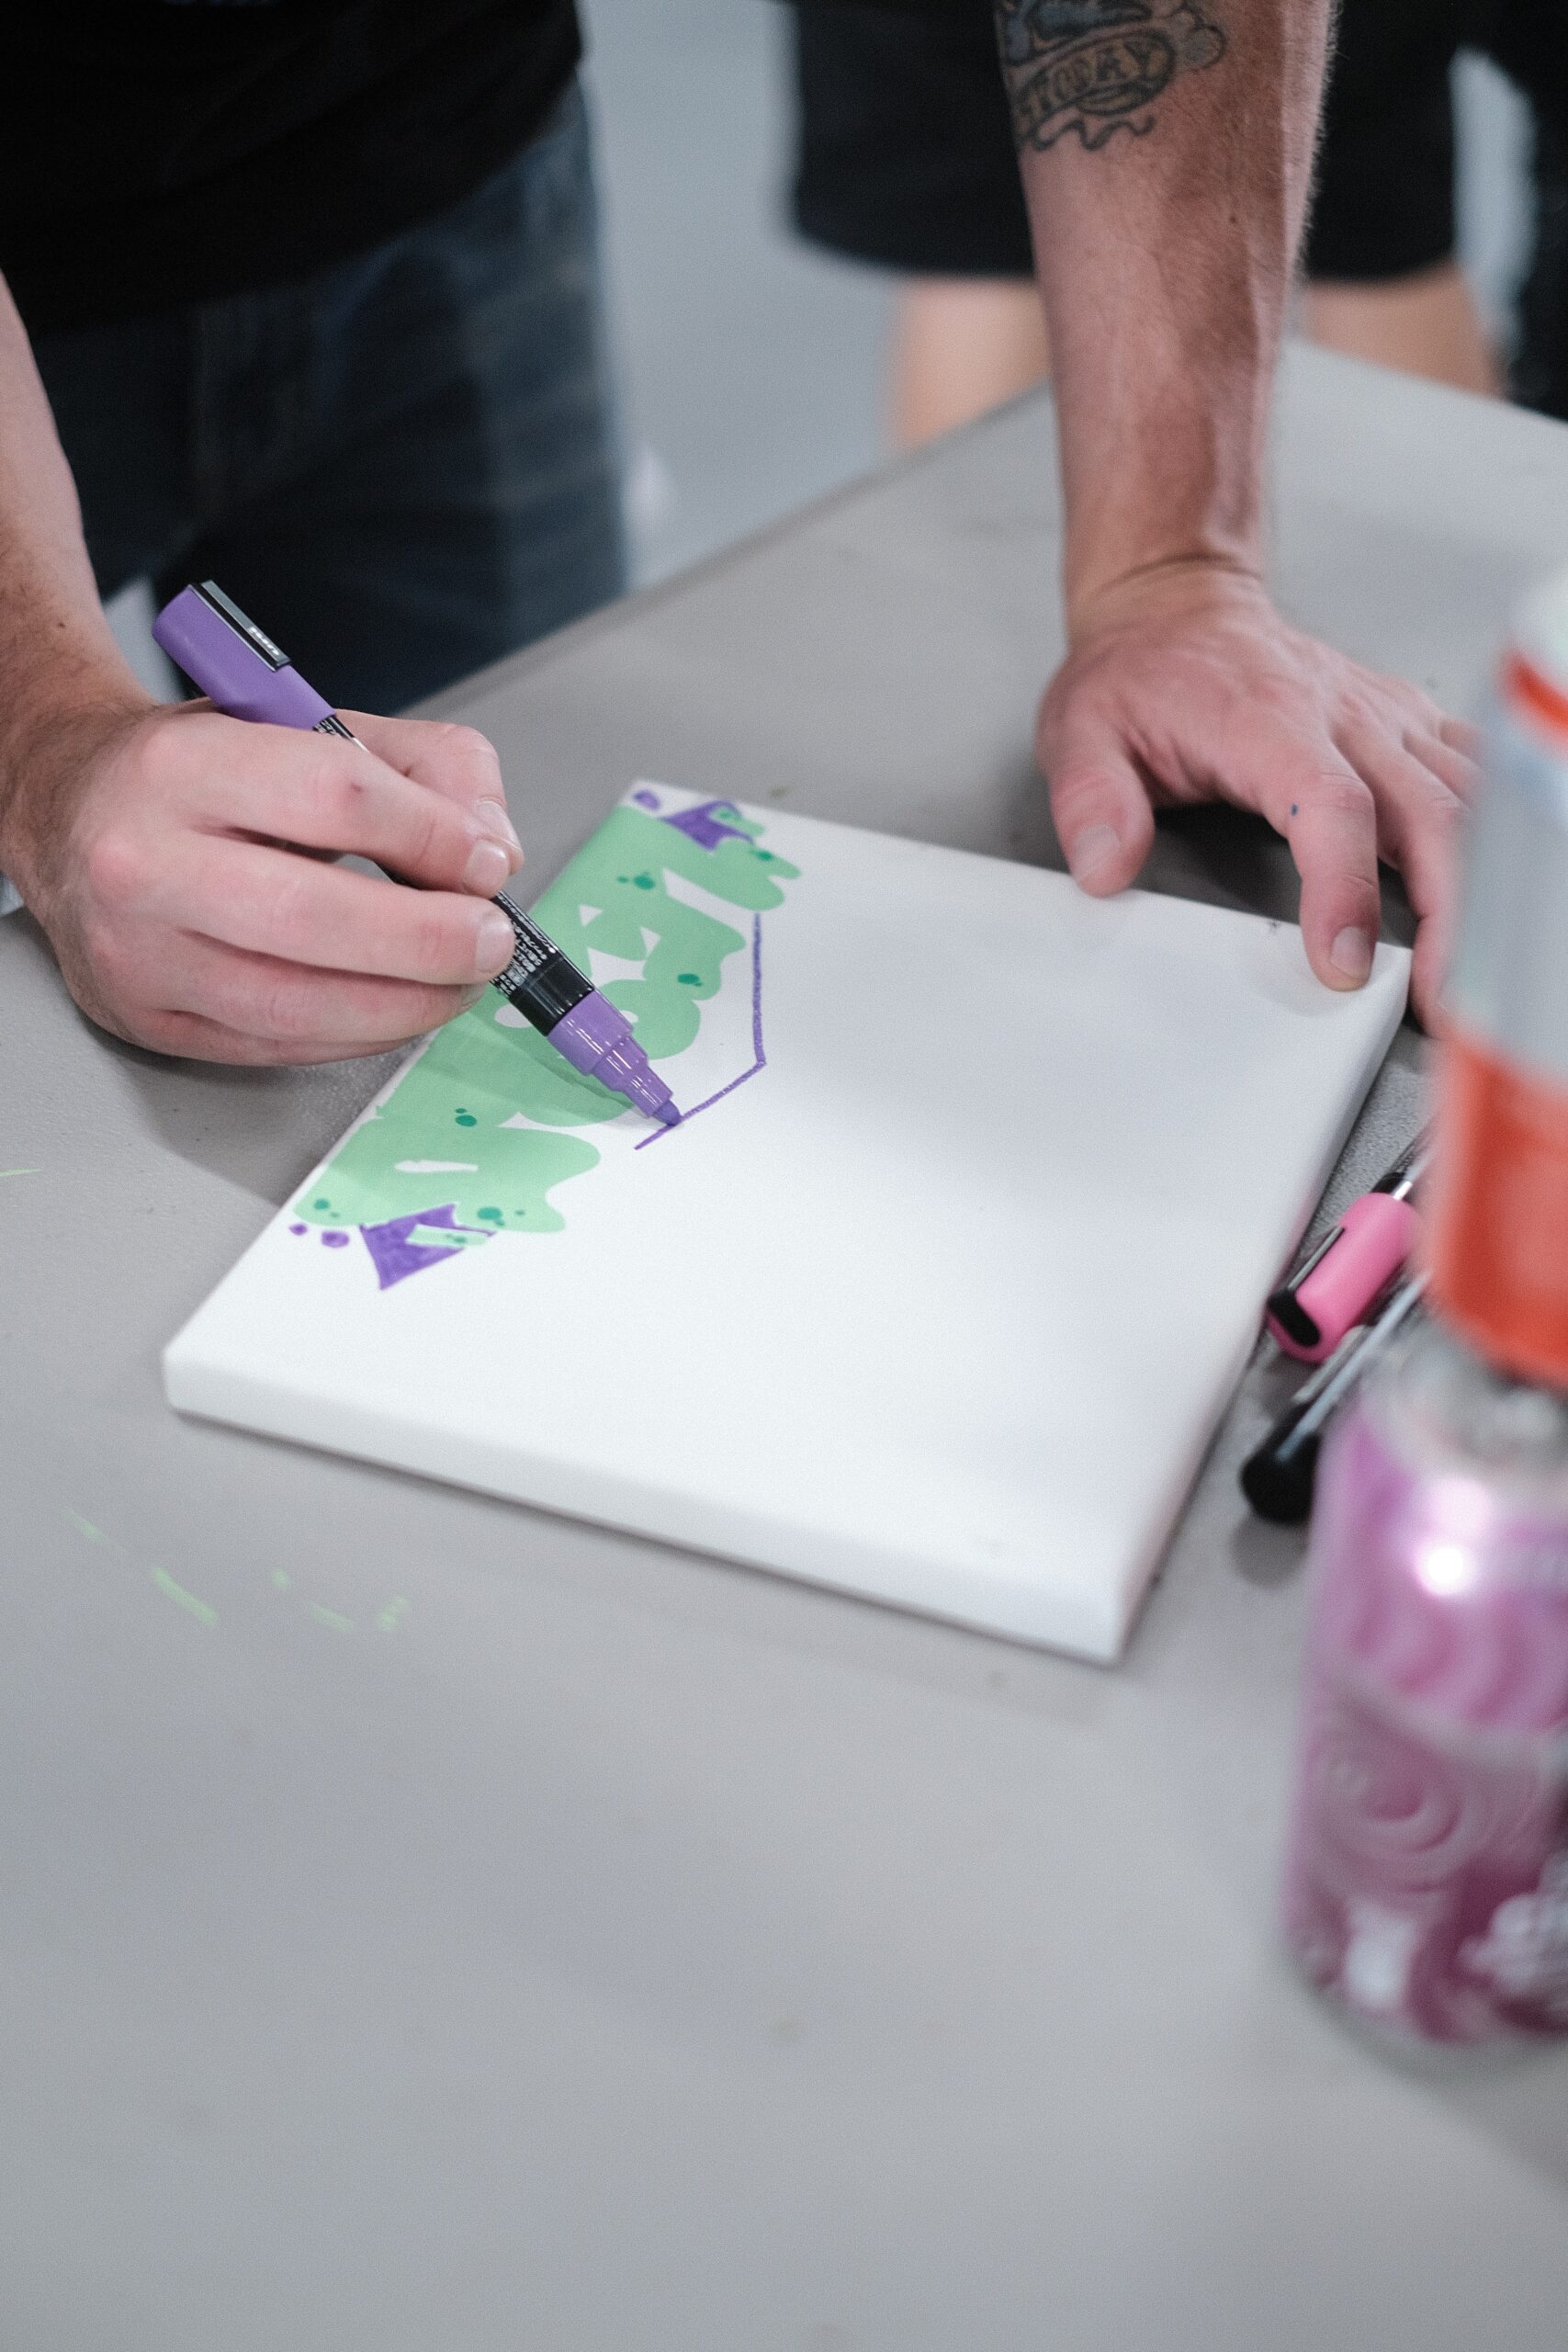
Preparing the Craft Foam
Craft foam provides a versatile and lightweight material for various DIY projects. However, before you begin spray painting it, it’s essential to prepare the surface properly to ensure optimal paint adhesion and a smooth finish.
Cleaning the Surface
Start by cleaning the craft foam thoroughly. Use a mild detergent mixed with water and gently scrub the foam using a soft cloth or sponge. This step will remove any dirt, dust, or oils from the foam’s surface, allowing the paint to adhere better. Rinse the foam with clean water and let it dry completely before proceeding to the next step.
Priming the Foam
After cleaning, applying a primer to the craft foam is highly recommended. Priming creates a smooth and even surface for the spray paint and helps the paint adhere better to the foam. Choose a primer specifically designed for use on foam materials and follow the manufacturer’s instructions for proper application. Allow the primer to dry completely before moving on to selecting the right spray paint for your project.
Choosing the Right Spray Paint
Selecting the appropriate spray paint for your craft foam project is crucial for achieving the desired results. Consider both the type of spray paint and the color and finish you desire.
Selecting a Suitable Spray Paint Type
When choosing the spray paint type, opt for paint specifically formulated for use on foam materials. The label should indicate that it adheres to foam and won’t cause damage or disintegration. Avoid using regular spray paint, as it may dissolve or eat away at the foam surface. Look for spray paint specifically labeled as “foam safe” or “suitable for craft foam.”
Considering the Color and Finish
The color and finish of the spray paint will have a significant impact on the overall appearance of your craft foam project. Consider the color scheme you want to achieve, whether it’s a solid color, metallic finish, or any other desired effect. Additionally, keep in mind the finish you prefer, such as glossy, satin, or matte. Experiment with different colors and finishes on a scrap piece of foam to determine the best choice for your project.
Spray Painting Techniques
Once you’ve chosen the appropriate spray paint, it’s important to master the right techniques for achieving smooth and even coats on your craft foam.
Applying Thin and Even Coats
When spray painting craft foam, it’s crucial to apply thin and even coats of paint to avoid oversaturation or drips. Hold the spray paint can approximately 6 to 8 inches away from the foam surface for an optimal spray pattern. Start spraying before reaching the foam and continue spraying in a smooth, back-and-forth motion while maintaining a steady speed. Overlapping each pass slightly will ensure even coverage.
Maintaining Proper Distance
Maintaining the correct distance between the spray can and the craft foam surface is essential for achieving the desired results. Holding the can too close may lead to oversaturation, causing the paint to pool or drip. Conversely, holding it too far away may result in uneven coverage or a spotty finish. Experiment with different distances on a scrap piece of foam to find the sweet spot that works best with your chosen spray paint.
Using Light and Gentle Sweeping Motions
To achieve a smooth finish, using light and gentle sweeping motions is crucial. Avoid exerting too much pressure on the spray can trigger, as this can lead to uneven application or drips. Move your hand smoothly and steadily across the craft foam surface, allowing the paint to disperse evenly. Be patient and take your time to achieve the desired coverage and finish.
Recommended Safety Precautions
Spray painting, like any other DIY activity, requires precautions to ensure your safety and minimize any potential risks. Follow these safety guidelines when working with spray paint on craft foam.
Working in a Well-Ventilated Area
Always spray paint in a well-ventilated area to avoid inhaling harmful fumes or vapors. Select an outdoor location, such as a patio or garage with open doors and windows, or use a large fan to create airflow. Proper ventilation will help disperse the paint fumes and minimize your exposure to potentially hazardous substances.
Using Protective Gear
To protect yourself during the spray painting process, it’s crucial to wear appropriate protective gear. Wear a respirator or a mask specifically designed for spray painting to filter out harmful particles and fumes. Additionally, use gloves and safety goggles to shield your hands and eyes from any potential contact with the paint.
Avoiding Open Flames or Sparks
While spray painting, make sure to keep your workspace free from open flames or sparks. Spray paint is highly flammable, and these sources could cause accidents or fires. Choose a painting area away from any open flames, such as gas stoves, and avoid smoking or using any electrical equipment that could generate sparks.

This image is property of images.unsplash.com.
How to Spray Paint Craft Foam
Now that you have prepared the craft foam and are aware of the safety precautions, it’s time to commence the spray painting process. Follow these steps to achieve the best results.
Preparing the Workspace
Set up your painting area in a well-ventilated location, preferably outdoors or in a well-ventilated room. Cover the surrounding surfaces with drop cloths, newspapers, or plastic sheets to protect them from overspray or accidental paint splatters. Ensure your craft foam is clean and dry, and position it on a suitable surface for easy access and maneuverability.
Shaking the Spray Paint Can
Before using the spray paint, shake the can vigorously according to the manufacturer’s instructions. This ensures that the paint is properly mixed and ready for use. Shake the can for the recommended duration to ensure an even distribution of the paint’s pigments.
Test Spraying on a Scrap Material
Before spraying your craft foam project, it’s always advisable to do a test spray on a scrap piece of foam or cardboard. This allows you to check the spray pattern, color, and any other aspects you may want to adjust before applying it to the main project. Ensure the paint adheres properly and dries to your satisfaction before proceeding.
Spraying the Craft Foam
Hold the spray paint can approximately 6 to 8 inches away from the craft foam surface. Begin spraying before reaching the foam, and move your hand smoothly and evenly across the surface using light, back-and-forth sweeping motions. Apply thin and even coats, overlapping each pass slightly to ensure complete coverage. Take your time and be patient to achieve the desired color and finish.
Allowing Sufficient Drying Time
After applying the spray paint to the craft foam, allow sufficient drying time. Follow the manufacturer’s guidelines for drying, as different paints may require varying durations to dry completely. Avoid touching or moving the painted foam until it has dried properly to prevent any smudging or damage to the finish. Once dry, you can proceed with any additional customization or sealing techniques.
Customizing Craft Foam with Spray Paint
Spray painting craft foam provides endless possibilities for customization and personalization. Explore these techniques to add unique effects to your foam projects.
Creating Solid Color Base
A solid color base is a classic way to enhance the appearance of your craft foam. Use a single spray paint color across the entire surface to achieve a clean and uniform look. This technique works well for various projects such as cosplay costumes, prop making, or decorative crafts.
Adding Gradient or Ombre Effects
For a more visually dynamic look, experiment with creating gradient or ombre effects on your craft foam. Begin by applying a base color and let it dry. Then, hold the spray can closer to one end of the foam and spray lightly, gradually moving toward the other end. This technique will create a beautiful transition from one color to another, adding a captivating touch to your foam projects.
Using Stencils for Designs
Stencils offer a fantastic way to incorporate intricate designs onto your craft foam projects. Cut out desired shapes or patterns from thin paper or cardstock and secure them onto the foam surface. Hold the spray can at a suitable distance and spray over the stencil gently. Once dry, carefully remove the stencil to reveal a well-defined design on your craft foam.
Painting Intricate Patterns
If you have steady hands and a creative spirit, try painting intricate patterns directly onto your craft foam. Use fine-tipped paint brushes or even toothpicks to apply acrylic paint or fabric paint onto the foam surface. This technique allows you to achieve detailed designs or add unique touches to your foam creations.
Applying Glitter or Metallic Finishes
For a touch of sparkle or a metallic sheen, consider adding glitter or metallic finishes to your spray-painted craft foam. After applying the base coat of spray paint, wait for it to dry completely. Then, use a clear adhesive spray or glue to adhere glitter or metallic flakes onto the foam’s surface. Once dry, gently tap off any excess glitter or flakes, leaving you with a stunning, eye-catching finish.

This image is property of images.unsplash.com.
Common Mistakes to Avoid
While spray painting craft foam can be a fun and rewarding experience, it’s essential to be aware of common mistakes that can affect your final result.
Spraying Too Close or Too Far
Maintaining the proper distance between the spray paint can and the craft foam surface is crucial for achieving a smooth and even application. Spraying too close can lead to oversaturation, causing the paint to pool or drip, while spraying too far may result in uneven coverage or a spotty finish. Practice on a scrap piece of foam to find the ideal distance for your specific spray paint can.
Applying Thick and Drippy Coats
Applying thick coats of spray paint can lead to a drippy and uneven finish on craft foam. Always apply thin and even coats, allowing each layer to dry before applying the next. Building up thin layers gradually will help you achieve a more professional and flawless outcome.
Not Allowing Proper Drying Time
Rushing the drying process can lead to smudging and damage to the painted finish. Make sure to follow the recommended drying time provided by the spray paint manufacturer. Allow the craft foam sufficient time to dry completely before handling or adding any additional layers or modifications.
Neglecting to Seal or Protect the Painted Surface
To ensure the longevity and durability of your spray-painted craft foam, it’s crucial to seal or protect the painted surface. Consider applying a clear topcoat or sealant specifically designed for spray paint. This will help protect the paint from chipping or fading over time, especially if the foam project will be exposed to frequent handling or outside elements.
Tips for Achieving Desired Results
Spray painting craft foam may require some practice and experimentation to achieve the desired results. Consider the following tips to enhance your spray painting technique.
Practicing on a Test Piece
Before painting your main craft foam project, practice your spray painting technique on a scrap piece of foam or cardboard. This will allow you to become familiar with the spray pattern, pressure, and distance required to achieve the desired coverage and finish. Practice different techniques and color combinations until you feel confident enough to proceed with your main project.
Experimenting with Different Techniques
Don’t be afraid to experiment with different spray painting techniques to add depth and interest to your craft foam projects. Try blending colors, using different spraying angles, or combining stencils and freehand painting to create unique effects. The more you explore and experiment, the more you will develop your own style and create stunning foam creations.
Using Clear Topcoat for Protection and Durability
To enhance the longevity and durability of your spray-painted craft foam, consider applying a clear topcoat or sealant. This additional layer will provide a protective barrier, minimizing the risk of chipping, fading, or damage over time. Select a clear coat specifically designed for use with spray paint, and follow the manufacturer’s instructions for application.

Sealing and Protecting the Painted Foam
To further protect your spray-painted craft foam and give it a finished look, consider sealing the painted surface.
Choosing the Right Sealer
Choosing the appropriate sealer is essential to maintain the integrity of your spray-painted craft foam. Look for a sealant specifically designed to be compatible with spray paint and foam materials. Consider factors such as the desired finish (glossy or matte) and whether you require additional protection against wear, moisture, or UV exposure.
Applying Clear Coats
Once you have selected the appropriate sealer, apply it to the spray-painted craft foam according to the manufacturer’s instructions. Make sure to apply the clear coats in thin and even layers, allowing each coat to dry completely before applying the next. The clear coat will provide an added layer of protection, enhance the appearance, and give your foam project a polished finish.
Adding a Glossy or Matte Finish
When choosing a clear coat or sealer for your spray-painted craft foam, consider whether you prefer a glossy or matte finish. A glossy finish will give your foam project a shiny and reflective appearance, while a matte finish will provide a more subtle and non-reflective look. Select the finish that complements your overall aesthetic and desired final result.
Alternative Methods to Coloring Craft Foam
While spray painting is a popular method for coloring craft foam, there are alternative techniques you can explore for different effects and finishes.
Using Acrylic Paint
Acrylic paint offers a versatile and vibrant alternative to spray painting craft foam. Use a foam brush or paintbrush to apply the acrylic paint directly to the foam surface, creating patterns, adding details, or achieving gradient effects. Layering different colors and using various brush techniques can result in stunning and personalized foam creations.
Applying Fabric Dye or Marker
If you’re working with foam that has a fabric-like texture, such as upholstery foam or foam sheets used for costumes, consider using fabric dye or marker to color it. Dilute fabric dye according to the manufacturer’s instructions and apply it to the foam with a sponge or brush. Fabric markers provide a precise and detailed method of coloring foam and are especially useful for intricate designs or costume accessories.
Using Adhesive Vinyl or Decals
For specific design elements or intricate patterns, adhesive vinyl or decals can be an excellent option for coloring craft foam. Cut out desired shapes or patterns from adhesive vinyl or use pre-cut decals and adhere them to the foam surface. The final result will provide a clean and precise appearance, with the added benefit of not requiring any drying time.
In conclusion, spray painting craft foam can be a rewarding and creative endeavor. By following proper preparation techniques, selecting suitable spray paint, and mastering the spraying techniques, you can achieve professional-looking results. Remember to always prioritize safety by working in a well-ventilated area and using protective gear. Explore different customization methods, avoid common mistakes, and seal or protect your painted foam for durability. With practice and a willingness to experiment, you’ll be able to create stunning foam projects that showcase your personal style and creativity.


