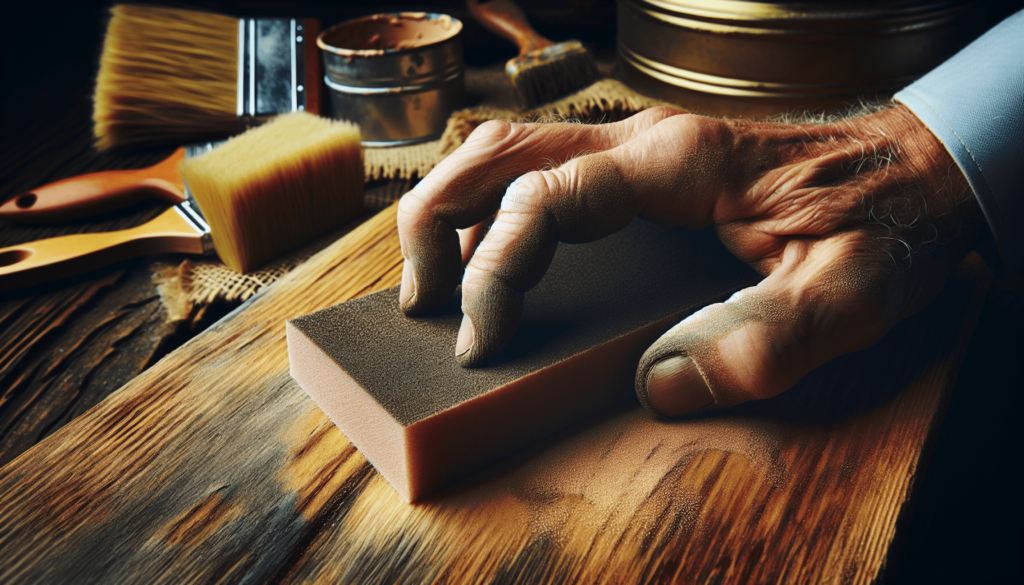
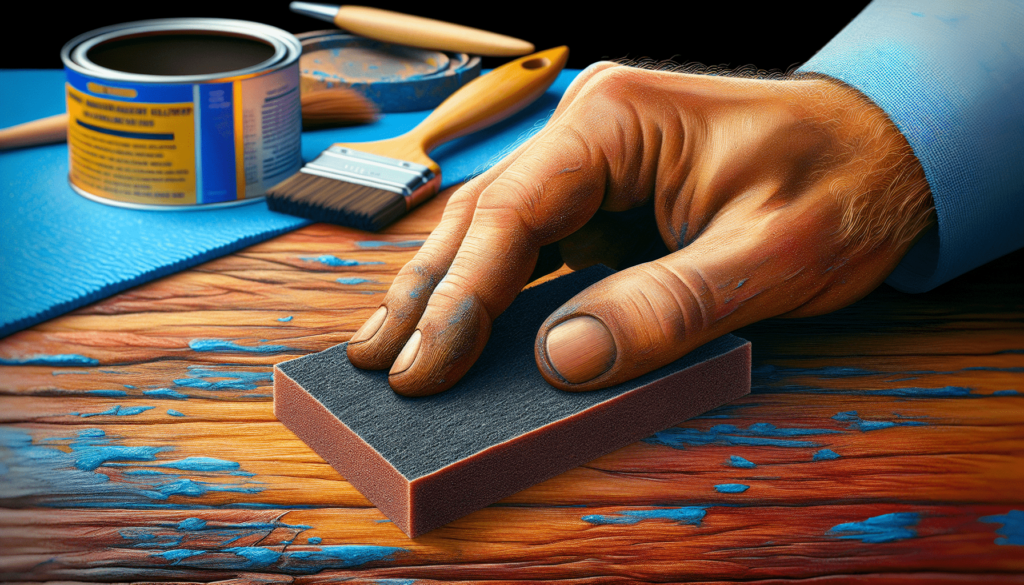
Navigating the intricacies of oil-based paint can be a meticulous task, especially when it comes to achieving a smooth, refined finish. In the article “Can You Sand Oil Based Paint,” you will explore the essential techniques and considerations for effectively sanding surfaces coated with oil-based paint. By understanding the proper steps, tools, and safety measures, you will be well-equipped to enhance the appearance and texture of your painted projects, ensuring a professional and polished outcome. Have you ever looked at a surface painted with oil-based paint and wondered if it could be sanded? You’re not alone. Many DIY enthusiasts, professional painters, and even homeowners often have this question on their minds. Let’s delve into the topic of sanding oil-based paint to clarify your doubts.
Understanding Oil-Based Paint
To begin with, it’s essential to understand what oil-based paint is. Oil-based paint is known for its durability, smooth finish, and rich color. It’s commonly used on surfaces that undergo a lot of wear and tear, such as doors, trim, and furniture.
Composition and Properties
Oil-based paint is composed primarily of pigments, solvents (usually mineral spirits), and binders made from natural or synthetic oils. Here are some of its distinguishing properties:
| Property | Description |
|---|---|
| Durability | Long-lasting and resistant to wear and tear |
| Drying Time | Slower drying, typically taking several hours to days |
| Finish | Smooth and rich in color |
| Clean-Up | Requires solvents like mineral spirits for cleaning |
| Adhesion | Adheres well to a variety of surfaces, including previously painted areas |
Ideal Uses
Oil-based paint is ideal for surfaces that need a durable and high-quality finish. Some common applications include:
- Woodwork: Great for doors, skirting boards, and trims.
- Metal Surfaces: Often used on metal fences, gates, and other structures.
- Furniture: Provides a sleek, professional finish on wooden furniture.
Can You Sand Oil-Based Paint?
Reasons for Sanding
Sanding serves multiple purposes:
- Surface Preparation: Helps create a rough surface for the new layer of paint or varnish to adhere to.
- Smooth Finish: Removes imperfections, bumps, and drips for a smoother finish.
- Remove Old Paint: Strips away old, flaking, or uneven paint layers.
Before Sanding: Assess the Condition
Before you start sanding, assess the condition of the painted surface. Check for the following:
- Cracks and Chips: Areas where the paint is cracked or chipped.
- Peeling or Flaking: Sections where the paint is peeling or flaking.
- Smoothness: Determine if the surface is smooth or has bumps and drips.

Tools and Materials Needed
To sand an oil-based paint surface effectively, you’ll need the right tools and materials. Here’s a list to guide you:
| Tool/Material | Purpose |
|---|---|
| Sandpaper | For sanding. Choose various grits (coarse, medium, fine). |
| Sander | Orbital or palm sander for large surfaces. |
| Safety Gear | Masks, goggles, and gloves for protection. |
| Tack Cloth | To wipe off sanding dust. |
| Drop Cloth | To protect the surrounding area. |
| Respirator | For protection from fumes and dust. |
Types of Sandpaper
Sandpaper is characterized by its grit number. Here’s a quick guide:
| Grit Number | Purpose |
|---|---|
| 40-60 | Coarse. For heavy-duty sanding and paint removal. |
| 80-120 | Medium. For general sanding. |
| 150-220 | Fine. For smoothing surfaces before painting. |
| 320 and above | Very fine. For final smoothing and in-between coats. |
Step-by-Step Guide to Sanding Oil-Based Paint
Step 1: Preparation
Start by preparing the area you’ll be working in. Lay a drop cloth to protect your floors and remove any obstacles. Ensure the area is well-ventilated, especially since oil-based paint can release strong fumes.
Step 2: Safety First
Wear your safety gear, including goggles, gloves, and a mask or respirator. These items will protect you from dust and fumes.
Step 3: Assess the Surface
As previously mentioned, check the surface condition for cracks, peeling, and overall smoothness.
Step 4: Start with Coarse Grit Sandpaper
If the paint is peeling or the surface is rough, start with coarse sandpaper (40-60 grit). Use even, consistent pressure to sand away the imperfections.
Step 5: Switch to Medium Grit Sandpaper
After the initial sanding, switch to medium-grit sandpaper (80-120). This will help smooth out the surface further and prepare it for a new coat of paint.
Step 6: Finish with Fine Grit Sandpaper
For a truly smooth finish, use fine-grit sandpaper (150-220). This final sanding will ensure that your surface is smooth and ready for repainting.
Step 7: Clean the Surface
After sanding, use a tack cloth to wipe away the dust. Ensure the surface is clean and free of debris before proceeding with any further steps.

Challenges and Precautions
Sanding oil-based paint comes with its own set of challenges and precautions:
Challenges
- Dust and Debris: Sanding generates a lot of dust which can be harmful when inhaled.
- Fumes: Oil-based paint can emit strong fumes, necessitating good ventilation.
- Uneven Surfaces: Achieving an even surface can be challenging but is necessary for a smooth finish.
Precautions
- Wear Safety Gear: Always wear goggles, gloves, and a mask or respirator.
- Ventilation: Ensure that the area is well-ventilated to disperse fumes.
- Consistent Pressure: Apply consistent pressure to avoid creating uneven surfaces.
Alternatives to Sanding
If sanding seems daunting, there are alternatives that you might consider:
Chemical Paint Strippers
Chemical paint strippers can be effective for removing old, tough layers of paint.
| Pros | Cons |
|---|---|
| Effective on Multiple Layers | Harmful fumes and chemicals |
| Requires less elbow grease | Can damage underlying surfaces |
Heat Guns
Heat guns can soften the paint, making it easier to scrape off.
| Pros | Cons |
|---|---|
| Quick and efficient | Risk of scorching wood or surfaces |
| No chemicals involved | Requires careful handling |
Liquid Sander Deglossers
These products can degloss and prep a painted surface without the need for sanding.
| Pros | Cons |
|---|---|
| Easy to use | May not be as effective on rough surfaces |
| Less mess | Contains chemicals |
FAQs About Sanding Oil-Based Paint
Can You Sand Between Coats of Oil-Based Paint?
Yes, you can and should sand between coats of oil-based paint, but make sure the paint is completely dry before sanding. Use fine-grit sandpaper (320 or above) for this purpose.
How Long Should Oil-Based Paint Dry Before Sanding?
Oil-based paint should dry for at least 24 hours before sanding. For best results, consult the paint manufacturer’s instructions for the recommended drying time.
What to Do with Dust After Sanding?
Use a tack cloth to wipe away the sanding dust. Ensure the surface is thoroughly cleaned before applying any new coats of paint or varnish. Dispose of the dust safely as it may contain residues of the paint.
Is It Necessary to Sand All Types of Oil-Based Paint?
Not all oil-based paint jobs require sanding. If the surface is already smooth and you are just refreshing the color, mild cleaning and brushing may suffice. However, for rough, uneven, or glossy surfaces, sanding is recommended.
Conclusion
Sanding oil-based paint is not just possible but often necessary for achieving a high-quality finish. It involves a comprehensive process, from selecting the right sandpaper to applying consistent techniques and taking necessary precautions. While there are challenges such as dust and fumes, proper preparation, and the use of appropriate tools can make the task manageable.
Understanding the nuances of oil-based paint, the types of sandpapers, and the specific steps involved in the sanding process can significantly enhance the outcome of your project. Moreover, if sanding seems arduous, viable alternatives like chemical strippers, heat guns, and liquid sander deglossers exist to ease the task.
Ultimately, whether you are a DIY enthusiast or a professional, knowing how to sand oil-based paint can be an invaluable skill. It not only ensures the longevity and durability of your paint job but also contributes to the aesthetic value of the painted surface.


