Have you ever wondered if sanding metallic paint between coats is a recommended practice? As a professional, it’s critical to understand each step of the painting process, especially when working with specialized finishes like metallic paint. This can make all the difference between a flawless finish and a subpar result. In this article, we’ll break down the considerations and best practices for sanding metallic paint between coats.
Understanding Metallic Paint
What is Metallic Paint?
Metallic paint, often used in automotive and high-end decorative projects, contains small metallic particles that reflect light and give a shiny, metallic finish. These particles create a distinct shimmer and depth that can make surfaces stand out remarkably.
Why Use Metallic Paint?
The reasons for choosing metallic paint are numerous. It provides an eye-catching, sophisticated look, enhances texture, and adds a layer of durability and resistance to weather elements for exterior projects. Appreciating these advantages can help you understand why applying it correctly is crucial.
The Importance of Sanding
Why Sand Between Coats?
Sanding between coats is commonly advised for non-metallic paints to improve adhesion, resulting in a smoother, more durable finish. It can eliminate imperfections such as dust particles, brush strokes, or drips and ensure that each subsequent layer adheres better, creating a seamless surface.
Table: Benefits of Sanding Between Coats
| Benefit | Description |
|---|---|
| Improved Adhesion | Ensures better bonding between paint layers. |
| Smoother Surface | Eliminates imperfections, resulting in a smoother finish. |
| Enhanced Durability | Contributes to a longer-lasting paint job. |
Considerations for Metallic Paint
While sanding between coats is beneficial for traditional paints, metallic paint presents unique challenges. The metallic pigments can be disrupted by sanding, which may affect the reflective quality and uniformity of the finish.

The Sanding Process Explained
Steps to Sand Between Coats
- Allow Drying Time: Make sure each coat is fully dry before sanding. If the paint is not completely dry, sanding can result in uneven surfaces and other issues.
- Choose the Right Grit: Use fine-grit sandpaper (e.g., 600-grit or higher) to avoid damaging the paint.
- Gentle Technique: Sand lightly and evenly, applying minimal pressure to prevent streaking or scratching.
- Clean Surface: After sanding, thoroughly clean the surface to remove any sanding dust before applying the next coat.
Table: Recommended Sandpaper Grits for Various Applications
| Application | Recommended Grit Range |
|---|---|
| Preparing Surface | 320-400 |
| Between Coats | 600-800 |
| Final Sanding | 1000-2000 |
When to Sand Metallic Paint
Evaluating Based on Project Type
For certain projects, such as automotive finishes, sanding between coats of metallic paint can be essential. However, the technique and extent of sanding must be executed with precision to avoid disrupting metallic particles.
Specific Instances Requiring Sanding
- Imperfection Removal: If an unintended imperfection, such as a dust particle or small drip, is present.
- Layer Alignment: When transitioning from a base coat to additional coats, especially in custom finishes.

Handling Imperfections
Small Imperfections
For minor issues, such as isolated dust particles, a light hand sanding with fine-grit sandpaper may be all that is necessary. This can help maintain the integrity of the metallic finish while addressing specific spots.
Major Imperfections
Larger issues may require more extensive sanding, which can be risky with metallic paint. In such cases, it may be advisable to reapply the base coat and subsequent layers rather than sanding heavily, which can affect the metallic particle distribution.
Alternatives to Sanding
Wet Sanding
Wet sanding is an alternative that involves using water to lubricate the sandpaper and surface, reducing abrasion. This method can minimize the risk of disrupting metallic particles and help achieve a smoother finish.
Table: Pros and Cons of Wet Sanding
| Pros | Cons |
|---|---|
| Reduces Abrasion | Requires more preparation and cleanup |
| Minimizes Risk of Dust | Can be messy |
| Smoother Finish | Potential for water damage if not controlled |
Using Clear Coats
Applying a clear coat between layers of metallic paint can protect the underlying metallic layer from sanding. This allows you to sand the clear coat for smoothness before applying the next metallic paint layer.
Table: Benefits of Using Clear Coats
| Benefit | Description |
|---|---|
| Protection | Shields the metallic pigments during sanding. |
| Improved Finish | Creates a more even surface for subsequent layers. |
| Enhanced Durability | Adds another layer of protection for the final finish. |
Best Practices for Metallic Paint Application
Application Techniques
Applying metallic paint requires a careful and consistent technique. Use multiple thin coats rather than a few thick ones to avoid runs and ensure even distribution of metallic particles.
- Spraying: A spray gun can offer the most consistent and even application for metallic paints.
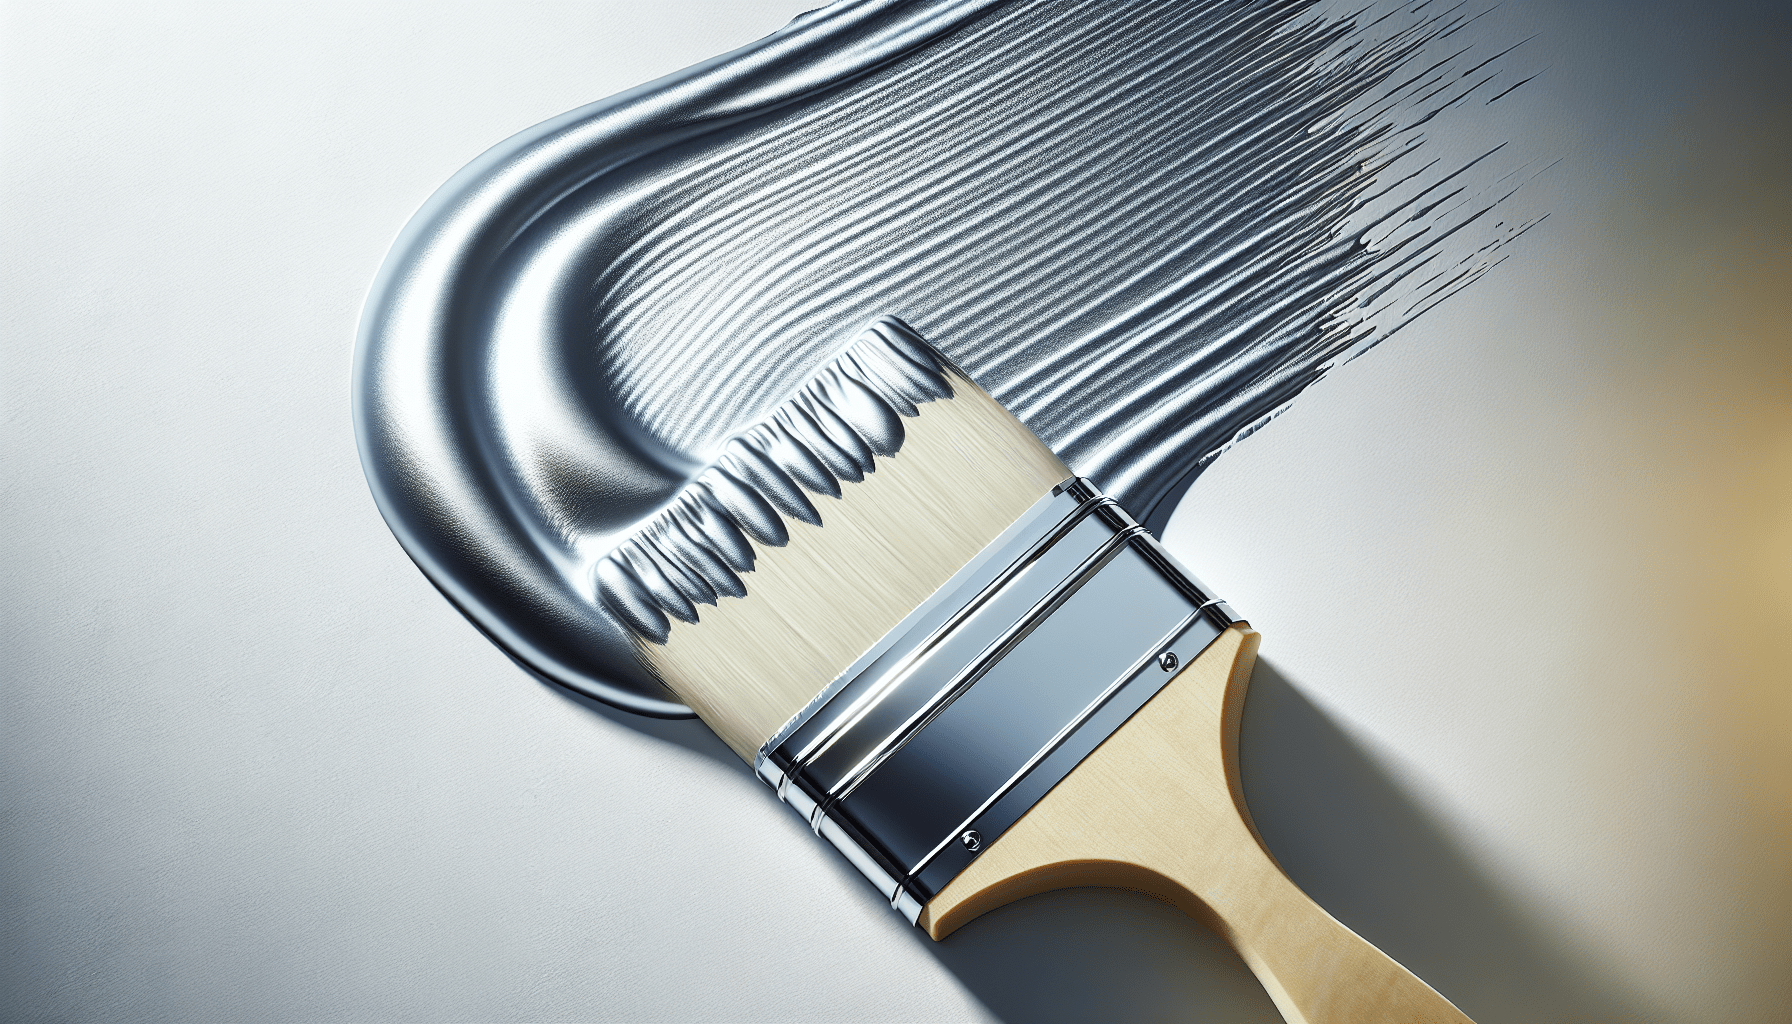
- Brushing: If spraying is not feasible, use high-quality brushes or rollers designed for metallic paints to minimize brush marks and streaks.
- Overlap: Slightly overlap each pass to ensure complete coverage and uniformity in the metallic finish.
Environmental Considerations
Maintaining a controlled environment is crucial when applying metallic paint. Dust, debris, and variations in temperature and humidity can adversely affect the paint’s finish.
Final Refinement
Polishing and Buffing
After the final coat of metallic paint and any clear coat has dried, polishing and buffing can enhance the luster and depth of the finish. Use high-quality polishing compounds and buffing pads for the best results.
- Polishing Compound: Apply a fine polishing compound to the surface.
- Buffing Pad: Use a soft, clean buffing pad to avoid scratching the finished surface.
- Circular Motion: Work in small sections with a circular motion to achieve a uniform polish.
Table: Polishing and Buffing Steps
| Step | Description |
|---|---|
| Applying Compound | Evenly apply a fine polishing compound to the surface. |
| Buffing | Use a soft buffing pad to polish in circular motions. |
| Wiping Down | Clean the surface with a microfiber cloth to remove residue. |
Conclusion
The question, “Can you sand metallic paint between coats?” leads to a nuanced answer. While sanding can improve adhesion and smoothness, it’s essential to handle metallic paint with heightened care to maintain its unique qualities.
Key Takeaways
- Understand Metallic Paint: Know its unique properties and why it’s chosen for certain projects.
- Consider Sanding Needs: Evaluate if sanding is necessary and appropriate for your specific project.
- Use Proper Techniques: Employ fine-grit sandpaper, light pressure, and consider alternatives like wet sanding or clear coats to protect the metallic finish.
- Maintain Controlled Environment: Ensure the working environment is clean and stable to prevent additional imperfections.
Applying metallic paint with precision and care, understanding when and how to sand, and utilizing alternative methods can help achieve a stunning, professional finish.


