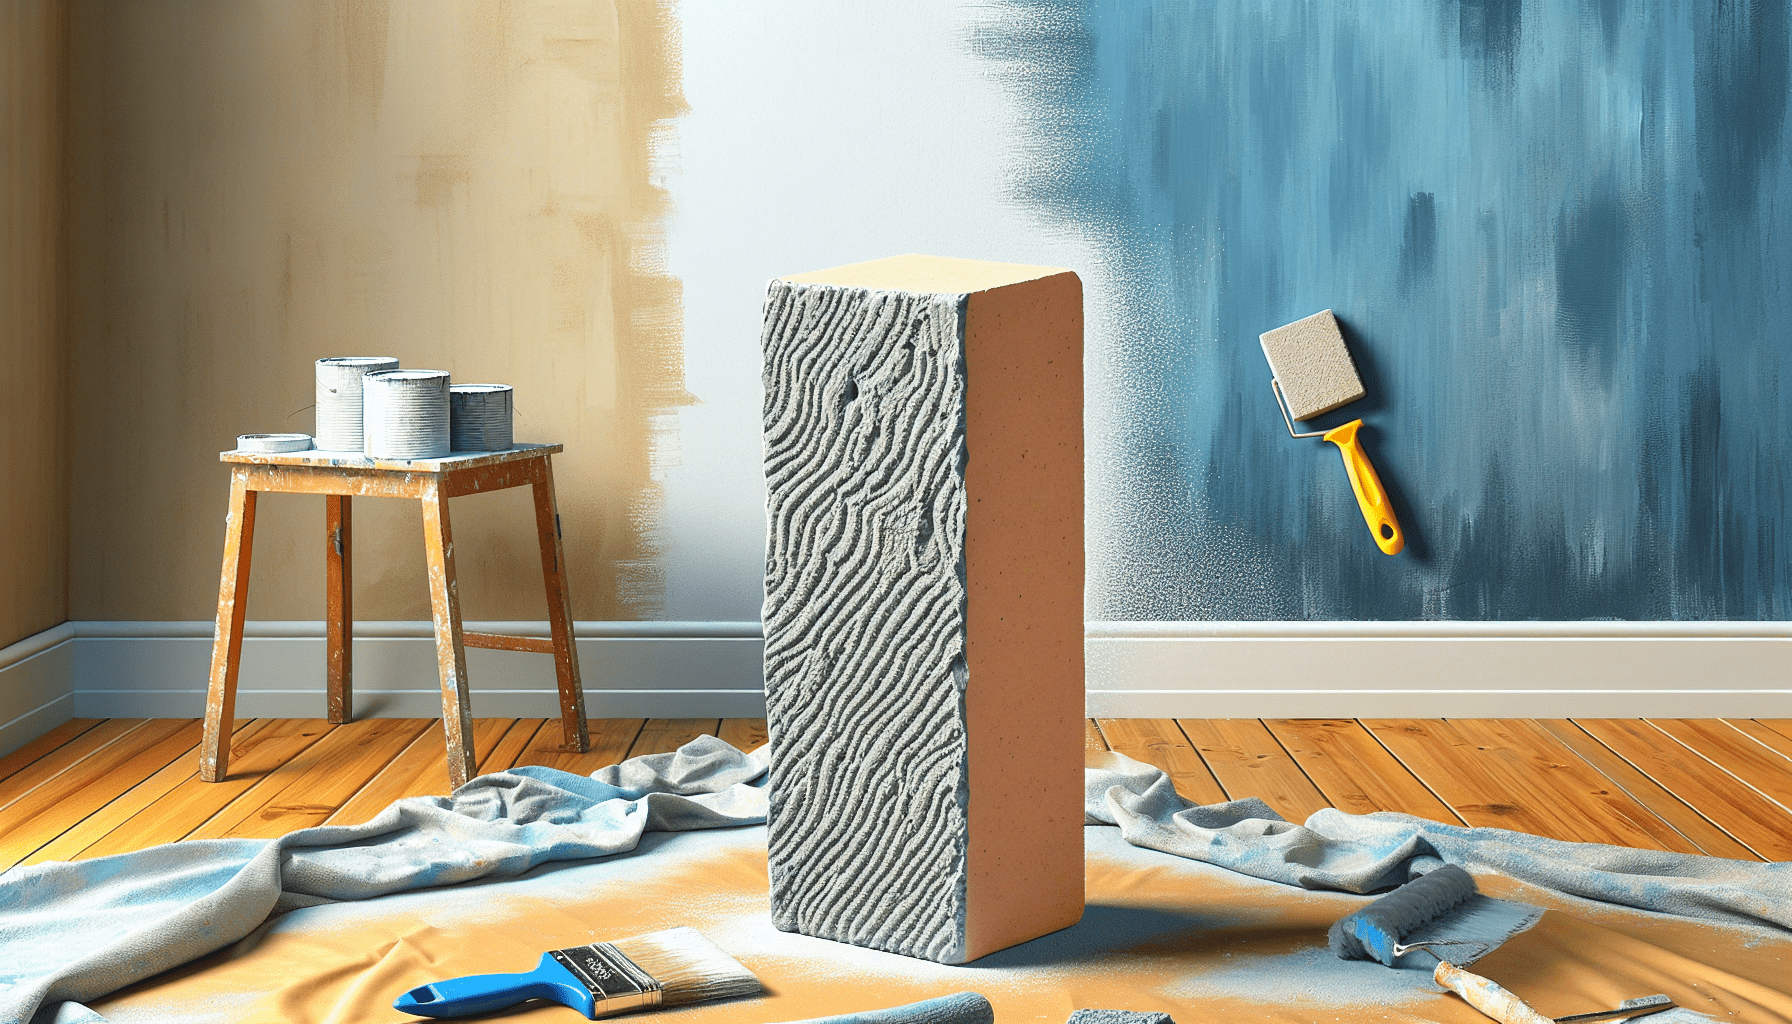
In the realm of home improvement and refinishing projects, the question often arises: can you sand latex paint? As a homeowner or DIY enthusiast, it is crucial to understand the possibilities and limitations when it comes to manipulating latex paint surfaces. This article will provide you with an expert insight into whether sanding latex paint is a viable option, exploring the effects and potential alternatives that can help you achieve a flawless finish for your next painting endeavor.
Preparing the Surface

Cleaning the surface
Before you begin any paint job, it’s crucial to thoroughly clean the surface you’ll be working on. Start by removing any dirt, dust, or grease using a mild detergent and water solution. Scrub the surface gently with a sponge or soft cloth, ensuring that no residue remains. Rinse off the cleaning solution with clean water and allow the surface to dry completely before moving on to the next step. A clean surface is essential for achieving a smooth and professional-looking finish.
Removing loose paint
If the surface you’re working on has any loose or peeling paint, it’s important to remove it before proceeding. Use a scraper or putty knife to gently scrape away any loose or flaking paint. Be careful not to damage the underlying surface or create gouges. Once all loose paint has been removed, sand the edges of the remaining paint to create a smooth transition between the old and new layers. This will prevent the new paint from peeling prematurely and ensure a seamless finish.
Repairing any damaged areas
Before you start sanding, take the time to assess the surface for any damaged areas that need to be repaired. Fill in any cracks, holes, or dents with an appropriate filler or spackle. Follow the manufacturer’s instructions for application and drying time. Once the repairs have fully dried, sand the patched areas lightly to create a level surface with the surrounding area. This step is essential for achieving a flawless paint job and ensuring that the finished result is visually appealing.
Choosing the Right Sandpaper
Understanding grit sizes
Sandpaper is available in a variety of grit sizes, which determine how rough or smooth the abrasive surface is. The grit size is denoted by a number, with lower numbers indicating coarser grits, and higher numbers representing finer grits. Understanding the different grit sizes is crucial in choosing the right sandpaper for your particular project. Coarser grits, such as 60 or 80, are ideal for removing old paint or roughening surfaces. Finer grits, like 220 or 320, are used for achieving a smooth and polished finish.
Selecting the appropriate grit
When it comes to choosing the right sandpaper grit, there are a few factors to consider. First, think about the condition of the surface you’ll be sanding. If the surface is in good condition with only minor imperfections, a medium grit sandpaper, such as 120 or 150, should suffice. However, if the surface has significant flaws or roughness, it may be necessary to start with a coarser grit, such as 80 or 100, and work your way up to a finer grit for a smoother finish. Always test a small area first to ensure that the chosen grit does not damage the surface.
Using sandpaper with a sanding block
To achieve even and consistent results, it’s advisable to use sandpaper with a sanding block. A sanding block provides a flat and stable surface to hold the sandpaper securely in place, allowing for better control and reducing the chances of uneven sanding. When using a sanding block, wrap the sandpaper around it firmly and grip the block with your hand. This will enable you to apply even pressure and maintain a smooth sanding motion. Using a sanding block also reduces the risk of hand fatigue and ensures your sanding strokes are more uniform.
Sanding Techniques
Using light pressure
When sanding, it’s essential to apply light pressure to avoid damaging the surface. Pressing too hard can result in uneven sanding, excessive removal of paint or material, or even gouging. Instead, let the sandpaper do the work. Use gentle, consistent strokes, allowing the abrasive surface of the sandpaper to gradually smooth out imperfections. Sand in a back-and-forth or circular motion, depending on the shape and size of the surface. Remember to keep the pressure light and let the sandpaper glide smoothly over the surface to achieve the desired result.
Working in smooth, even strokes
Consistency is key when it comes to sanding. To achieve a professional-looking finish, work in smooth and even strokes. Avoid erratic or haphazard movements that can create visible sanding marks or uneven surfaces. Keep in mind that overlapping your strokes slightly can help ensure thorough and uniform sanding. Sand the entire surface systematically, moving from one section to another, until you’ve achieved the desired level of smoothness. Take your time and pay attention to detail to produce a flawless surface ready for painting.
Avoiding excessive sanding
It’s important to know when to stop sanding. Excessive sanding can weaken the integrity of the surface or remove too much material, which can affect the overall quality of the paint job. Pay attention to the depth of any scratches or imperfections and be mindful of the amount of material you’re removing. Once the surface feels smooth and even to the touch, it’s generally safe to stop sanding. Remember, the goal is to prepare the surface for painting, not to obliterate it. Knowing your limits and practicing restraint will help you achieve the best results.
Protective Measures
Wearing safety goggles and a respirator
Sanding can create dust particles and debris that are harmful if inhaled or come into contact with your eyes. To protect your health and safety, it is crucial to wear appropriate personal protective equipment (PPE) while sanding. Safety goggles provide a barrier to prevent any particles from entering your eyes. Additionally, wearing a respirator or dust mask will shield your respiratory system from inhaling harmful dust and fumes. Always opt for PPE that is specifically designed for sanding or painting activities to ensure maximum protection.
Covering nearby surfaces
To prevent dust or paint particles from settling on surrounding surfaces, it’s important to cover them adequately. Use drop cloths or plastic sheeting to protect floors, furniture, or any other items that may be at risk of getting dirty or damaged. Ensure that the covers are securely taped or weighted down to prevent any accidental movement during the sanding process. Taking the time to protect these surfaces will save you from potential cleanup headaches and ensure a tidy and professional workspace.
Creating a dust-free environment
Sanding can create a substantial amount of dust, which can settle on surfaces and affect the quality of your paint job. To minimize dust contamination, it’s important to create a dust-free environment as much as possible. Start by closing any doors or windows to prevent dust from entering the room. Consider using plastic sheeting to seal off the work area from the rest of the space. Additionally, using a shop vacuum or dust collection system can help to capture airborne particles and maintain a cleaner working environment. Minimizing dust will result in a higher-quality paint finish.
Sandpaper Progression
Starting with a coarse grit
When you begin sanding, it’s generally advisable to start with a coarse grit sandpaper. Coarse grits, such as 60 or 80, are effective in removing old paint, heavy imperfections, or rough surfaces. Begin with a quick pass over the entire surface using the coarse grit to level any major inconsistencies or ridges. This initial sanding acts as a foundation for the subsequent sanding stages and prepares the surface for a smoother finish.
Moving to a medium grit
After you’ve completed the initial sanding with the coarse grit, it’s time to transition to a medium grit sandpaper. Medium grits, usually in the range of 120 to 150, are suitable for refining the surface and removing smaller imperfections. Sand in smooth, even strokes following the grain of the surface. Keep in mind that the goal here is to achieve a smooth, level surface while preparing it for the final sanding stage.
Finishing with a fine grit
The final sanding stage involves using a fine grit sandpaper to achieve a polished and smooth surface ready for painting. Fine grits, such as 220 or 320, are perfect for this stage. Sand the entire surface lightly, focusing on any remaining rough spots or imperfections. The fine grit sandpaper will help to remove any fine scratches left by the previous stages and create a smooth and even surface suitable for paint adhesion. Remember to go over the surface with light pressure and check for uniformity before proceeding.
Testing the Surface
Checking for smoothness
Once you’ve completed the sanding process, it’s essential to check the surface for smoothness. Run your hand lightly over the sanded area to feel for any remaining rough spots, ridges, or inconsistencies. If you detect any imperfections, use a small piece of sandpaper with the appropriate grit to address those areas. It’s important to achieve a consistently smooth surface before moving on to the next step.

Evaluating paint adhesion
Before applying the new paint, it’s important to ensure that the sanded surface promotes adequate paint adhesion. Perform a simple adhesion test by applying a small amount of painter’s tape to the surface and pressing it firmly. After a few seconds, gently peel off the tape. If the tape comes off easily and without any paint residue, it indicates good adhesion. However, if the tape pulls off paint or primer, further sanding may be required to improve the surface’s adhesion quality.
Making necessary touch-ups
During the testing process, you may identify small areas that require touch-ups or further sanding. Use the appropriate grit sandpaper to address these imperfections and ensure a uniform surface. Sand the affected areas gently until they blend seamlessly with the rest of the surface. Rechecking for smoothness and adhesion after each touch-up is essential to achieve a flawlessly prepared surface.
Removing Dust
Using a vacuum cleaner or brush
Before proceeding with priming and painting, it’s crucial to remove any residual dust from the sanded surface. A vacuum cleaner with a brush attachment can be an effective tool for this task. Move the brush attachment gently over the surface, ensuring that all dust particles are removed. Pay special attention to corners, crevices, and any hard-to-reach areas. Alternatively, a soft brush specifically designed for dusting can also be used to remove dust effectively.
Wiping the surface with a tack cloth
For an extra level of cleanliness, wipe the surface with a tack cloth after vacuuming or dusting. Tack cloths are sticky cloths designed to pick up fine particles of dust and debris. Unfold the tack cloth and smooth it over the surface, applying light pressure. Allow the tack cloth to pick up any remaining dust particles. Be careful not to apply excessive pressure or rub the tack cloth too forcefully, as this may lead to damaging the surface or leaving behind residue.
Blowing off remaining dust with compressed air
In some cases, especially for larger surfaces or intricate details, using compressed air can be an effective method to remove stubborn dust particles. Ensure that the compressed air is used at a suitable pressure and held at a suitable distance from the surface to prevent any damage. Move the compressed air nozzle methodically across the surface, directing the airflow away from the freshly sanded area. This will blow away any dust or debris that may have settled after vacuuming or using the tack cloth.
Priming the Surface
Choosing a suitable primer
Priming is an essential step in the painting process, as it provides a foundation for the new paint to adhere to and enhances its durability. When selecting a primer, consider the type of surface you’re working on and the type of paint you’ll be using. For latex paint, it’s advisable to choose a latex-based primer. Latex-based primers are specifically formulated to bond well with latex paint and provide excellent adhesion and coverage. Consult with your local paint store to find the appropriate primer for your specific project.
Applying primer evenly
To achieve optimal results, it’s important to apply the primer evenly across the sanded surface. Use a high-quality brush or roller specifically designed for priming to ensure smooth and consistent coverage. Start by applying the primer along the edges and corners, using a brush for better control. Then, use a roller to cover the larger areas, working in parallel strokes. Work systematically, moving from one section to another, to avoid overlap marks. It’s crucial to achieve an even and uniform layer of primer before proceeding.
Allowing proper drying time
After applying the primer, it’s essential to allow it to dry completely before proceeding with the next steps. Primers typically have specific drying times indicated by the manufacturer. Follow these guidelines to ensure that the primer is fully cured and ready for painting. Avoid rushing this step, as insufficient drying time can compromise the quality and adhesion of the final paint coat. It’s advisable to give the primer extra time to dry, especially in humid or cold conditions, to ensure the best results.
Applying the New Paint
Choosing the right type of paint
For a successful paint job, it’s crucial to select the right type of paint for your specific project. Consider factors such as the surface you’re painting, the area’s usage, and the desired finish. For latex paint, look for high-quality latex-based paint that is suitable for the type of surface you’re working on. Latex-based paint dries quickly, has low odor, and is easy to clean up with water, making it a popular choice for interior painting projects. Consult with your local paint store for specific recommendations based on your needs.
Using the appropriate tools
To achieve a smooth and professional-looking finish, it’s important to use the appropriate tools when applying the paint. A high-quality brush or roller specifically designed for latex paint will ensure better control and even coverage. Brushes with synthetic bristles are ideal for latex paint, as they provide smooth application and minimize brush marks. Similarly, foam or synthetic rollers are recommended for achieving a smooth finish without leaving behind lint or fibers. Invest in good-quality tools to achieve superior results and a hassle-free painting experience.
Applying paint in thin, even coats
When it comes to applying the paint, it’s best to work in thin, even coats. Start by cutting in along the edges and corners with a brush, ensuring that you maintain a clean and straight line. Then, use a roller to cover the larger areas, working in parallel strokes. Apply the paint evenly and avoid excess buildup, which can result in drips or an uneven finish. It’s better to apply two or more thin coats, allowing each coat to dry completely before adding additional layers. Working patiently and methodically will yield a polished and professional-looking paint job.
Finishing Touches
Allowing the paint to cure
After applying the final coat of paint, it’s important to allow it to cure fully before subjecting the painted surface to normal wear and tear. Paint curing time depends on various factors, such as humidity levels and the type of paint used. Generally, latex paint takes around one to two weeks to fully cure. During this time, avoid touching or rubbing the painted surface and be cautious when cleaning. Allowing the paint to cure undisturbed will ensure maximum durability and longevity of the painted surface.
Applying a protective topcoat (optional)
For added protection and durability, applying a protective topcoat can be beneficial. Although not always necessary, a topcoat can help guard against scratches, stains, and UV damage. Consider using a clear coat or a paint with built-in protective properties. Consult with your local paint store for recommendations on suitable topcoats for your specific project. Apply the topcoat according to the manufacturer’s instructions, ensuring that each layer is allowed to dry fully before additional coats are added. Adding a protective topcoat will provide an extra layer of defense and ensure a long-lasting finish.
Cleaning up and storing tools
Once you’ve completed the painting process, it’s important to clean up and properly store your tools. Thoroughly clean your brushes and rollers using soap and water for latex paint. Rinse them until the water runs clear, then allow them to dry completely before storing them. Dispose of any leftover paint or primer responsibly, following local regulations. Properly clean and store any other tools or equipment used during the painting process. Keeping your tools clean and well-maintained will ensure that they are ready for future projects and prolong their lifespan.
In conclusion, sanding latex paint is an essential step in preparing a surface for a new paint job. By following the proper techniques and using the right tools, you can achieve a smooth and professional-looking finish. Remember to clean the surface thoroughly, remove any loose paint, and repair any damaged areas before starting the sanding process. Understand the different grit sizes and select the appropriate one for your project. Practice light pressure, smooth strokes, and avoid excessive sanding. Take necessary protective measures, such as wearing safety goggles and a respirator, as well as covering nearby surfaces to minimize dust contamination. Progress through sandpaper grits from coarse to medium to fine, ensuring a level and smooth surface. Test the surface for smoothness and paint adhesion, and make any necessary touch-ups. Remove any dust using a vacuum cleaner, tack cloth, or compressed air. Prime the surface with a suitable primer and allow it to dry properly. Then, apply the new paint in thin, even coats using the appropriate tools. Allow the paint to cure fully before adding a protective topcoat and clean up and store your tools properly. Following these guidelines will ensure a successful paint job and a beautifully finished surface.