When it comes to achieving a flawless finish on your latest DIY project, using a sprayer can prove to be a game-changer. However, the question arises: can you put chalk paint in a sprayer? This article will explore the compatibility of chalk paint with sprayers and provide valuable insights on what to consider before making the decision to use a sprayer with chalk paint. Discover the pros and cons, potential challenges, and expert tips to help you achieve the best results when using a sprayer with chalk paint.
Using Chalk Paint in a Sprayer
Chalk paint has gained popularity among DIY enthusiasts and professionals alike for its versatility and easy application. While it is commonly used with brushes and rollers, many people wonder if it is possible to use chalk paint in a sprayer. In this article, we will explore the world of chalk paint and the compatibility of using it in a sprayer. We will also provide step-by-step instructions on how to prepare and use chalk paint in a sprayer, as well as some helpful tips and alternative application methods.

What is Chalk Paint
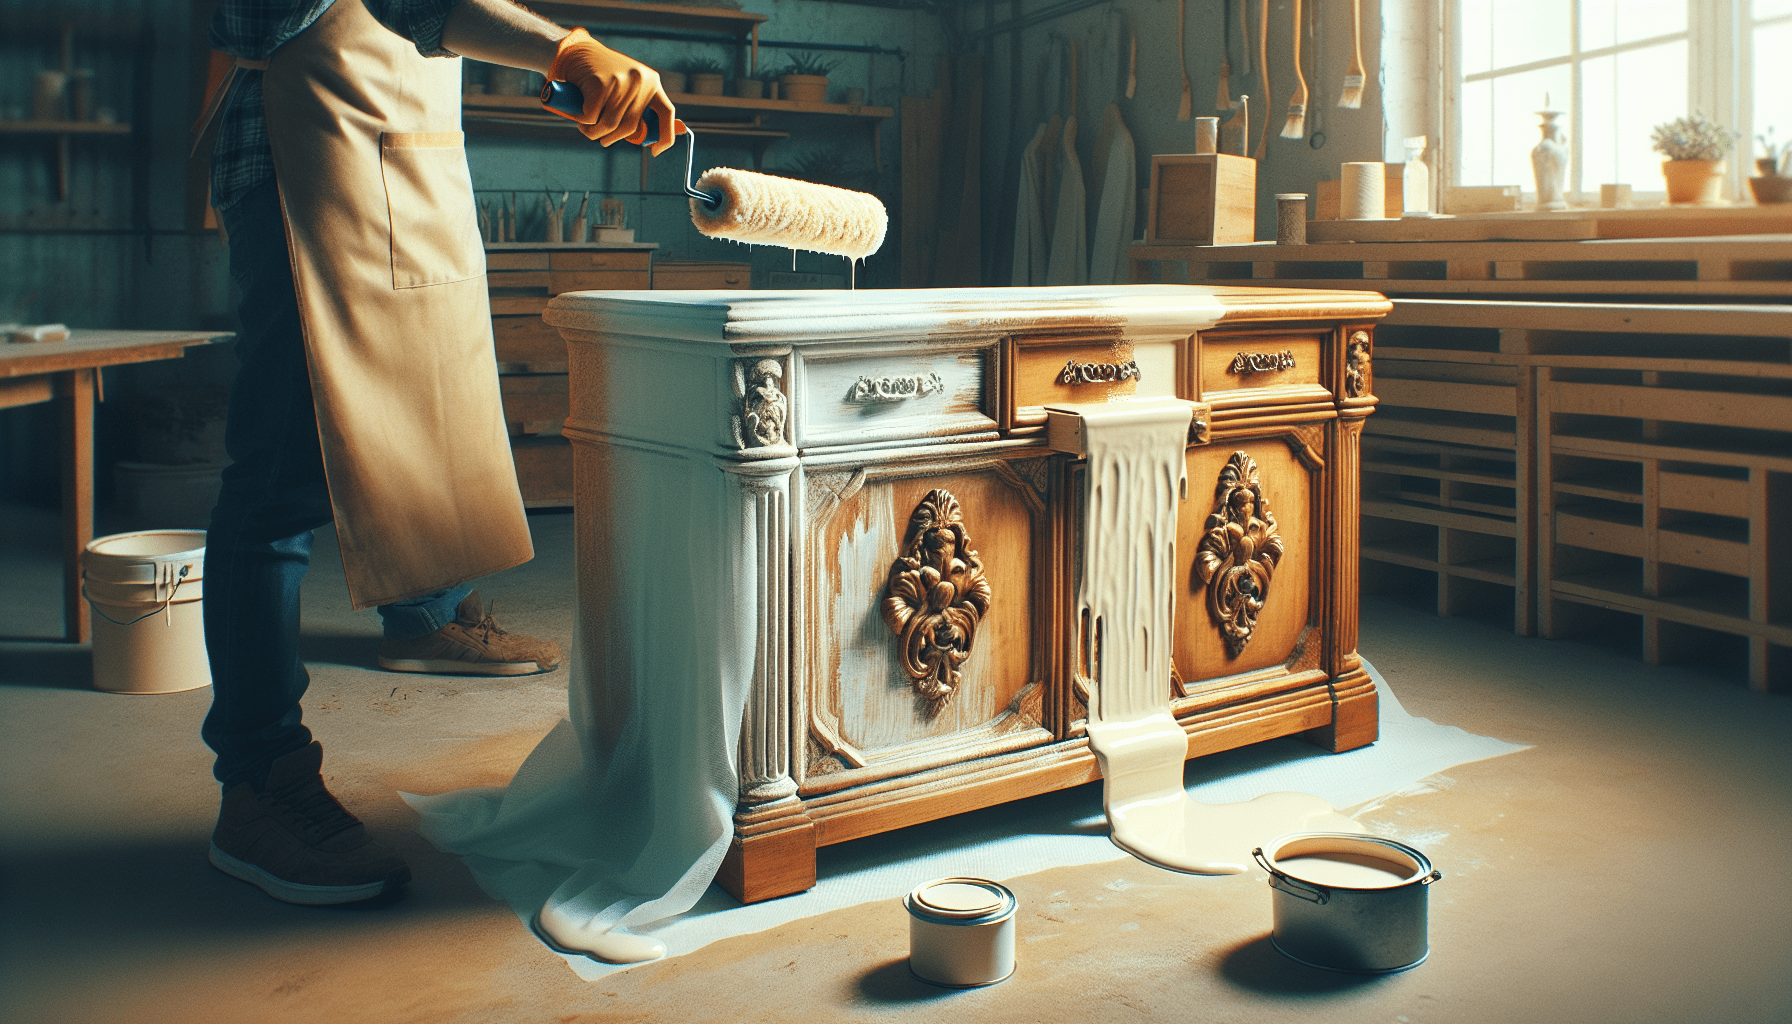
Chalk paint is a type of paint that has a unique composition and finish. It was developed by Annie Sloan in the 1990s and has since become a popular choice for furniture and interior decoration. The defining characteristic of chalk paint is its matte and velvety finish, which gives furniture and surfaces a vintage, shabby chic look. Chalk paint is also known for its ease of use and ability to stick to almost any surface without requiring extensive preparation.
Benefits of Using Chalk Paint
Using chalk paint has numerous advantages over traditional paints. Here are some of the key benefits:
-
Easy Application: Chalk paint is extremely forgiving and easy to work with, making it an ideal choice for both beginners and professionals. It has a thick consistency that allows for smooth and even application, reducing the chances of brushstrokes and uneven finishes.
-
No Primer Required: One of the biggest advantages of using chalk paint is that it eliminates the need for priming. Chalk paint has excellent adhesion properties, allowing it to adhere to most surfaces without the use of a separate primer. This saves both time and money, making it a convenient option for any project.
-
Quick Drying Time: Unlike traditional paints, chalk paint dries quickly, allowing for faster completion of projects. This is especially beneficial when working on multiple pieces or when time is limited. Additionally, the quick drying time helps prevent dust or debris from settling onto painted surfaces.
-
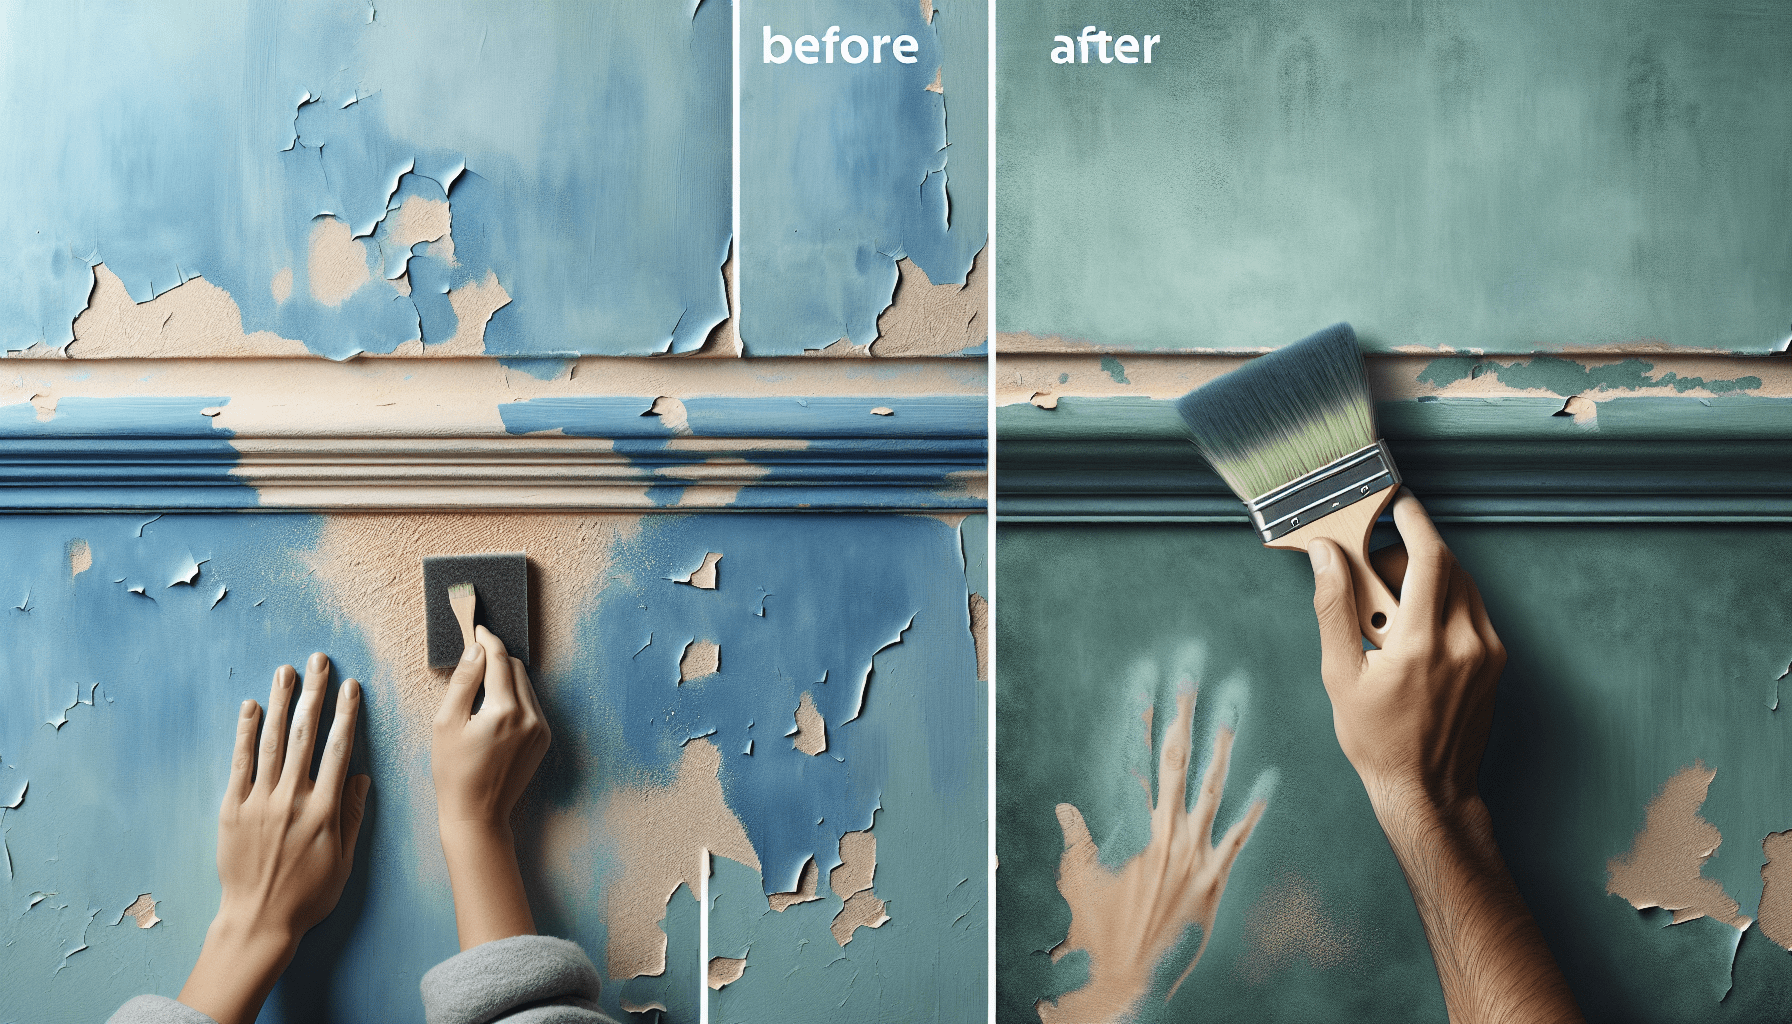
Distressing Capability: Chalk paint is perfect for achieving a distressed or aged look. It can be easily sanded or rubbed with a damp cloth to create a subtle or dramatic distressed effect, giving furniture and surfaces a charming, vintage appearance.
-
Wide Range of Color Options: Chalk paint comes in a wide variety of colors, allowing for endless creativity and customization. Whether you’re looking for soft pastels, bold and vibrant hues, or neutral shades, you can find a chalk paint color to suit your preference and project.
-
Smooth and Matte Finish: Chalk paint provides a smooth and matte finish that adds a touch of elegance to any painted surface. Unlike glossy paints, the matte finish of chalk paint minimizes shine and glare, creating a subtle and sophisticated look.
Understanding Sprayers
Before delving into using chalk paint in a sprayer, it is essential to understand what paint sprayers are and how they work. Paint sprayers are devices that atomize paint into tiny particles and propel them onto a surface, creating an even and consistent coat. They are widely used in large-scale projects and by professionals due to their efficiency and speed.
Sprayers work by converting paint into a fine mist using different mechanisms, such as airless pressure, high-volume low-pressure (HVLP), or compressed air. The sprayer then directs the mist towards the intended surface, ensuring even coverage and a smooth finish. The choice of sprayer depends on the specific project requirements and the type of paint being used.
Types of Paint Sprayers
There are several types of paint sprayers available, each with its own advantages and applications. Here are the main types of sprayers commonly used:
-
Airless Paint Sprayers: Airless paint sprayers use a high-pressure pump to force the paint through a small opening, atomizing the paint and creating a fine spray. They are known for their ability to handle a wide range of paint viscosities, from thin stains to thick latex paints. Airless sprayers are typically used for larger-scale projects, such as painting walls, fences, and exterior surfaces.
-
HVLP Paint Sprayers: HVLP sprayers, as the name suggests, use a high volume of air at a low pressure to atomize the paint. They are designed to minimize overspray and provide greater control and precision, making them suitable for detailed work and smaller projects. HVLP sprayers are commonly used for furniture refinishing, cabinets, and trim painting.
-
Compressed Air Paint Sprayers: Compressed air sprayers use compressed air to atomize paint and propel it onto surfaces. They can provide a smooth and even finish, but they tend to produce more overspray compared to airless and HVLP sprayers. Compressed air sprayers are versatile and can handle a variety of paints, making them suitable for a range of projects.

Compatibility of Chalk Paint with Sprayers
Now comes the important question: can you put chalk paint in a sprayer? The answer is yes, you can use chalk paint in a sprayer, but there are a few considerations to keep in mind. Chalk paint, in its original form, may be too thick for sprayers and can clog the nozzle. Therefore, it is crucial to prepare the chalk paint properly before using it in a sprayer.
Preparing Chalk Paint for Spraying
To ensure a smooth and successful spraying process, follow these steps to prepare chalk paint for use in a sprayer:
-
Choosing the Right Chalk Paint: Not all chalk paints are suitable for spraying, so it is important to choose one that is specifically formulated for that purpose. Look for chalk paint brands that mention compatibility with sprayers or airless systems on their label. These paints are usually pre-thinned to the optimal consistency for spraying.
-
Thinning Chalk Paint for Spraying: If you have a regular chalk paint that is not pre-thinned for spraying, you will need to thin it down to the right consistency. The ideal consistency for spraying is similar to that of heavy cream or pancake batter. Add a small amount of water to the paint, mix thoroughly, and gradually add more water until you reach the desired consistency.
-
Straining Chalk Paint: After thinning the paint, it is recommended to strain it to remove any impurities or lumps that may clog the sprayer’s nozzle. Use a fine-mesh strainer or cheesecloth and strain the paint into a clean container.
-
Testing the Paint Mixture: Before loading the sprayer, it is essential to test the paint mixture on a scrap piece of cardboard or a similar surface. This will help ensure that the paint is flowing smoothly and that the consistency is suitable for spraying. Adjust the mixture if necessary to achieve optimal results.
How to Use Chalk Paint in a Sprayer
Once the chalk paint is properly prepared and thinned for spraying, follow these steps to use it in a sprayer:
-
Preparing the Work Area: Before spraying, make sure to protect the surrounding area by covering floors, furniture, and other surfaces with drop cloths or plastic sheets. This will prevent overspray and potential damage to nearby objects.
-
Loading the Sprayer with Chalk Paint: Fill the sprayer’s paint container with the thinned chalk paint mixture. Be cautious not to overfill the container, as it may cause leaks or clogs. Follow the sprayer’s instructions to ensure proper attachment and sealing of the paint container.
-
Adjusting Sprayer Settings: Refer to the sprayer’s user manual for specific instructions on adjusting the settings. Typically, you will need to adjust the spray pattern, pressure, and volume based on the desired coverage and the project’s requirements. Start with low settings and gradually increase them until you achieve the desired spray pattern and coverage.
-
Practicing Spray Technique: Before applying chalk paint to your project, practice your spray technique on a scrap piece of cardboard or a similar surface. This will help you get a feel for the sprayer and ensure that the paint is spraying evenly and smoothly.
-
Applying Chalk Paint to the Surface: Once you are comfortable with the spray technique, start applying chalk paint to the surface in smooth, even strokes. Maintain a consistent spraying distance and overlap each pass slightly to ensure complete coverage. Avoid spraying too close to the surface or using excessive force, as this may result in drips or uneven application.
Tips for Spraying Chalk Paint
To achieve the best results when spraying chalk paint, keep the following tips in mind:
-
Maintaining Proper Spraying Distance: It is crucial to maintain the recommended spraying distance between the sprayer and the surface. This distance is usually specified in the sprayer’s user manual or on the paint can. Spraying too close can cause paint to pool or drip, while spraying too far away may result in a patchy finish.
-
Working in Thin Layers: Instead of trying to achieve full coverage in one coat, it is recommended to apply chalk paint in thin layers. This will help prevent drips, allow for better control, and ensure smoother results. Allow each layer to dry completely before applying additional coats.
-
Avoiding Overlaps and Drips: When spraying, it is important to maintain a consistent speed and avoid dwelling on one spot for too long, as this can cause overlapping and uneven coverage. Additionally, be mindful of any drips that may occur and address them promptly to prevent them from drying and ruining the finish.
-
Using Protective Gear: When spraying paint, it is advisable to wear protective gear, such as safety glasses, a mask, and gloves. This will protect you from inhaling paint particles or overspray and prevent paint from coming into contact with your skin.
-
Considering Environment and Ventilation: Spraying paint produces fine particles and fumes, so it is essential to work in a well-ventilated area. If possible, set up fans or open windows to ensure proper air circulation during the painting process. It is also important to consider the weather conditions when spraying outdoors, as wind or high humidity can affect the paint’s drying time and overall finish.
Cleaning and Maintenance
After completing your project, it is crucial to clean the paint sprayer properly to maintain its performance and longevity. Follow the manufacturer’s instructions for cleaning the sprayer, as different models may have specific cleaning requirements. Typically, cleaning involves flushing the sprayer with water or a cleaning solution to remove any remaining paint particles.
Regular maintenance and inspection of the sprayer are also recommended to ensure optimal functionality. This includes checking for clogs, leaks, or any signs of damage, as well as lubricating moving parts if necessary.
Alternative Application Methods for Chalk Paint
While using a sprayer can be a convenient and efficient way to apply chalk paint, it is not the only method available. Brushes and rollers are alternative application methods that can achieve beautiful results with chalk paint. These methods are particularly useful for smaller projects or areas that require more precision and control. Additionally, combining spraying and brushing techniques can create unique and textured finishes.
When using brushes or rollers with chalk paint, choose high-quality brushes with natural bristles or foam rollers that are specifically designed for chalk paint. These tools will help ensure smooth application and minimize brushstrokes or roller marks. Experiment with different techniques, such as dry brushing or layering, to achieve various effects and finishes.
In conclusion, while chalk paint is primarily known for its use with brushes and rollers, it is possible to use it in a sprayer with proper preparation and technique. By following the steps outlined in this article, you can achieve smooth and even coverage using a sprayer, giving your projects a professional and polished look. Whether you decide to use a sprayer or prefer alternative methods, the versatility and charm of chalk paint are sure to enhance any piece of furniture or surface.