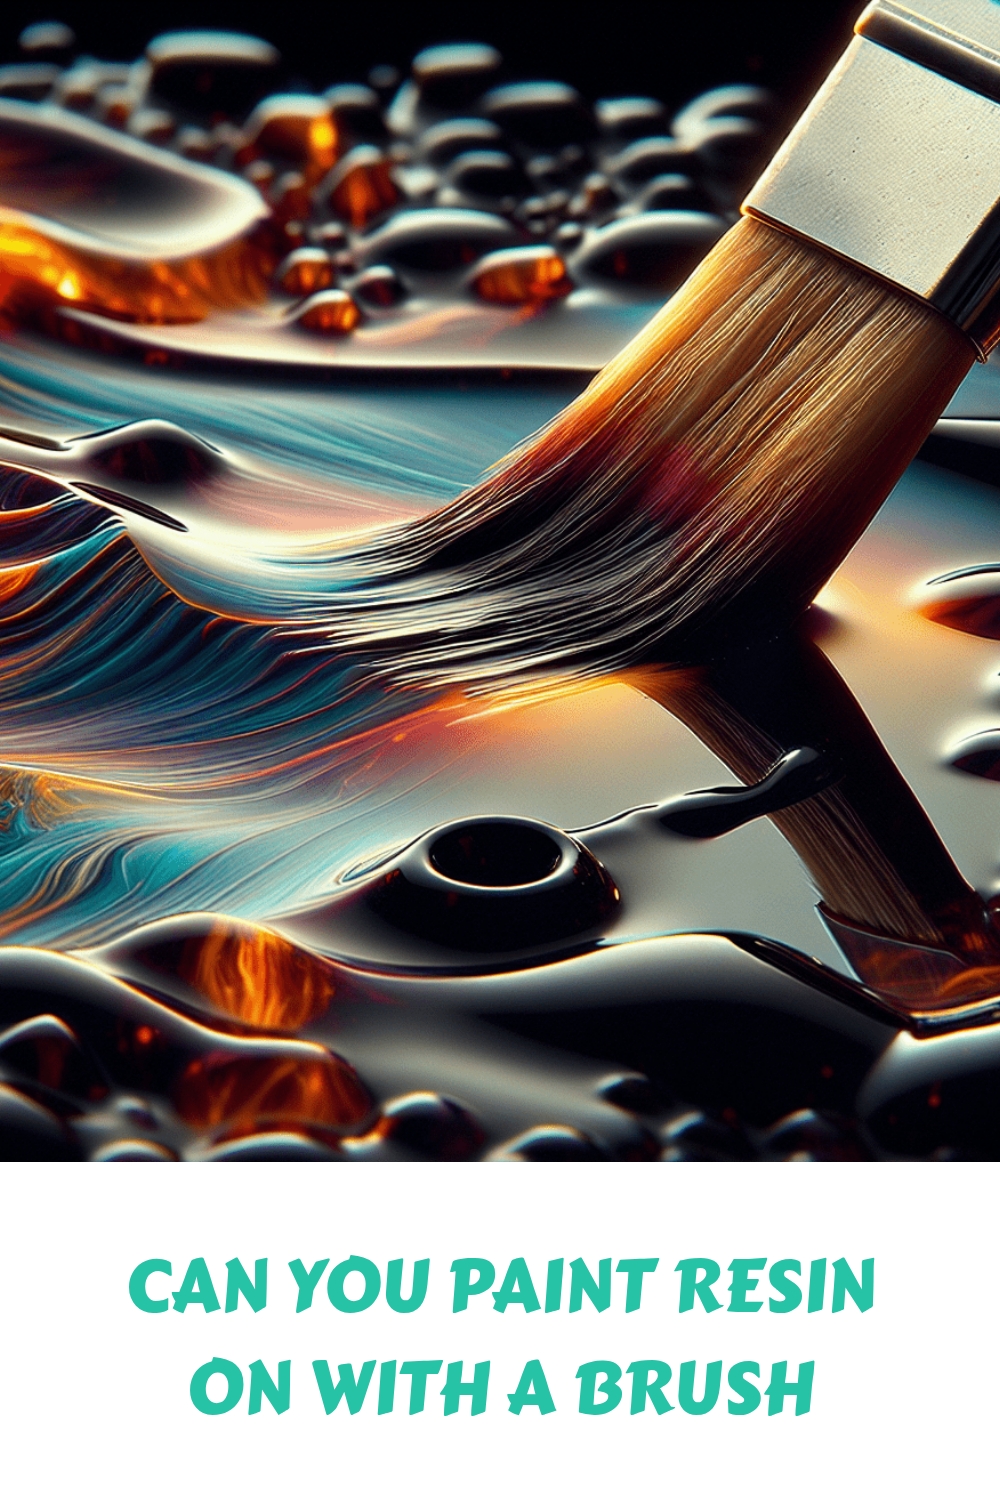
Resin painting has gained popularity in recent years for its glossy, vibrant finish. However, the question remains: can you paint resin on with a brush? In this article, we will explore the possibilities and limitations of using a brush to apply resin. We will discuss the benefits of brush application, potential challenges, and offer tips for achieving a smooth and professional result. Whether you are an experienced resin artist or just starting out, continue reading to discover the best techniques for bringing your artistic vision to life with resin and a brush.
Understanding Resin
Introduction to resin
Resin is a versatile material that is commonly used in various art forms, including painting. It is a viscous liquid that hardens when exposed to air or certain chemicals. Resin can be transparent or colored, making it an excellent choice for creating unique and vibrant artwork. However, painting with resin requires some knowledge and technique to achieve the desired results.
Types of resin
There are different types of resin available in the market, each with its own properties and intended uses. Epoxy resin and polyurethane resin are the most commonly used for painting. Epoxy resin is known for its high gloss finish and durability, while polyurethane resin offers better UV resistance. It’s essential to choose the type of resin that suits your specific project and requirements.
Properties of resin
Resin possesses several unique properties that make it suitable for painting. It has excellent adhesive qualities, allowing it to bond firmly to various surfaces. Resin is also self-leveling, which means it can distribute evenly across the surface, resulting in a smooth finish. Additionally, resin is highly durable and resistant to moisture, making it a long-lasting choice for artwork. Understanding these properties will help you make informed decisions when working with resin.
Painting with Resin
Preparing the resin
Before you start painting with resin, it is crucial to prepare the material properly. Ensure that you follow the manufacturer’s instructions regarding the mixing ratio and curing time. Measure the resin and hardener accurately for the desired consistency and curing properties. It is also essential to work in a well-ventilated area to prevent any health hazards caused by the resin fumes.
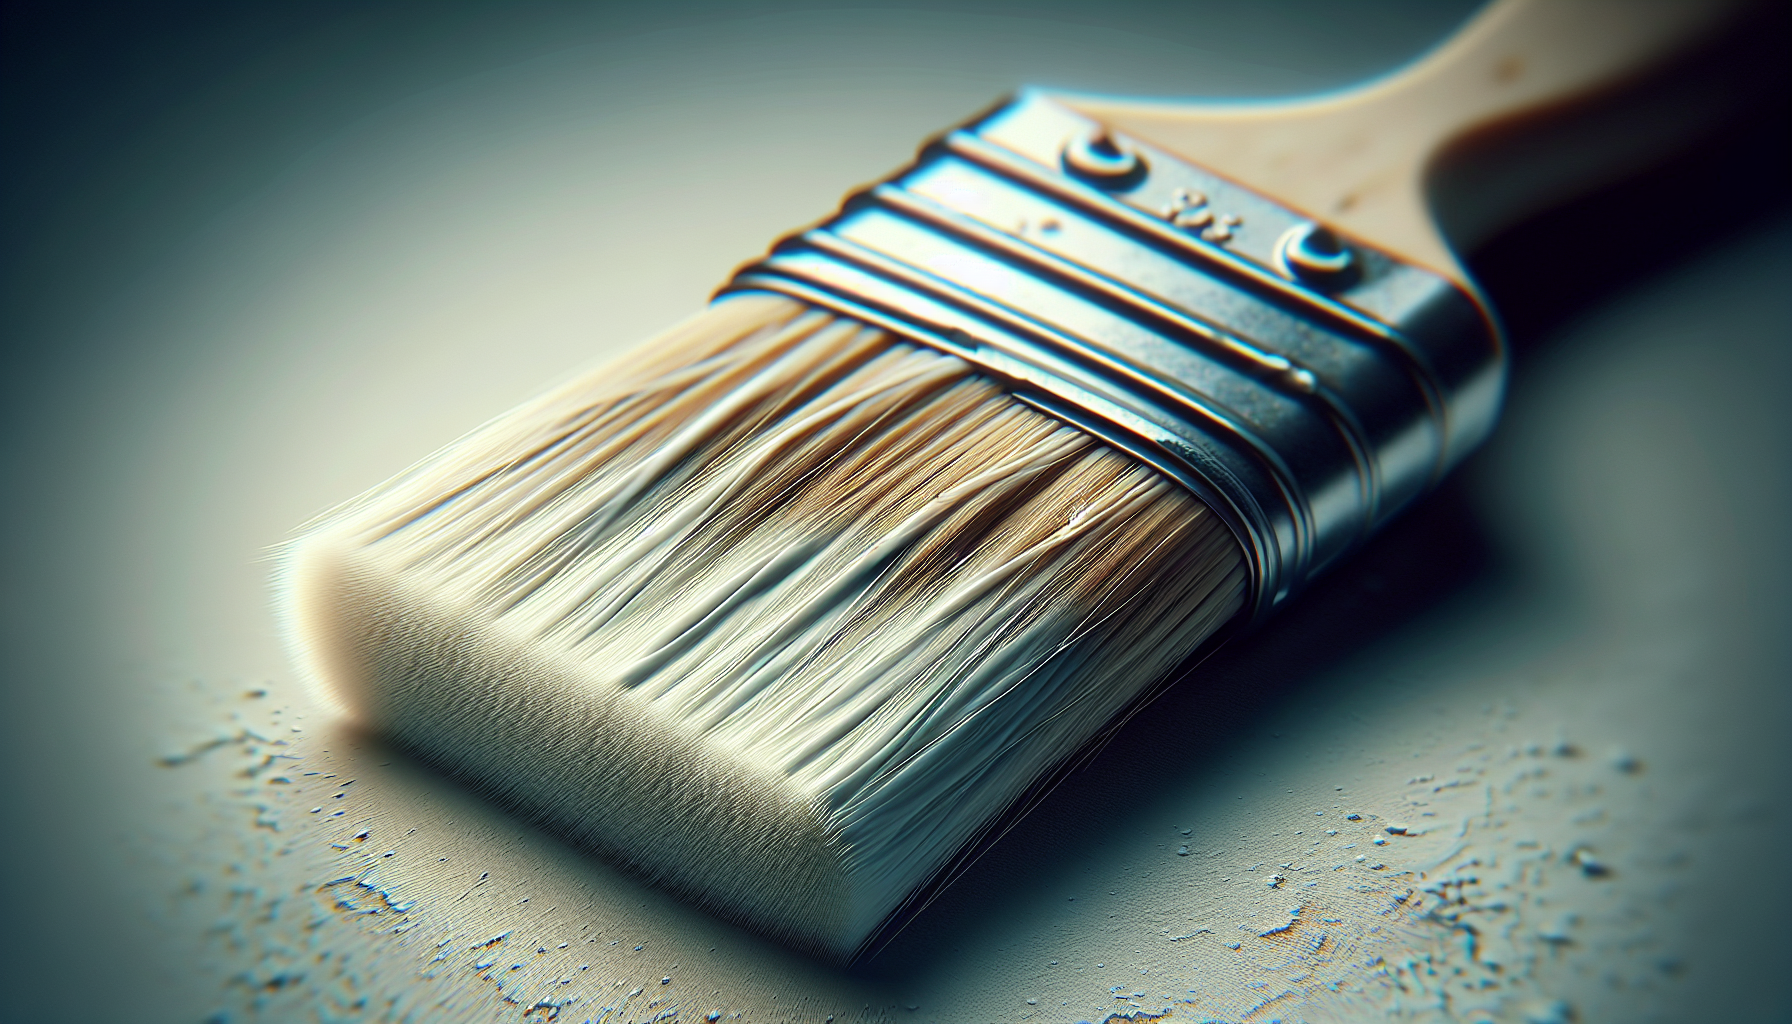
Choosing the right brush
Selecting the appropriate brush is crucial for achieving the desired outcome when painting with resin. Opt for brushes specifically designed for working with resin, as they are often made with synthetic materials that are resistant to the corrosive nature of the resin. The brush should also have soft bristles that can hold and distribute the resin evenly without leaving visible brush marks.
Applying resin with a brush
When painting with resin, it is essential to apply thin layers to prevent pooling and ensure proper curing. Dip the brush into the resin and lightly coat the surface using smooth, even strokes. Avoid applying too much pressure, as it may create brush marks or disturb the resin beneath. Work systematically to cover the entire area, and if needed, apply multiple coats to achieve the desired depth and finish.

Preparing the Resin
Cleaning the surface
Before applying resin, it is crucial to clean the surface thoroughly to ensure proper adhesion. Remove any dust, dirt, or debris by gently wiping the surface with a damp cloth. If there are any existing coatings or finishes, consider sanding or removing them to provide a clean and smooth surface for the resin to adhere to.
Mixing the resin components
Resin is typically a two-part system consisting of resin and a hardener. It is crucial to mix these components in the correct ratio to ensure proper curing and optimal performance. Use separate clean containers for each component, and carefully measure the required amounts. Gradually pour the hardener into the resin while stirring slowly but consistently. Thoroughly mix the components for the recommended time to achieve a homogenous mixture.
Applying a primer (if needed)
In some cases, it may be necessary to apply a primer before applying resin. Primers serve as a bonding agent between the surface and the resin, ensuring better adhesion and a smoother finish. Assess the surface and determine if a primer is required based on its porosity or condition. Apply the primer following the manufacturer’s instructions, and allow it to dry completely before proceeding with the resin application.
Choosing the Right Brush
Types of brushes suitable for resin
When selecting a brush for resin painting, there are a few types that are particularly suitable. Synthetic brushes, such as those made with nylon or polyester bristles, are recommended as they are resistant to the corrosive nature of the resin. Additionally, flat or rounded brushes with soft bristles work best for applying resin smoothly and evenly.
Considerations when selecting a brush
Besides the brush type, consider factors such as size, shape, and bristle flexibility when choosing a brush for resin painting. The brush size should be suitable for the project’s scale, ensuring that you can cover the surface effectively without excessive dripping or wastage. The shape of the brush can also affect the application process, with flat brushes suitable for larger flat areas and rounded brushes better for curved or intricate surfaces. Bristle flexibility helps in achieving the desired control and smoothness while applying resin.
Recommended brush sizes for different projects
The size of the brush plays a significant role in the efficiency and outcome of resin painting. For larger projects or areas, a brush with a width of 2-3 inches can be used to cover the surface quickly. Smaller brushes, around 1-2 inches wide, are suitable for more detailed work or smaller surfaces. It is advisable to have a range of brush sizes to accommodate different project requirements and ensure precise application.

Applying Resin with a Brush
Applying thin layers
When painting with resin, it is crucial to apply thin layers to avoid issues like pooling, uneven curing, or excessive heat generation. Thin layers allow the resin to self-level and create a smooth, glossy finish. Load the brush with a small amount of resin and apply it in long, even strokes. Ensure that the layer is evenly distributed and does not exceed the recommended thickness for curing.
Achieving a smooth finish
To achieve a smooth finish with resin, it is essential to maintain a consistent application technique. Use light, gentle strokes while applying resin, keeping the brush parallel to the surface. Avoid pressing too hard or brushing back and forth, as it can create visible brush marks. Gradually cover the entire area with smooth, overlapping strokes, ensuring even distribution and minimal disruption to the resin.
Avoiding brush marks
Brush marks can be a common challenge when painting with resin. To minimize brush marks, apply the resin in thin layers and use a brush with soft, flexible bristles. Avoid overworking the resin with the brush or going over the same area repeatedly. Working systematically and applying even pressure helps in achieving a brush mark-free finish. If necessary, you can use a heat gun or a torch on low settings to remove any visible brush marks.
Applying multiple coats
In some cases, multiple coats of resin may be required to achieve the desired depth or finish. Before applying another coat, ensure that the previous layer is fully cured according to the manufacturer’s instructions. Lightly sand the cured layer to create a better bonding surface for the next coat. Clean any sanding residue and apply the subsequent coat using the same techniques mentioned earlier. Building up additional layers gradually helps in creating a more durable and visually appealing resin painting.
Common Challenges and Solutions
Resin brush strokes
Brush strokes can sometimes be visible on resin paintings, affecting the desired smooth finish. To minimize brush strokes, follow the techniques mentioned earlier – applying thin layers, using soft brushes, and avoiding excessive brushing or pressure. Additionally, using a heat gun or a torch on low settings can help eliminate brush strokes by heating the resin and allowing it to self-level.
Bubbles in the resin
Bubbles are another common challenge when working with resin. To reduce the occurrence of bubbles, mix the resin and hardener thoroughly but slowly to minimize air entrapment. Allow the mixture to rest for a few minutes to release any trapped air bubbles before applying it. While applying resin, use a heat gun or a torch on low settings to gently heat the surface, which helps bubbles rise and dissipate before the resin cures.
Dust or debris on the painted surface
To ensure a clean and dust-free resin painting, it is crucial to work in a clean and controlled environment. Keep the workspace free from dirt, debris, and excessive airflow that may carry particles onto the wet resin. Cover the surface with a protective barrier, such as a plastic sheet, when the resin is curing to prevent dust or debris from settling on it. If any particles are present on the surface, gently remove them with a fine brush or tweezers before the resin fully cures.
Problems with adhesion
Improper adhesion between the resin and the surface can lead to various issues, including peeling or delamination. To address adhesion problems, ensure that the surface is clean, dry, and properly prepared. Remove any existing coatings or finishes that may interfere with adhesion. If necessary, consider using a primer designed specifically for the type of surface you are working on. Additionally, follow the manufacturer’s recommended curing time and conditions to ensure optimal adhesion.
Fixing mistakes
Mistakes can happen even with the most careful resin painting techniques. Fortunately, resin allows for some correction and fixing. If you notice any issues like uneven areas, brush marks, or debris in the resin, you can sand the cured resin gently with fine-grit sandpaper. Clean the surface to remove any sanding residue and apply a new coat of resin following the recommended techniques. Sanding and reapplication can help fix minor mistakes without compromising the overall artwork.
Tips for Successful Resin Painting
Practice on scrap or test surfaces first
Before starting a resin painting project, it is highly recommended to practice on scrap or test surfaces. This allows you to familiarize yourself with working with resin and experiment with different techniques without the fear of ruining your main project. Practice helps in understanding the resin’s behavior, the curing time, and the effect of various brush techniques, ensuring a successful final result.
Work in a well-ventilated area
Resin fumes can be strong and potentially harmful, so it is essential to work in a well-ventilated area. Open windows or doors to allow fresh air to circulate and wear appropriate personal protective equipment, such as gloves and a respiratory mask, to minimize exposure. When working in enclosed spaces, consider using exhaust fans or air purifiers to improve air quality and reduce the concentration of fumes.
Use proper safety precautions
Resin painting involves working with potentially hazardous materials, so it is essential to take proper safety precautions. Wear gloves to protect your hands from direct contact with resin and use a respirator or mask to prevent inhalation of fumes. Additionally, keep the workspace clean and organized, minimizing the risk of accidents or spills. Familiarize yourself with the safety guidelines provided by the manufacturer and follow them diligently to ensure a safe working environment.
Follow manufacturer recommendations
Each brand and type of resin may have specific instructions and recommendations. It is crucial to read and follow the manufacturer’s instructions carefully. Pay attention to the mixing ratios, curing times, and any additional steps or precautions mentioned. Following the manufacturer’s recommendations ensures optimal performance and helps achieve the desired results for your resin painting project.
Experiment with different brush techniques
While basic brush techniques are commonly used in resin painting, there is also room for experimentation and creativity. Explore different brush strokes, such as cross-hatching, stippling, or dry brush techniques, to add texture or visual interest to your resin artwork. Practice and experiment with various techniques on a small scale before applying them to larger projects. This experimentation allows you to develop your own unique style and discover new possibilities with resin as a painting medium.
Alternative Methods of Applying Resin
Using a roller
While using a brush is the most common method of applying resin, you can also use a roller for certain projects. A roller helps in achieving a more uniform and consistent application, particularly on larger surfaces. It is important to use a roller specifically designed for resin, as regular paint rollers may shed fibers or leave texture on the resin surface. Apply resin with a roller using long, even strokes and avoid excessive pressure to prevent air entrapment or surface irregularities.
Spraying resin
Spraying resin can provide a unique effect and allow for more control over the application. However, it requires specialized equipment, such as a spray gun or airbrush, and a proper understanding of spray painting techniques. If you decide to spray resin, ensure that you have appropriate ventilation and protective gear to minimize exposure to fumes and overspray. Practice on small surfaces or test pieces before attempting to spray resin on larger projects.
Dipping or pouring techniques
Dipping or pouring resin can create stunning effects and patterns, particularly for abstract or fluid art. These techniques involve submerging objects or pouring resin directly onto the surface to create layered or flowing designs. However, they require careful control of resin flow and curing time to achieve the desired results. Practice and experimentation are essential when using dipping or pouring techniques to understand how the resin behaves and to create visually captivating resin artwork.
Special Considerations for Different Surfaces
Wood
When working with resin on wood surfaces, it is important to ensure that the wood is properly prepared and sealed. Sand the wood to a smooth finish and remove any dust or debris before applying resin. If the wood is porous, apply a sealant or primer to prevent resin from being absorbed excessively. Follow the same resin application techniques mentioned earlier, ensuring even coverage and thickness. Resin on wood can create a beautiful glossy finish, enhancing the natural grain and colors of the wood.
Canvas
Resin can be applied to canvas to create a unique and glossy finish. It is essential to use a high-quality canvas that is properly stretched and primed. Ensure that the canvas is free from dust or debris before applying resin. Apply resin using a brush, roller, or pouring technique, keeping in mind the desired effect and thickness. It is crucial to allow the resin to cure fully before handling or moving the canvas to avoid any damage.
Metals
Painting with resin on metal surfaces requires proper surface preparation to ensure adhesion. Clean the metal surface thoroughly, removing any rust, grease, or oxidation. Sand the surface to provide better adhesion, and if needed, apply a primer specifically designed for metal surfaces. Apply resin using a brush or pouring technique, allowing it to cure completely. The resin will add a glossy, protective layer to the metal, enhancing its appearance and durability.
Plastic
Working with resin on plastic surfaces requires extra attention to achieve proper adhesion. Clean the plastic surface thoroughly, ensuring it is free from dirt, grease, or contaminants. Sand the surface lightly to provide better adhesion, particularly for smooth or glossy plastics. Apply a plastic primer or adhesion promoter that is compatible with both the plastic and resin. Follow the resin application techniques mentioned earlier, taking care not to apply excessive thickness or pressure that may cause the plastic to warp or deform.
Glossy surfaces
Painting with resin on already glossy surfaces, like glass or acrylic, can create stunning visual effects. Ensure that the surface is clean and free from any dust or fingerprints before applying resin. It is often recommended to scuff or lightly roughen the glossy surface using sandpaper to aid in adhesion. Apply resin with a brush or pouring technique, ensuring even coverage and smooth finish. Resin on glossy surfaces enhances their sheen and provides additional protection and durability.
Exploring Resin Art Techniques
Creating resin abstract paintings
Resin is a popular choice for creating abstract paintings due to its self-leveling properties and vibrant finishes. Experiment with different color combinations, layering techniques, and textures using resin. Pour, dip, or brush resin onto the canvas or other surfaces, exploring the fluidity and translucency of the material. Resin abstract paintings allow for endless creative possibilities and can result in visually captivating artwork.
Resin pouring and marbling
Pouring and marbling techniques with resin involve mixing different colors and creating mesmerizing patterns and swirls. Pour colored resin onto a surface and manipulate it using various tools like stir sticks or palette knives to create unique designs. By tilting or manipulating the surface, you can achieve captivating marbled effects. These techniques require careful control of resin flow and curing time to achieve the desired results.
Resin coating for mixed media projects
Resin coating is commonly used in mixed media projects to enhance and protect artwork. Apply resin as a topcoat to collages, paintings, photographs, or other mixed media pieces. The resin adds depth, gloss, and protection to the artwork, allowing the materials to stand out and be preserved. Follow the resin application techniques mentioned earlier, ensuring even coverage and avoiding any accidental overflow or pooling.
In conclusion, painting with resin offers a unique and versatile approach to creating artwork with vibrant colors, depth, and durability. Understanding the properties of resin, proper surface preparation, and suitable brush techniques are essential in achieving successful resin paintings. By following the guidelines provided in this comprehensive article, you can confidently explore resin as a painting medium and unleash your creativity in creating stunning resin artwork.