If you’ve ever wondered whether you can use acrylic paint on clay, wonder no more! This article will explore the exciting world of clay painting and provide you with all the information you need to bring your creative visions to life. From the compatibility of acrylic paint with clay to helpful tips and techniques, get ready to embark on a colorful journey where the possibilities are endless. So, grab your paintbrushes and let’s discover the fascinating art of painting clay with acrylics.
Can You Paint Clay With Acrylic Paint?
Acrylic paint is a versatile and popular medium used by artists of all levels. It is known for its vibrant colors, fast drying time, and versatility on different surfaces. But can you paint clay with acrylic paint? The answer is yes! With the right techniques and materials, you can achieve beautiful and long-lasting results when painting clay with acrylic paint. In this article, we will guide you through the process of painting clay with acrylic paint, from choosing the right type of clay to sealing and protecting the painted clay.
Choosing the Right Type of Clay
Before you start painting clay with acrylic paint, it is important to choose the right type of clay. There are different types of clay available, each with its own qualities and suitability for painting with acrylics.
Porosity is an important factor to consider when choosing clay for acrylic painting. Clay with a higher porosity absorbs liquid more easily, which can affect the adhesion and texture of the paint. To ensure the best results, choose a clay with low porosity, such as polymer clay or oven-bake clay, as they are less likely to absorb the paint and maintain their texture.

This image is property of images.unsplash.com.
Preparing the Clay Surface
To achieve a smooth and even surface for painting, it is essential to properly prepare the clay before applying acrylic paint. Start by cleaning the clay surface using a soft cloth or sponge and mild soap to remove any dirt or residues. Be gentle to avoid scratching or damaging the clay.
Next, smooth the surface by sanding it lightly with fine-grit sandpaper. This step helps to remove any rough spots or imperfections, providing a more even surface for painting. After sanding, wipe off any dust with a clean cloth.
Additionally, ensure that the clay is thoroughly dried and conditioned before painting. This prevents any moisture from interfering with the paint adhesion and drying process.
Priming the Clay
Priming the clay surface is an important step to enhance the adhesion and longevity of the acrylic paint. Primers create a barrier between the clay and the paint, allowing for better paint application and preventing the paint from being absorbed too quickly.
There are different types of primers available for clay, such as gesso or acrylic medium. Gesso is a popular choice as it provides a good surface grip for the paint and can be easily applied with a brush or roller. Apply a thin layer of primer evenly on the clay surface and allow it to dry completely before painting.
This image is property of images.unsplash.com.
Applying Acrylic Paint Directly on Clay
While priming the clay is recommended, you can also apply acrylic paint directly on clay without using a primer. However, this method has both advantages and disadvantages to consider.
One advantage is that it allows for a more direct and immediate application of color on the clay surface. It also eliminates the extra step of priming, making the process more straightforward. However, it is important to note that without a primer, the clay may absorb more paint, which can affect the vibrancy and color intensity.
Additionally, diluting acrylic paint with water or acrylic medium can help improve the flow and adhesion of the paint on the clay. Experiment with different ratios to find the right consistency for your desired effect.
Preparing the Acrylic Paint
When painting clay with acrylics, it is essential to choose the right type of acrylic paint. Acrylic paints come in tubes or jars, and both options have their advantages. Tubes are convenient for squeezing out the desired amount of paint, while jars allow for easier mixing and blending of colors.
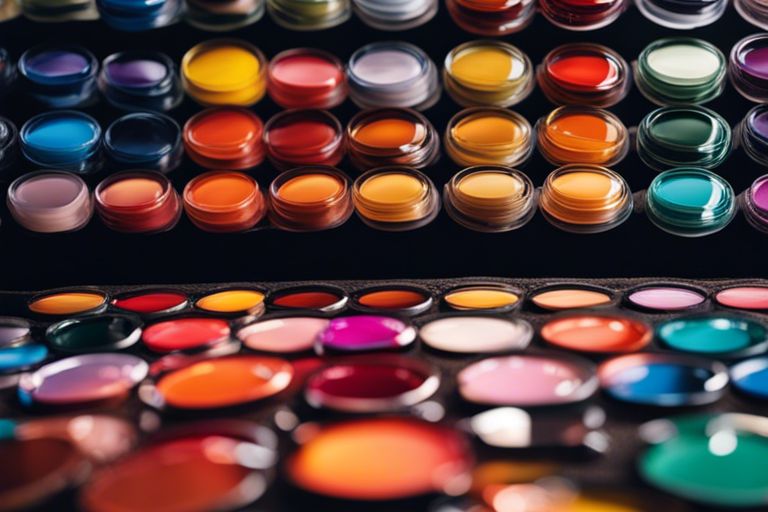
To create a palette of colors, squeeze a small amount of each paint onto a palette or a non-absorbent surface. This allows you to mix and blend colors to achieve the desired shades and hues for your project. Remember to clean your brushes between color changes to avoid muddying the colors.

This image is property of images.unsplash.com.
Choosing the Right Brushes
The type and size of brushes you choose play a significant role in achieving the desired effects when painting clay with acrylics. Synthetic brushes are recommended for acrylic paint as they are durable and hold their shape well.
Different brush sizes allow for different levels of detail and coverage. Smaller brushes are ideal for adding finer details, while larger brushes are suitable for covering larger areas. Experimenting with different brush strokes techniques, such as dry brushing or stippling, can also add texture and depth to your painting.
Applying a Basecoat
Applying a basecoat is an important step to create a solid foundation for your painting. A basecoat provides an even layer of color that serves as a background for layering and adding details later on.
When selecting a color for the basecoat, consider the overall mood or theme of your art piece. Lighter colors can provide a brighter and more vibrant surface, while darker colors create a more dramatic or subdued look. Apply the basecoat evenly using a brush or a sponge, ensuring full coverage of the clay surface.
Layering and Blending Colors
One of the advantages of acrylic paint is the ability to layer and blend colors to create depth and dimension. Building layers of color adds richness and complexity to your artwork.
To create depth and shadows, start by applying a darker color over the basecoat. Then, gradually layer lighter colors on top, blending them together to achieve a smooth transition. Techniques such as dry brushing or wet brush blending can be used to achieve different effects and textures.
Creating gradients by blending colors from one hue to another can also add interest and a sense of movement to your painted clay. Experiment with different blending techniques and brush strokes to find the technique that works best for your project.
Adding Details and Highlights
Once you have established the base colors and achieved the desired layering and blending, it’s time to add details and highlights to your painted clay. Use smaller brushes and a steady hand to add fine lines, textures, or intricate designs.
Consider the overall composition of your artwork and focus on adding details that enhance the subject or tell a story. Highlights can be added using a lighter shade of the base color or even white for a more dramatic effect. Use a small brush and apply the highlights strategically to bring certain areas of your artwork to life.
Sealing and Protecting the Painted Clay
After you have completed painting your clay with acrylics, it is essential to seal and protect the artwork to ensure its longevity. Sealing helps to protect the paint from scratching, fading, or peeling off.
There are different types of sealants available, such as varnishes or clear acrylic sprays. Choose a sealant that is compatible with acrylic paint and suitable for the intended use of your artwork. Apply the sealant according to the manufacturer’s instructions, making sure to cover the entire painted surface.
Allow the sealant to dry and cure completely before handling or displaying your painted clay. This step ensures that the paint is thoroughly protected and able to withstand the test of time.
In conclusion, painting clay with acrylic paint is an enjoyable and creative process. By choosing the right type of clay, preparing the surface, and using proper techniques, you can achieve stunning results. Whether you are a beginner or an experienced artist, acrylic paint provides endless possibilities for expressing your creativity on clay. So grab your clay, brushes, and acrylic paint, and let your imagination run wild!
