?Which brush technique will transform your work next?
")
Brush Techniques Every Artist Should Master (With Brush Type Examples)
This article gives you a systematic, professional guide to the brush techniques that will most rapidly improve your painting. You will find clear explanations, step-by-step exercises, recommended brush types, and troubleshooting tips tailored to oil, acrylic, and watercolor. The goal is to make your practice efficient and measurable so you can apply techniques confidently in finished pieces.
Why brush technique matters
Brush technique is the bridge between your visual intent and the surface. It governs line quality, texture, value shifts, edge control, and the way light behaves in paint. You can have excellent color knowledge, composition skills, and reference material, but weak brushwork will make the painting look uncertain. By mastering core brush techniques, you control the way paint behaves and the way viewers read your marks.
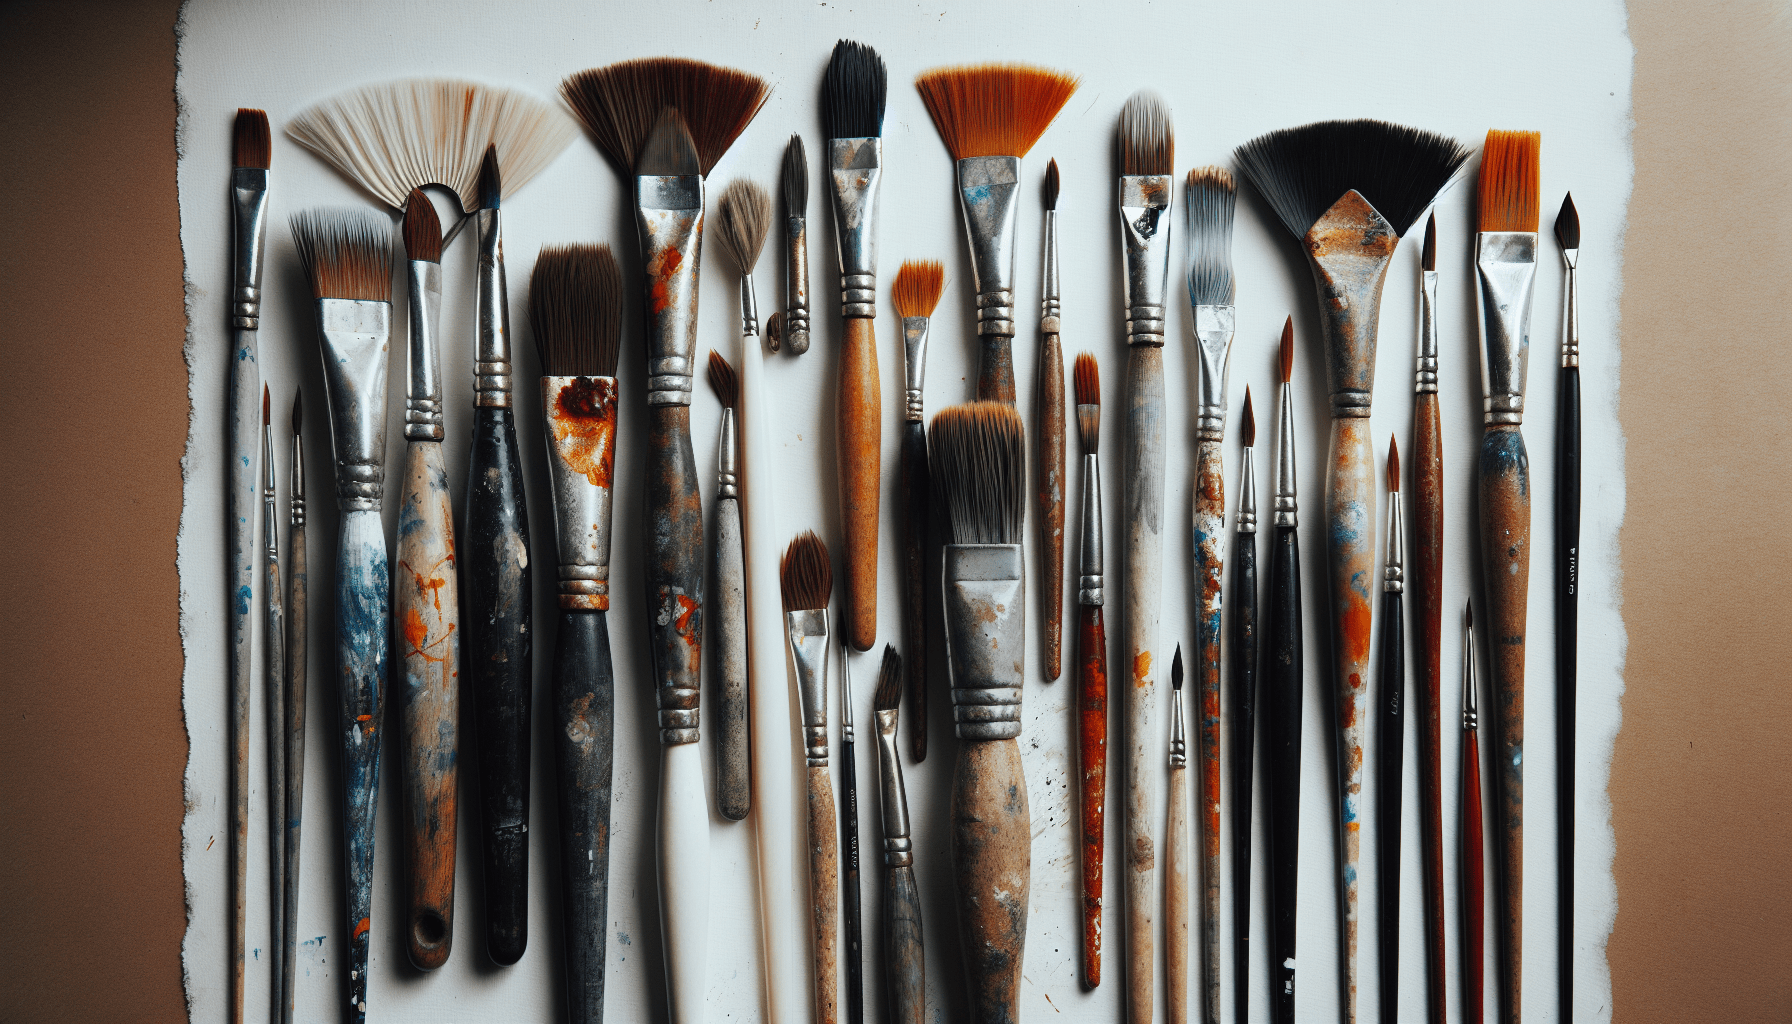
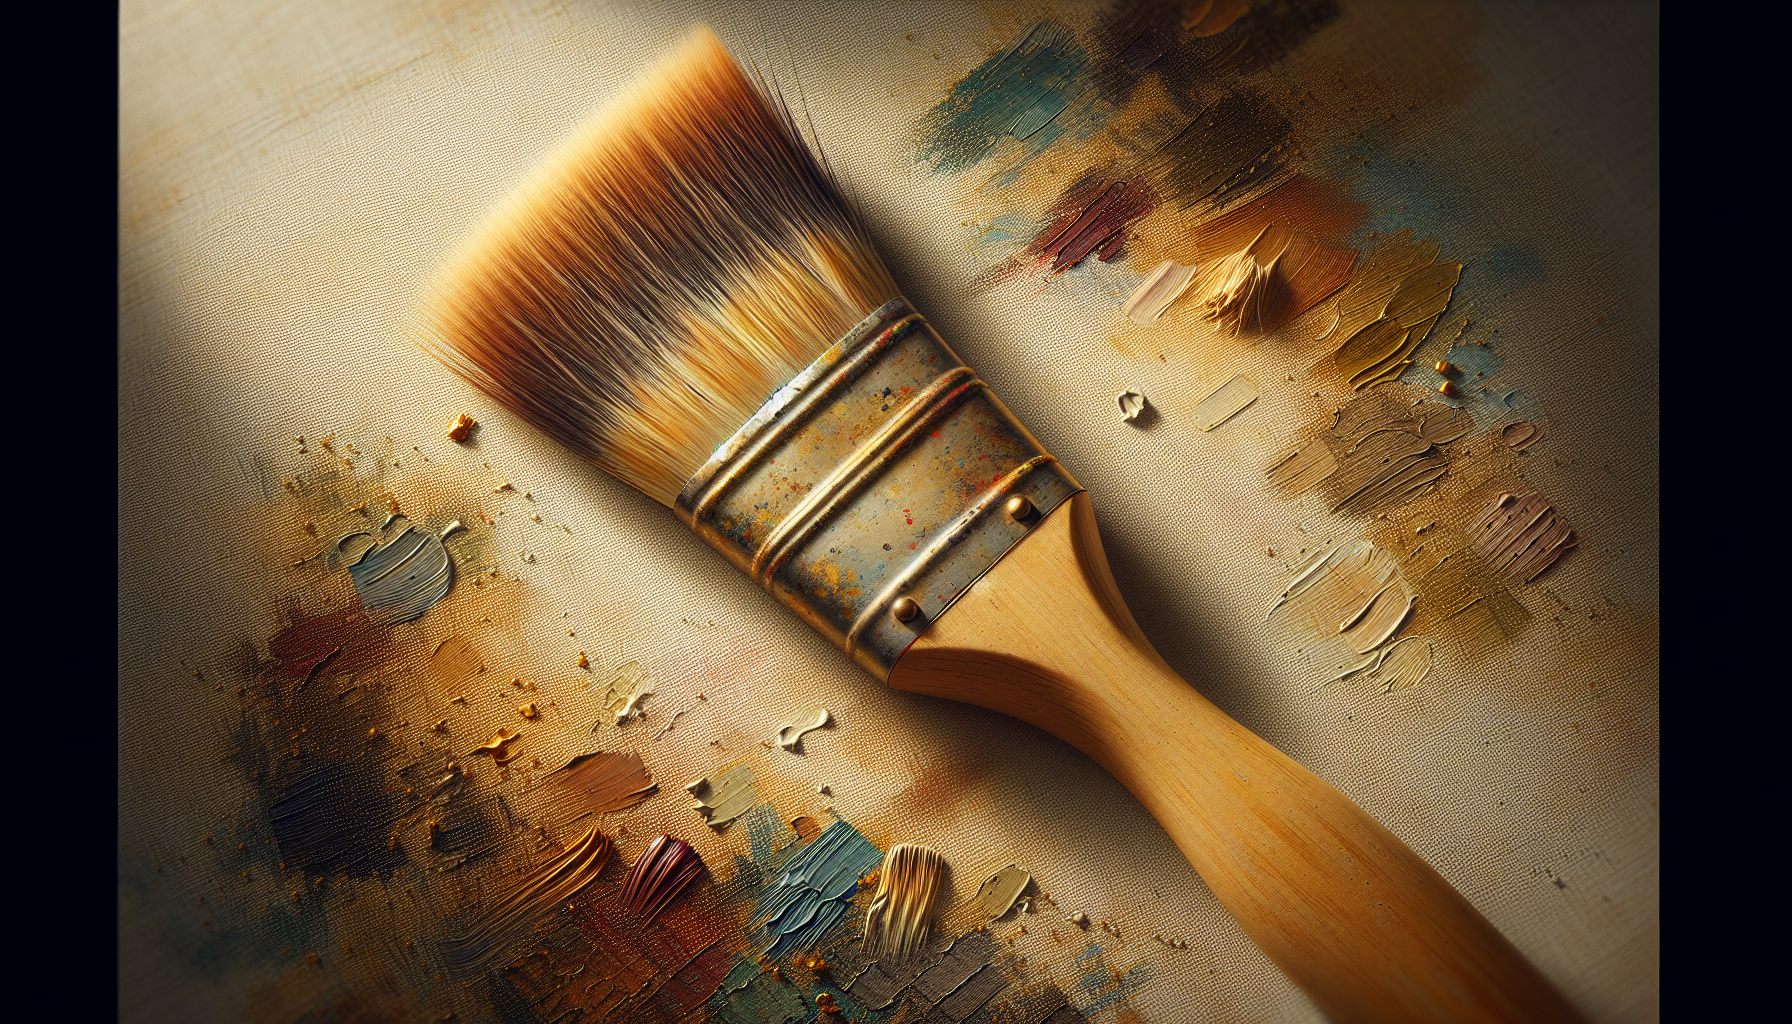
Fundamentals: brush anatomy, hair types, and shapes
You should understand how brushes are built and how those choices affect performance. Brush anatomy includes the handle, ferrule, and hair. Different hair types and shapes are optimized for specific behaviors—holding paint, making a crisp edge, or creating a soft wash. Below you will find concise descriptions to help you choose and use brushes intelligently.
Brush shapes and when to use them
Brush shape heavily influences the marks you can make. You should choose shape based on desired edge, coverage, and stroke type.
| Brush Shape | Description | Typical use |
|---|---|---|
| Round | Tapered point, narrow body | Fine lines, detail, controlled strokes |
| Flat | Rectangular edge, uniform belly | Bold strokes, washes, sharp edges |
| Bright | Like flat but shorter bristles | Short controlled strokes, heavy-bodied paint |
| Filbert | Flat with rounded edge | Blended strokes, soft edges, figurative work |
| Angular (Angular Shader) | Slanted edge | Controlled curves, corners, tight areas |
| Fan | Spread bristles in a fan | Soft blending, texture (grass, hair) |
| Mop | Large, rounded, soft | Large washes, wetting paper, glazing |
| Rigger / Liner | Very long thin point | Fine continuous lines, calligraphic strokes |
| Wash | Very large flat or round | Broad washes, backgrounds |
Hair types and considerations
Brush hair dictates paint-holding capacity and resilience. You should select hair type according to medium and technique:
| Hair Type | Characteristics | Best for |
|---|---|---|
| Kolinsky sable | Superb spring, fine point, excellent paint-holding | High-detail watercolor, glazes |
| Sable blends | Soft, good spring, more affordable | Watercolor and light glazing |
| Squirrel | Very absorbent, soft | Large watercolor washes |
| Hog / Bristle | Stiff, durable, holds texture | Thick oil or acrylic impasto |
| Synthetic | Versatile, economical, resists damage from solvents | Acrylic, student oils, mixed media |
Technique 1 — Loading and paint control
You must learn how to load the brush with the right amount of paint and water/medium. Proper loading controls saturation, tonal range, and the length of stroke before reload.
What it is and why it matters
Loading is the act of picking up paint onto the bristles in a controlled way. Overloading creates blobs and muddy edges; underloading causes dry, scratchy marks. You should practice balancing pigment concentration and medium volume.
Recommended brush types
Round, filbert, and flat brushes in sizes appropriate to the area you want to cover. For watercolor, use a large round or mop for washes; for oil or acrylic, use flats and filberts.
Practice drill
Load a round brush with two values: darker on one side of the belly and lighter towards the tip. Make continuous strokes across the paper to see how value blends as the brush empties. Repeat until you can create consistent marks across a sheet without excessive drippage or dry-brush abrasions.
Troubleshooting
If paint beads at the ferrule, you have overloaded the brush. If the brush skates and produces weak marks, you are underloaded.
Technique 2 — Pressure control and stroke variation
You will produce different widths, edges, and textures by varying pressure. Mastering this lets you articulate contours, calligraphic lines, and subtle transitions.
What it is and why it matters
Pressure affects bristle splay and paint release. Light pressure gives thin, delicate lines; heavier pressure produces broader strokes with fuller color. You should treat pressure as a primary expressive tool.
Recommended brush types
Rounds and rigger/liner brushes for thin-to-thick transitions. Filberts for soft pressure transitions. Brights for short, controlled thick marks.
Practice drill
Draw parallel strokes while gradually increasing and decreasing pressure in a single sweep. Aim for controlled crescendos and diminuendos within the stroke. Practice long hairlines using a rigger to train wrist and arm steadiness.
Troubleshooting
If your stroke width is inconsistent, practice staying in contact with the surface and controlling arm movement rather than wrist only.
Technique 3 — Edge control: hard vs soft edges
Edge control makes the difference between convincing forms and flat rendering. You should intentionally choose hard or soft edges to model form and direct the viewer’s attention.
What it is and why it matters
Hard edges define transitions sharply; soft edges allow smooth tonal transitions. Artists use hard edges for focal points and soft edges for atmospheric or less important areas.
Recommended brush types
Flat and filbert for clean hard or shaped edges. Mop or soft round for softening edges.
Practice drill
Paint a simple sphere with a hard edge on one side and a soft blended shadow on the other. Use a clean dry brush or a slightly damp mop to soften the edge while the paint is still workable.
Troubleshooting
If edges are unintentionally hard, soften them with a clean damp brush and lift or drag paint gently.
Technique 4 — Blending and feathering
You will master transitions and smooth gradations by blending paints on the surface. Feathering provides subtler gradations for skin tones, skies, and gentle reflections.
What it is and why it matters
Blending merges adjacent values or colors into smooth transitions. Feathering is subtle, directional blending to suggest texture, hair, or soft light.
Recommended brush types
Soft filbert or round brushes for oils; soft synthetic rounds for acrylics when using retarders; soft mops and soft sable rounds for watercolor.
Practice drill
Lay down two adjacent color patches and blend them using soft, overlapping strokes while maintaining a clean brush edge. For feathering, use short, tapered strokes in the direction of the texture.
Troubleshooting
Hard-to-blend acrylics may need retarders or medium. For oils, make sure paint layers are tacky, not wet, when blending with a clean dry brush.
Technique 5 — Dry brushing
Dry brushing is ideal for texture, highlights, and subtle surface details. You will use it for rough surfaces like weathered wood, foliage, or fabric texture.
What it is and why it matters
Dry brushing uses a brush with little paint or medium to create broken, sketchy marks that allow ground texture to show through. It creates a worn, textured effect that can be very expressive.
Recommended brush types
Stiff bristle flats or bright brushes for oil and acrylic; stiff synthetic flats for acrylics; older, slightly worn brushes often work well for this technique.
Practice drill
Load a small amount of paint on the tip of a stiff flat and blot most of it off on a rag. Sweep across a textured surface to produce a broken stroke. Practice creating layers of texture by repeating with lighter values.
Troubleshooting
If marks appear muddy or too heavy, reduce paint and blot more before applying.
Technique 6 — Scumbling
You will use scumbling to soften areas and build subtle color variations. This semi-opaque application modifies underlying tones without full coverage.
What it is and why it matters
Scumbling is a thin, broken layer of lighter (or different) paint applied over a darker area to alter value or temperature. It is useful for atmospheric effects and for adjusting highlights.
Recommended brush types
Stiff hog bristle flats for oils and acrylics. For delicate scumbles in watercolor, use a soft round with very light touch.
Practice drill
Lay a dark mid-tone ground. Using a nearly dry stiff flat, apply a lighter color with a scrubbing motion, allowing the underlayer to show through. Build gradually until the desired effect appears.
Troubleshooting
Too much pressure or too much paint ruins the broken effect; keep the brush close to dry and use controlled scrubs.
Technique 7 — Glazing
You should use glazing to change color, increase depth, and create luminous transitions. Glazing uses transparent layers to influence the optical mixture of color.
What it is and why it matters
A glaze is a transparent or semi-transparent thin layer of color applied over a dried layer. You will use glazes to adjust hue, enrich color, and build luminous depth, especially in oils and acrylics.
Recommended brush types
Soft synthetic or sable for smooth glaze application; filbert or soft flat depending on area size.
Practice drill
Mix a glaze using pigment, medium (linseed oil for oil paint; acrylic glazing medium for acrylics), and test over a neutral gray. Observe how the underlying tone changes. Apply several thin glazes, allowing drying between applications.
Troubleshooting
If a glaze becomes tacky or lifts earlier layers, ensure adequate drying and use appropriate medium ratios.
Technique 8 — Wet-on-wet (alla prima)
You will need wet-on-wet skills for spontaneous, painterly work and rapid color mixing on the canvas. This technique is powerful for immediacy and capturing light.
What it is and why it matters
Wet-on-wet involves applying fresh paint onto a still-wet layer. It allows direct blending and expressive mark-making but requires confident handling and faster working pace.
Recommended brush types
Stiff bristles for textured strokes or soft filberts and flats for smoother blends. Large rounds or mops for bigger passages.
Practice drill
Set up a toned canvas. Place blocks of color and blend directly on the surface with a filbert to create a sky or simple landscape. Restrict your palette to three colors to focus on technique.
Troubleshooting
Too much mixing will muddy colors. Work with a controlled palette and make deliberate choices about where to blend and where to preserve fresh marks.
Technique 9 — Wet-on-dry
You will use wet-on-dry for precise layering, sharp edges, and controlled color application. It’s essential for glazes and deliberate corrections.
What it is and why it matters
Wet-on-dry means applying wet paint over a completely dry layer. This gives you predictable edges and prevents unintended blending, which is useful for corrections, crisp forms, and multi-layer effects.
Recommended brush types
Flats and filberts for edge control; rigger or liner for detailed lines.
Practice drill
Create a dry underpainting. Paint a crisp object edge with wet paint on top of the dry surface. Practice maintaining hard edges and using scumbles or glazes afterward.
Troubleshooting
If edges feather unintentionally, check drying times and humidity; ensure underlayer is fully dry before layering.
Technique 10 — Stippling and pointillism
You should master stippling to build texture, halftones, and optical color mixing. This dot-based technique is precise and time-intensive but highly controlled.
What it is and why it matters
Stippling uses dots or very short dabs of paint to build form and value. When placed closely, these marks create optical blends. It is useful for textures like fur, foliage, and grain.
Recommended brush types
Small round brushes, rigger brushes for tiny dots, and stiff small brights for textured dotting.
Practice drill
Paint a gradient using dots only. Start dense in dark areas and space dots farther apart in lighter areas. Practice varying dot sizes by adjusting pressure.
Troubleshooting
If dots become blobs, reduce load and use a pen-like motion with very small brushes.
Technique 11 — Hatching and cross-hatching with a brush
You will use brush hatching to suggest form, shadow, and direction. It is effective for linear texture and architectural rendering.
What it is and why it matters
Hatching consists of parallel strokes; cross-hatching is intersecting layers of strokes. These techniques build value through direction and density rather than continuous blending.
Recommended brush types
Flat and bright brushes for uniform strokes; rigger for fine hatch lines.
Practice drill
Create a form and hatch in one direction for midtones, then cross-hatch for darker values. Practice maintaining consistent angle and spacing.
Troubleshooting
To avoid muddy tones, keep values planned and use separate layers of dry or tacky paint so strokes retain clarity.
")
Technique 12 — Lifting out and subtractive methods (watercolor and acrylic)
You will learn to remove paint after application to create highlights and corrections. Subtractive techniques expand your problem-solving options.
What it is and why it matters
Lifting out is removing wet or dried paint to reveal lighter areas. It’s crucial in watercolor for highlights and in acrylics/oils using solvents or scraping.
Recommended brush types
Soft round brushes and clean flat brushes for blotting; natural sponge or rags in acrylic/oil; rigger or palette knife for careful scraping in thicker mediums.
Practice drill
Lay a graded wash and, while still damp, lift with a clean damp brush or blot with paper towel to create cloud highlights. For dried acrylic, re-wet or use a small damp brush to lift softened pigment.
Troubleshooting
Lifting dried pigment is harder; work while paint is still workable or use appropriate solvents cautiously on acrylics with additives.
Technique 13 — Impasto brushwork
You will manage thick paint and brush texture to create sculptural surfaces and catch real light.
What it is and why it matters
Impasto is the application of thick paint so brush marks hold shape. It creates physical texture that interacts with light and can enhance the expressiveness of a painting.
Recommended brush types
Stiff hog bristles and palette knives for thick application. Flats and brights with firm belly for controlled impasto strokes.
Practice drill
Mix paint with impasto medium and load a bright or flat. Apply thick strokes and intentionally leave ridges. Experiment with direction to show form.
Troubleshooting
If paintslumps, check the medium and support stiffness. Use impasto medium or heavier body paint and a rigid support.
Technique 14 — Sgraffito and scratching
You will add linear detail by scratching through a paint layer to reveal what’s beneath. This is useful for hair highlights, grasses, or linear accents.
What it is and why it matters
Sgraffito removes top layers to reveal the underlayer, creating precise lines or textures. It’s used for accents and controlled linear detail.
Recommended tools
Rigger or stiff liner brushes for fine scratch marks in semi-wet paint; palette knives, stylus, or the end of a brush for more pronounced sgraffito.
Practice drill
Apply a mid-tone layer, then a thin dark or light scrub. While the top layer is still tacky, drag a pointed tool to reveal the lower tone in deliberate lines.
Troubleshooting
If tool catches fibers, use thicker paint or choose a cleaner stylus. Practice to control pressure and avoid gouging the support.
Technique 15 — Fan strokes for texture
You will use fan brushes to suggest foliage, hair, and soft transitions. They are effective at creating complex textures quickly.
What it is and why it matters
Fan brushes disperse paint across multiple fine bristles in a single motion. This can suggest multiple similar strokes (like grass or hair) at once, saving time and creating rhythm.
Recommended brush types
Natural fan brushes for softer effects; synthetic fans for acrylics.
Practice drill
Use a loaded fan brush to create tree foliage in a single motion by tapping and twisting slightly. Vary pressure to create light and shadow within the foliage.
Troubleshooting
If marks look repetitive, change angle, pressure, and paint value with each stroke to avoid patterning.
Technique 16 — Washes and graded washes (watercolor)
You should master washes to control large areas of color and atmospheric perspective. They form the foundation of many watercolor paintings.
What it is and why it matters
A wash is a large, transparent application of pigment across paper. Graded washes shift from dark to light in one smooth sweep. You will use them to establish backgrounds and broad mood quickly.
Recommended brush types
Large round, mop, or wash brush made of squirrel or soft synthetic hair for consistent pigment release.
Practice drill
Load a mop with a saturated mix, place at top of paper, and pull down with steady, even strokes to create a graded wash. Practice maintaining even pigment and edge control.
Troubleshooting
If wash streaks, adjust paper angle and maintain an even pigment load. Work quickly to maintain a wet edge.
Technique 17 — Rigger and script strokes for fine line work
You will execute long, delicate lines for branches, lettering, eyelashes, and fine detailing. This skill requires steady hand and brush maintenance.
What it is and why it matters
Rigger brushes have long filaments that hold a lot of paint, enabling long continuous lines without reloading. They are essential for calligraphic gestures and hairlines.
Recommended brush types
Rigger (liner) brushes of sable or synthetic sable blend.
Practice drill
Practice drawing long continuous hairlines and curves without lifting the brush. Aim for uniform thickness and taper to a fine point.
Troubleshooting
If lines break, re-evaluate paint consistency and hold the brush like a pen using your wrist and arm for controlled movement.
Technique 18 — Combining techniques effectively
You must learn to combine techniques—glazing over dry impasto, scumbling into a graded wash, or stippling over a glaze. Combining techniques gives paintings complexity and depth.
What it is and why it matters
No single technique solves every visual problem. You will choose the right mix: a firm underdrawing, a blocked-in underpainting, impasto highlights, and transparent glazes to unify color.
Recommended workflow
Plan the painting in stages: drawing/underpainting; massing and value establishment; texture and form building (impasto/dry brushing); final glazes and highlights.
Practice drill
Create a small study that requires at least three techniques: wash background, wet-on-wet mid-ground, and impasto highlights. Assess how each technique contributes and what adjustments are needed.
Troubleshooting
If combined techniques look disjointed, simplify: restrict the number of techniques per area and unify with a repeating color or mark.
Brush selection, storage, and care
Your brushes will only perform as well as you maintain them. Proper cleaning, shaping, and storage prolong service life and ensure reliable marks.
Daily care and cleaning during sessions
Rinse frequently during sessions to prevent buildup. For acrylics, clean immediately; for oils, use solvent followed by soap and water.
Deep cleaning and reshaping
Use gentle brush cleaner or mild soap to remove residual pigment. Reshape the tip with your fingers and dry horizontally or tip-up to prevent water from loosening the ferrule.
Storage and longevity
Store brushes upright in a jar or horizontally in a box once dry. Avoid leaving brushes bristle-down or soaking in water for extended periods, especially wooden-handled brushes.
Troubleshooting common brush problems
- Splayed tips: use cleaner and reshape while damp; if permanent, retire the brush to rough-texture work.
- Ferrule looseness: avoid soaking handles and store properly.
- Loss of spring: natural hair can lose spring if over-soaked or abused; rotate usage and dry correctly.
Choosing brushes by medium and budget
You will tailor brush purchases to your medium and practice budget.
Recommendations by medium
- Watercolor: invest in quality sable or sable blends for detail and mop brushes for washes.
- Acrylic: synthetic brushes with good snap are cost-effective. Keep a few natural brushes for glazing techniques.
- Oil: hog bristle for impasto; sable blends and soft filberts for glazing and portrait work.
Budget strategies
Start with a few good brushes covering key sizes and shapes (large round/mop, medium filbert, medium flat, small round, rigger). Add specialty tools as you identify needs.
Practice regimen to master techniques
Deliberate practice builds muscle memory and visual judgement. Structure your practice to focus on one technique per session and combine them periodically.
Suggested weekly plan
- Day 1: Loading and pressure control drills; hairlines and rigger practice.
- Day 2: Edge control, blending, and feathering exercises.
- Day 3: Textures — dry brush, fan strokes, and stippling.
- Day 4: Layering — glazing, scumbling, and wet-on-dry practice.
- Day 5: Wet-on-wet and alla prima pieces.
- Day 6: Washes and graded washes (watercolor focus).
- Day 7: Study and combine three-to-four techniques into a small finished study.
Measuring progress
Keep a sketchbook of technique studies. Date entries and note time spent. Revisit earlier studies to compare improvement and identify persistent issues.
Troubleshooting common painting problems
You will encounter recurring issues as you practice. Here are practical fixes:
- Muddy colors: limit palette, clean brush between complementary colors, plan chroma.
- Hard edges where not wanted: use clean damp brush to soften; control drying times.
- Splayed brushes: deep-clean and reshape; reserve splayed brushes for textured effects.
- Paint sliding or pooling: check viscosity and support absorbency; use sizing or ground appropriate for medium.
Final exercises and projects
You should apply learned techniques to projects that mimic professional practices: quick studies, plein-air pieces, and focused portrait or still-life studies.
- 15-minute color/gesture studies using wet-on-wet and a limited palette.
- 1–2 hour texture study focusing on foliage, fabric, or wood using dry-brush, fan, and stippling.
- 4–8 hour small finished piece applying layering (underpainting, impasto, scumble, glaze) to practice workflow.
Conclusion
You will accelerate your control and artistic voice by deliberately practicing the brush techniques described here. Mastery comes from purposeful repetition, thoughtful brush selection, and careful maintenance. Use the recommended drills and projects to build muscle memory and visual discernment. Over time, your brushwork will reliably express the ideas you intend and elevate the overall impact of your paintings.