Which specific tools will give you the most consistent, repeatable results when marbling paint for different surfaces and projects?
Best Tools For Marbling Paint Projects

Introduction
Marbling paint is a versatile decorative technique that can be adapted to paper, fabric, nails, ceramics, and three-dimensional objects. You will achieve far better results when you choose tools that match your chosen marbling method, your materials, and the scale of your projects.
This article gives you an organized, practical guide to the best tools for marbling paint projects, how they work, what to look for when you buy them, and how to maintain them for reliable results.
What is marbling and why tools matter
Marbling is the process of manipulating pigments on a carrier (commonly water or a viscous medium) so that the pattern can be transferred to a surface. The visual quality, edge definition, and repeatability of a marbled pattern depend as much on your tools as on the paints and media.
Good tools help you control paint flow, pattern formation, and transfer. They also reduce waste and maintenance time, letting you focus on creative outcomes instead of troubleshooting avoidable problems.
Common marbling techniques
Marbling appears in several distinct techniques, each requiring different equipment and materials. Knowing which technique you want to do determines which tools you should prioritize.
Paper marbling
Paper marbling typically uses a tray of thickened water (size) and pigment or marbling inks. You will use combs, styluses, and droppers to create patterns before laying paper onto the surface. The process favors shallow trays, wide stirring tools, and absorbent paper that has been treated with mordant.
Fabric marbling
Fabric marbling is similar to paper marbling but needs mordant-treated fabric and usually a larger tray. The fabric must be pre-washed and often sized with alum to help pigments adhere. Tools for fabric marbling need to be durable, washable, and large enough to manipulate patterns across the textile.
Hydro dipping / marbling for objects
Hydro dipping (water transfer printing) is used for three-dimensional items. You will use a larger vessel, adhesion promoters or PVA, and tools to wrap and water-transfer the pattern around the object. Timing and surface preparation are critical, so you need tools for precise handling.
Acrylic pouring marbling
Acrylic pouring (sometimes used to simulate marbling) uses acrylic paints with pouring mediums. You will often use cups, palette knives, and silicone additives to create cells and marbled effects. Control comes from pouring technique, rather than combs or styluses.
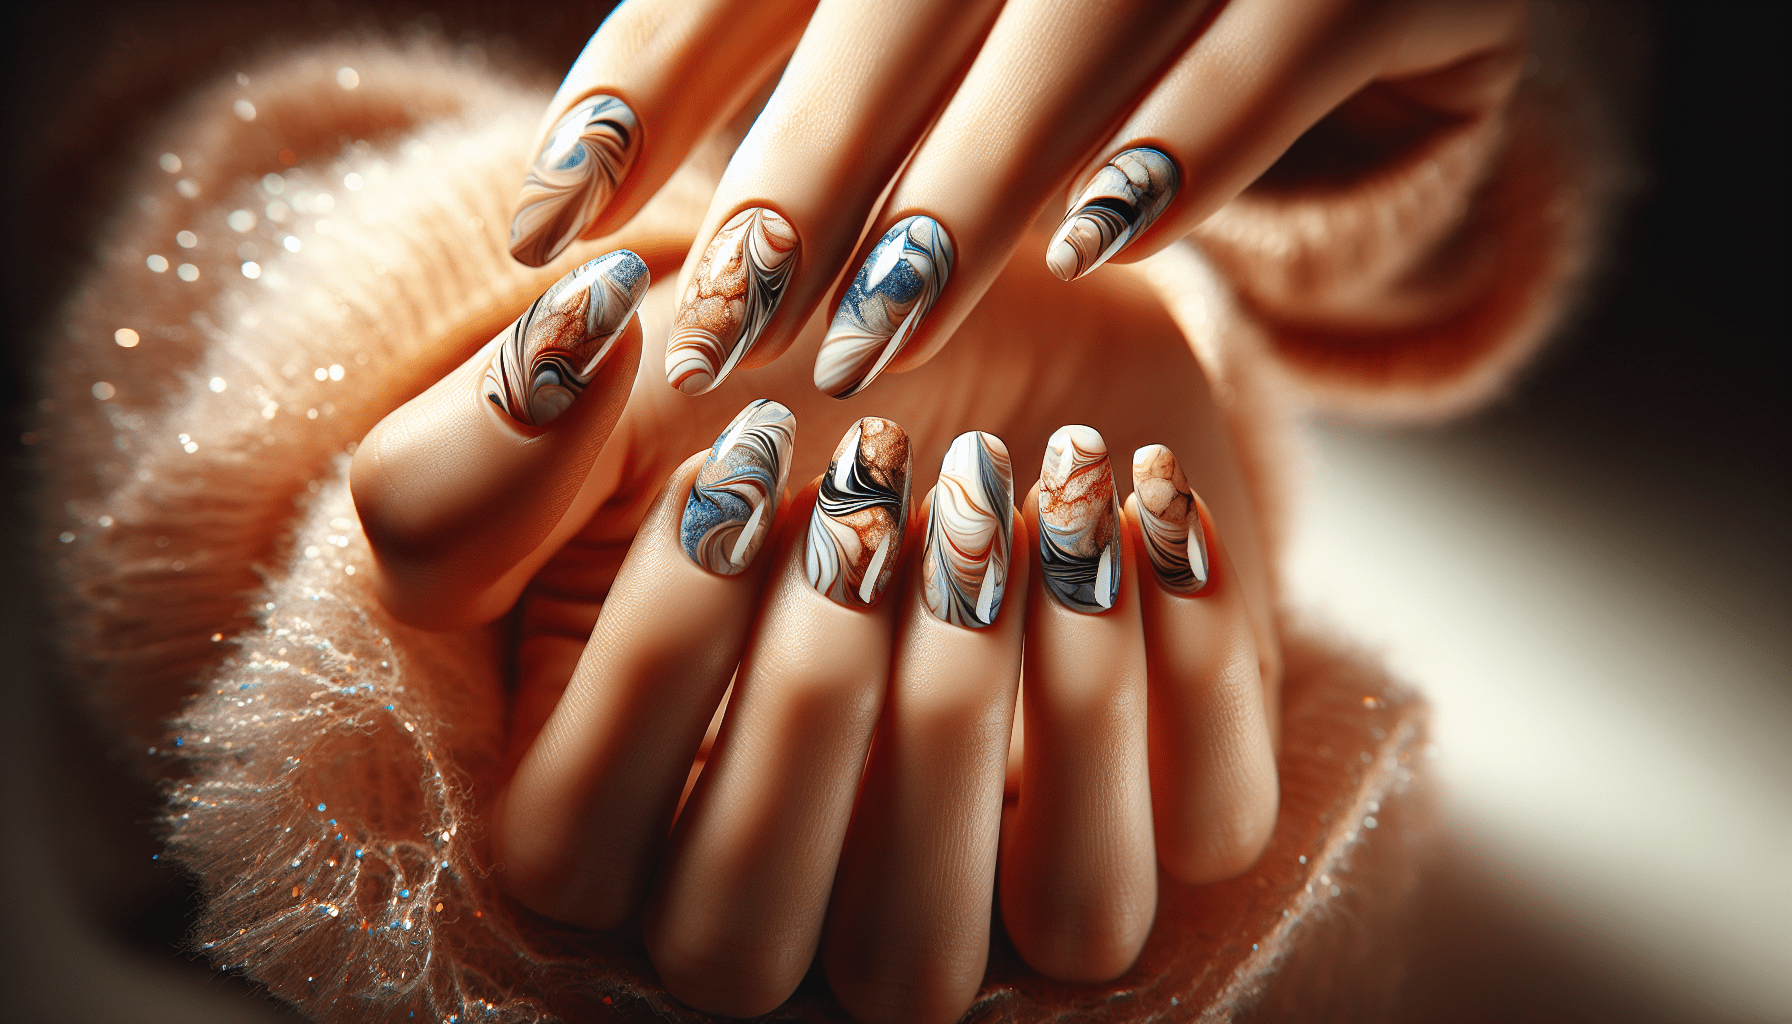
Nail marbling
Nail marbling uses small cups, quick-setting polishes, and pins or toothpicks to create tiny patterns that are then transferred to nails. You need very small droppers, a narrow container, and fast-drying control.
Core materials and their roles
Understanding core materials helps you choose appropriate tools. Each material interacts with tools in a predictable way.
- Size (thickened water): Carrageenan, methylcellulose, or carrageenan blends are common. Size holds paint on the surface long enough for patterning and transfer. You will measure and mix it accurately with measuring tools and mixers.
- Paints and inks: Marbling inks, acrylics, or specialized hydrographic films are chosen for their surface tension and pigmentation. Droppers and pipettes help you place precise amounts.
- Mordants and fixatives: Alum is commonly used for paper and fabric pre-treatment. Fixatives or clear topcoats help set the final design and may require brushes or spray systems.
- Surfactants and additives: Wetting agents, ox gall, or dispersants change how paint spreads. You will handle them with small droppers and calibrated pipettes.
Essential tools every marbler needs
Certain tools are indispensable across marbling techniques. These fundamentals provide control over paint application, pattern manipulation, and transfer.
- Tray or basin: A shallow, flat tray larger than your substrate is essential for pattern formation and transfer.
- Measuring and mixing equipment: Scales, graduated cups, spoons, and mixing sticks let you reproduce sizes and paint dilutions reliably.
- Dropper, syringe, or pipette: These give precise placement of color on the liquid surface.
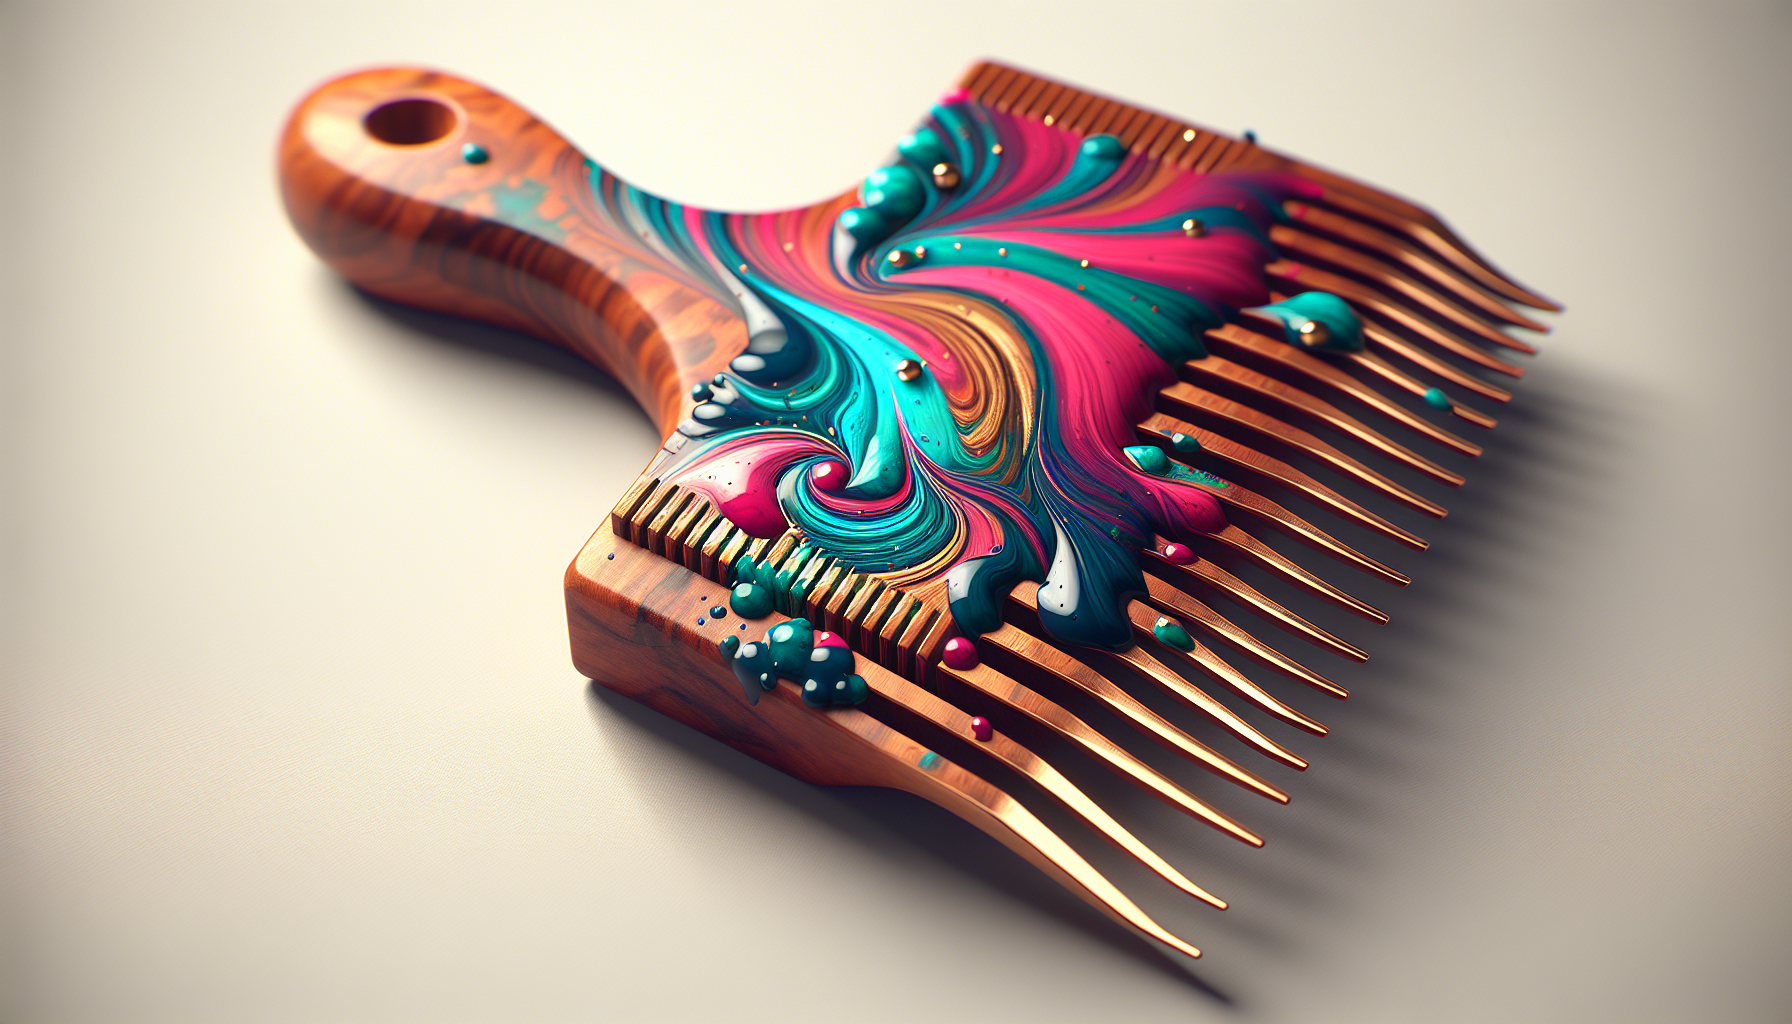
- Combs and rakes: Create repeated linear patterns and cells by dragging across the surface.
- Stylus, needle, or skewer: For fine control and drawing lines or delicate pattern details.
- Brushes and foam applicators: For applying fixatives, alum mordants, or touch-ups.
- Gloves, apron, and protective covers: Protect your workspace and skin from stains and chemical exposure.
- Drying rack and blotting materials: For gentle drying, especially with paper and fabric transfers.
- Cleaning supplies: Rags, distilled water, mild solvents (if you use solvent-based paints), and dishwashing brushes to clean trays and tools.
Table: Essential tools, purpose, and recommended features
| Tool | Purpose | Recommended features |
|---|---|---|
| Tray/Basin | Holds the size or water for patterning | Smooth interior, chemical-resistant, size larger than substrate |
| Measuring scale/cups | Accurate recipes for size and paint mixes | Digital scale (g increments), clear graduated cups |
| Dropper/Pipette/Syringe | Place paint drops on surface | Glass or plastic with fine control; syringes for larger volumes |
| Combs/Rakes | Create repeating patterns and waves | Stainless steel or plastic with variable teeth spacing |
| Stylus/Needle | Draw fine lines, make islands or swirls | Corrosion-resistant, comfortable grip |
| Brushes/Foam | Apply mordant or fixative, touch-ups | Synthetic fibers for water-based media; solvent-resistant for solvent paints |
| Gloves/Apron | Personal protection | Nitrile gloves; washable or disposable aprons |
| Drying rack | Safe space for drying transfers | Adjustable, multi-level, well-ventilated |
| Cleaning brushes | Remove paint residue | Soft bristle and stiffer bristle options |
Tools by marbling technique
Different techniques require emphasize different tools. The table below gives you a quick reference, and the following subsections describe important distinctions.
Table: Recommended tools by marbling technique
| Technique | Must-have tools | Helpful extras |
|---|---|---|
| Paper marbling | Tray, marbling inks, droppers, combs, alum, absorbent paper, stylus | Spray bottle (water), blotting paper, drying rack |
| Fabric marbling | Large tray, alum mordant, fabric-compatible paints, wide combs, tongs | Squeeze bottles, paddle for smoothing, larger drying area |
| Hydro dipping | Large tub, PVA or film, adhesion promoter, masking tape, gloves | Heat gun (for curing PVA), clamps, respirator |
| Acrylic pouring marbling | Cups, pouring medium, silicone, palette knives | Heat gun/torch (for cells), turntable |
| Nail marbling | Small cup, quick-dry polish, toothpicks/pins, finger clip | Latex or silicone nail stencil, topcoat spray |
Paper marbling: tools and tips
Paper marbling is the classic form requiring a shallow tray, marbling inks, combs, and alum-treated paper. Use fine droppers for precise placement and a stylus for delicate lines. Paper quality matters: pick a heavyweight, absorbent paper that has been sized for best transfer.
Fabric marbling: tools and tips
For fabric, scale up your tray and use a thorough mordant application (alum) to ensure adhesion. Use wide combs and long-handled tools so you can manipulate patterns across the whole textile. Consider hang-drying racks and weighted clips to keep the fabric flat while drying.
Hydro dipping: tools and tips
Hydro dipping for three-dimensional objects requires a larger tank and careful surface preparation. PVA films or specialized hydrographic films are commonly used; you will also need adhesion promoters for some substrates. Tools such as long-handled grippers and masks are useful for handling objects without smudging.
Acrylic pouring marbling: tools and tips
Acrylic pouring methods that mimic marbling depend on pouring medium, cups, silicone, and tilting tools. A turntable or tilt platform helps you control flow across the canvas. Small torches are used to pop air bubbles and generate cells.
Nail marbling: tools and tips
Nail marbling is a scaled-down process requiring tiny cups, fast-drying polish, and pins or thin styluses. Using a finger clamp or holder helps you keep nails steady while you transfer the pattern. Quick-dry topcoats and UV lamps (for gel systems) help set the design quickly.
Detailed look at marbling tools and how to use them
This section details individual tools, why they matter, and selection considerations.
Trays and basins
Choose a tray deep and wide enough to accommodate your substrate with room to move the pattern. Shallow trays (1–3 inches deep) are typical for paper; deeper trays are used for larger objects. Non-porous materials like acrylic, stainless steel, or food-grade plastic are easiest to clean. Avoid materials that react with chemicals or absorb pigments.
Measuring tools and mixers
Accurate measurement results in consistent size and paint behavior. Use a digital scale for powders and liquids, and graduated cups for quick measurements. For mixing sizes like carrageenan or methylcellulose, a whisk or magnetic stirrer gives a smoother result. Heating may be required; use an appropriate heat source and thermometer.
Droppers, syringes, and pipettes
These tools are your primary means of placing color. Glass droppers offer chemical resistance and precision, while plastic syringes are inexpensive and disposable if you use messy pigments. Choose a nozzle size that matches how delicate you want the drops to be.
Combs, rakes, and pattern makers
Combs and rakes create repeated linear patterns and control the scale of waves and swirls. They come with adjustable tooth spacing and varying tooth shapes. For organic patterns, use a single comb; for geometric or repeated motifs, use multi-tooth rakes. Clean them immediately after use to avoid paint build-up.
Stylus, needles, and skewers
A stylus or marbling needle lets you draw and drag patterns at a finer scale than combs allow. Choose corrosion-resistant metals with comfortable handles. For delicate adjustments during transfer, a wooden skewer or plastic pick is a quick option.
Brushes and foam applicators
You will use brushes to apply alum or fixatives and foam applicators for spreading a thin even film of paint when needed. Choose synthetic brushes for water-based media and solvent-resistant filaments for solvent-based paints.
Spatulas and palette knives
These tools are useful for mixing paints and scraping excess from trays. Flexible metal spatulas with rounded tips help lift paper gently.
Tongs, clamps, and handling tools
For hydro dipping and fabric marbling, tongs allow you to place and lift objects with control. Use stainless steel or coated clamps to prevent staining and corrosion.
Drying and storage equipment
A foldable drying rack keeps transfers flat and dust-free. Acid-free storage paper or rolls protect finished items. Airtight containers and dark storage extend the life of light-sensitive pigments and inks.
Specialty and advanced accessories
If you plan to scale up or produce professional work, consider these advanced tools.
Adjustable comb systems and custom teeth
Professional marblers often use modular comb systems that allow custom tooth spacing and shapes. These systems boost control and reproducibility for complex patterns.
Turntables and spinning platforms
A turntable can create circular centrifugal marbling patterns. Use a robust, chemical-resistant platform for larger canvases and objects. For nails, a small rotary holder facilitates continuous motion.
Airbrushes and aerosol sprayers
Airbrushing can add subtle gradients or tints on top of a marbled surface. Use them in a ventilated area and choose a model that accepts the type of paint you use.
Ultrasonic cleaners and soak baths
These help you remove dried pigments from metal combs and small metal tools. Soak in an appropriate solution (per manufacturer’s safety guidelines) rather than scraping, which can damage tooth edges.
Precision dispensers and automatic droppers
For production consistency, automated dispensers deliver the same drop volume every time. These systems reduce waste and speed up repetitive tasks.

Tool selection: what to look for
Selecting the right tool is as much about materials and ergonomics as it is about price.
- Durability: Choose stainless steel or high-grade plastics for combs and tools that contact solvents or heavy use.
- Chemical resistance: Ensure plastics or coatings will not dissolve in your inks or additives.
- Cleaning ease: Smooth surfaces without crevices are easier to clean and less likely to trap pigments.
- Ergonomics: Comfortable grips and light weight reduce fatigue during long sessions.
- Scalable sizing: When possible, pick tools that scale with project size (e.g., adjustable combs).
- Reproducibility: Measuring instruments and dispensers that give repeatable results are invaluable if you create multiple items with the same pattern.
Cleaning, maintenance, and storage
Proper care keeps tools functioning well and prevents contamination between colors and projects.
- Clean immediately after use: Many pigments dry and harden quickly; cleaning promptly is much easier.
- Use the right solvent: Water for water-based paints, isopropyl alcohol for some inks, and appropriate solvents for solvent-based paints—always follow safety data sheets.
- Avoid abrasive scrubbing: Soft brushes and non-abrasive pads preserve comb teeth and stylus tips.
- Label and store: Keep pigments and additives labeled and stored by type to prevent accidental mixing.
- Routine inspection: Check comb teeth and stylus tips regularly for damage and replace worn items.
Safety and workspace setup
Marbling involves chemicals and aerosolized particles in some cases. A safe setup prevents health risks and preserves your environment.
- Ventilation: Work in a well-ventilated area, especially with solvent-based media or sprays.
- PPE: Use nitrile gloves, safety glasses, and respirators when needed. Choose the appropriate cartridge for organic vapors if you use solvent-based products.
- Surface protection: Lay a protective layer on your workbench and floor to catch spills.
- Waste disposal: Follow local regulations for disposal of chemical wastes and contaminated materials.
- Fire safety: Keep solvents away from heat sources and have fire extinguishing means available.
Troubleshooting common problems and tool-based fixes
Tools rarely cause creative failures by themselves, but they influence outcomes. Here are common issues and tool-focused solutions.
- Paint sinks instead of floating: Use more surface-active marbling inks, adjust size viscosity with measured increments, or use a finer droplet with a smaller pipette tip.
- Weak or broken patterns upon transfer: Ensure your paper or fabric is properly prepared (mordanted), use a gentler lift with spatula or tongs, and avoid underwater agitation during pick-up.
- Uneven lines after combing: Use a comb with consistent tooth spacing and a steady, level pull. Replace bent or worn comb teeth.
- Excessive feathering or spread: Reduce the amount of surfactant, use smaller drops, or slightly increase size viscosity.
- Paint build-up on combs or stylus: Clean immediately with appropriate solvent and dry thoroughly. Consider using non-stick coatings if you repeatedly work with stubborn paints.
Project planning and tool checklists
Plan tools around project type so you don’t overspend on items you won’t use.
Beginner paper marbling checklist
- Tray/basin
- Marbling inks
- Droppers/pipettes
- Small comb and stylus
- Alum for papers
- Heavyweight absorbent paper
- Gloves and apron
- Drying rack and blotting paper
Intermediate fabric marbling checklist
- Large tray
- Fabric paints compatible with mordant
- Alum and fabric pre-treatment equipment
- Wide combs and long-handled stylus
- Tongs and large drying space
- Heat source for fixing (if required)
Professional hydro dipping checklist
- Large tank or tub
- Hydrographic film or PVA
- Adhesion promoter and curing tools
- Long-handled clamps and grippers
- Respirator and full PPE
- Touch-up brushes and sealing topcoat
Budget vs professional choices
You can start marbling on a budget using basic tools but upgrade selectively.
- Budget options: Reusable food trays, plastic droppers, wooden skewers, and household measuring cups. These work for experimentation and learning patterns.
- Mid-range options: Stainless steel combs, glass droppers, digital scales, and specialized marbling inks. These improve reproducibility and cleanup.
- Professional options: Custom adjustable comb systems, automated dispensers, large workstations, and industrial mixing equipment for large-scale fabric marbling or hydro dipping. These reduce labor time and increase uniform quality.
Recommended materials and paint choices
Your choice of pigment or ink directly affects the tools you need.
- Marbling inks: Designed to float and spread correctly; ideal for paper and many fabrics. They often need little modification.
- Acrylics: Versatile, but require dilution with a pouring medium or surfactant for float behavior. You will use mixers and appropriate droppers.
- Fabric paints: Specifically formulated for textiles; pick ones compatible with your mordant and fixing method.
- Hydrographic films and PVA: Use with heat-curable or water-soluble adhesives. These require large tubs and precise handling tools.
Frequently asked questions
This short FAQ addresses recurring practical concerns.
Q: How large should my tray be? A: It should be larger than your substrate in all directions, giving you at least 1–2 inches of working margin around the edges. For yardage of fabric, use a tray several inches wider than the fabric width.
Q: Can I use household items as tools? A: Yes. Many household items (dropper bottles, skewers, plastic combs) work as entry-level tools. For longevity and finer control, upgrade to quality materials.
Q: How do I prevent colors from contaminating each other? A: Clean tools between colors, use separate droppers for different pigments if necessary, and avoid dragging a contaminated comb across a fresh area.
Q: What are the best cleaning solvents? A: Water for water-based media, isopropyl alcohol for many inks, and manufacturer-recommended solvents for solvent-based paints. Always check safety and compatibility.
Conclusion
Marbling paint projects reward careful tool selection and thoughtful workspace setup. When you match your tools to the technique—paper, fabric, hydro dipping, acrylic pouring, or nail art—you gain control over pattern scale, edge definition, and transfer reliability. Focus first on fundamental tools: a good tray, accurate measuring devices, precise droppers, and one or two patterning implements. Upgrade to specialized combs, turntables, or automated dispensers as your needs and production scale grow.
With the right tools, consistent maintenance, and appropriate safety practices, you will achieve predictable, high-quality marbled results across a wide range of surfaces and applications.