? Have you ever wondered how two techniques that look similar at first glance can produce such different results and require distinct tools, skill sets, and materials?

Oil Marbling Vs Water Marbling: What’s The Difference?
You will use this article to compare oil marbling and water marbling in a comprehensive, practical way. You will learn definitions, history, materials, step-by-step workflows, advantages and disadvantages, troubleshooting tips, safety concerns, and application-specific recommendations. The goal is that after reading, you will be able to choose the right method for your project and execute it with confidence.
What is Marbling in General?
You need a clear, general definition before comparing specific techniques. Marbling broadly refers to surface-decoration methods that create swirled, veined, or stone-like patterns by manipulating liquids and pigments on a substrate.
You will find marbling commonly used on paper, textiles, ceramics, and fingernails. The behavior of pigments and the nature of the carrier medium define whether the technique is classified as oil or water marbling.
Core Principles of Marbling
You should understand four core principles: immiscibility, surface tension manipulation, pigment behavior, and transferability. These govern how patterns form and how well they transfer to a chosen substrate.
You will repeatedly employ techniques that rely on layering, manipulating, and transferring paints. Control of physical properties like viscosity and surface tension determines pattern detail and stability.
Brief History and Cultural Context
You will appreciate how historical practices inform modern techniques and materials. Traditional paper marbling dates back centuries in regions such as Central Asia, the Middle East, and Japan, each developing unique styles and chemical approaches.
You will also find that oil and water marbling evolved along different cultural and material lines—Suminagashi (Japanese ink marbling) uses ink on water, while Western marbling often used oil or varnish-based paints on sized baths.
Definitions: Water Marbling
You will need to know that water marbling uses a liquid base—often water modified with a surface-size or thickening agent—so that paints can float and be manipulated on the surface. The carrier solution is engineered to support pigments and allow controlled spreading.
You will see water marbling in traditional paper marbling, textile marbling (e.g., marbled silk), and contemporary nail art. The medium permits fluid, delicate patterns and is sensitive to changes in temperature and water chemistry.
Definitions: Oil Marbling
You will understand that oil marbling exploits the immiscibility of oil and water or uses oil-based paints and solvents that do not mix with water. In some oil marbling applications, oil paints are floated on water or on an oil-compatible medium to build patterns.
You will notice that oil marbling often produces bolder, more saturated colors and stronger separation between elements. The chemical differences change how pigments spread, blend, and adhere to substrates.
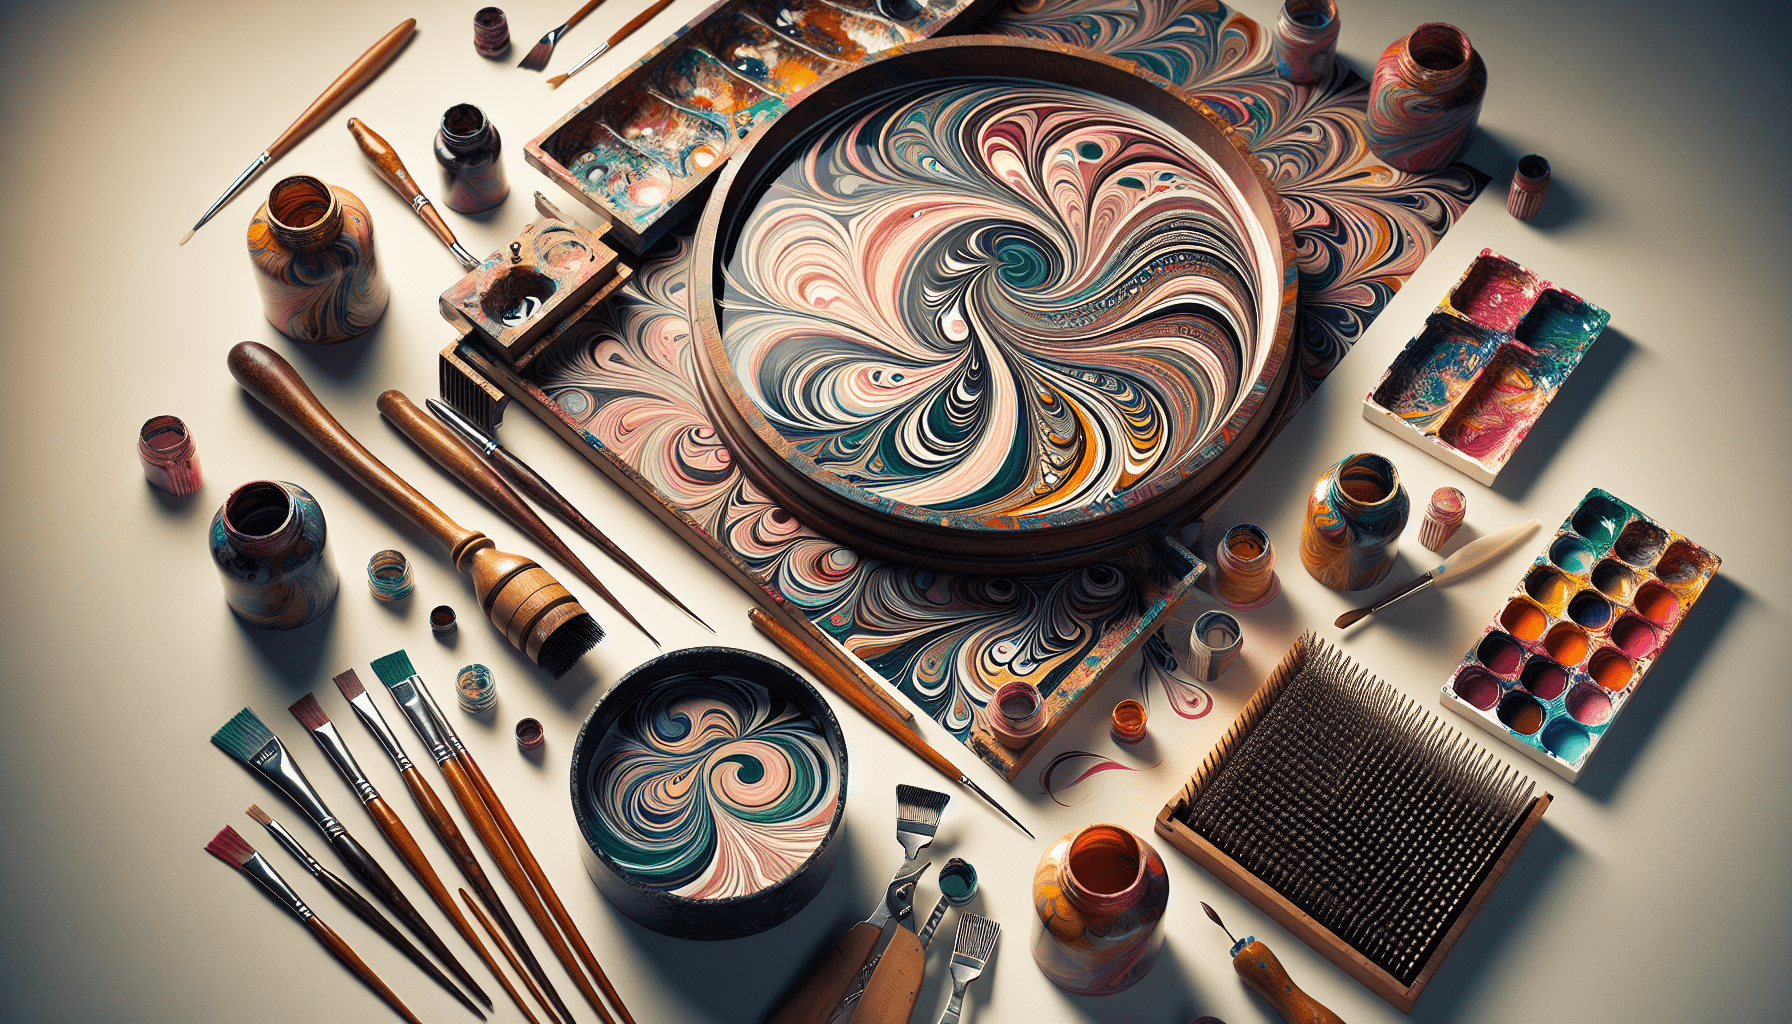
Materials and Supplies — Water Marbling
You will choose materials that help paints float and respond predictably. Typical items include a shallow tray, distilled water, a thickening agent (such as carrageenan, methylcellulose, or size), water-based paints or inks, droppers or brushes, styluses or combs, and paper or textile for transfer.
You will need to control water quality, pH, and temperature to get consistent results. Distilled water is preferred because it minimizes dissolved minerals that change surface tension.
Materials and Supplies — Oil Marbling
You will select materials that maintain distinct floatation and do not mix with each other. Typical supplies include a shallow tray or basin, clean water (sometimes combined with an oil layer), oil-based paints or mineral oils, solvents if using traditional oil paints, droppers or pipettes, combs, and the substrate (paper treated for oil adhesion, canvas primed for oil, or nails sealed after application).
You will also consider safety equipment, since solvents and mineral oils can be hazardous. Good ventilation, gloves, and appropriate disposal methods are essential.
Surface Preparation and Compatibility
You will prepare your substrate differently depending on the technique. For water marbling, you often use absorbent papers that are sized to enable proper transfer, or you treat fabric with a mordant or fixative. For nail art, you will prep the nail plate with a base coat that allows paint adhesion.
You will prepare surfaces for oil marbling by priming or sizing with materials compatible with oil-based media. For paper, you may apply alum or a light sizing coat to ensure the oil adheres rather than beads off.
Basic Chemistry and Physics
You will need a basic grasp of why the techniques behave differently. Water marbling relies on surface tension gradients and the interplay of hydrophilic and hydrophobic forces. When you add a droplet of paint to a sized bath, it spreads until surface forces equilibrate or until you manipulate it.
You will see that oil marbling depends on immiscibility between oil and water, viscosity contrasts, and sometimes solvent evaporation. Oil pigments may spread more slowly and remain more cohesive, allowing for different patterning strategies.
Role of Surface Tension in Water Marbling
You will use surface tension adjusters (surfactants) or thickeners to control paint spread. Some paints are formulated to float on a sized surface because they have higher surface tension than the bath; others need additives.
You will manipulate surface tension with alcohols or surfactants in nail art, but you must use sparingly as they may cause colors to break or sink if overapplied.
Role of Immiscibility and Viscosity in Oil Marbling
You will exploit the natural separation of oil and water to maintain strong boundaries between color areas. Viscosity controls how readily oil droplets spread and merge; thicker oils hold form better while thinner oils allow more feathering.
You will often use solvents to thin oil paints for certain effects, but you must account for evaporation rates, which can change the pattern after you begin to manipulate it.
Step-by-Step Process — Water Marbling (Paper)
You will follow a structured process to achieve reliable results. First, prepare your bath with distilled water and the chosen thickener according to manufacturer directions. Stir slowly to avoid bubbles and allow the bath to rest until bubbles dissipate.
You will then load paints onto the surface using droppers or brushes; the paints should float and spread into concentric rings. Use combs, styluses, or brushes to orchestrate patterns, and transfer the design by laying the prepared paper gently onto the surface. Lift slowly and rinse or air-dry according to the effect desired.
Step-by-Step Process — Water Marbling (Textiles)
You will pre-treat fabric with a mordant or fixative (often alum) and let it dry. Float paints on a sized bath and manipulate them as you would for paper. Lay the fabric onto the pattern smoothly using a gentle rolling motion to avoid trapping air pockets, then rinse and set colors with heat if required.
You will expect that textiles will absorb pigments differently and that shrinkage or distortion may occur during rinsing and drying. Test swatches help set expectations and reduce wasted materials.
Step-by-Step Process — Oil Marbling
You will set up a tray of water and, where applicable, create a thin oil layer for color application. Dispense oil-based pigments or mineral oil-dispersed pigments onto the surface. The colors will remain more cohesive and will not spread in the same way as water-based paints.
You will manipulate the oil using combs, styluses, or even air movement to create veins and cells. Transfer processes vary: for paper, you may spray the substrate with a light adhesive or use specially prepared paper that picks up oil. For canvas or wood, you may apply the oil design directly and allow it to penetrate or be fixed.
Variations: Floating Oil on Water Versus Layered Oil
You will sometimes float oil paints directly on a water surface, but more commonly you will work within a medium specifically designed for oil marbling. Layering different oils and solvents lets you control drying and flow; slower-drying oils allow more manipulation while fast solvents create immediate texture.
You will need to experiment to strike the right balance between workability and stability for the pattern you want.
Pattern-Making Techniques
You will employ specific tools and gestures to achieve characteristic designs. Common patterning methods include concentric drops (target), raking (combing), stone or spot patterns, swirl and nonpareil, and varieties of Turkish or suminagashi styles.
You will combine tools such as combs, rakes, styluses, brushes, and air blowers to produce gradients, feathered lines, and cells. The technique choice depends on medium, pigment characteristics, and desired aesthetics.
Suminagashi and Traditional Water Styles
You will recognize Suminagashi for its delicate flow and feathered concentric rings created with sumi ink and minimal thickeners. Traditional Western marbling often yields bolder, more geometric patterns through combing and raking.
You will adapt historical techniques with modern materials to achieve similar visual effects with greater consistency.
Oil-Specific Pattern Effects
You will notice that oil marbling creates stronger boundaries and sometimes larger, rounder cells due to the surface film properties. Marbling with oil often yields more pronounced textures and can be layered to create chiaroscuro-like depth.
You will achieve distinct textural richness with oil techniques that is harder to replicate with water-based baths.
Color Behavior and Color Mixing
You will anticipate that pigments interact differently with the carrier medium. Water-based pigments often spread and intermix rapidly, producing soft blends and gradients. Oil pigments maintain saturation and edge definition, producing crisp separations.
You will choose pigments with appropriate opacity and particle size for each technique. Transparent and semi-transparent pigments behave differently in marbling, affecting layering and the final color relationships.
Color Theory Applied to Marbling
You will use basic color theory to manage contrast, temperature, and harmony. Complementary contrasts create striking veins, while analogous palettes produce subtle marble-like transitions. Consider how base colors will overlay and whether you want a dominant ground color or a more evenly distributed pattern.
You will also consider optical effects produced by layering translucent pigments, which can simulate depth similar to natural stone.
Transfer and Fixing Techniques
You will learn that successful transfer depends on timing, substrate readiness, and application technique. In water marbling, you will transfer by gently contacting the substrate to the paint surface, then rinsing off residual size. In oil marbling, transfer might use adhesive primed paper, or you may work the design directly on a surface that will accept oil.
You will lock in water-marble colors with fixatives or heat-setting when working on textiles; for oil-marble works, you will apply varnish or a protective topcoat after the oils have cured.
Drying, Curing, and Finishing
You will allocate adequate drying times depending on the medium. Water marbling dries quickly for papers and textiles but may require heat-setting for some pigments. Oil marbling requires longer curing times and careful handling to avoid smudging; drying can take days to weeks depending on pigment binders and thickness.
You will finish pieces with sealants appropriate to the base: water-based varnishes for aqueous pieces, and solvent-based varnishes for oil pieces. Choose finishes with UV protection if longevity is a priority.
Comparison Table: Quick Reference
You will find that a side-by-side comparison clarifies major differences. The following table summarizes key attributes.
| Attribute | Water Marbling | Oil Marbling |
|---|---|---|
| Carrier medium | Water with size/thickener | Oil or oil floats on water |
| Typical pigments | Water-based inks, acrylics | Oil paints, mineral oil pigments |
| Surface tension role | Critical for float and spread | Immiscibility and viscosity dominant |
| Pattern quality | Delicate, feathered, soft blends | Bold, high-contrast, crisp edges |
| Drying time | Fast (minutes–hours) | Slow (days–weeks) |
| Substrates | Paper, textiles, nails | Paper (treated), canvas, wood, nails (sealed) |
| Health & safety | Generally low hazard (with ventilation) | Higher hazard due to solvents; ventilation required |
| Environmental concerns | Biodegradable thickeners available | Disposal of oils and solvents needs care |
| Ease for beginners | Relatively easy to learn basic techniques | Steeper learning curve for control |
You will use this table as a decision aid when selecting a method for your project.

Advantages and Disadvantages — Water Marbling
You will appreciate that water marbling offers speed, ease of cleanup for certain materials, and affordability for beginners. The method works well for large-scale, light applications and produces delicate, organic patterns.
You will also note its limitations—less permanence without fixing, sensitivity to environmental factors, and sometimes less predictable results on non-absorbent surfaces.
Advantages and Disadvantages — Oil Marbling
You will value oil marbling for rich color saturation, longevity, and distinct patterning possibilities. The technique offers robust results for archival applications and fine art.
You will accept the downsides: longer drying times, potentially hazardous solvents, and greater preparation and cleanup complexity.
Applications and Use Cases
You will select techniques based on end use. Use water marbling for book endpapers, affordable textile prints, and fast nail art. Choose oil marbling for gallery-quality pieces, artworks that need long-term stability, or projects where rich, defined lines are essential.
You will also combine techniques creatively: some artists use water marbling as an underlayer and add oil-based highlights later, or vice versa, to exploit the strengths of both methods.
Nail Art Considerations
You will know that nail marbling often uses water marbling with acrylics or specialty nail paints because of quick drying and ease of cleanup. Oil marbling requires additional sealing to avoid transfer to clothing or skin.
You will adapt techniques to the small scale of nails by using fine droppers, thin brushes, and quick-setting topcoats.
Troubleshooting Common Issues — Water Marbling
You will encounter sinking paint, excessive spreading, or poor transfer if you do not control water quality, size concentration, or paint formulation. Sinking often indicates that the paint’s surface tension is too low or that the bath is contaminated.
You will mitigate issues by testing paint flotation on a small scale, adding a surfactant sparingly, and maintaining clean water and tools.
Troubleshooting — Oil Marbling
You will face problems such as unresolved blending, slow drying, or solvent clouding if you misjudge viscosity or solvent concentration. If oils remain tacky, you may need additional cure time or a different binder system.
You will test small batches and adjust oil viscosity using appropriate thinners to achieve predictable flow.
Safety, Health, and Environmental Concerns
You will prioritize safety because both techniques can present hazards. For water marbling you will still avoid ingestion and skin sensitizers and dispose of sizing agents responsibly. For oil marbling you will ensure ventilation, use chemical-resistant gloves, and limit exposure to solvents and VOCs.
You will also consider environmental impacts: prefer biodegradable thickeners, capture and dispose of oil-based waste properly, and follow local regulations for solvent disposal.
Clean-Up and Waste Management
You will clean water-based materials with soap and water, and consider whether your thickener can be returned to the environment safely. Contaminated bath water should be filtered and disposed of according to local guidelines if pigments are hazardous.
You will handle oil residues and solvent wastes as hazardous material. Use sealable containers for used solvents and consult local hazardous-waste protocols for disposal.
Storage and Longevity of Materials and Finished Work
You will store paints and sizes in airtight containers and avoid temperature extremes. Water-based sizes may develop microbial growth, so add preservatives if you plan long-term storage, or prepare fresh batches for critical work.
You will expect oil-marble works to take longer to fully cure; store them flat in a dust-free, ventilated space. Apply UV-resistant varnish for pieces exposed to sunlight.
Advanced Techniques and Experimental Approaches
You will try mixed-media approaches that combine water and oil marbling for layered depth. You will experiment with additives like alcohol inks, silicone droplets for cell formation, or metallic pigments for reflective accents.
You will also incorporate digital tools to previsualize color combinations and pattern repeats before committing to materials.
Cost and Time Considerations for Projects
You will budget based on material costs, workspace needs, and drying times. Water marbling can be economical for rapid production, while oil marbling demands more expensive paints and often more workspace ventilation and curing time.
You will factor in time for experimentation; proficiency requires both controlled practice and creative problem-solving.
Practical Tips to Improve Your Results
You will keep a swatch notebook to record paint brands, bath formulations, and environmental conditions for reproducibility. You will test each new pigment and substrate combination on a small scale before large projects.
You will also work methodically: prepare materials first, maintain cleanliness, and leave adequate time for curing and finishing.
Examples of Projects by Technique
You will use water marbling to produce book covers, greeting cards, scarves, and manicure art. You will use oil marbling for gallery-grade art panels, luxury stationery, and archival decorative papers.
You will also customize hybrid projects such as water-marble backgrounds with oil-marble highlights to achieve unique textures.
Choosing the Right Technique for Your Needs
You will choose water marbling when you need speed, delicate patterns, and easier cleanup. You will choose oil marbling when you require saturation, longevity, and bold separation in patterns.
You will also weigh practical constraints such as workspace ventilation, materials budget, and desired aesthetic outcomes.
Learning Resources and Practice Recommendations
You will seek instructional workshops, reputable online tutorials, and community forums that document specific recipes and troubleshooting steps. You will practice with inexpensive materials and incrementally upgrade to archival supplies as your skill grows.
You will also study historical examples to understand classic motifs and adapt those patterns to contemporary materials.
Conclusion
You will understand that oil marbling and water marbling share a common lineage but diverge significantly in materials, mechanics, and results. You will choose between them based on your project’s aesthetic goals, safety considerations, and practical constraints.
You will also appreciate that mastery comes from methodical practice, careful material selection, and attentive surface preparation. Apply the guidelines here to start controlled experiments and develop a personal workflow that suits your creative and production needs.