Have you considered how a carefully executed marble finish could transform a wooden surface while still standing up to daily use?

Marbling Paint On Wood: Preparation, Sealing & Durability
This article explains how to prepare wood, apply realistic marbling effects, seal the finish correctly, and maximize durability for long-lasting results. You will find step-by-step guidance, material recommendations, and troubleshooting tips so your marbled woodwork performs as well as it looks.
Why Choose Marbling on Wood?
Marbling produces an elegant, timeless appearance that elevates furniture, cabinetry, trim, and decorative panels without the cost or limitations of natural stone. You will be able to achieve a wide range of looks—from subtle veins to dramatic, high-contrast stones—while working on a lightweight, workable substrate.
Understanding the Substrate: Types of Wood and Their Behavior
Different wood types respond differently to primers, paints, and sealers; you must account for grain, oil content, and porosity. Proper selection and preparation of substrate are crucial to preventing adhesion failures, blotching, and uneven finishes.
Hardwoods vs Softwoods
Hardwoods such as oak, maple, and walnut have distinctive grain and may require more careful priming to avoid telegraphing grain through paint. When you work with softwoods like pine or cedar, be aware of resin pockets, knots, and variable porosity that can cause discoloration unless sealed properly.
Plywood, MDF and Engineered Wood
Sheet goods like plywood and medium-density fiberboard (MDF) offer stable, affordable substrates with fewer visible grain patterns. You should use edge sealing and an appropriate primer on plywood and MDF to prevent swelling, edge fuzzing, and paint absorption differences.
Tools and Materials You’ll Need
Having the right tools and materials improves control and reduces rework. Below is a practical list to prepare you for a marbling project.
- Sandpaper (various grits) and sanding block or random orbital sander
- Tack cloths and lint-free rags
- Degreaser or TSP substitute
- High-quality brushes (flats, filbert, liner brushes), feathering brushes, and fans
- Sponges, sea sponges, and natural-bristle stipplers
- Glaze medium and extender/retarder (for acrylics)
- Acrylic paints, oil-based paints, or alkyds depending on system
- Primer/bonding primer or gesso (for acrylic systems)
- Topcoat sealer (polyurethane, spar urethane, lacquer, epoxy resin)
- Spray equipment (if using lacquer or spraying sealer)
- Protective equipment: respirator, gloves, eye protection
- Mixing cups, stir sticks, palette or mixing tray
- Masking tape and drop cloths
Surface Preparation: Cleaning, Sanding and Priming
Preparation is the foundation of a durable marbled finish. You must remove contamination, smooth the surface to the desired profile, and ensure uniform absorption before painting.
Cleaning and Degreasing
First, remove dust, dirt, wax, oils, and other contaminants with a degreaser or trisodium phosphate (TSP) substitute. If the piece previously had finishes like wax or polish, you must strip or thoroughly decontaminate to ensure adhesion.
Sanding Steps and Grit Table
Sanding smooths the substrate and creates the proper tooth for primer adhesion. Use the following sequence as a guideline and adjust based on the condition of the wood.
| Stage | Purpose | Recommended Grit |
|---|---|---|
| Initial leveling | Remove heavy imperfections, old finish | 80–120 |
| Smoothing | Prepare for primer | 150–180 |
| Pre-prime wipe | Final smooth before cleaning | 220 |
| Between finish coats | Remove dust nibs and promote adhesion | 320–400 |
Sand with the grain when possible, and remove sanding dust with a vacuum and tack cloth before priming.
Primers and Bonding Agents
Choose a primer compatible with both the wood and the paint system you plan to use. Use stain-blocking primers for knots and resinous woods. For slick or previously finished surfaces, apply a bonding primer or light deglossing to ensure long-term adhesion.
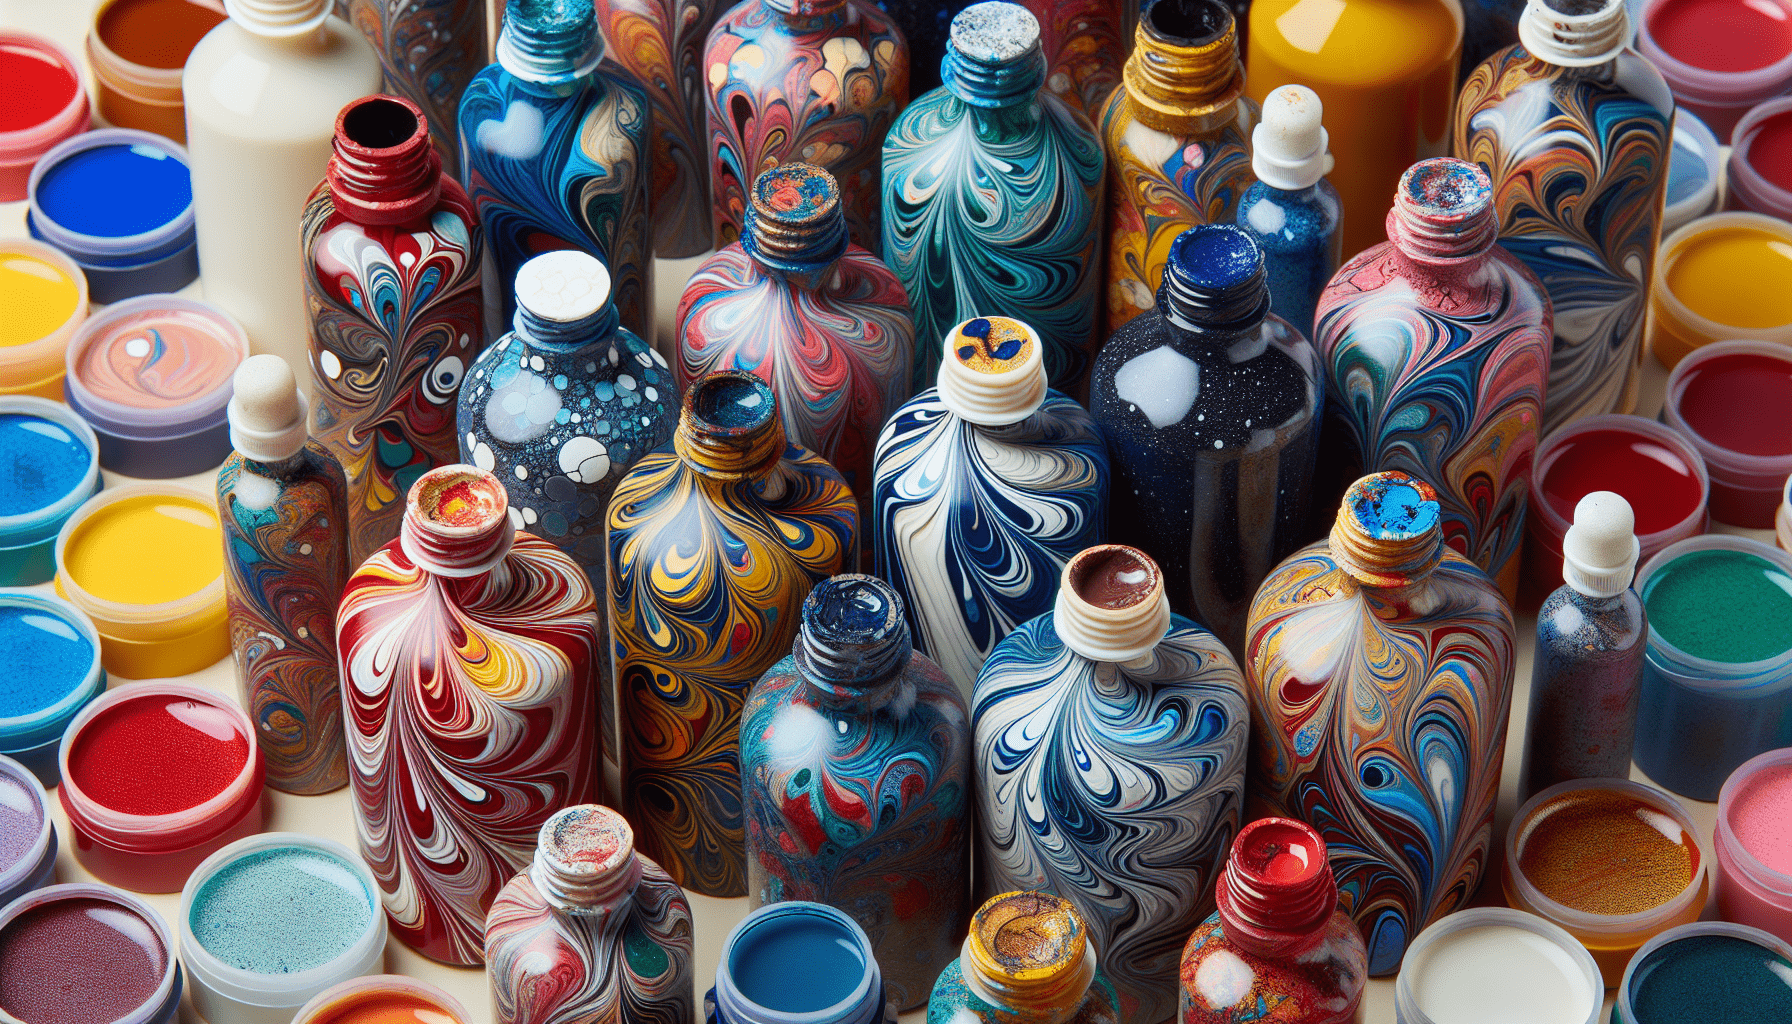
Choosing Paints and Mediums for Marbling
Your choice of paints and mediums determines working time, blending behavior, and final appearance. Consider durability, ease of use, and compatibility with topcoats when making selections.
Acrylics and Water-Based Systems
Acrylics are popular for faux marbling because they dry relatively quickly, clean up with water, and accept glazing media. You can extend open time with retarder and create translucent layers using glazing medium, giving you control over veining and depth.
Alkyd and Oil-Based Systems
Oil-based or alkyd paints provide a longer working time and a leveling quality that suits soft, blended veining. They generally require mineral spirits for cleanup and will yellow over time if not stabilized with appropriate topcoats. You should consider them when you need greater flow and depth, and plan sealer compatibility accordingly.
Glazes, Mediums, and Additives
Glaze is a translucent vehicle that helps you build transparent layers and subtleties of color, which is essential for realistic marble. Use flow improvers, retarders, and gloss/flatting mediums to manipulate sheen and drying behavior. Make sure additives are compatible with your paint type.
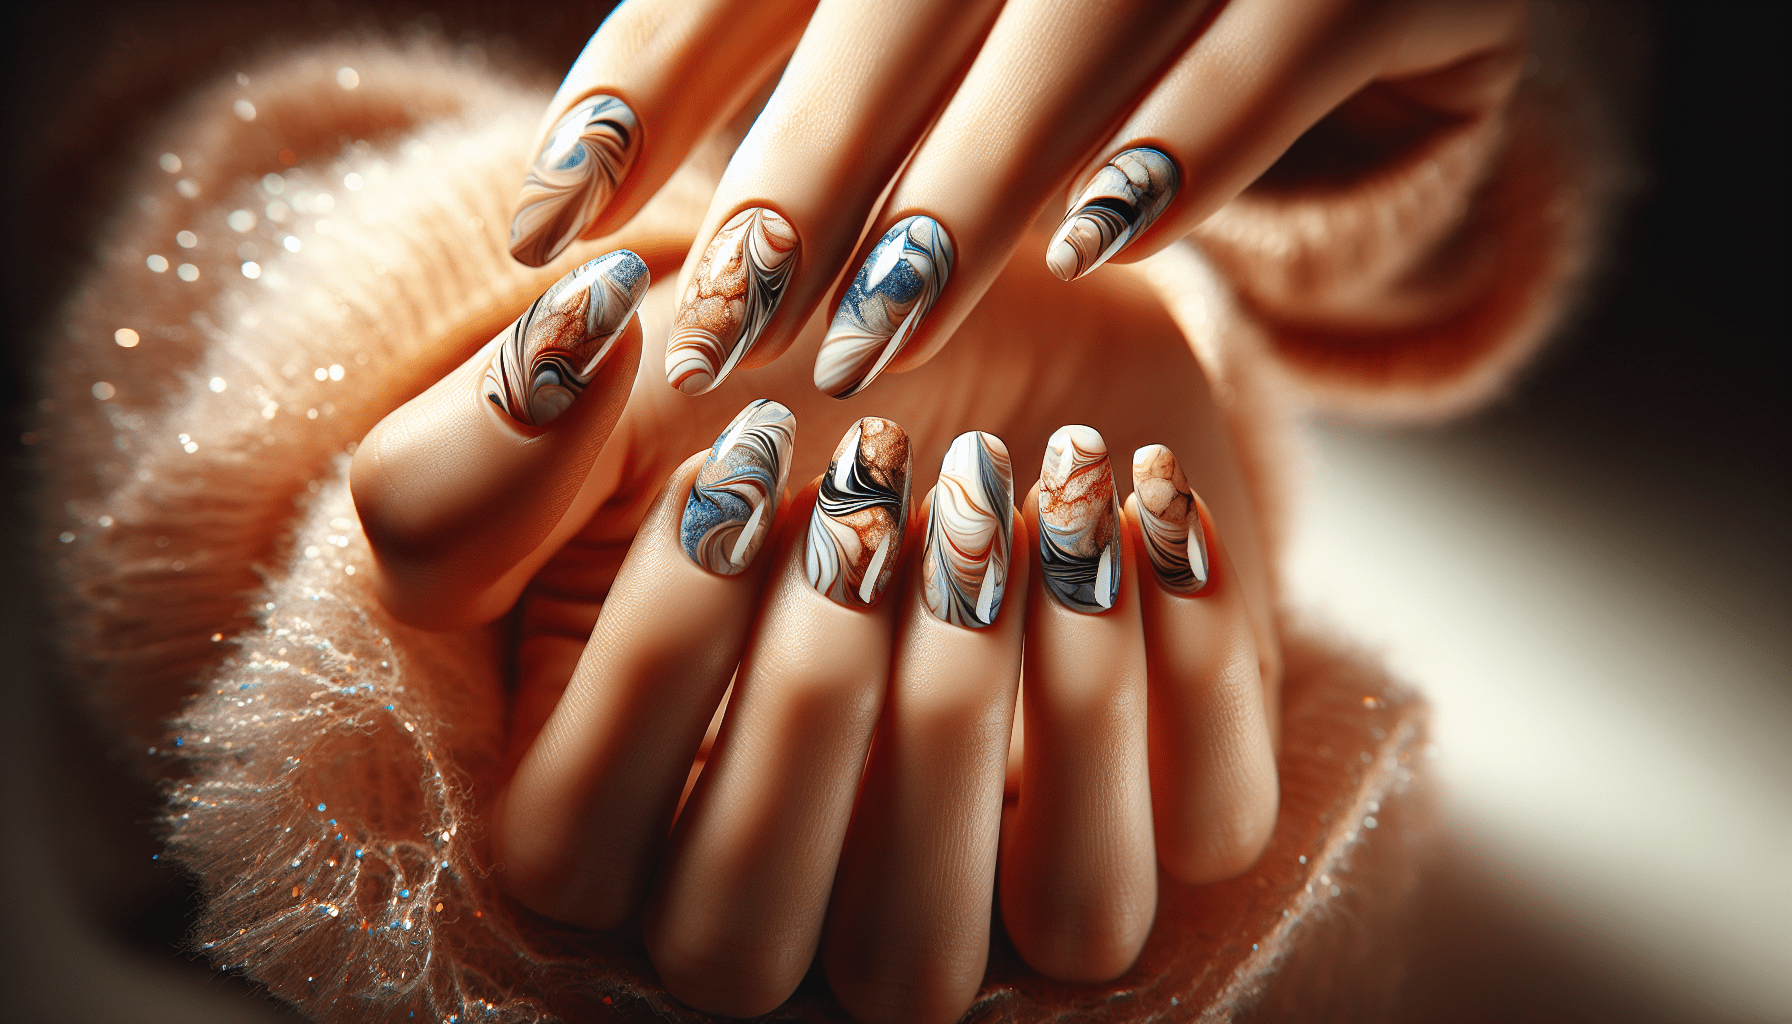
Techniques for Painting Marble on Wood
Marbling involves layering, veining, feathering, and blending to simulate the natural variations found in stone. Mastering several techniques gives you the flexibility to reproduce many marble types.
Traditional Veining Techniques
Traditional veining uses thin, contrasting pigment lines that are feathered and softened to mimic mineral veins. You will create primary veins with a liner brush and refine them by dragging a dry or slightly damp feathering brush to integrate the line into the surrounding glaze.
Feathering, Blending and Feather Brush Use
Feathering softens hard edges and creates the subtle transitions that appear in real marble. Use a fan brush or a special feathering brush to lightly pull wet glaze across veins, then lift excess to avoid mudding.
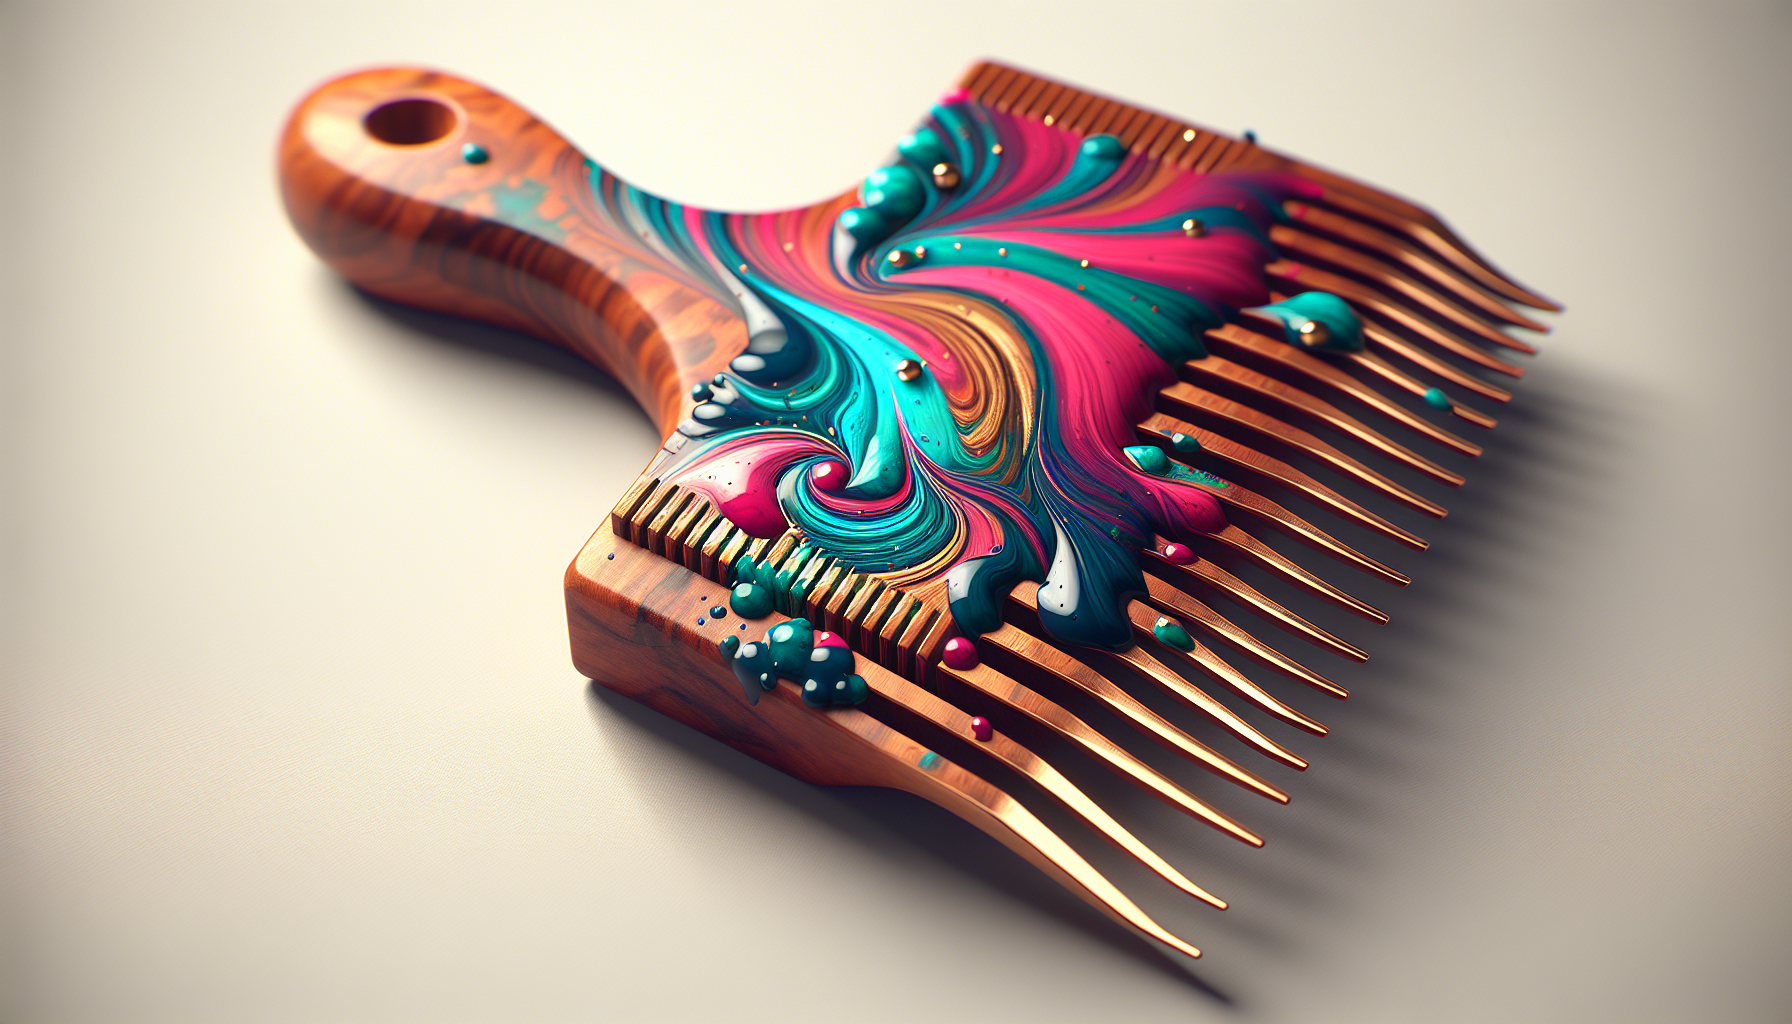
Vein Tools: Liners, Fans, and Combs
Use liner brushes for crisp veins, fan brushes for soft transitions, and combs to create striated patterns. Selecting the right tool will determine whether veins appear sharp and dramatic or soft and organic.
Alternative Methods: Hydro-dipping, Sponges and Shaving Cream
Hydro-dipping, sponge techniques, and even shaving cream marbling are alternative approaches that can produce interesting marble-like patterns. These methods often require different sealing strategies and may be more suitable for decorative pieces than high-traffic surfaces.
Step-by-Step Marbling Process
This section presents a methodical approach you can adapt based on the look you want and the materials you selected. Follow these steps closely to achieve consistent, high-quality results.
Planning and Color Mixing
Decide on a reference stone or create a custom palette that includes at least a base tone, one to three secondary tones, and a highlight color for veins. Mix small test batches to find translucency and contrast levels that match your reference, noting ratios and mixes for reproducibility.
Applying the Base and Glaze Layers
Apply a uniform base coat in a color that matches the general background of your target marble. Once dry, apply translucent glaze layers to build depth; each glaze should be thin and allowed to partially dry to control blending.
Creating Veins and Textures
Create primary veins using a liner brush loaded with a denser pigment, then work the vein into the glaze with feathering strokes, a soft rag, or a damp brush. Introduce secondary veins and subtle pools of color for realism, varying pressure and pigment load to mimic natural irregularities.
Correcting and Layering
Step back frequently to observe scale and contrast; you will often need to add or subtract intensity. Use glazes to tone down harsh areas and add fine highlights or hairline veins after major layers have dried.

Drying, Curing Times and Environmental Factors
Drying time varies by paint system, layer thickness, temperature, and humidity; you must respect these variables to avoid trapping solvents or causing film defects. Allow full cure before topcoating, particularly for oil-based systems that can take days to weeks to fully oxidize.
Sealing the Painted Marble: Options and Recommendations
Selecting the right sealer balances aesthetics (sheen and clarity), durability, and environmental exposure. Below are common sealer choices and when each is appropriate.
Water-Based Polyurethane
Water-based polyurethane dries faster, has lower VOCs, and remains clearer over time than oil-based versions. It is appropriate for interior furniture and cabinets where you want minimal ambering and a durable finish.
Oil-Based Polyurethane
Oil-based polyurethane offers excellent durability and warmth in appearance but tends to amber over time and emits higher VOCs during application. Use it where toughness is essential and slight warming of color is acceptable.
Conversion Varnish and Two-Part Polyurethane
Professional-grade two-part finishes cure to exceptionally hard films and resist abrasion, chemicals, and moisture. They require precise mixing and safety precautions but are recommended for high-use surfaces like worktops and commercial installations.
Epoxy Resin Topcoats
Epoxy resin provides a thick, glass-like, highly durable surface with outstanding moisture resistance, making it ideal for tabletops and bar tops. Note that UV exposure can cause yellowing unless a UV-stable topcoat or additive is applied.
Shellac, Lacquer, and Wax
Shellac and lacquer offer fast build and clarity but may lack long-term chemical resistance; they are useful for decorative pieces that are not subject to heavy wear. Wax can add warmth and slight protection but should be considered a sacrificial finish that requires periodic maintenance.
| Sealer Type | Appearance | Durability | Dry Time | Best Uses | UV Resistance |
|---|---|---|---|---|---|
| Water-based polyurethane | Clear, non-ambering | High | Fast (hours between coats) | Interior furniture, cabinets | Moderate |
| Oil-based polyurethane | Warm, ambering over time | High | Longer (8–24 hours between coats) | Floors, high wear areas | Moderate |
| Two-part polyurethane | Very clear, high-build | Very high | Varies (specialized curing) | Commercial, heavy use | High |
| Epoxy resin | Glass-like, very thick | Very high | Slow (24+ hours to set) | Bar tops, tabletops | Low unless stabilized |
| Lacquer | Clear, high gloss possible | Moderate | Very fast (minutes to recoat) | Decorative pieces, spraying preferred | Low/Moderate |
| Shellac | Warm, classic sheen | Low–Moderate | Fast | Decorative antiques, touch-ups | Low |
Application Techniques for Sealers
Your application method affects finish clarity, leveling, and the risk of application defects like brush marks or orange peel. Match the sealer and method to the piece and environment.
Brushing, Rolling, and Spraying
Brush application suits small pieces and edges but can leave brush marks if the product doesn’t level well. Rolling works for flat surfaces, while spraying provides the most uniform finish and is recommended for large pieces or when using lacquer.
Number of Coats and Sanding Between Coats
Most systems benefit from 2–4 coats for adequate film thickness and protection; sanding between coats with 320–400 grit removes dust nibs and improves mechanical adhesion. Allow full flash time as recommended by the manufacturer before abrading and re-coating.
| Finish Stage | Recommended Grit Between Coats | Purpose |
|---|---|---|
| Initial topcoat to second coat | 320 | Remove dust nibs, slight tooth for next coat |
| Medium build to additional coats | 320–400 | Smoothing and improving adhesion |
| Final sanding before buffing (if needed) | 600–1200 | Achieve ultra-smooth gloss for buffing |
Durability: What Affects Longevity and How to Maximize It
Longevity depends on material selection, application quality, and environmental exposure. You can significantly extend service life by selecting compatible products, allowing proper cure, and using appropriate topcoats.
Mechanical Wear and Impact Resistance
Abrasion resistance is primarily a function of topcoat hardness and thickness. For surfaces subject to frequent contact, use two-part polyurethanes, conversion varnish, or epoxy to resist scratching and chipping.
UV, Moisture and Temperature Effects
Sunlight can bleach or yellow finishes and degrade film integrity; use UV-stable topcoats or additives for exposed pieces. Moisture causes swelling and joint failure in wood; maintain proper sealing of edges and use moisture-resistant topcoats in humid environments.
Adhesion and Film Integrity
Proper surface prep, primer use, and compatibility between paint and sealer ensure good adhesion. Avoid applying non-compatible products (for example, some waxes over two-part polyurethanes) unless manufacturer guidance permits it.
Maintenance and Repair
Routine care and timely repairs keep your marbled finish attractive and functional. You should understand cleaning protocols and basic repair techniques to prolong the life of the finish.
Routine Cleaning
Clean with a pH-neutral, non-abrasive cleaner and a soft cloth to avoid abrading the topcoat. Avoid solvents and harsh detergents that may soften or damage sealers.
Touch-ups and Recoating
Minor scratches can often be touched up with matching paint and a small amount of glaze before resealing. For larger worn areas, lightly sand and recoat the affected zone, feathering into the surrounding finish.
Repairing Scratches and Gouges
For deeper gouges, clean out loose material, fill with a compatible wood filler or epoxy, sand smooth, repaint the marbled effect, and reseal. Ensure the cured filler and new paint are fully compatible with the topcoat system.
Troubleshooting Common Problems
Even experienced practitioners encounter issues. Below are common problems and practical fixes you can apply.
- Blotchy base coat: Use a stain-blocking primer and ensure even sanding and consistent absorption before glaze layers.
- Lifting or peeling paint: Confirm compatibility between layers; sand back to sound substrate, re-prime, and ensure full cure before applying subsequent layers.
- Muddy colors: Work with thinner glazes and cleaner edges; allow layers to dry before adding contrasting veins to retain clarity.
- Fish eyes or repellence: Remove contaminants with a stronger degreaser and consider using a surface tension reducer or adhesion promoter.
- Yellowing: Use non-yellowing water-based products or UV-stable topcoats; avoid oil-based finishes on light or white marbles if yellowing is unacceptable.
Safety, VOCs and Environmental Considerations
You must follow safety guidelines to protect yourself and indoor air quality during application and curing. Use appropriate PPE, adequate ventilation, and select lower-VOC products when possible.
- Wear a suitable respirator when sanding, spraying, or using solvent-based materials.
- Dispose of solvent-soaked rags carefully to avoid spontaneous combustion.
- Follow local regulations for VOC emissions and waste disposal.
Cost, Time and Project Planning
Marbling on wood can be cost-effective compared to natural stone but requires time, materials, and skill development. Plan for adequate curing times, multiple coatings, and trial pieces to refine your technique before committing to a main project.
- Budget for high-quality sealers; cutting costs on topcoats often reduces longevity.
- Expect multiple sessions: preparation, painting layers, and sealing may span several days to weeks depending on environment and systems used.
- Factor in waste, practice panels, and safety equipment when estimating total cost.
Final Checklist Before You Start
- Select a reference stone and prepare a color recipe and mixing notes.
- Confirm substrate condition, clean and sand properly.
- Choose compatible paint system and sealer; test on a scrap panel.
- Gather recommended tools, personal protective equipment, and ventilation plan.
- Allow sufficient time for drying and curing between steps.
Conclusion
You can achieve convincing and durable marble finishes on wood through careful preparation, appropriate material selection, controlled marbling techniques, and the right sealing strategy. By planning the process, testing compatibility, and using high-quality topcoats tailored to the use conditions, you will ensure your marbled surfaces remain beautiful and serviceable for years to come.