Have you ever wondered how a simple fan brush could change the texture and life of your acrylic paintings?
How To Use Fan Brushes In Acrylic Painting
You’ll find that fan brushes are among the most versatile tools in your acrylic toolkit. This guide walks you through identification, techniques, maintenance, project ideas, and practical steps so you can use fan brushes with confidence and precision.
What is a fan brush?
A fan brush has bristles fanned out in a flat, semicircular shape that creates broad, feathery marks. You’ll use it to make soft textures, separate strokes, and naturalistic patterns that are hard to achieve with round or flat brushes.
Why fan brushes matter in acrylic painting
Fan brushes help you paint foliage, grasses, clouds, highlights, and subtle blends without overworking the paint. You’ll be able to produce organic edges and textural effects quickly, saving time and enriching your compositions.
Types of fan brushes
Fan brushes come in different widths, bristle materials, and degrees of spread. You’ll choose a size depending on whether you want fine grass blades or broad foliage sweeps.
| Brush Type | Shape/Spread | Common Uses |
|---|---|---|
| Narrow fan (small) | Tight, narrow fan | Fine grasses, hair, delicate textures |
| Medium fan | Moderate fan spread | Mid-sized foliage, blending, cloud edges |
| Wide fan (large) | Broad, full fan | Large foliage, soft sky blending, texture washes |
| Half-moon fan | Slightly curved fan | Directional textures, layered foliage |
Natural vs synthetic bristles
You’ll encounter natural (hog, sable) and synthetic (nylon, taklon) brushes. Each behaves differently, and acrylics typically favor synthetic brushes because they tolerate water and acrylic medium.
| Feature | Natural Bristles | Synthetic Bristles |
|---|---|---|
| Absorbency | Higher, holds more medium | Lower, repels water-based mediums |
| Spring/Resilience | Softer spring, may splay with heavy use | More resilient, regains shape better |
| Durability with acrylic | Can harden with acrylic if not cleaned | Better long-term with acrylics |
| Cost | Often more expensive | Usually more affordable |

Choosing the right fan brush for acrylics
Pick a synthetic fan brush for most acrylic work unless you prefer the unique response of certain natural bristles. Select size based on your subject scale: small brushes for fine detail, larger ones for landscapes and broad effects. You’ll also consider the stiffness: softer bristles create smoother blends, while stiffer bristles give more textural marks.
How to hold and control a fan brush
Your grip and hand position affect the mark you make. Hold the brush near the ferrule for precision, and farther back for loose, sweeping strokes. You’ll vary wrist rotation, elbow movement, and pressure to control stroke length, shape, and texture.
Loading the fan brush with paint
Fan brushes pick up paint differently than rounds or flats. You’ll lightly load the tips of the bristles for dry-brush effects or load more toward the middle for fuller, wetter strokes. Avoid overloading because excess paint can collapse the fan shape and produce muddy marks.
Basic strokes and marks you can make
Understanding a handful of fundamental strokes unlocks many effects when using fan brushes. You’ll experiment with these strokes to build up more complex textures.
| Stroke | How to make it | Typical use |
|---|---|---|
| Light sweep | Hold brush lightly, sweep once with barely loaded tips | Soft clouds, distant foliage |
| Dabbing/stippling | Tap brush vertically on surface | Leaves, flower clusters |
| Drag stroke | Press and drag sideways with bristle edge | Grass, hair strands |
| Cross-hatch | Short dabs in overlapping directions | Dense bushes, textured ground |
| Soft blend | Gentle horizontal strokes with little pressure | Sky blends, smooth transitions |

Dry brushing
Dry brushing uses a brush with very little paint or medium to create scratchy, textured marks. You’ll blot excess paint and use light pressure to add highlights, subtle texture, or weathered effects on rocks and tree bark.
Soft blending
You’ll use a slightly damp brush with thin paint to soften hard edges and create subtle transitions. For acrylics, work quickly or use a retarder/medium to slow drying time so you can blend longer. Soft blending is excellent for cloud edges and soft reflections.
Scumbling
Scumbling means applying a broken, semi-opaque layer of paint over another layer. You’ll use a fan brush with a small amount of paint and a scrubbing, circular motion to create textured layers that suggest foliage or distant haze without fully covering the underlying color.
Stippling
Stippling involves repeated tapping to build up clustered marks that form patterns. You’ll vary pressure and paint load to suggest leaf clusters, textured ground, or the speckled surface of rocks. Stippling with a fan brush gives a different, broader quality than stippling with a round brush.

Feathering
Feathering is a light, directional stroke that softens edges and creates tapered marks. You’ll hold the brush at an angle and sweep gently to create feathered transitions, which are helpful for fur, soft cloud fringes, and blending highlights into shadows.
Painting trees and foliage
Fan brushes are ideal for painting trees because they naturally mimic leaf clusters. You’ll load different tones on the brush and apply quick, broken strokes from top to bottom to suggest branches and leaves. Vary the pressure and rotate the brush slightly to create depth and spontaneity.
Painting grass and reeds
You’ll use narrow fan brushes or the edge of a larger fan to create blades of grass. Load the brush with a mid-tone and drag upward with a quick wrist flick for individual blades, then add lighter and darker accents over the base to increase realism. For long reeds, press slightly more and use longer strokes while maintaining a sharp, fast motion.
Painting clouds and skies
Fan brushes work well for soft cloud edges and subtle transitions in the sky. You’ll use broad, light sweeps and feather the paint outward to create fluffy, airy forms. Use a retarder or acrylic glazing medium to keep paint workable longer when blending large sky areas.

Painting water and reflections
You’ll paint horizontal strokes to suggest water planes, and use light, broken strokes for reflections. Fan brushes can produce soft ripples and diffuse reflections; apply horizontal dragging strokes and then soften the edges with a clean, dry fan to suggest motion.
Painting hair and fur textures
Use small, narrow fan brushes for hair and fur effects by applying short, directional strokes that follow the anatomy of the subject. You’ll layer tones from dark to light, using thin lines for individual hairs and broader sweeps for larger masses.
Painting rocks, textures, and ground cover
Fan brushes let you add grit and variation to rocky surfaces and forest floors. You’ll use scumbling and stippling to build rough textures, and then brighten with dry brushing to suggest highlights on raised surfaces.
Layering and glazing with fan brushes
Layering with fan brushes helps you build depth gradually. You’ll start with a base layer, then use semi-transparent glazes or thin scumbles to adjust color and atmosphere. Because fan marks are diffuse, each layer will modify the layer beneath in a subtle, natural way.

Combining fan brushes with other tools
Fan brushes pair nicely with flats, rounds, palette knives, and rigger brushes. For example, use the fan for foliage, a liner for branches and stems, and a palette knife for textured rocks. You’ll produce richer results by switching tools as the painting demands different kinds of marks.
Pressure, angle, and speed: the three controls
You’ll change the mark by adjusting pressure (light to heavy), angle (flat to upright), and speed (slow or quick). Lighter pressure gives soft, airy marks; heavier pressure creates bolder, textured strokes. A flatter angle spreads paint more broadly, and an upright angle makes narrower, sharper marks.
Troubleshooting common problems
You’ll run into some predictable issues when using fan brushes. Here are common problems and solutions:
- Problem: Brush splaying or losing shape. Solution: Don’t overload with paint; clean thoroughly after each session and reshape while damp.
- Problem: Muddied colors from overmixing. Solution: Clean the brush between distinct color layers and use glazing instead of mixing on canvas.
- Problem: Too-soft marks with heavy-bodied paint. Solution: Thin the paint slightly with medium or water (sparingly), or use a stiffer brush.
- Problem: Paint drying too quickly during blending. Solution: Use a retarder or acrylic glazing medium to extend open time.
- Problem: Harsh, unintended lines. Solution: Feather out with a clean, dry fan or use a soft round to smooth transitions.
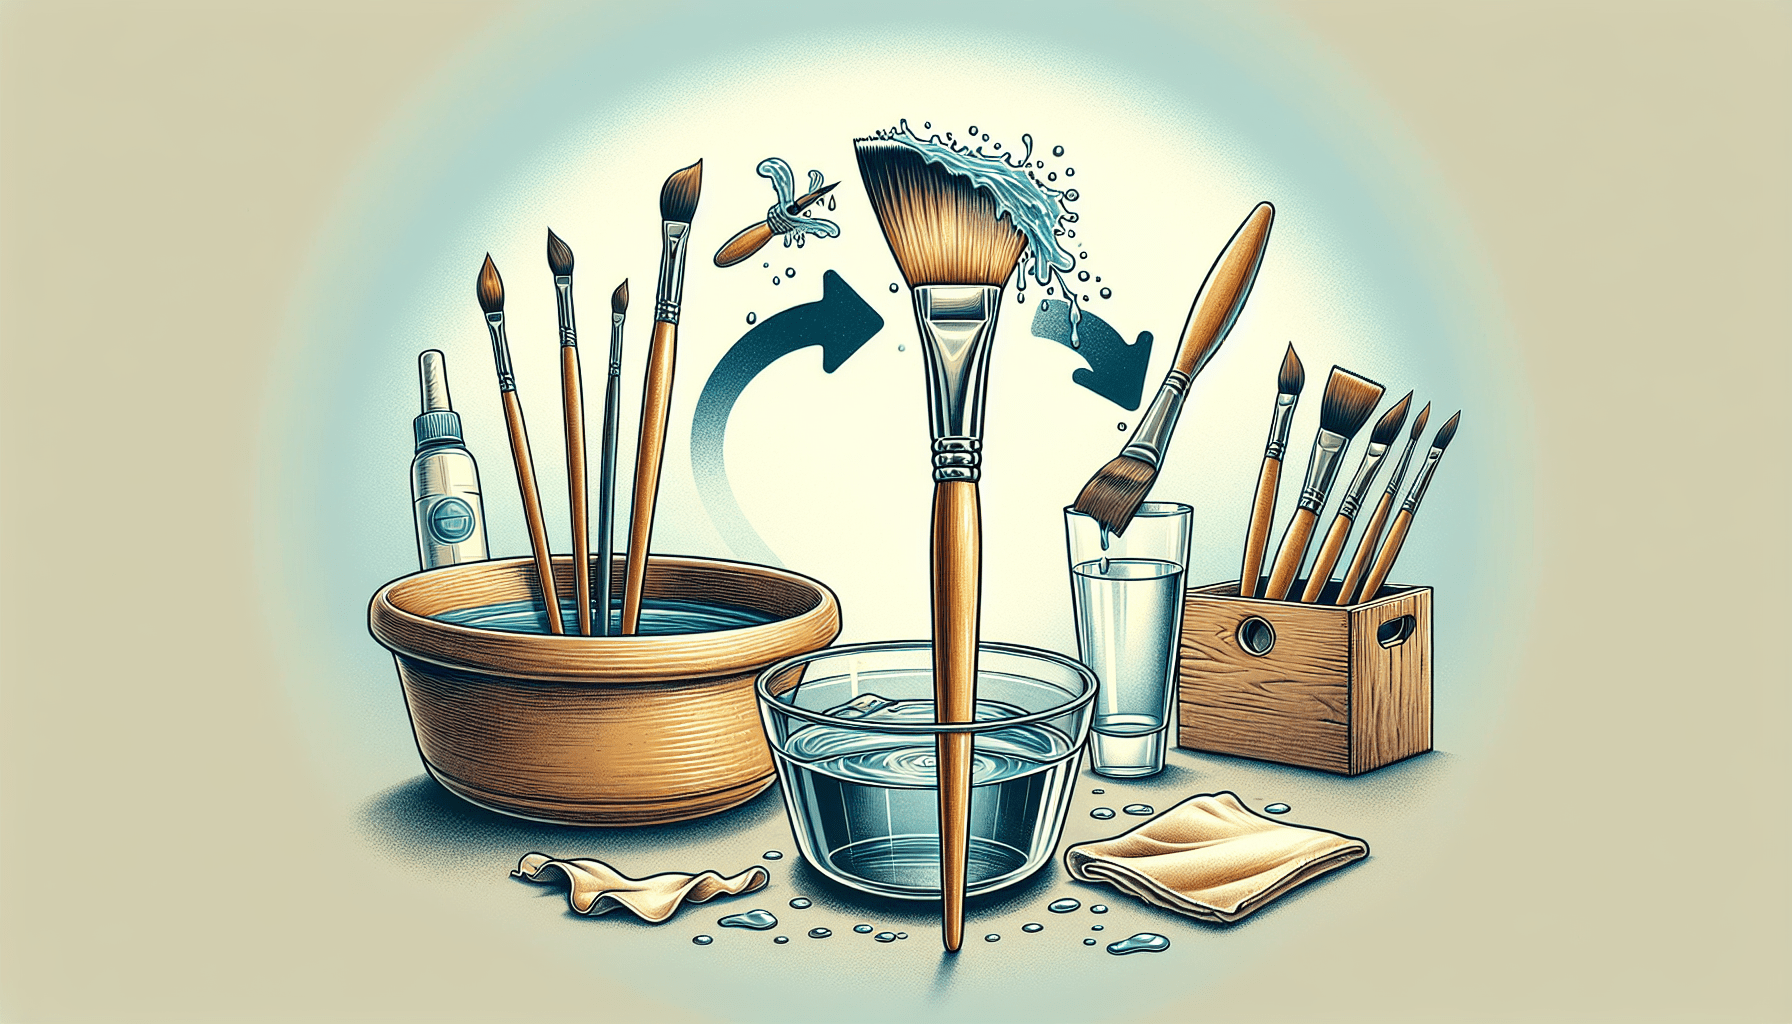
Care and maintenance of fan brushes
Proper cleaning and storage keep your fan brushes performing well. You’ll rinse synthetic bristles with warm water and mild soap, reshape the fan, and lay flat to dry or store upright with bristles up. Avoid leaving acrylic paint to dry on the bristles because it can stiffen and ruin the fan shape.
| Step | Action | Why it helps |
|---|---|---|
| Wipe excess | Remove paint on palette before rinse | Prevents heavy buildup |
| Rinse | Warm water (not hot) until clear | Removes most acrylic |
| Cleanse | Use brush soap or mild detergent | Removes residual binder |
| Reshape | Gently re-fan bristles with fingers | Maintains shape |
| Dry | Lay flat or stand with bristles up | Prevents water from entering ferrule |
| Condition | Occasionally use a brush conditioner | Keeps synthetic bristles flexible |
Recommended cleaners and solvents
You’ll mostly need water, mild soap, and a dedicated brush cleaner for deep cleaning. Avoid harsh solvents like turpentine with synthetic brushes for acrylics; they are unnecessary and can damage ferrules or handles.
Storage tips
Store fan brushes with bristles protected. You’ll hang them or use a holder so the bristles are not pressed or bent. Replace ferrule-twisting or misaligned brushes if they show signs of permanent deformation.
Practice exercises to develop skill
These short exercises build muscle memory and understanding of how your specific brushes behave.
- Exercise 1 — Single-stroke leaves: Load a small fan with one color, and make 50 single strokes across a sheet to practice pressure and angle.
- Exercise 2 — Grassy field: Use a medium fan, layer three tones from dark to light, and paint short upward strokes to create a believable field.
- Exercise 3 — Cloud edges: Paint a gradient sky, then use a clean, lightly loaded fan to feather cloud edges and soften transitions.
- Exercise 4 — Reflection practice: Paint a small horizontal water area and practice mirrored strokes using the fan for the water surface and a soft round for reflection value.
- Exercise 5 — Texture build-up: On a scrap panel, scumble three layers of different colors for foliage, using stippling and dry brushing between layers to see how marks interact.
Each exercise helps you become familiar with loading, pressure, and stroke speed. You’ll repeat them to gain confidence.
Step-by-step mini project: Simple landscape using a fan brush
This project helps you practice a sequence of fan brush techniques.
- Prepare a primed panel and a simple color palette (ultramarine, cerulean, titanium white, sap green, yellow ochre, burnt sienna).
- Block in a sky: apply a horizontal gradient with a large flat or wide fan, then use the fan to soften the horizon.
- Establish distant trees: thin a mid-tone green and use a medium fan for soft massing of foliage.
- Midground foliage: use a smaller fan to stipple darker greens, then add lighter highlights with dry brushing.
- Foreground grass: use a narrow fan and quick upward strokes in layered colors to create depth.
- Final touches: add bright highlights and thin trunk or branch lines with a liner or small round.
You’ll use the fan for most foliage work and finish with details from brushes with finer points.
Project idea: Riverbank scene with reflections
Use a fan brush to create reeds and soft water reflections. Start with a layered sky, add tree masses, then paint the river with horizontal fan strokes and soften reflections by gently dragging the fan horizontally through wet paint. Add reed highlights with the brush edge or a liner.
Tips for advanced control and effects
- Use multiple fan brushes of different sizes simultaneously to switch quickly from distant foliage to close grasses.
- Alternate between wet-on-wet and dry-on-dry techniques to get distinct textures.
- Load multiple colors lightly on the brush to create natural color variation in a single stroke.
- Use a stipple-sponge or toothbrush together with a fan to add fine speckle texture.
- Experiment with the angle of the ferrule—turning the brush slightly changes the direction and emphasis of the bristle tips.
Materials and supply checklist
Here’s a compact list of what you’ll need to get started with fan brushes in acrylic painting.
| Category | Examples |
|---|---|
| Brushes | Small, medium, large synthetic fan brushes; a few flats and rounds |
| Paints | Basic acrylic colors plus white and a glaze medium |
| Mediums | Retarder, glazing medium, matte medium |
| Surfaces | Primed canvas, acrylic paper, gessoed panels |
| Cleaning | Brush soap, mild detergent, jars for rinsing |
| Tools | Palette knife, water spray bottle, palette for mixing |
Choosing mediums for fan brush work
You’ll use gloss or matte mediums to alter paint flow and transparency. A retarder slows drying so you can blend longer with the fan brush, while glazing medium helps you layer thin, transparent colors without lifting previous layers.
When not to use a fan brush
Fan brushes aren’t always the right tool. You’ll avoid them for extremely detailed tiny work, precise linear outlines, or areas requiring extremely smooth uniform coverage. In those cases, use a liner, rigger, or a fine round.
Common beginner mistakes and how to fix them
- Mistake: Overloading the brush with paint. Fix: Wipe excess on palette and test strokes on scrap.
- Mistake: Pressing too hard. Fix: Use lighter pressure to retain fan shape and get more control.
- Mistake: Skipping brush cleaning. Fix: Rinse and clean immediately; reshape while wet to preserve the fan.
- Mistake: Expecting the same effect from different brands. Fix: Test new brushes; adjust technique for stiffness and spread.
Frequently asked questions (FAQ)
Q: Can I use fan brushes with heavy-body acrylics? A: Yes, but you’ll get different results. Heavy body paints produce bolder textures; thin slightly if you want softer marks or use a stiffer brush for more texture.
Q: How often should I clean my fan brushes? A: Clean them after every painting session and between major color changes. Deep clean weekly if you paint often.
Q: Is it okay to use a fan brush for oil painting? A: Many fan brushes are designed for both oil and acrylic, but check bristle type. Natural hog bristles are often used for oils; synthetic brushes work well with acrylics.
Q: How do I restore a fan brush that has lost its fan shape? A: Try soaking in warm, soapy water and gently reshaping. If paint has hardened, use a dedicated brush cleaner or replace the brush if restoration isn’t possible.
Q: Can you mix colors on the fan brush directly? A: Yes, for subtle variegated strokes. Load separate colors on different areas of the bristles and apply a single stroke that produces multiple hues.
Final thoughts
You’ll find that mastering a fan brush can dramatically expand your mark-making options and speed your workflow. With practice on pressure, angle, paint load, and layering, you’ll be able to create convincing natural textures and subtle transitions that enhance your acrylic paintings. Keep experimenting with sizes, bristle types, and mediums until you discover the combinations that suit your personal painting style.
If you want, you can try a focused 30-day practice routine using the exercises listed here, and you’ll likely notice real improvement in the way you control texture and atmosphere with fan brushes.