Can you use palette knives with watercolor to achieve unique textures, lift paint, and expand your technique vocabulary?

Can You Use Palette Knives With Watercolor? Pros And Cons
This article answers whether you can use palette knives with watercolor and explains the advantages, limitations, and practical techniques. You will receive guidance on tools, paper, methods, troubleshooting, and creative approaches that let you use palette knives effectively with watercolor.
What Is a Palette Knife and How Does It Apply to Watercolor?
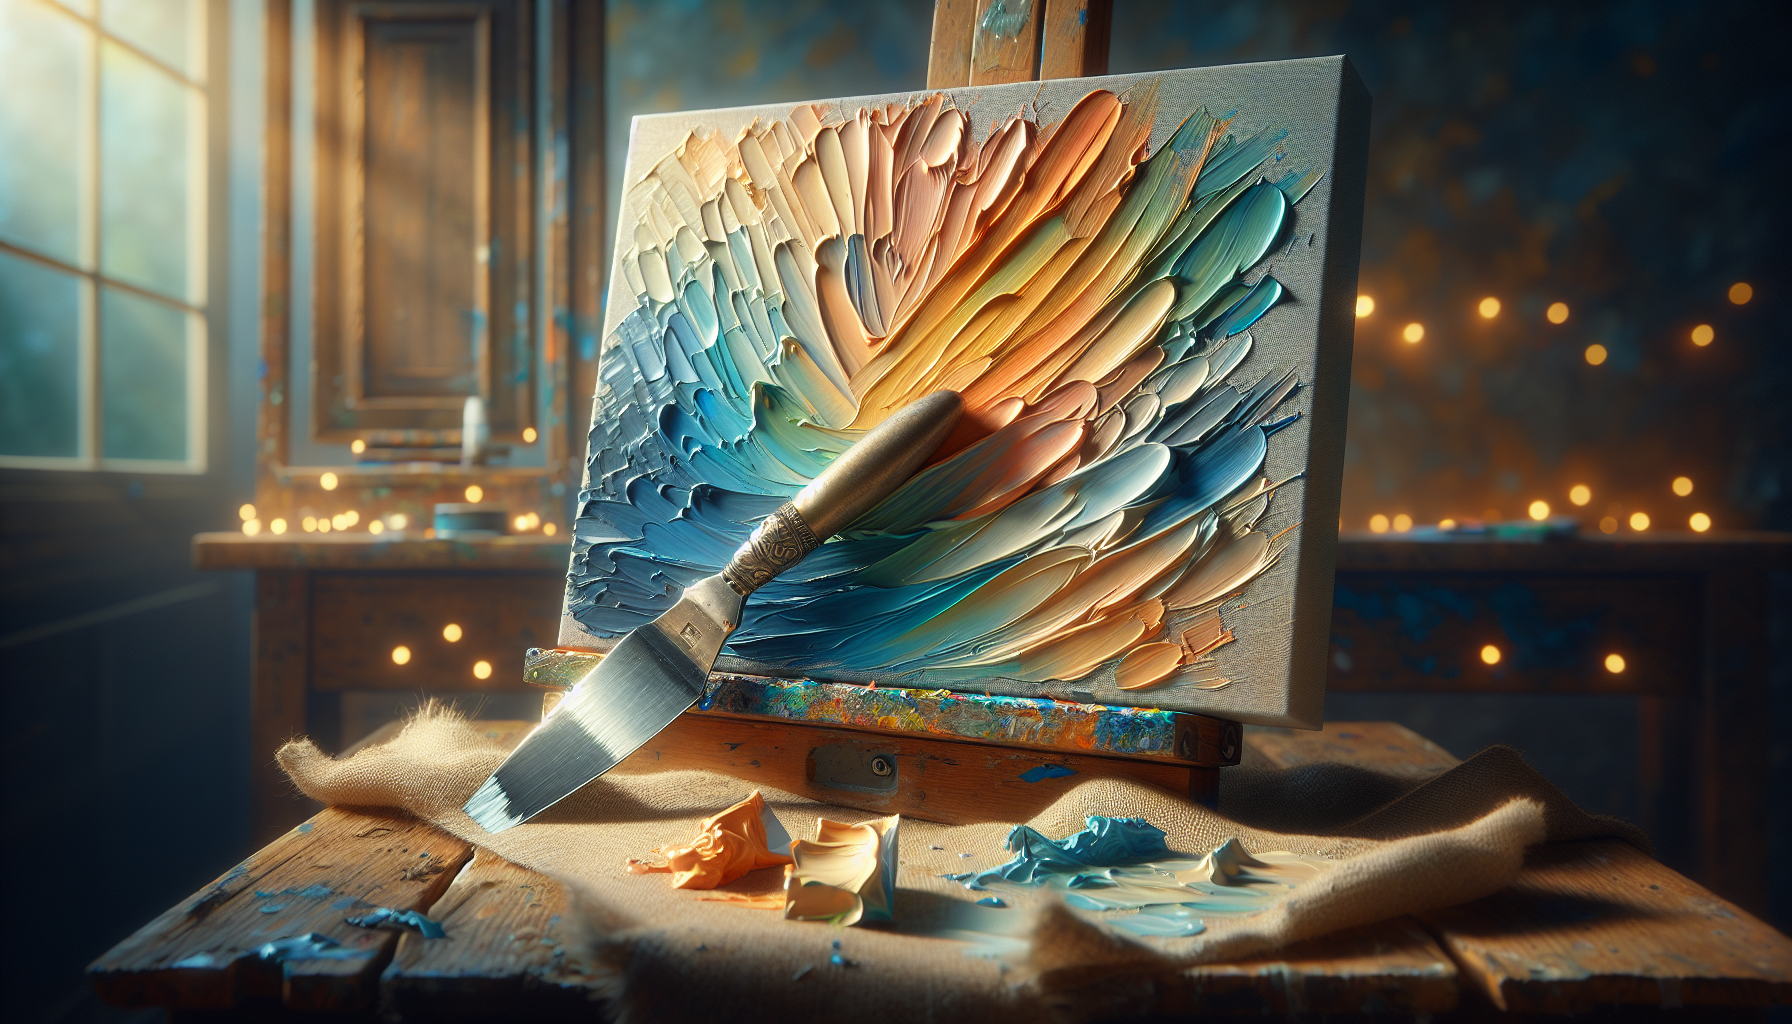
A palette knife is a flat, flexible metal tool with a handle that is traditionally used to mix or apply paint. While more commonly associated with oil and acrylic painting, palette knives can be adapted to watercolor to mix pigments, lift paint, scrape textures, and manipulate washes.
You will find that palette knives come in many shapes and sizes, from straight spatulas to offset blades. Choosing the right type for watercolor helps you control pressure and the level of detail you can achieve.
Types of Palette Knives and Their Uses with Watercolor
Palette knives vary in blade shape, flexibility, length, and handle design. Each type influences how you mix pigments and interact with paper.
- Straight blades: Offer precise mixing and scraping for linear texture effects.
- Rounded or spatula blades: Good for broader mixing and smoothing washes.
- Offset blades: Keep your hand clear of the surface while applying pressure.
- Small detail knives: Help with fine scraping and controlled lifting.
A table below summarizes common types and the typical watercolor uses for each.
| Knife Type | Typical Watercolor Uses | Advantage |
|---|---|---|
| Straight blade | Mixing pigments, scraping hard edges, lifting lines | Precise control |
| Spatula/rounded | Broad scraping, smoothing washes | Even pressure distribution |
| Offset blade | Applying pressure without hand contact | Comfort and maneuverability |
| Small detail knife | Fine scraping, removing pigment in small areas | Detailed correction |
| Flexible thin blade | Gentle scraping and delicate lifts | Minimal paper damage risk |
Why Consider Using Palette Knives with Watercolor?
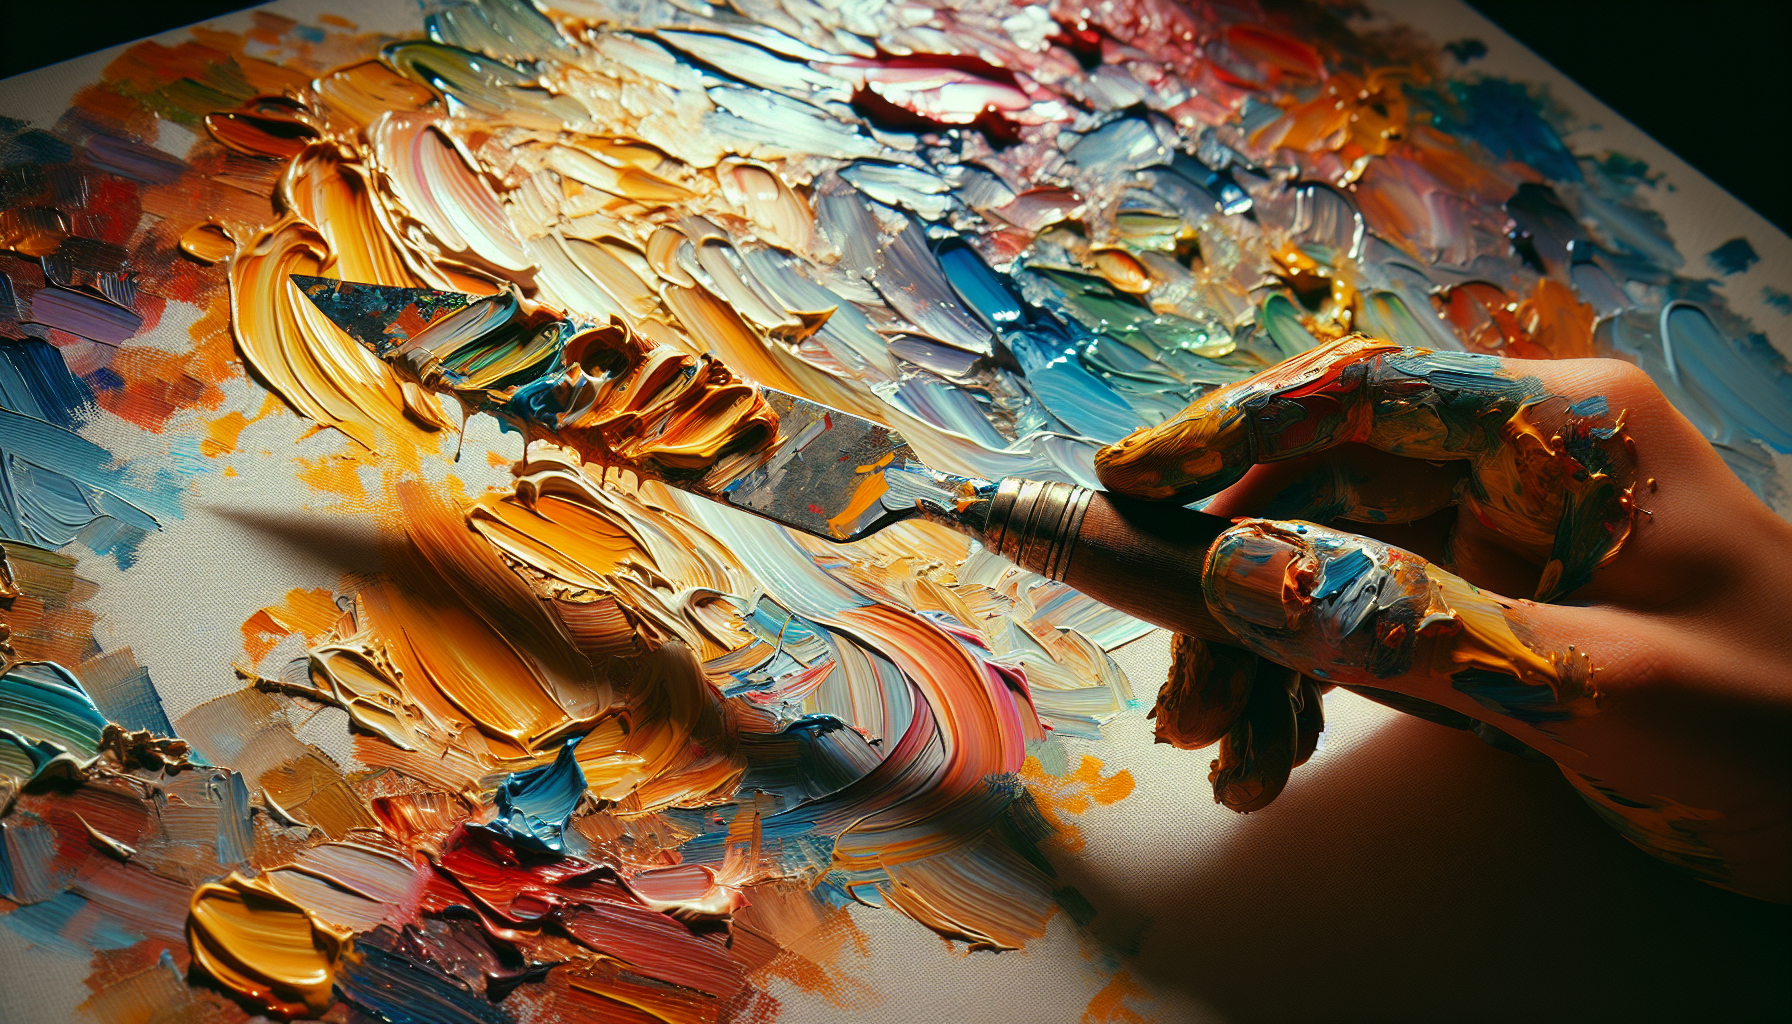
Using palette knives with watercolor can enrich your technique repertoire and create effects that are difficult to obtain with brushes alone. You can mix paint consistently, remove undesirable pigment, create crisp edges, and form unique textures.
You should consider knives when you want greater control over scraping and lifting, or when you aim to combine water-based washes with tactile surface treatments. Knives expand the physical vocabulary of watercolor, enabling hybrid approaches.
Practical Reasons to Use a Palette Knife
You will find several practical reasons to include a palette knife in your watercolor toolkit:
- Efficient pigment mixing without cross-contaminating brushes.
- Controlled lifting of dry or semi-dry paint to create highlights or corrections.
- Scraping for texture—useful for rocks, bark, or architectural details.
- Applying masking fluid or granular media blends using the knife edge for specific effects.
Using a knife also keeps brush tips clean and prevents unwanted dilution when testing or blending colors.
Pros of Using Palette Knives with Watercolor
Palette knives offer a distinct set of benefits when paired with watercolor. They enable techniques that are either impractical or impossible with brushes alone.
You will gain control over additive and subtractive processes, broaden your textural possibilities, and speed up certain technical steps like mixing and paint removal.
Improved Mixing and Cleaner Palettes
A knife allows you to mix pigments and mediums on a palette efficiently. The flat blade lets you scrape and blend without damaging brush hairs.
This practice keeps brushes reserved for application rather than mixing, reducing contamination and improving color accuracy in your washes.
Controlled Lifting and Scraping
You can lift dried or semi-dry paint with a knife to reveal lighter areas beneath or to correct errors. The rigid edge provides precision that fingers or tissue sometimes cannot achieve.
Scraping can create hard edges, linear textures, and highlights that enhance realism in subjects like weathered surfaces, intricate stonework, and natural textures.
Creating Texture and Surface Interest
Palette knives produce textural marks and raised paint ridges when used with heavier media; though watercolor is thin, combining a knife with thicker watercolor techniques or mixed media can create visible texture.
You will be able to contrast soft washes with sharper scraped lines to create dynamic compositions and focal points in your work.
Speed and Efficiency
Mixing with a knife is fast. You can prepare a range of values and hues on the palette quickly, then apply them with brushes or directly manipulate them on the paper.
This speed becomes valuable in plein air painting or when working on multiple pieces where rapid color preparation is beneficial.
Cons of Using Palette Knives with Watercolor
Palette knives also introduce potential disadvantages. Watercolor’s absorbent paper and fragile surface can be vulnerable to mechanical stress, and some knife techniques risk damaging the sheet.
You should recognize limitations such as damage risk, limited direct application for thin washes, and potential compatibility issues with certain papers and pigments.
Risk of Paper Damage
Applying too much pressure or scraping aggressively can tear fibers or create unwanted abrasions. Watercolor paper integrity depends on sizing, weight, and surface finish; knives require careful handling to avoid permanent harm.
You will need to choose paper and techniques that mitigate this risk, such as lifting rather than aggressive scraping, or using heavier paper weights.
Limited Productivity With Thin Washes
Watercolor is a wet medium that flows and diffuses; knives are better suited for mechanical manipulation than for creating fluid gradations. You will often rely on brushes for smooth wet-in-wet transitions.
Using a knife directly on wet washes can cause uneven pigment distribution or undesirable streaks.
Potential for Uncontrolled Marks
If you are inexperienced with knives, you may create marks that are difficult to integrate into the composition. Knife marks can be bold and may require additional planning to harmonize with brushwork.
It is important to practice controlled motions and test techniques on scrap paper before applying them to final pieces.
Limitations with Transparent Effects
Palette knives work well for subtraction and textural addition, but they do not replace the subtle transparency of layered glazes. You should continue using glazing techniques with brushes to maintain luminous, transparent color layers.
Knives are best used as complementary tools rather than replacements for brushes.
Materials and Tools You Will Need
Selecting the right materials minimizes risk and maximizes the creative potential when combining palette knives with watercolor.
You will need the correct knives, paper, paints, brushes, and auxiliary tools to ensure safe and effective use.
Recommended Palette Knives and Alternatives
Choose knives with smooth edges and steel blades. Avoid blades with irregular serration for watercolor unless the effect is intentional.
- Medium straight palette knife: general mixing and scraping.
- Small precision knife: controlled lifting and detail scraping.
- Plastic or flexible spatula: less aggressive on delicate papers.
- Rubber or silicone spatulas: gentle for mixing and applying masking fluid.
A table lists recommended knife types and their best use cases.
| Knife Type | Best Use Case | Paper Impact |
|---|---|---|
| Stainless steel straight | Mixing, crisp scraping | Medium impact; use gently |
| Stainless steel small | Detailed lifts, fine lines | Low‑to‑medium; controlled |
| Plastic spatula | Applying masking fluid, gentle mixing | Low impact |
| Silicone blade | Mixing, spreading medium | Minimal impact |
| Palette knife with rounded tip | Soft scraping, shaping pigment | Medium impact |
Paper Selection and Preparation
Paper choice is critical. Heavier paper (300 lb / 640 gsm) withstands more mechanical action, while 140 lb / 300 gsm paper will be more vulnerable.
You should use cold-press or rough surfaces for texture and a stronger sizing for better lift resistance. Stretch your paper or use blocks to reduce buckling when you intend to use knives.
- 300 lb (640 gsm) – best for aggressive scraping.
- 140 lb (300 gsm) – acceptable if knife use is gentle.
- Rough or cold-press – adds tooth for scraping effects.
Paints, Mediums, and Additives
Use high-quality watercolor pigments that granulate or separate to work with scraping and lifting techniques. Some mediums can thicken watercolor for better knife marks:
- Gum arabic: increases binder strength and gloss.
- Ox gall: improves wetting but may reduce lift potential.
- Granulating pigments: create texture when lifted.
- Watercolor ground or medium: allows thicker applications and improves tooth.
Use thickeners prudently; excessive binder can change drying behavior and adhesion.
Brushes and Other Tools
Keep a set of brushes for wet application and blending. Use rags, sponges, and soft erasers for complementary removal techniques. Masking fluid and tape can protect areas you do not want to lift or scrape.
You will find that having a clean water container and a spray bottle helps control drying times when combining knives with wet techniques.

Techniques for Using Palette Knives with Watercolor
Several practical techniques let you apply palette knives productively with watercolor. Each technique requires different timing, pressure, and support materials.
You should practice each approach and keep notes on how different papers and pigments behave.
Mixing and Preparing Paints on the Palette
Use the knife to scrape out and blend pigments on a ceramic or plastic palette. Create premixed washes of graduated values that you can apply with brushes or modify with knives directly on the paper.
Scrape mixtures back into wells for consistent color reproduction. This is particularly useful when painting a series or working from studies.
Steps:
- Squeeze pigments or scoop pan pigment onto palette.
- Use knife to blend with a small amount of water for controlled consistency.
- Transfer mixed color into wells or apply with brush.
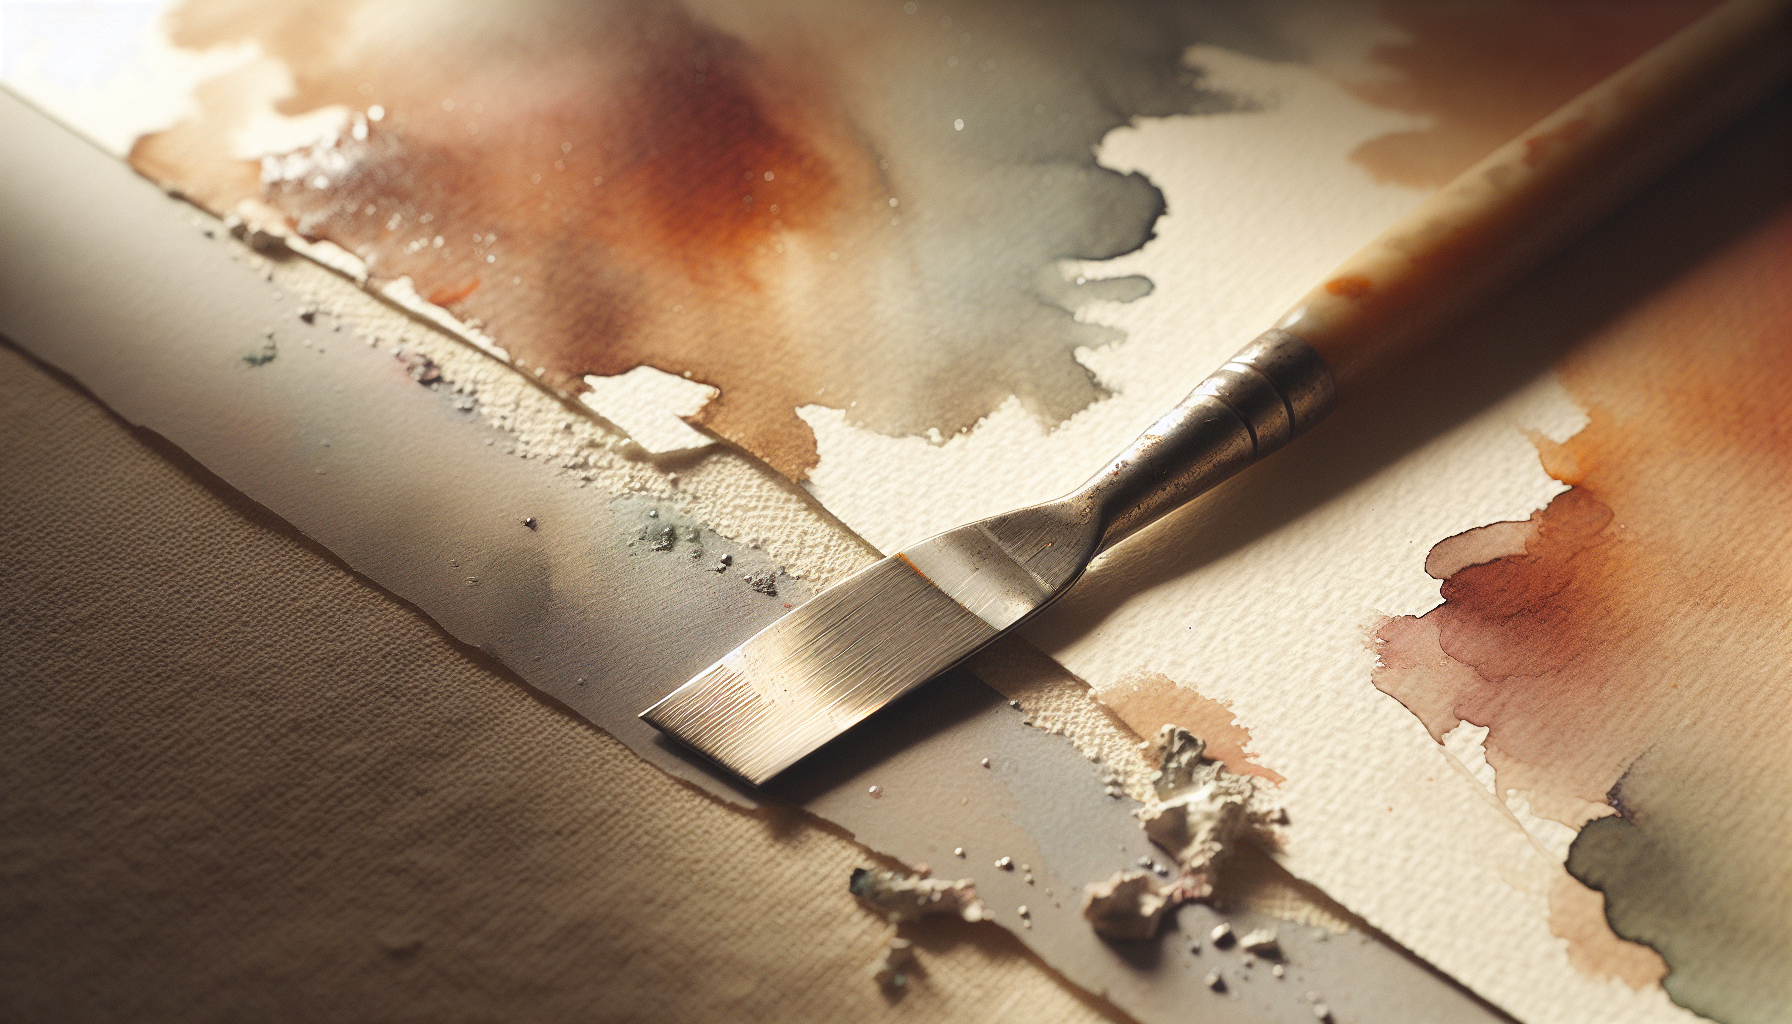
Lifting by Scraping
Lift paint from the paper by gently scraping with the knife edge when the pigment is semi-dry. This technique is ideal for creating highlights in rocks, clouds, or water reflections.
Work from less to more pressure:
- Allow wash to dry to tacky or near-dry state.
- Lightly hold knife at low angle and scrape in the direction of texture.
- Blot lifted pigment with tissue if necessary.
Practice on scrap paper to determine optimal drying time for lift without tearing fibers.
Scoring and Scratching for Fine Lines
Use the tip of a small palette knife to score fine lines in the paper before or during painting to create controlled white lines or to separate paint areas.
This method is effective for architectural details and hairline fractures in landscapes. Score lightly to avoid tearing.
Applying Masking Fluid with a Knife
Masking fluid can be applied with a plastic blade for precise, clean edges. The knife controls thickness and placement better than a brush for some shapes.
After masking and painting, remove the fluid carefully to reveal bright highlights.
Creating Soft Textures with Gentle Spreading
Use a rubber or silicone spatula to sweep lightly over wet, granulating pigment to encourage movement and partial lift. This produces subtle textures without aggressive scraping.
This technique is useful for atmospheric backgrounds and soft geological textures.
Combining Knife Work with Wet-in-Wet and Wet-on-Dry
You will often alternate between brush-applied wet washes and knife-based manipulation. Use wet-in-wet for diffuse base layers and apply knife techniques when layers are partially dry to create contrast.
Sequence example:
- Lay a soft, graded wash with a brush.
- Allow it to reach a semi-dry state.
- Use a knife to lift and scrape to reveal shape and texture.
Tips for Avoiding Damage and Troubleshooting
Preventing paper damage and undesirable marks requires attention to pressure, angle, and moisture content. Follow practical tips to reduce tearing and to get predictable results.
You should maintain a controlled approach and take breaks to evaluate progress.
Control Pressure and Angle
Keep the knife at a low to moderate angle when scraping or lifting. Excessive vertical pressure increases the likelihood of tearing.
Test on scrap paper to develop a feel for how much pressure each paper type tolerates.
Work in Stages and Allow Proper Drying
Many knife techniques require a specific moisture window. Rushing from wet to dry manipulations can cause smearing or muddiness.
Plan your stages:
- Wet-in-wet for gradations.
- Semi-dry for lifting.
- Dry for precise scoring.
Use Protection When Necessary
When scraping near edges or delicate details, use a protective strip of scrap paper or a movable guide to prevent accidental gouges.
If a tear occurs, use archival tape on the reverse to stabilize before continuing.
Test Pigments and Papers
Not all pigments lift equally. Staining pigments are more difficult to lift than non-staining ones. Test combinations of pigment and paper to determine which respond best to knife techniques.
Keep a swatch chart that records lift characteristics, granulation propensity, and staining tendency.
Combining Knife Techniques with Mixed Media
Palette knives work especially well when watercolor is combined with other media such as gouache, acrylic, or watercolor ground. These combinations expand textural possibilities.
You will achieve more pronounced knife marks when working with heavier or opaque materials.
Using Gouache or Opaque Watercolors
Gouache and heavier water-based paints accept knife work more readily than transparent watercolor. You can apply thicker strokes and build impasto-like textures that maintain water-based reversibility.
Use gouache for foreground elements where tactile texture is desirable.
Adding Watercolor Ground or Medium
Priming paper with watercolor ground or applying a watercolor medium increases surface tooth and makes the surface more amenable to scraping and building texture.
This allows you to use more aggressive knife techniques without sacrificing surface integrity.
Introducing Acrylic or Mixed-Media Layers
Acrylic layers can be applied over watercolor to hold knife marks and provide a textured substrate. If you plan a mixed-media approach, ensure that adhesion and archival compatibility are considered.
Use a clear planning strategy for the sequence of water-based and acrylic layers to prevent unwanted bleeding or lifting.
Examples and Project Ideas
Concrete project ideas will help you incorporate palette knives into your watercolor practice. Each project emphasizes a specific technique or outcome.
You should use these projects as exercises to build skill and confidence.
Textured Rock Study
Create a study of rocky textures using granulating pigments and knife-based lifting.
Steps:
- Paint a warm mid-tone wash for the rock base.
- While semi-dry, apply darker granulating pigments.
- Use a small knife to lift highlights and scrape vein lines.
- Accent with a dry brush to integrate knife marks.
Architectural Edge Study
Produce a small architectural study focused on crisp edges and mortar lines.
Steps:
- Paint flat washes for walls and shadow planes.
- Once slightly dry, score precise mortar lines with a fine knife.
- Lift thin glaze lines to indicate reflective surfaces or wear.
Stormy Sky Composition
Use broad knife strokes and spatula spreading to create dramatic cloud textures.
Steps:
- Apply a wet-in-wet wash for the sky.
- When the wash is tacky, use a rounded spatula to lift light cloud forms.
- Use a small knife to score lightning or fine cloud edges.
Mixed-Media Coastal Scene
Combine gouache and watercolor with knife textures to depict shoreline details.
Steps:
- Lay watercolor washes for sea and sky.
- Apply gouache for foam and splashes using a knife-edged spatula.
- Scrape into gouache to reveal underlying layers and simulate foam patterns.
Maintenance, Cleaning, and Safety
Proper care for your palette knives extends their life and keeps your workspace safe and hygienic. Knives are easy to maintain with regular cleaning and cautious handling.
You will benefit from a few routine maintenance steps and safe practices.
Cleaning After Use
Wipe excess pigment from the blade with a cloth immediately after use. Rinse or wash with mild soap and water for stubborn pigments. Dry thoroughly to prevent rusting on metal blades.
Avoid leaving water-based pigments to dry on the blade for long periods.
Storage and Blade Care
Store knives flat or hanging to protect edges and avoid accidental cuts. Keep blades away from children and mark storage clearly.
If blades become bent or nicked, replace them for safety and performance reasons.
Safety Considerations
Always handle knives with respect; they can cut or scratch skin and surfaces. Use cut-resistant gloves if you perform heavy scraping or if you are new to knife work.
Keep a first aid kit accessible for minor cuts.
Comparison: Palette Knife vs Brush-Only Watercolor
Understanding how knives differ from brushes helps you select the right tool for your intent. Both tools complement each other when used intentionally.
You should consider which tool best achieves the texture, edge, and transparency you require.
| Aspect | Palette Knife | Brush-Only Watercolor |
|---|---|---|
| Texture capability | High for scratches and relief; better with mixed media | Excellent for soft texture and gradation |
| Precision | High for scraping and lifting details | High for controlled strokes and glazing |
| Paper impact | Higher risk of damage | Low risk when used properly |
| Transparency | Limited when used alone | Superior for layered glazes |
| Speed | Fast for mixing and bold marks | Slower for large washes and glazing |
| Learning curve | Moderate; requires hand control | Basic to advanced depending on technique |
Frequently Asked Questions
This section answers common queries to help you implement palette knife techniques with confidence.
You will find succinct responses to practical concerns and technique clarifications.
Will a palette knife damage my watercolor paper?
A palette knife can damage paper if used with excessive force or if the paper is too light. Use heavier paper, test pressure on scraps, and work gently to reduce risk.
Can you apply watercolor directly with a palette knife?
You can apply thicker, more controlled areas of watercolor with a knife, but brushes remain superior for smooth washes. Consider using aquarelle grounds or mixing a heavier medium for better knife application.
Which pigments lift best with a knife?
Non-staining and granulating pigments lift more predictably. Staining pigments tend to adhere more permanently; test pigment behavior in advance.
How do you fix tears caused by a palette knife?
Stabilize tears with archival tape on the reverse and flatten the paper under weight. Repair success depends on tear severity and paper type.
Final Recommendations and Practice Plan
Using palette knives with watercolor can be a rewarding expansion of your practice. Approach the tool as a complement to brushes rather than a replacement.
Develop a practice plan:
- Start with mixing and palette work to gain comfort with the blade.
- Practice lifts and scrapes on scrap paper using different drying windows.
- Create small studies that combine brush washes and knife manipulation.
- Scale to larger works or mixed-media pieces as confidence grows.
Continued practice, careful material selection, and attention to pressure and drying stages will allow you to integrate palette knives meaningfully into your watercolor toolkit. You will discover new textures, efficiencies, and creative directions by adding this simple, versatile tool to your practice.