Are your paint brushes fraying or leaving stray hairs in your finish when you paint?
How To Prevent Your Paint Brushes From Fraying Or Shedding
You depend on your brushes to deliver a clean, consistent finish. When bristles splay, shed, or become misshapen, the result is wasted time, frustration, and inferior work. This guide gives you a complete, professional-level approach to preventing fraying and shedding so your brushes last longer and perform reliably.

Why Brushes Fray or Shed
Understanding the root causes helps you prevent problems before they appear. Fraying and shedding result from mechanical stress, poor materials, improper cleaning, or chemical incompatibility between brush and coating.
Bristles can loosen at the ferrule, split at the tips, or wear down from repeated abrasion. Ferrule corrosion or a poorly crimped ferrule will accelerate shedding. Heat from solvents or being left standing on their tips will permanently damage the bristle profile.
Brush Construction and Weak Points
A brush consists of bristles, ferrule, and handle. The ferrule secures the bristles; any failure there allows bristles to escape.
You should inspect the ferrule crimps, glue bond, and bristle alignment before each use. Weak glue, damaged crimping, or a loosening handle-ferrule interface are common failure points that lead to shedding.
Material Quality Matters
Higher quality bristles and ferrules cost more upfront but save money over time. Natural hog bristles offer excellent paint loading for oil-based coatings but require specific care. Modern synthetic filaments are durable and resist solvents, yet lower-quality synthetics may separate or splay.
Make buying decisions based on the materials and intended coatings, not on price alone.
Improper Use and Mechanical Stress
Scrubbing on rough surfaces, using brushes to pry corners, or heavy-handed pressure while painting will deform bristles. Repeated abrasion shortens the lifespan of any brush and increases the odds of bristles breaking off.
You should use the correct brush size and avoid using a finishing brush for scraping or heavy structural applications.
Poor Cleaning and Storage
Leaving paint to dry inside a brush or standing a brush on its bristles will cause permanent deformation. Using incompatible solvents or aggressive heat to remove paint may weaken the adhesive at the ferrule.
A consistent, correct cleaning and storage routine is one of the most effective ways to prevent fraying and shedding.
Chemical Incompatibility
Certain coatings and solvent systems degrade adhesives, soften natural bristles, or dissolve ferrule plating. For example, aggressive lacquer thinners and some epoxy solvents can affect glued joints. You should match your solvent and cleaning method to the paint chemistry.
Choosing the Right Brush for the Job
Selecting the proper brush is a preventative action you take before work begins. The right combination of filament type, ferrule construction, and brush shape reduces the likelihood of fraying or shedding.
A brush designed for the intended coating and application will maintain its profile longer and require less aggressive cleaning.
Bristle Types: Natural, Synthetic, and Blends
Different bristle materials perform differently and require distinct care procedures. Choose bristles based on paint type and finish requirements.
Table: Bristle Type Comparison
| Bristle Type | Best For | Advantages | Disadvantages | Cleaning Advice |
|---|---|---|---|---|
| Natural hog bristle | Oil-based paints, varnishes | Excellent paint loading, holds shape under pressure | Not for water-based paints long-term; can absorb water and swell | Clean with mineral spirits or appropriate solvent; condition with linseed or brush soap |
| Nylon (synthetic) | Water-based, latex, acrylic, some thin oils | Durable, resists solvents, retains shape when wet | May not hold as much heavy body oil as hog | Clean with warm water and soap for water-based paints; solvent safe varieties exist |
| Polyester or blended nylon-poly | Versatile across coats | Often cheaper, good abrasion resistance, maintains tip | Quality varies widely; cheaper blends shed more | Follow manufacturer cleaning instructions; soap and water or solvent as appropriate |
| Badger or other specialty natural | Fine finish work, glazing | Excellent tip and paint release | Expensive; requires careful cleaning | Gentle solvent or soap depending on coating; condition occasionally |
Ferrule and Handle Quality
A well-crimped, corrosion-resistant ferrule prevents bristle loss. Look for nickel-plated copper or stainless-steel ferrules when you expect exposure to water or solvents. Handles should be sealed wood or durable plastic; swelling or splitting at the handle can loosen the ferrule.
When you evaluate a brush, check the ferrule by flexing the bristles and checking for movement at the crimp. Minimal movement indicates a secure assembly.
Size and Shape Selection
Larger brushes carry more paint but need more skill to manage. Use sash brushes for trim, angled brushes for corners, and larger flats for broad surfaces. Using the correct shape reduces the need to overwork the brush and minimizes mechanical stress.
If you have complex trim or fine work, a smaller, high-quality brush will often outlast a lower-quality oversized brush.
Proper Techniques While Painting to Minimize Damage
Your technique affects brush life. Gentle, controlled strokes and proper loading reduce bristle stress, preserve the profile, and improve finish quality.
The goal is efficient paint transfer with minimal abrasion and even bristle wear.
Loading and Applying Paint
Load the brush by dipping only up to one-third of the bristle length into the paint; overloads cause paint to be forced into the ferrule, which makes cleaning more difficult and promotes breakdown of the adhesive. Tap or wipe the brush on the can rim to remove excess.
Use long, even strokes and feather the final passes rather than scrubbing. Maintain the proper brush angle for the task: flatter for broad strokes, near-vertical for lines.
Brushing Strokes and Pressure
Use minimal pressure and let the bristles flex naturally. Excessive force flattens the tip and causes splaying. Work in manageable sections so you avoid forcing the brush into dried paint edges.
If you find yourself pressing hard to get coverage, the brush or coatings mismatch may be the problem. Consider a different brush or thinning the paint slightly if appropriate.
Avoid Using Brushes as Scrapers or Mixing Tools
Do not use a brush to scrape off drips, pry between joints, or stir heavy solids—that will deform bristles, nick the tips, and loosen the ferrule. Use dedicated scrapers, palette knives, or sticks for those tasks.
Designate specific brushes for mixing or rough work that you are prepared to replace more frequently.
Match Brush to Coating Chemistry
Always match the brush material to the coating. Natural bristles excel with oil-based materials but degrade with water exposure over long periods. Synthetics handle water-based products far better.
Choosing the correct brush removes the need for corrective overworking that shortens brush life.
Cleaning Methods by Paint Type
A paint-specific cleaning method prevents solvent or water damage and keeps bristles intact. Each class of paint demands different solvents and procedures.
Follow safety protocols for solvents (proper ventilation, gloves, and disposal).
Table: Cleaning by Paint Type
| Paint Type | Primary Cleaner | Secondary Cleaner/Method | Common Mistakes |
|---|---|---|---|
| Water-based (latex, acrylic) | Warm water + mild dish soap or brush soap | Use brush comb, then rinse thoroughly; final rinse with warm water | Letting paint dry in brush; standing brush on bristles |
| Oil-based (alkyd, oil paints) | Mineral spirits or odorless mineral spirits | Follow with mild soap and warm water to remove residual solvent; condition bristles | Using hot water first or harsh solvents that remove glue |
| Lacquer | Lacquer thinner | Professional brush cleaner formulated for lacquer; immediate cleaning | Leaving lacquer to harden in bristles; aggressive agitation that splits tips |
| Shellac | Denatured alcohol | Follow with soap and water for finishers who prefer | Using incompatible solvents like water alone |
| Epoxy | Manufacturer-recommended solvent or immediate wiping | Disposable cleaning items; consider single-use brushes for epoxy | Attempting to clean cured epoxy—usually impossible |
Water-Based Coatings (Latex, Acrylic)
Rinse brushes immediately with warm water and then use mild dish soap or dedicated brush soap to emulsify the binder. Use a brush comb to remove particles near the ferrule. Rinse until water runs clear.
Never store a wet brush standing on its bristles. Lay it flat or hang it to dry while reshaping the tip with your fingers.
Oil-Based Coatings
Remove excess paint on a rag, then agitate the brush in mineral spirits or a manufacturer-recommended solvent. After removing most paint with solvent, follow with warm water and mild soap to remove remaining residues and solvent. Condition natural bristles after final rinse.
Avoid boiling or heating solvents; high temperatures can soften adhesives and break the bond at the ferrule.
Lacquers, Shellac, and Fast-Dry Coatings
These coatings set quickly and demand immediate attention. Use the recommended thinner (lacquer thinner for nitrocellulose lacquers, denatured alcohol for shellac) and flush the brush repeatedly until no coating is present. Consider a separate set of brushes reserved for these finishes.
For lacquer, many professionals use disposable brushes for difficult jobs because cleaning can be aggressive and shorten brush life.
Epoxy and Specialty Resins
Epoxy often requires a specific solvent before cure or single-use brushes if cleaning is impractical. Read the resin technical data sheet for approved solvents and recommended work practices. For cured epoxy, you will usually need to replace the brush.
If you elect to try cleaning, use protective gear and follow proper disposal for contaminated solvents.
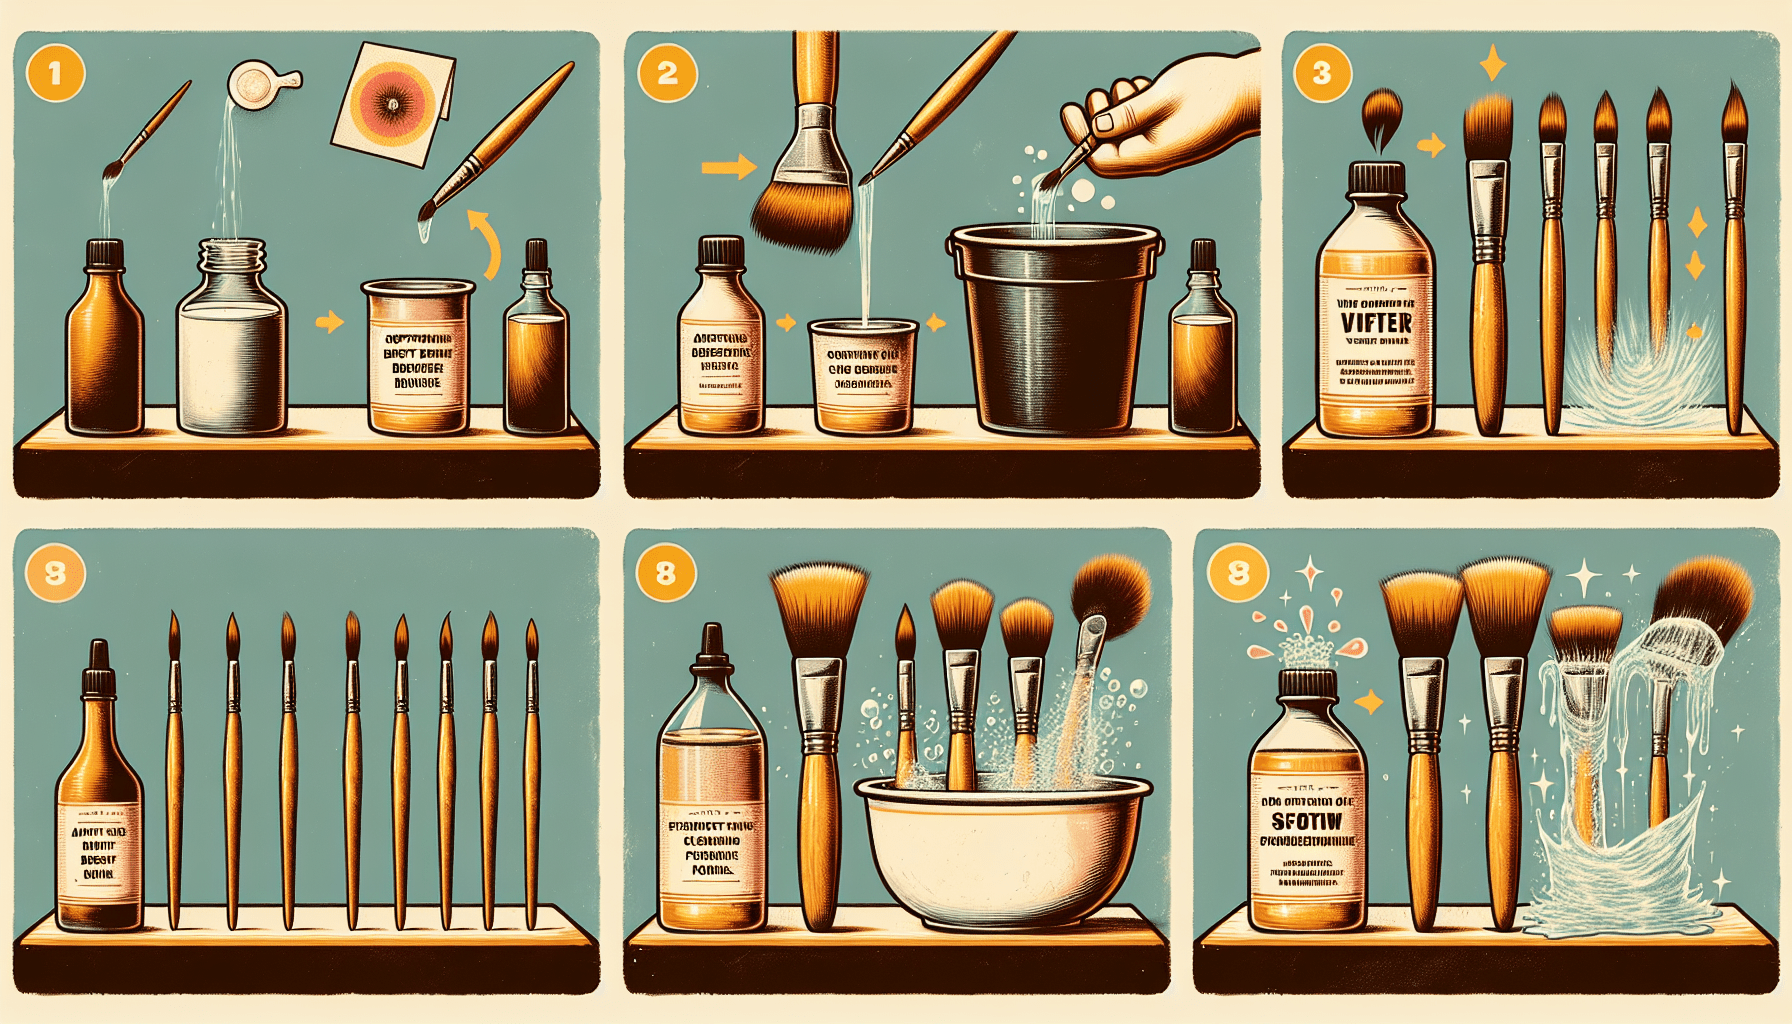
Step-by-Step Cleaning Routine (Detailed)
Establish a reproducible cleaning routine. Consistency prevents mistakes that lead to shedding and saves time.
Follow these steps immediately after finishing with a brush to keep bristles and ferrule in optimal condition.
Step 1 — Remove Excess Paint
Wipe as much paint as possible from the brush on an old rag or paper towel. Work from ferrule to tip to avoid forcing paint deeper into the ferrule.
For heavy-bodied material, scrape the brush against the rim or use a putty knife to pull paint outward before wiping.
Step 2 — Initial Rinse or Solvent Bath
For water-based paints, rinse under warm running water; for oil-based paints, dip and swish in mineral spirits or the recommended solvent. Use a dedicated container for solvents and change it when it becomes saturated with paint.
Avoid using your cleaning container for multiple chemicals; label dedicated solvent buckets.
Step 3 — Work the Bristles with Soap
Use a mild, high-quality brush soap or dish soap and work it into the bristles using a lathering motion and your thumb along the spine. A specialized brush cleaner with glycerin will both clean and condition natural bristles.
A brush comb or an inexpensive wire brush cleaner can remove paint trapped near the ferrule without damaging tips.
Step 4 — Rinse and Repeat
Rinse until the water or solvent runs clear. Repeat the soap-and-rinse cycle if necessary. For oil-based paints, finalize with a soap wash to remove solvent residue.
Use running water for soaps and disposable solvent buckets for solvent washes. Do not mix solvent into water buckets.
Step 5 — Reshape and Dry
Gently squeeze excess water with your fingers and reshape the bristles to their original profile. Use a protective brush guard or wrap in breathable material and hang or lay flat to dry in a dust-free area.
Avoid heat-drying or standing the brush on its bristles, which will splay the tip.
Step 6 — Condition if Appropriate
For natural bristles, apply a small amount of linseed oil or dedicated brush conditioner if the bristles feel dry. Wipe off excess and store. For synthetic filaments, conditioning is usually unnecessary.
Conditioning restores flexibility and reduces brittleness, reducing the chance of breakage and shedding.
Drying and Storage Best Practices
Proper drying and storage prevent moisture damage, rust, and bristle deformation. You should store brushes in a way that protects the tip and preserves shape.
Consistency is key: designate a drying area and a storage method.
Drying: Orientation and Environment
Hang brushes with bristles pointing down or lay them flat, bristles supported to retain shape. Hanging down prevents water from pooling into the ferrule, which can loosen adhesive and cause rust.
Store brushes in a low-dust environment and avoid direct sunlight, which may dry and embrittle bristles.
Protecting the Tip
Use plastic bristle guards, cardboard tubes, or original packaging to protect the tip during storage. A snug guard preserves shape and prevents accidental splaying.
If you must store brushes temporarily between coats, wrap bristles in plastic wrap or use sealed containers filled with the appropriate solvent for short breaks (only when recommended for the coating and with proper ventilation).
Table: Storage Methods for Different Durations
| Duration | Storage Method | Rationale |
|---|---|---|
| Short breaks (minutes to hours) | Wrap bristles in plastic wrap or place in sealed container with recommended solvent | Prevents paint from drying out; only use for compatible coatings |
| Overnight to a few days | Rinse thoroughly, reshape, hang bristles down or store flat with tip protected | Avoids long-term solvent exposure while preventing deformation |
| Long-term (weeks to months) | Fully clean and condition, use bristle guard, store in sealed box | Prevents dust, rust, and accidental damage; natural bristles may benefit from light conditioning |

Maintenance and Periodic Conditioning
Treat brush maintenance like routine equipment care. Periodic conditioning and inspection identify issues early and prolong life.
Plan a basic maintenance schedule: quick cleaning after each use, deeper inspection weekly or per job, and conditioning monthly for frequently used natural-bristle brushes.
Conditioning Methods
For natural bristles, use a small amount of boiled linseed oil, neatsfoot oil, or a commercial brush conditioner after cleaning. Apply lightly, then wipe to remove excess.
Avoid oiling synthetic brushes routinely; excess oil can attract dust and interfere with paint adhesion for some coatings.
Inspection Checklist
Inspect brushes regularly for the following:
- Loose bristles at the ferrule
- Ferrule corrosion or cracking
- Handles that have split or swelled
- Splayed tips or uneven lengths
Address defects immediately: re-crimping a ferrule or replacing the brush before a major job is often less costly than repairing a poor finish.
Repairing Frayed or Shedding Brushes
Minor fraying can sometimes be corrected, but many heavily damaged brushes are best replaced. Repairs can extend life if performed carefully.
When you attempt repair, focus on securing loose bristles and restoring the profile without making damage worse.
Removing Loose Hairs
Use needle-nose tweezers to pull out loose hairs near the ferrule. If many bristles are loose or the ferrule feels unstable, replacement is the safer option.
Trim stray tips with sharp scissors to restore a clean edge. Trim conservatively—excessive trimming reduces brush performance.
Re-gluing or Re-crimping
If the ferrule glue has softened, you can re-glue bristles with a small amount of flexible adhesive like PVA (wood glue) applied at the ferrule—only as a last resort and only if you understand glue compatibility with solvents. Some professionals re-crimp ferrules with a bench vise if the bristle movement is caused by a loose crimp, but this requires care to avoid pinching and damaging the ferrule.
If you are uncomfortable performing these repairs, replacing the brush is often the most cost-effective and time-saving choice.
Using a Brush Conditioner Restorer
Commercial brush restorer products can soften dried paint and restore bristle flexibility. Follow manufacturer instructions and test on a less valuable brush first, as restorative chemicals can affect ferrule bonds or handle finishes.
Long-Term Strategies to Extend Brush Life
Equipment longevity is often determined by habits. You can markedly extend the life of your brushes through purchasing choices, workflow planning, storage protocol, and consistent cleaning.
Think of brushes as a small investment in quality output and schedule care into the project plan.
Buy the Right Quality
Invest in brushes from reputable manufacturers, matching bristle type and ferrule material to the job. For trim work and finish coats, prioritize quality; for rough work or single-use epoxy, consider cheaper disposables.
Quality is not simply brand; evaluate bristle density, ferrule assembly, and handle ergonomics.
Rotate and Reserve Brushes
Designate brushes for specific coatings and tasks so that you do not mix solvent residues or damage a finishing brush with abrasive work. Rotate brushes so wear is distributed evenly across your inventory.
Label storage containers with the brush’s intended use to avoid accidental cross-contamination.
Use Protective Accessories
Brush guards, ferrule guards, and storage racks cost little but prevent damage. Use disposable paint liners or sticks when mixing to avoid pushing solids into the ferrule.
Consider tool boxes with soft compartments if transporting brushes to job sites.
Troubleshooting Common Problems
Even with proper care, you may encounter issues. A problem-focused approach helps you identify the quickest corrective action.
Quick fixes often restore function without replacement.
Brushes Too Stiff After Cleaning
If bristles feel stiff after cleaning, it can be residual paint or solvent. Soak in a brush restorer or a mixture of warm water and brush soap for 15–30 minutes, then work through the bristles and rinse. For natural bristles, follow with a light conditioning oil.
Avoid using fabric softeners or hair conditioner as a first choice; use products specifically designed for brushes for predictable results.
Persistent Shedding
If shedding continues after cleaning and inspection, it usually indicates a manufacturing defect or ferrule failure. Replace brushes that consistently lose hairs, as stray hairs will continue to mar finishes.
Document purchases and consider returning defective brushes to the vendor.
Ferrule Rust or Handle Swelling
If you see rust, dry with a cloth and treat with a rust inhibitor. For handles that have swollen due to water exposure, fully dry the handle and consider sealing with varnish. Replace brushes with severely corroded ferrules—rust weakens the metal and can discolor finishes.
When to Replace a Brush
Understand the signs that indicate replacement is necessary. Trying to keep a badly damaged brush only causes poor results and wasted labor.
Replace a brush when:
- The ferrule is loose or corroded
- Bristles fall out in clumps after a proper cleaning
- The brush no longer forms a clean edge despite trimming
- The handle has split or the ferrule/pigmented adhesive fails
- The brush has been used for coatings that cure in the bristles (e.g., cured epoxy, some lacquers) and cannot be cleaned fully
Budget for brush replacement as part of routine project costs; frequent replacement is less expensive than reworking poor finishes.
Practical Checklist to Prevent Fraying and Shedding
Use this compact checklist before, during, and after each job to maximize brush life.
- Choose the correct brush for the coating and surface.
- Inspect ferrule crimps and bristle alignment before use.
- Load brush only one-third deep and avoid overworking the bristles.
- Do not use the brush for scraping or mixing solids.
- Clean immediately after use per the coating-specific method.
- Use a brush comb to remove particles near the ferrule.
- Rinse thoroughly and reshape before drying.
- Hang brushes with bristles down or store flat with a guard.
- Condition natural bristles occasionally; avoid oiling synthetics.
- Replace brushes that exhibit persistent shedding or ferrule issues.
Final Recommendations and Best Practices
Preventing fraying and shedding is mostly about selecting the right tool, using it appropriately, and following disciplined cleaning and storage routines. Invest time in proper technique and a modest amount in good supplies—brush soap, comb, guards, and the correct solvents—and you will see performance improvements and lower long-term costs.
Treat brush care as part of your professional workflow. Regularly inspect, clean, and condition; store brushes properly; and replace when repair is no longer economical. With these practices, you will maintain a reliable set of brushes that consistently produce professional results without the distraction of stray hairs or splayed tips.


