Have you ever found yourself frustrated with a ruined paintbrush after a cleaning attempt gone awry? Cleaning paint brushes properly is essential to maintaining their longevity and ensuring they perform optimally every time you use them. Improper cleaning can damage the bristles, shortening their lifespan and affecting your work quality. Understanding the right techniques and tools for cleaning paint brushes can save you time and money.
Understanding Paint Brushes and Their Materials
Before diving into the cleaning process, it’s crucial to understand the materials that make up paint brushes. This knowledge will help you choose the best cleaning methods to prevent damage.
Types of Bristles
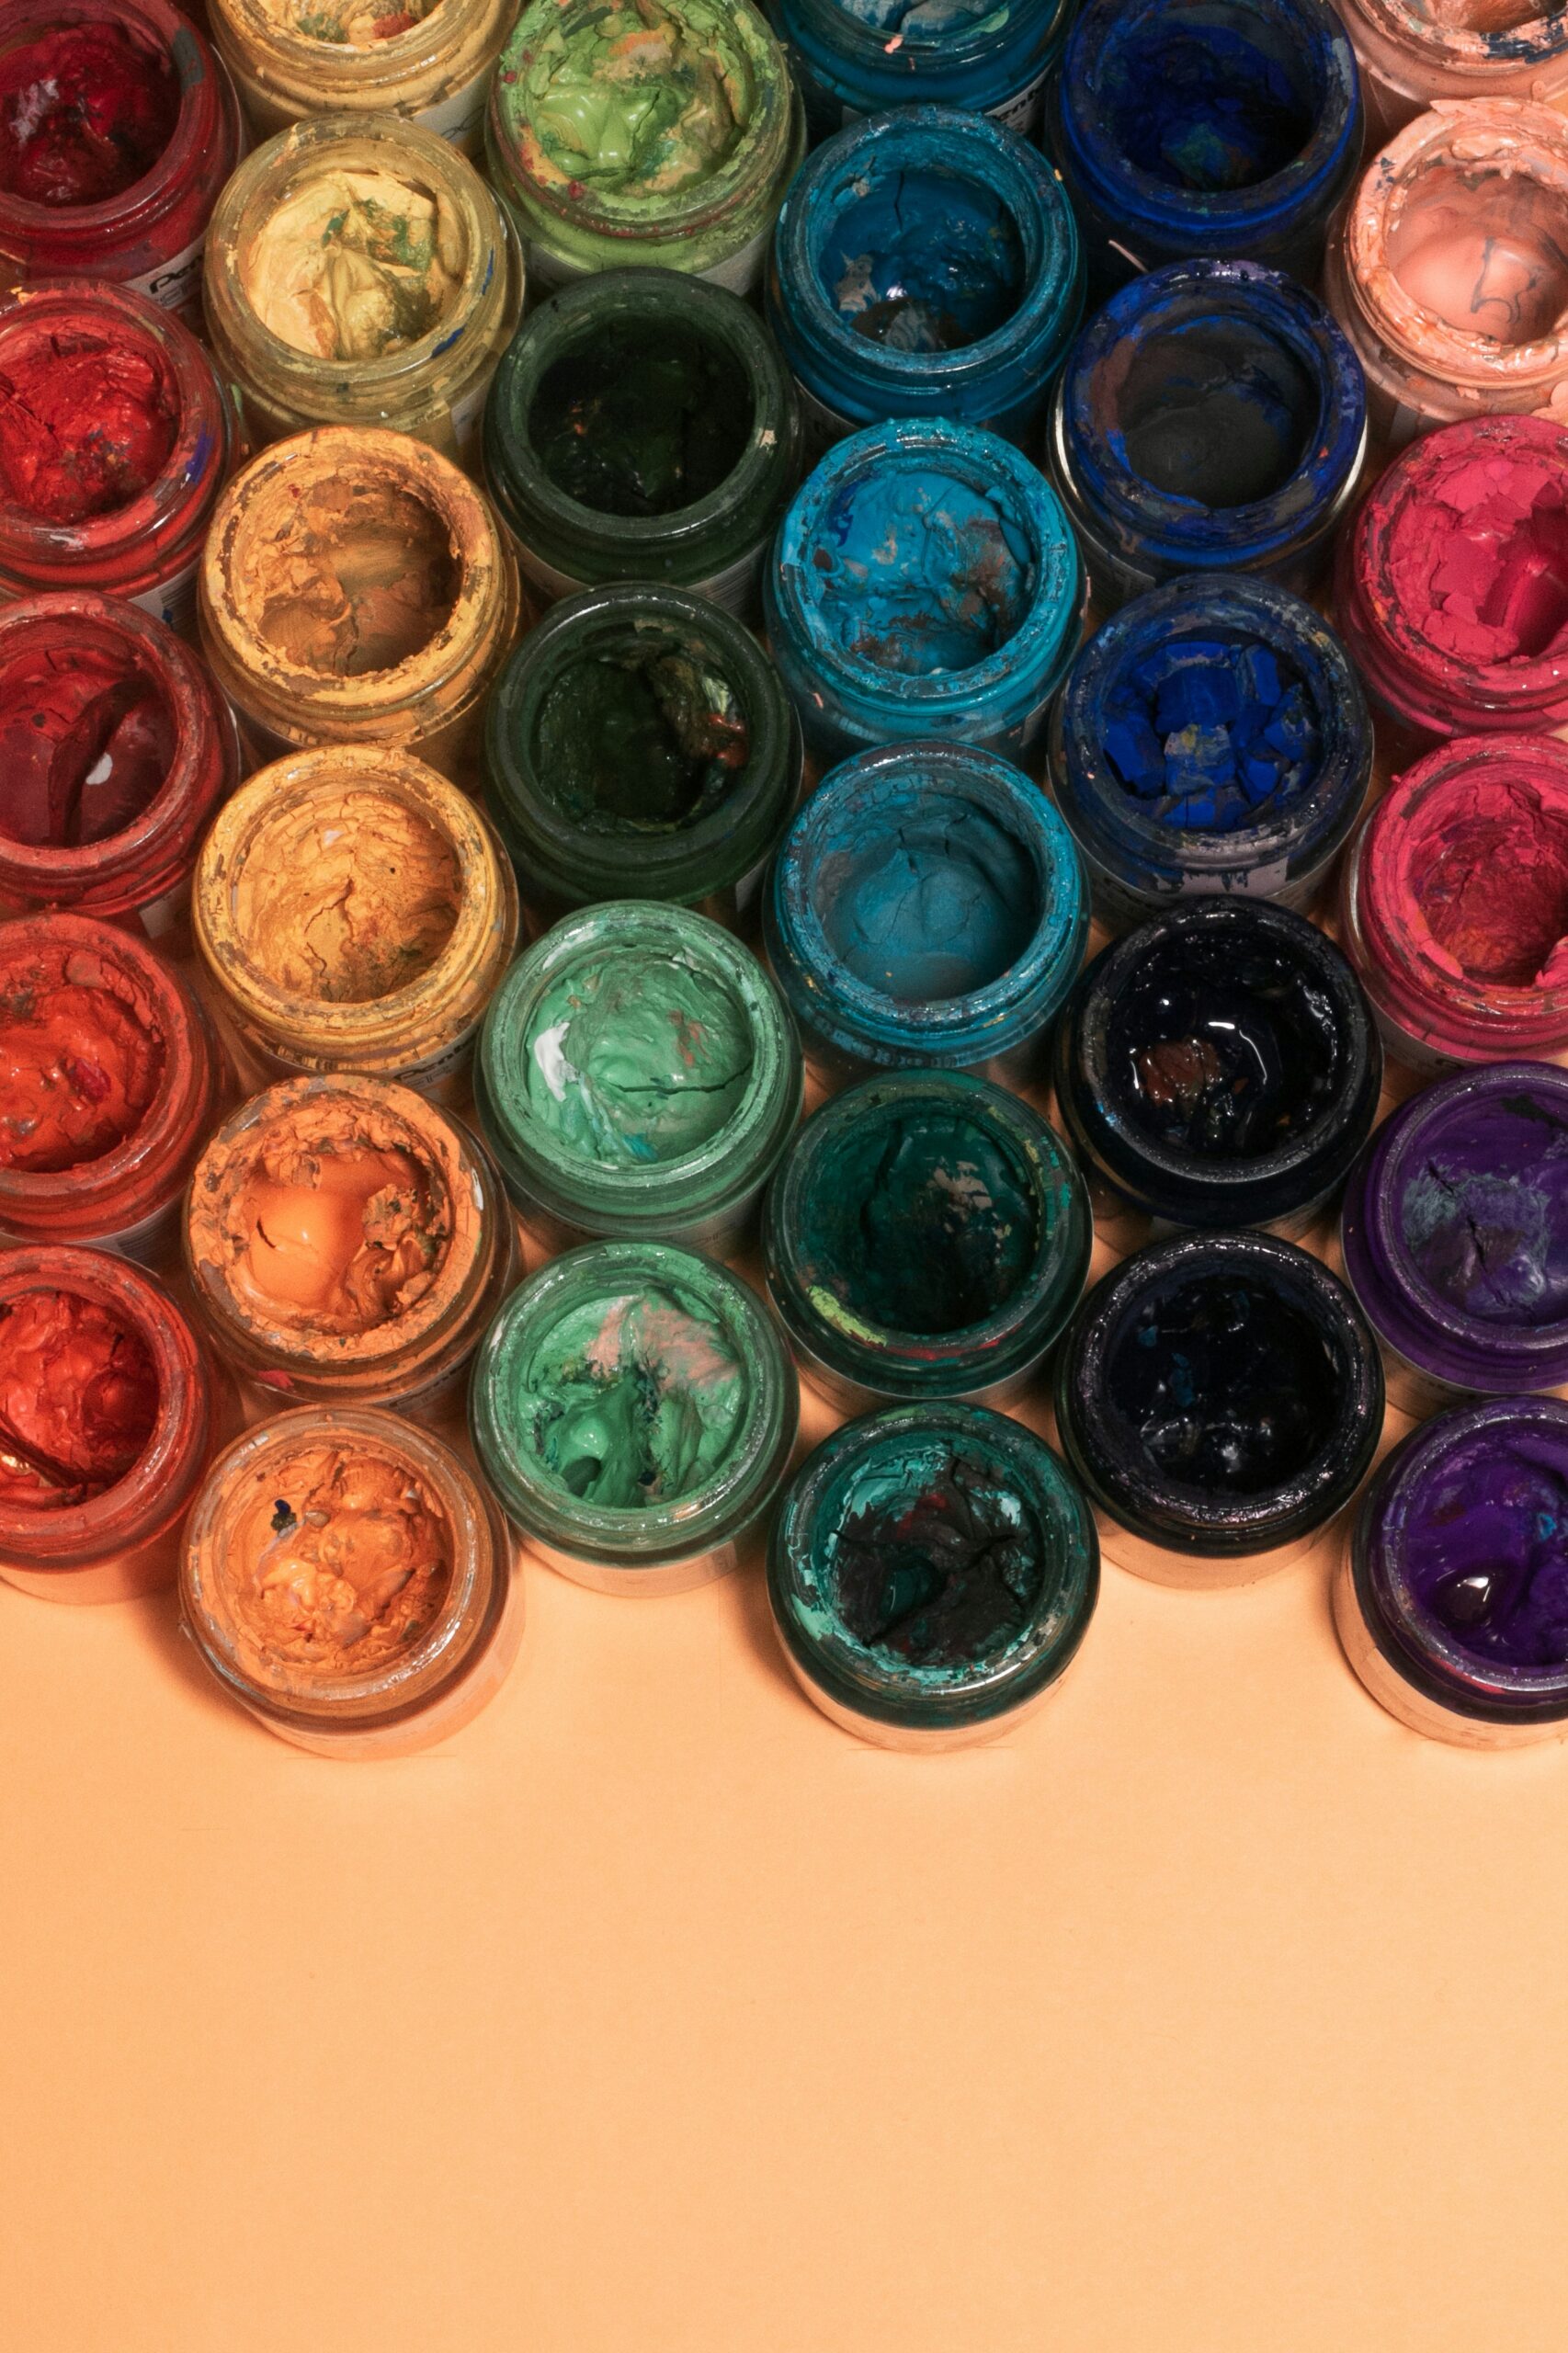
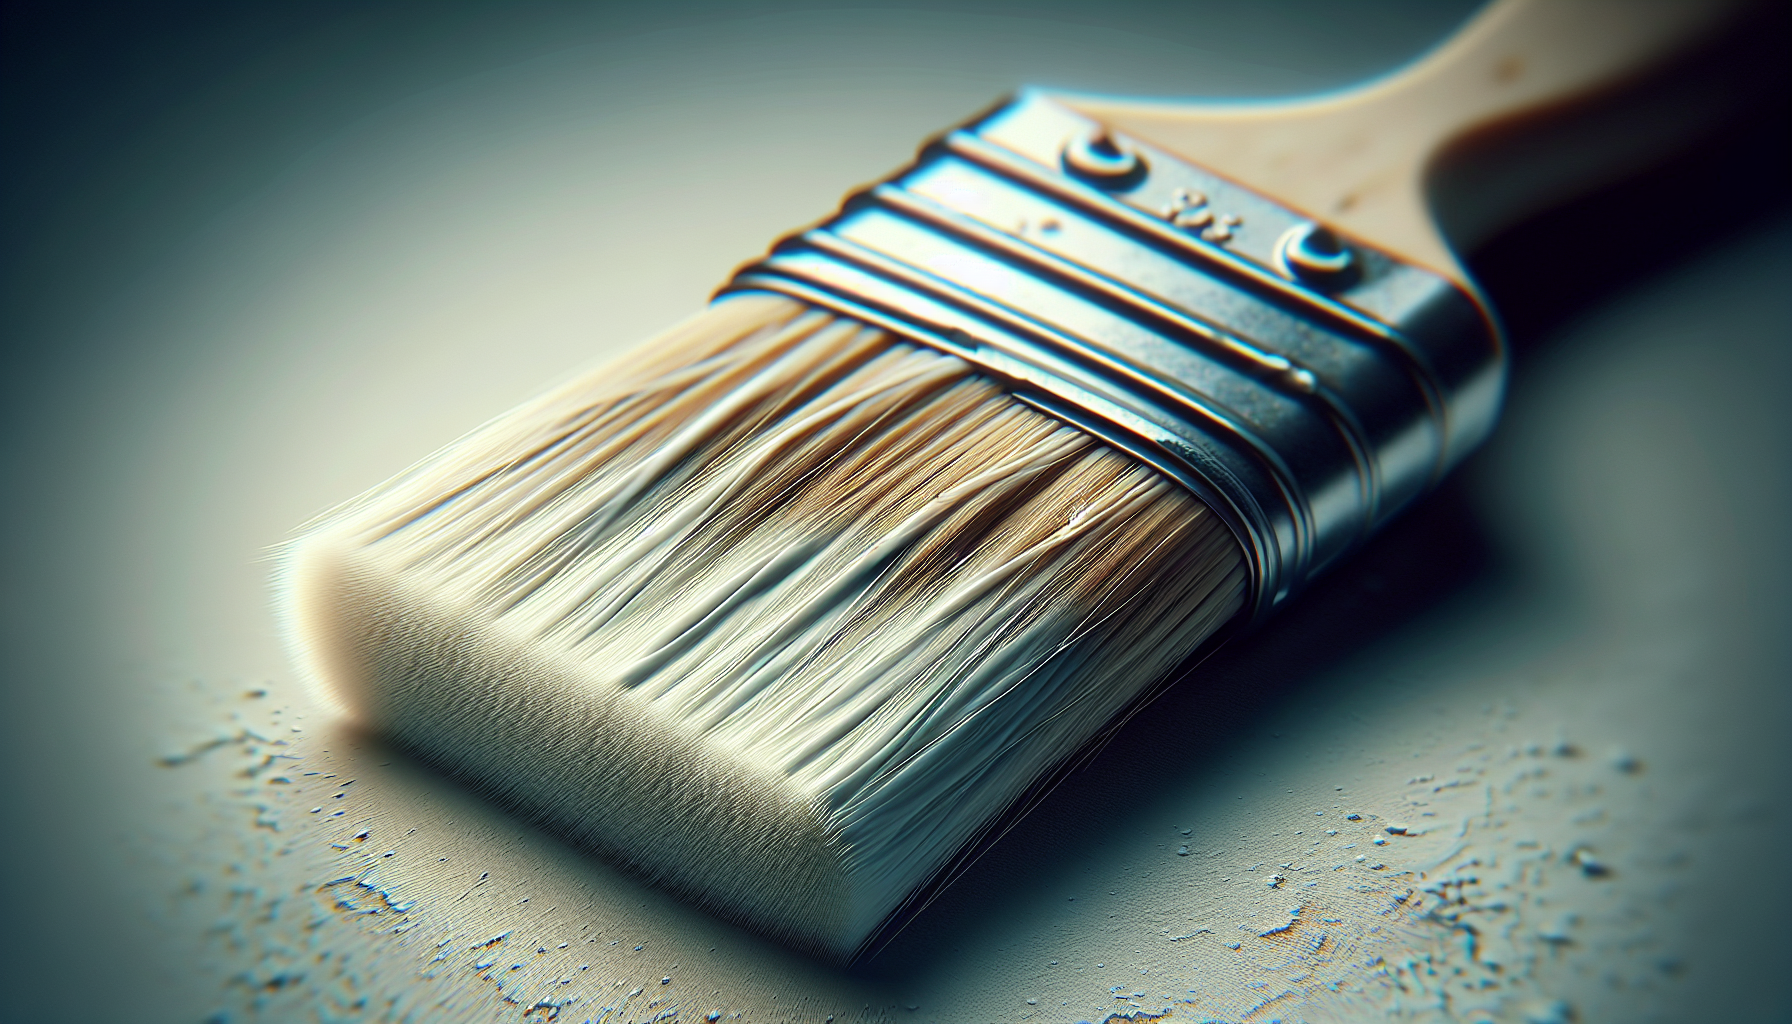
Paint brushes are generally made with either natural or synthetic bristles. Natural bristles, usually from animal hair, are ideal for oil-based paints due to their ability to maintain stiffness and absorbency. On the other hand, synthetic bristles, typically made from nylon or polyester, are better suited for water-based paints. Identifying the type of bristles you’re working with is the first step in selecting an appropriate cleaning method.
The Brush Ferrule
The ferrule, often made of metal or plastic, holds the bristles together and connects them to the handle. Proper maintenance of the ferrule is vital as it ensures bristles remain securely attached. Avoid submerging this part in water for extended periods, as it can lead to rust or loosening of the bristles.
Preparation for Cleaning
Preparation is key when it comes to cleaning paint brushes effectively. Being equipped with the right tools and techniques can make a significant difference in maintaining brush quality.
Essential Cleaning Tools
Having the right cleaning tools on hand can simplify the process. Essential items include:
- Paint thinner or mineral spirits: For oil-based paints.
- Mild dish soap and water: For water-based paints.
- Plastic or metal brush comb: Helps in detangling and reshaping bristles.
- Clean container or jar: Suitable for mixing and rinsing.
- Old rags or paper towels: Handy for wiping off excess paint and drying brushes.
- Rubber gloves: Protects your hands from chemicals and paint residue.
Setting Up Your Workspace
Ensure your workspace is well-ventilated, especially when dealing with fumes from paint thinners or mineral spirits. Work on a flat, stable surface like a workbench or table, and line it with old newspaper or a plastic sheet to catch spills or drips.

Step-by-Step Cleaning Process for Water-Based Paints
Water-based paints, such as acrylic and latex, require a straightforward cleaning process. Follow these steps to ensure your brushes remain intact and functional.
Step 1: Remove Excess Paint
Begin by removing as much excess paint as possible. Gently squeeze the bristles with a paper towel or old cloth, starting from the ferrule and moving towards the tip. Avoid pulling on the bristles, as this can cause breakage.
Step 2: Rinse in Warm Water
Fill a clean container with warm water and swirl the brush gently to dislodge paint particles. Avoid using hot water, as it can damage the glue holding the bristles. Periodically tap the brush against the side of the container to remove loose paint.
Step 3: Clean with Dish Soap
Apply a small amount of mild dish soap to the bristles and work it in with your fingers. The soap will break down the paint remaining in the bristles. Work from the base of the bristles to the tip to avoid tangling.
Step 4: Rinse and Repeat
Rinse the brush thoroughly in warm water, squeezing the bristles gently to remove the soap. Repeat the soaping and rinsing process until the water runs clear, indicating the paint is fully removed.
Step 5: Dry and Shape
Gently pat the brush dry with an old cloth or paper towel. Reshape the bristles to their original form, using a brush comb if necessary. Store the brush flat or hanging with the bristles pointing downward to maintain shape and prevent the handle from weakening.
Step-by-Step Cleaning Process for Oil-Based Paints
Oil-based paints demand a slightly different approach due to their adhesive nature. Proper cleaning ensures that the brush is reusable for future projects.
Step 1: Wipe Off Excess Paint
As with water-based paints, the first step involves removing excess paint with a cloth or paper towel. Carefully squeeze the bristles, working from the ferrule towards the tip.
Step 2: Use a Solvent
Pour a small amount of paint thinner or mineral spirits into a clean container. Submerge the bristles, ensuring the ferrule is not submerged for too long. Swirl the brush gently to loosen and dissolve the paint.
Step 3: Comb Through the Bristles
Using a plastic or metal brush comb, gently comb through the bristles to remove any stubborn paint. This step ensures that the bristles maintain their alignment and do not clump together.
Step 4: Clean with Soap
After removing most of the paint, wash the brush with mild dish soap and warm water. This will help eliminate any residual solvent and paint, ensuring the bristles are thoroughly clean.
Step 5: Rinse, Dry, and Store
Rinse the brush in warm water until all soap and residue are removed. Pat dry with a cloth and reshape. Store the brush properly to maintain the integrity of the bristles, ensuring it’s ready for your next project.

Handling Stubborn Paint Residue
Sometimes, paint can dry on your brush, making cleaning more challenging. In such cases, additional methods may be required to restore your brushes.
Using a Brush Cleaner
Specialized brush cleaners are available for dealing with dried-on paint. Follow the manufacturer’s instructions carefully, soaking the bristles as needed. Brush cleaners are often more potent than standard soaps, requiring minimal soaking time to loosen paint.
Vinegar Solution for Dried Paint
White vinegar can be a natural alternative to commercial cleaners. Heat some vinegar and soak the brush bristles for about 30 minutes. Use a brush comb to remove loosened paint before washing with soap and water.
Preventing Paint from Drying on Brushes
Prevent paint from drying on your brushes by keeping a checklist while painting. Regularly pause to clean brushes if you notice paint starting to dry. Additionally, avoid leaving brushes out overnight without cleaning them, as this can lead to hardened paint that’s difficult to remove.
Maintaining Your Paint Brushes
Proper maintenance extends the lifespan of your paint brushes, reducing waste and saving money over time.
Regular Cleaning Routine
Develop a routine that involves cleaning your brushes immediately after use. Consistent care ensures that paint does not harden, thus maintaining the brush’s quality and usability.
Proper Storage
Store brushes flat or hanging to allow bristles to dry evenly, preventing the handle from weakening or bristles from warping. Avoid storing them in closed, humid environments where mold can develop.
Periodic Check for Wear and Damage
Inspect your brushes regularly for signs of wear, such as loose bristles or a damaged ferrule. Addressing these issues promptly prevents further degradation and maintains brush quality.
Adopting a systematic approach to cleaning and maintaining your paint brushes can safeguard their quality, ensuring excellent performance over countless projects. Investing time in proper cleaning today will result in a rewarding painting experience tomorrow.