Have you ever wondered how to master the ancient art of batik painting on paper and bring intricate designs to life? This traditional technique, which dates back thousands of years, offers a rich amalgamation of color and creativity. By adapting batik to paper, you can create accessible artwork without the need for a textile medium. This guide provides a comprehensive roadmap for those eager to experiment with this captivating art form.
Understanding Batik and Its Origins
Before stepping into the practical aspects, immersing yourself in the history of batik can provide invaluable context. Originating from regions across Indonesia, Malaysia, and India, batik is revered for its unique process of wax-resist dyeing. While traditionally applied to fabric, batik is also gaining popularity on other surfaces such as paper. This offers an opportunity for artists and enthusiasts to experiment without requiring textile materials.
Tools and Materials Required for Batik on Paper
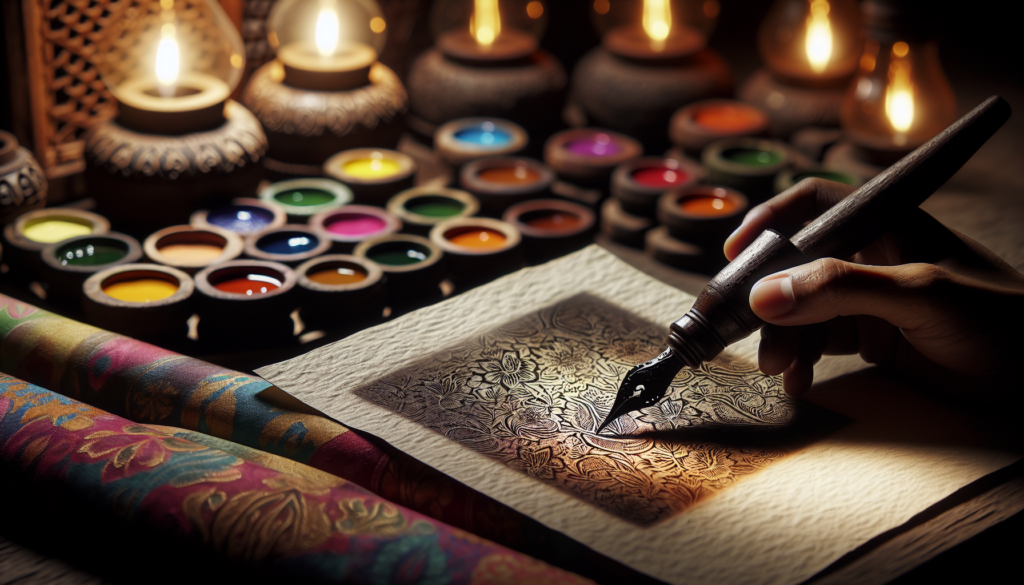
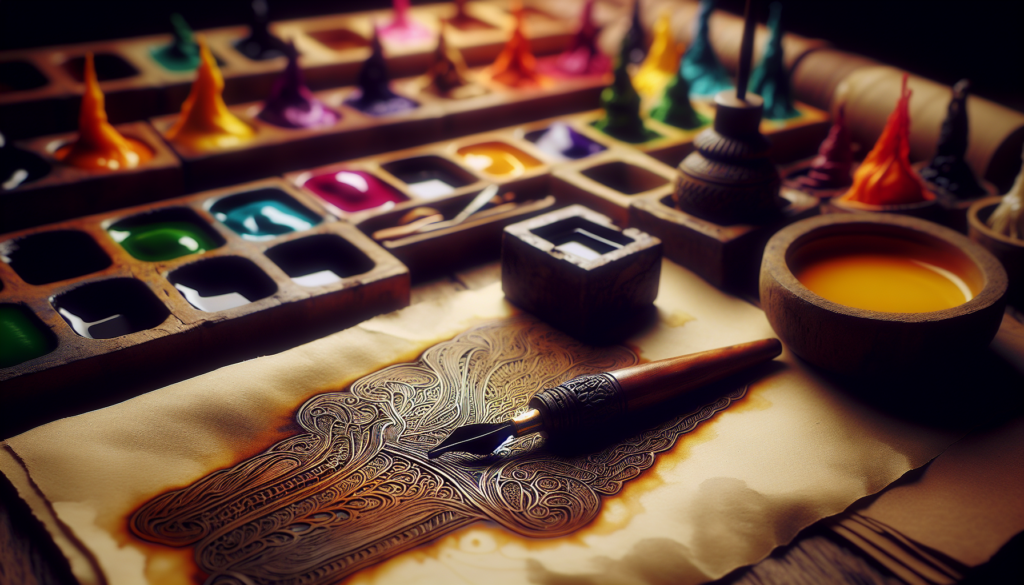
To engage in batik painting on paper effectively, gathering the right tools and materials is vital. These items form the foundation of your artistic journey and contribute to the quality of the final product.
Essential Materials
- Paper: Choose a sturdy and absorbent paper like watercolor paper or rice paper. The paper must withstand the application of wax and dyes.
- Wax: Typically beeswax or paraffin wax is used. The wax serves as a resist that protects certain areas of the paper from absorbing dye.
- Dyes: Use fabric dyes or inks for vibrant and enduring color results.
- Brushes: A variety of brush sizes can help in creating different patterns and details.
- Tjanting Tool: A traditional tool with a small spout for applying wax with precision.
- Double Boiler: A safe method for melting wax without direct heat.
- Iron: This is used at the final stages to remove the wax.
- Pencils and Erasers: For sketching initial designs.
- Protective Clothing and Gloves: To safeguard against any dye or wax splashes.
Additional Supplies
- Containers: For mixing dyes.
- Plastic Spoon or Stirring Stick: To mix dyes thoroughly.
- Newspaper or Protective Covering: To protect your working surface.
- Drying Rack or Clothesline: To hang and dry the paper after applying dye.

Setting Up Your Workspace
Creating an efficient workspace lays the foundation for an uninterrupted batik experience. It’s essential to organize your area to accommodate the various stages of the batik process.
Workspace Configuration
- Ventilation: Ensure the area is well-ventilated, especially when melting wax and applying dyes.
- Lighting: Adequate lighting is crucial for accurate color application and detail work.
- Protection: Cover the worktable with plastic or newspaper to guard against spills.
- Accessibility: Keep all tools and materials within easy reach to maintain a smooth workflow.
Ensuring an efficient setup minimizes distractions and allows for greater concentration on the creative process.
Designing Your Batik Pattern
The key to a successful batik painting lies in the design. Consider starting with simple patterns if you’re a beginner, gradually progressing to more complex motifs as your skills improve.
Initial Sketches
Use a pencil to draw a preliminary sketch on your paper. Opt for natural or geometric patterns common in traditional batik designs, or let your imagination guide you. Bear in mind the wax-resist properties, as design complexity impacts the application of wax and dye.
Adding Details
Once your primary sketch is completed, focus on adding finer details. At this stage, it is crucial to visualize how the wax will interact with each element of your design.
Finalizing the Design
Review your sketch to ensure all elements are clear and well-defined. Consider the color scheme you intend to apply, and how each color will interact within your pattern. Final adjustments should help align the sketch with your artistic vision.

Applying Wax to the Design
Wax application is central to the batik process, serving both as a resist against the dye and as a medium for detail.
Melting the Wax
Utilize a double boiler to safely melt the wax. Beeswax is often chosen for its pliable nature, whereas paraffin wax cracks more intricately, adding character to designs. Caution is advised when handling hot wax to prevent burns.
Wax Application Technique
Using the tjanting tool or a brush, begin applying molten wax to your paper following your sketched design. Ensure consistent wax application to maintain uniform resist areas.
Timing and Drying
Allow the wax to set completely before proceeding to the dyeing stage. This ensures that the design’s integrity remains intact during color application.
Applying Dye to the Batik Pattern
The dyeing stage breathes life into your batik painting. Careful consideration of colors and application methods can significantly impact the final outcome.
Preparing Dyes
Mix the chosen dyes in separate containers, paying attention to achieving the desired hues. Use gloves to protect your hands from staining during this process.
Dye Application
With a brush or sponge, gently apply dye across the paper. Ensure full coverage of areas not protected by wax. Different techniques, such as gradual blending or bold stratification, can create varying degrees of visual texture and depth.
Drying the Dyed Paper
Once the dye is applied, allow the paper ample time to dry. Depending on climate conditions, this may take several hours. Using a drying rack can expedite the process, preventing smudging or color bleeding.
Removing the Wax
The removal of wax is the final step in unveiling your batik design. This stage requires precision to maintain the integrity and clarity of your artwork.
Wax Removal Techniques
-
Iron Method: Place the dyed and wax-covered paper between sheets of absorbent paper. Gently iron to heat and melt the wax, which is absorbed by the covering sheets.
-
Boiling Method: Alternatively, submerge the paper in warm water to aid wax separation. This method requires precaution as water-logged paper is more vulnerable to damage.
Final Touches
After wax removal, inspect your work for any touch-ups needed. Minor imperfections can be addressed with direct dye application or additional artistic embellishments.
Mounting and Preserving Your Batik Painting
Proper mounting and preservation ensure your batik artwork remains vibrant and intact over time. Protecting artwork from environmental damage prolongs its lifespan significantly.
Mounting Options
- Framing: Consider framing your batik art under glass to provide a dust-free enclosure.
- Mounting Boards: Affixing to a sturdy backing offers structural support.
- Displaying Without Frame: When framing is not feasible, hanging directly using clips or adhesive corners is an alternative.
Preservation Tips
Ensure the artwork is stored away from direct sunlight and extreme humidity, which can lead to fading or degradation. Regular cleaning of display glass can maintain the artwork’s appeal.
Troubleshooting Common Batik Challenges
Despite meticulous planning, challenges can arise during the batik process. Knowing how to address these issues ensures continued improvement and success.
Uneven Wax Lines
Inconsistent wax lines can result from improper wax temperature or application pressure. Adjusting these variables often remedies the issue.
Dye Bleeding
Excessive dye bleeding beyond wax outlines can occur if the wax resist is insufficient or if dye is over-applied. To control bleeding, ensure wax coverage is thorough and dye application is moderate.
Environmental Effects
Humidity or temperature shifts can alter drying times and color stability. Maintaining a steady environment can mitigate these effects.
Advancing Your Batik Skills
As you gain confidence in basic techniques, exploring advanced styles and methods can expand your artistic repertoire.
Experimentation
Attempt incorporating additional mediums, such as watercolor or pastels, to enhance traditional batik designs.
Advanced Techniques
Consider exploring multi-layered batik or integrating shibori folding techniques for diverse pattern opportunities.
Continuing Education
Participating in workshops or engaging with online communities can provide fresh insights and inspiration for your batik journey. Being part of a community allows for shared experiences and techniques that foster artistic growth.
Conclusion
Batik painting on paper offers a unique blend of tradition and innovation, providing an accessible medium for artists at all levels. By understanding the fundamentals of this art form, including its history, tools, and techniques, you are equipped to embark on a creative endeavor that enriches both skill and expression. Through patience and practice, the intricate world of batik can unfold on a canvas of paper, inviting endless possibilities. Embrace the balance of color and form as you craft your masterpiece, adding your voice to an ancient narrative that continues to evolve.


