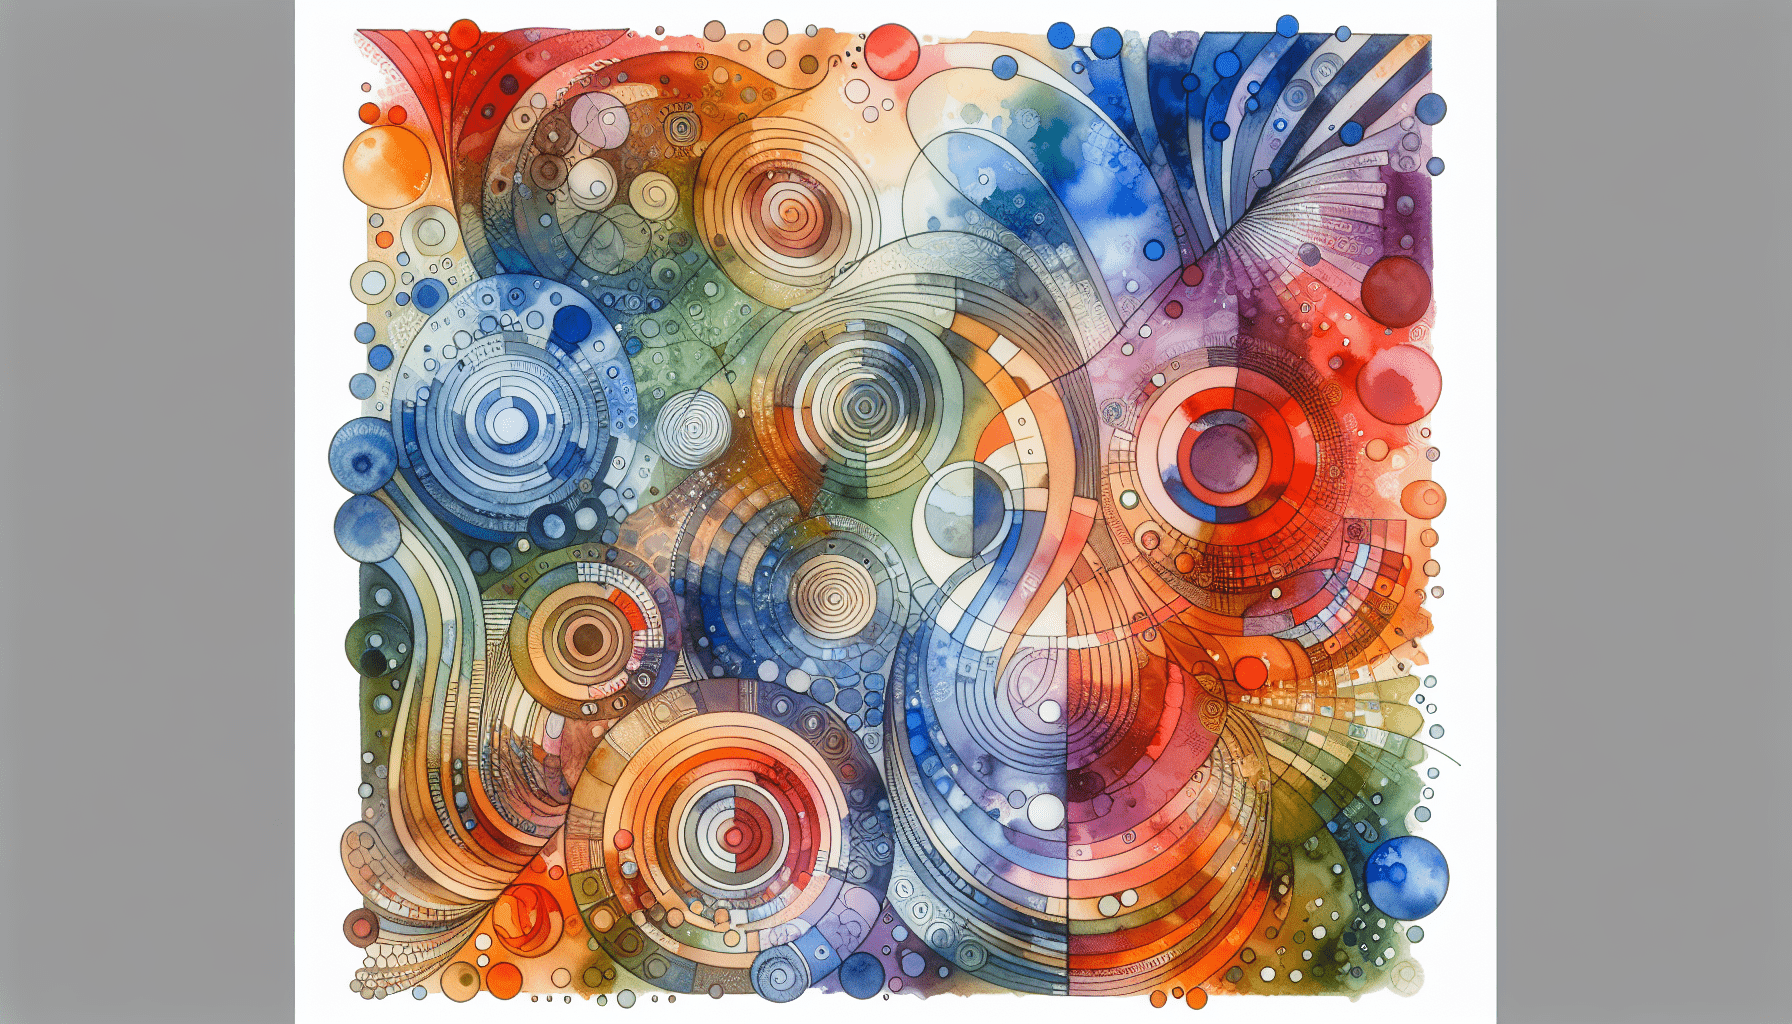
Have you ever wondered how artists achieve those captivating contrasts and vibrant patterns in their artwork, seemingly with ease? One fascinating method they often use is resist painting. This technique can be both a simple and an enriching way for beginners to introduce themselves to the world of art. With a few basic tools and materials, you can explore your creativity and produce stunning pieces that demonstrate your unique artistic voice.
Understanding Resist Painting
What is Resist Painting?
Resist painting is a technique used in various forms of visual art, where substances are applied to parts of the substrate (such as paper or fabric) to prevent paint or ink from adhering to those areas. This approach creates striking contrasts and patterns, as different portions of the surface react differently to the application of paint.
The fundamental principle of resist painting is to obstruct parts of a surface from receiving pigment, which results in these areas retaining their original appearance. Artists use materials like wax, tape, glue, or specialized resist fluids to accomplish this task.
Why Choose Resist Painting?
Resist painting offers numerous benefits, especially for beginners. It encourages experimentation and allows artists to explore their creativity without the pressure to achieve perfection immediately. Since this method often involves unpredictable outcomes, it fosters a sense of playfulness and innovation.
Additionally, resist painting is adaptable, allowing artists to leverage a variety of materials to achieve stunning visual effects. This versatility makes it accessible to individuals with different artistic preferences and resource availability.
Essential Tools and Materials
Before embarking on your resist painting journey, it’s crucial to assemble the necessary tools and materials. Here’s a basic list to get you started:
- Paints: Acrylic, watercolor, or fabric paints work well for resist painting.
- Surfaces: Choose from paper, fabric, canvas, or any absorbent material.
- Resist Materials: Wax, masking tape, rubber cement, or special resist fluids.
- Brushes: A variety of sizes can help achieve different effects.
- Water: For mixing and cleaning purposes.
- Palette: Useful for mixing paints.
- Protective Materials: Apron or cover to protect your clothing and workspace.
Here’s a quick overview of how different materials can impact your resist painting.
| Material | Effectiveness | Common Uses |
|---|---|---|
| Wax | High | Batik, strong color contrasts |
| Masking Tape | Medium | Geometric shapes, borders |
| Rubber Cement | High | Textured effects |
| Resist Fluid | Very High | Precise patterns, intricate details |

5 Easy Resist Painting Techniques for Beginners
1. Wax Resist Technique
The wax resist technique is a popular method for creating textures and patterns. You’re likely familiar with this if you’ve ever used crayons to draw on paper before painting over them.
Steps to Follow:
- Draw Your Design: Use a white or colored wax crayon to draw patterns on your chosen surface.
- Apply Paint: Brush your paint over the entire surface. The wax will repel the paint, revealing your design.
- Dry and Finalize: Allow the paint to dry completely before displaying your artwork.
2. Masking Tape Resist Technique
Perfect for creating sharp lines and borders, masking tape resist is straightforward and allows for geometric experimentation.
Steps to Follow:
- Tape Your Design: Arrange pieces of masking tape on your surface to create your desired pattern.
- Paint Over: Apply your paint. The tape will act as a barrier and block the paint.
- Remove the Tape: Once dry, carefully peel off the tape to reveal your design.
3. Glue Resist Technique
Using glue creates a raised, textured effect perfect for adding dimension to your artwork.
Steps to Follow:
- Draw with Glue: Apply liquid glue on your surface to sketch patterns or designs.
- Let It Dry: Allow the glue to dry completely.
- Paint Over: Apply paint over the entire surface. The dried glue will resist the paint and reveal your design.
4. Rubber Cement Resist Technique
Rubber cement provides a unique texture and is easily removable, which makes it a favorite for various artistic projects.
Steps to Follow:
- Apply Rubber Cement: Use rubber cement to create your pattern on the painting surface.
- Let It Dry: Allow the cement to dry to form a resist.
- Paint and Remove Cement: After painting, peel off the rubber cement to expose the design.
5. Fluid Resist Technique
The use of specialized resist fluids enables intricate and delicate patterns, ideal for detailed artwork.
Steps to Follow:
- Design with Fluid: Apply resist fluid with a brush or applicator for precise designs.
- Allow to Dry: Give it time to dry fully.
- Paint and Remove: Paint as desired, then remove the resist fluid to reveal your artwork.
Tips for Successful Resist Painting
Resist painting, while relatively straightforward, can present unique challenges to beginners. Here are some tips to enhance your experience and results:
Experiment with Different Materials
The type of resist material used can greatly affect the outcome of your art. Don’t hesitate to try different substances to see which yields the effect you prefer.
Practice on Small Surfaces
Before committing to a large piece, practice your techniques on smaller, sample surfaces. This allows you to refine your method and iron out any issues.
Be Patient
Resist techniques often require drying time at various stages. Patience is key to preventing smudges or errors that might occur if the process is rushed.
Understand Your Paints
Different paints behave in various ways. Watercolors can bleed into each other, while acrylic paints dry quickly and stay put. Understanding paint properties will help in achieving desired results.

Common Challenges and Troubleshooting
Unexpected Bleeding
If paint seeps under your resist material, ensure that your resist is applied thickly and evenly. Thinner or uneven application might allow paint to infiltrate the blocked areas.
Uneven Paint Application
To avoid uneven application, use brushes that are suitable for the type of paint and surface. Additionally, ensure your painting surface is level to prevent pigment from running or pooling.
Resist Removal Issues
If you encounter difficulty in removing the resist material, gently heat the area with a hairdryer to soften adhesive materials like tapes, facilitating easier removal. Ensure your work is fully dry to avoid smudging when peeling resist materials away.
The Benefits of Resist Painting for Personal Growth
Exploring resist painting goes beyond just the creation of art. It provides numerous intrinsic benefits that contribute to personal growth. Engaging in artistic activities can be highly therapeutic, reduce stress, and enhance mental clarity.
Additionally, mastering resist painting can boost your confidence as you see your skills improve over time. Embracing the unpredictability of this technique bolsters your problem-solving skills, pushing you to find creative solutions when challenges arise.
Conclusion
Embracing resist painting as a beginner can be incredibly rewarding. By starting with basic techniques such as wax resist, masking tape, glue resist, rubber cement, and fluid resist methods, you’re setting up a strong foundation for exploring your artistic capability. Preparation, practice, and patience are crucial to harnessing the full potential of resist painting.
Remember to enjoy the process and celebrate your progress, no matter how incremental it might seem. The world of resist painting offers you a playground of creativity and innovation — with every brushstroke, you’re not only learning a new technique but also paving your path as an artist.


