Have you ever admired the swirling patterns and vibrant colors in a marble-like finish and wondered how you could create this mesmerizing effect yourself? Marbling is a fascinating art that transforms plain surfaces into captivating works of art through the use of paint and unique techniques. It might seem complex, but with patience and the right guidance, even beginners can master marbling.
Understanding Marbling
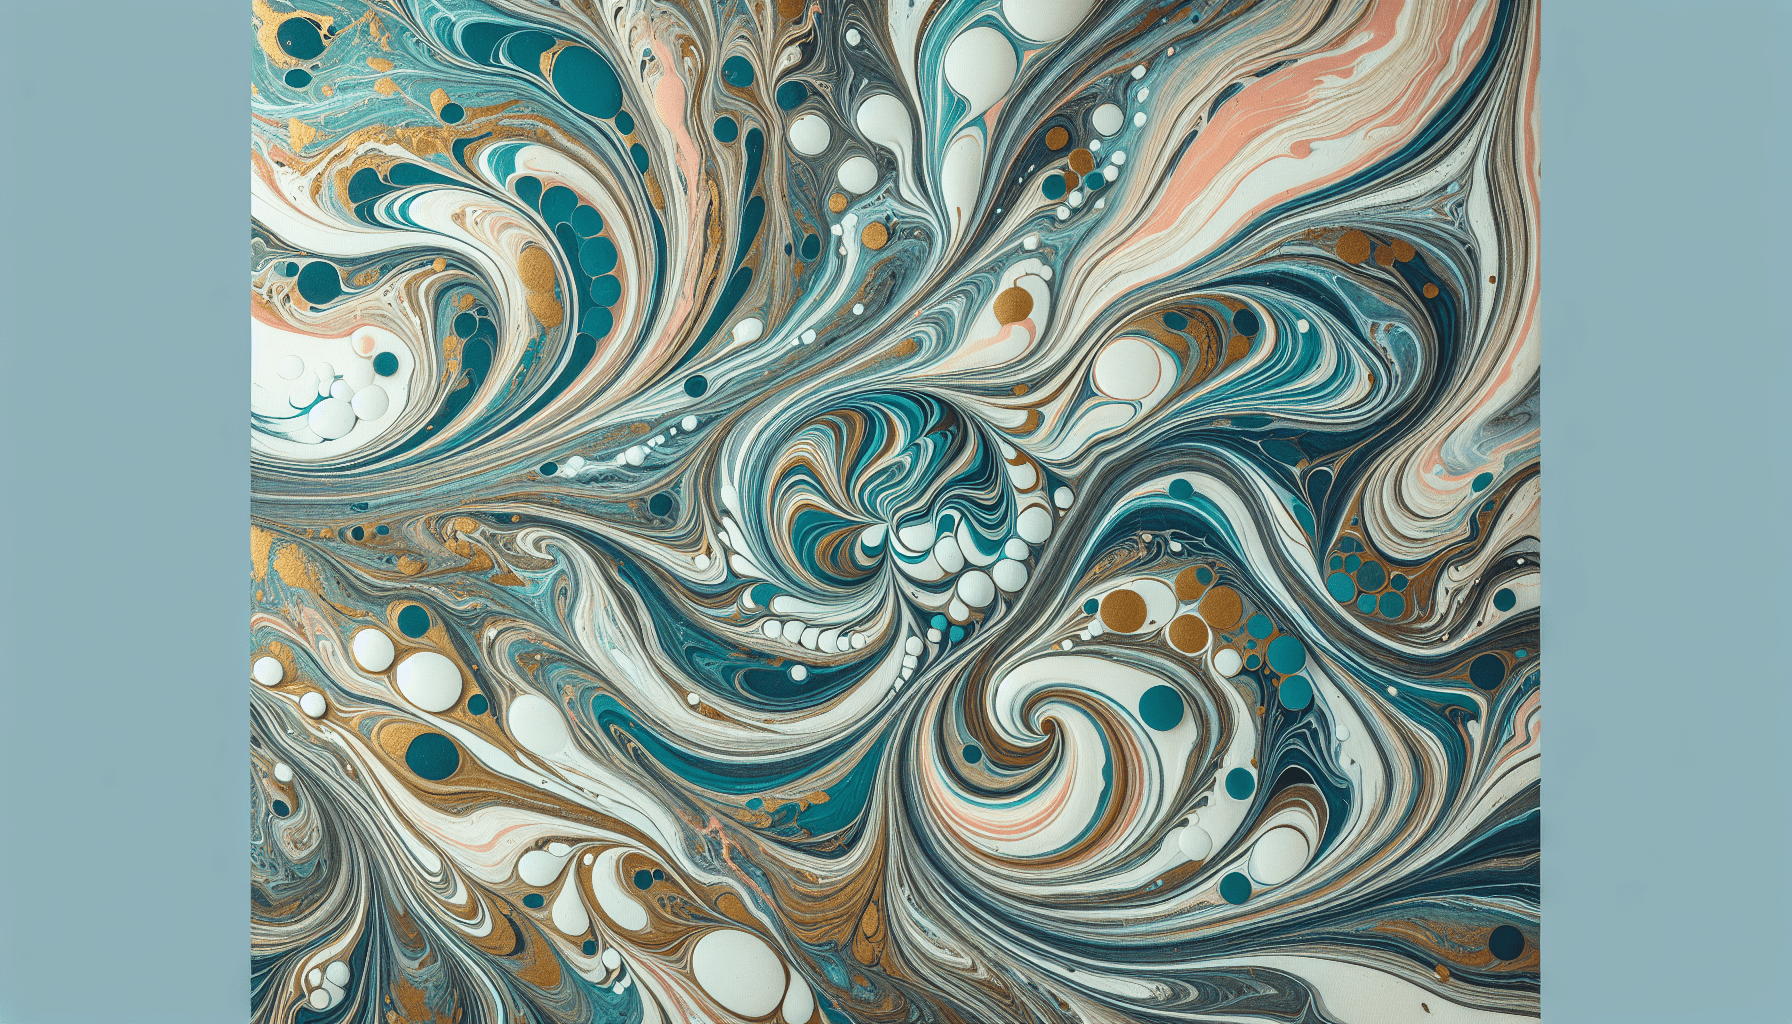
Marbling is an ancient art form with roots tracing back centuries. It involves floating paint on the surface of a viscous water medium, manipulating the colors to form intricate patterns, and then transferring these designs onto paper, fabric, or other surfaces. The results are often stunning, combining colors in a way that resembles the natural striations found in marble stone.
The History of Marbling
The origins of marbling can be traced to several different cultures. Historically, the technique was used in Japan, Turkey, and other parts of Asia and the Middle East. In Japan, marbling is known as Suminagashi, meaning “ink-floating” which dates back to the 12th century. In the Middle East, a similar technique called Ebru evolved, characterized by delicate designs and rich colors.
What Makes Marbling Unique?
The element of unpredictability is what makes marbling such a unique art form. Each piece is one-of-a-kind, as the floating pigments are subject to subtle changes in the water medium or the artist’s movements. This variability creates endless possibilities for design and color combinations, ensuring no two pieces are alike.
Materials Needed for Marbling
Before you start your marbling adventure, you will need specific materials. Setting up correctly will greatly affect your success and enjoyment of the marbling process.
Basic Supplies
Here is a table that lists the essential materials you will need to begin marbling:
| Material | Description |
|---|---|
| Marbling Paints | Specially formulated paints for marbling. These float on water for patterning. |
| Marbling Medium | A viscous medium mixed with water. Usually made with carrageenan or methocel. |
| Paper | Use absorbent paper or experiment with different types to see what works best. |
| Trays or Basins | Shallow, wide containers to hold the marbling medium. |
| Droppers | Tools to apply paint to the marbling medium. |
| Stylus or Combs | Tools to manipulate paints and create patterns. |
| Protective Gear | Gloves and aprons to keep you and your workspace clean. |
Choosing the Right Paper
Can you use normal paper for marbling? Regular printer paper isn’t the best choice due to its lower absorbency. Instead, opt for papers with a high level of absorbency, such as watercolor paper or special marbling paper, which enhance color vibrancy and pattern clarity.

Preparing Your Workspace
Creating a suitable workspace is crucial for successful marbling. You need an area where you can work comfortably without worrying about making a mess.
Ideal Workspace Conditions
Set up in a well-ventilated area with adequate light. Ensure you have ample space to lay out your materials and patterned papers. It’s a good idea to cover your work surfaces with newspaper or a plastic sheet to protect against splashes and spills.
Organizing Your Materials
Arrange your materials so that they are easy to access. Consider setting them up in the order you will need them during the marbling process. Having everything within reach ensures seamless workflow and allows you to focus on your creative process.
Step-by-Step Guide to Marbling
Now that you have all your materials and your workspace is ready, it’s time to start marbling. Follow these steps to create your first marble design.
Step 1: Prepare the Marbling Medium
Start by mixing your marbling medium according to the manufacturer’s instructions. Generally, you will dissolve a powder (such as carrageenan or methocel) in water to create a thick, viscous solution. Pour this solution into your tray or basin.
Step 2: Select Your Colors
Choose the colors you wish to use for your marbling project. Beginners may benefit from starting with two or three colors to keep things simple. As your confidence grows, you can gradually introduce more colors into your designs.
Step 3: Apply Paint to the Medium
Using your dropper, gently apply droplets of marbling paint onto the surface of your medium. The paint should float without sinking. Drop colors in any pattern you like; there are no strict rules.
Step 4: Create Patterns
Employ a stylus or comb to gently stir the paint, forming shapes and designs. Marbling patterns can be as simple or complex as you desire. Try various techniques like swirls, lines, or concentric circles to experiment with different effects.
Step 5: Transfer the Design
Once you are satisfied with your pattern, carefully place your paper on the surface of the marbling medium. Allow it to rest momentarily to absorb the paint. Lift the paper slowly, being cautious not to smudge the design.
Step 6: Rinse and Dry
Rinse the paper under gently running water to remove excess medium, ensuring the design sets properly. Lay the paper flat on a drying rack or sheet of newspaper to dry completely.

Techniques and Variations
Marbling isn’t just about random blobs of color; various techniques add complexity and beauty to your artwork. Here are some popular marbling techniques you might consider.
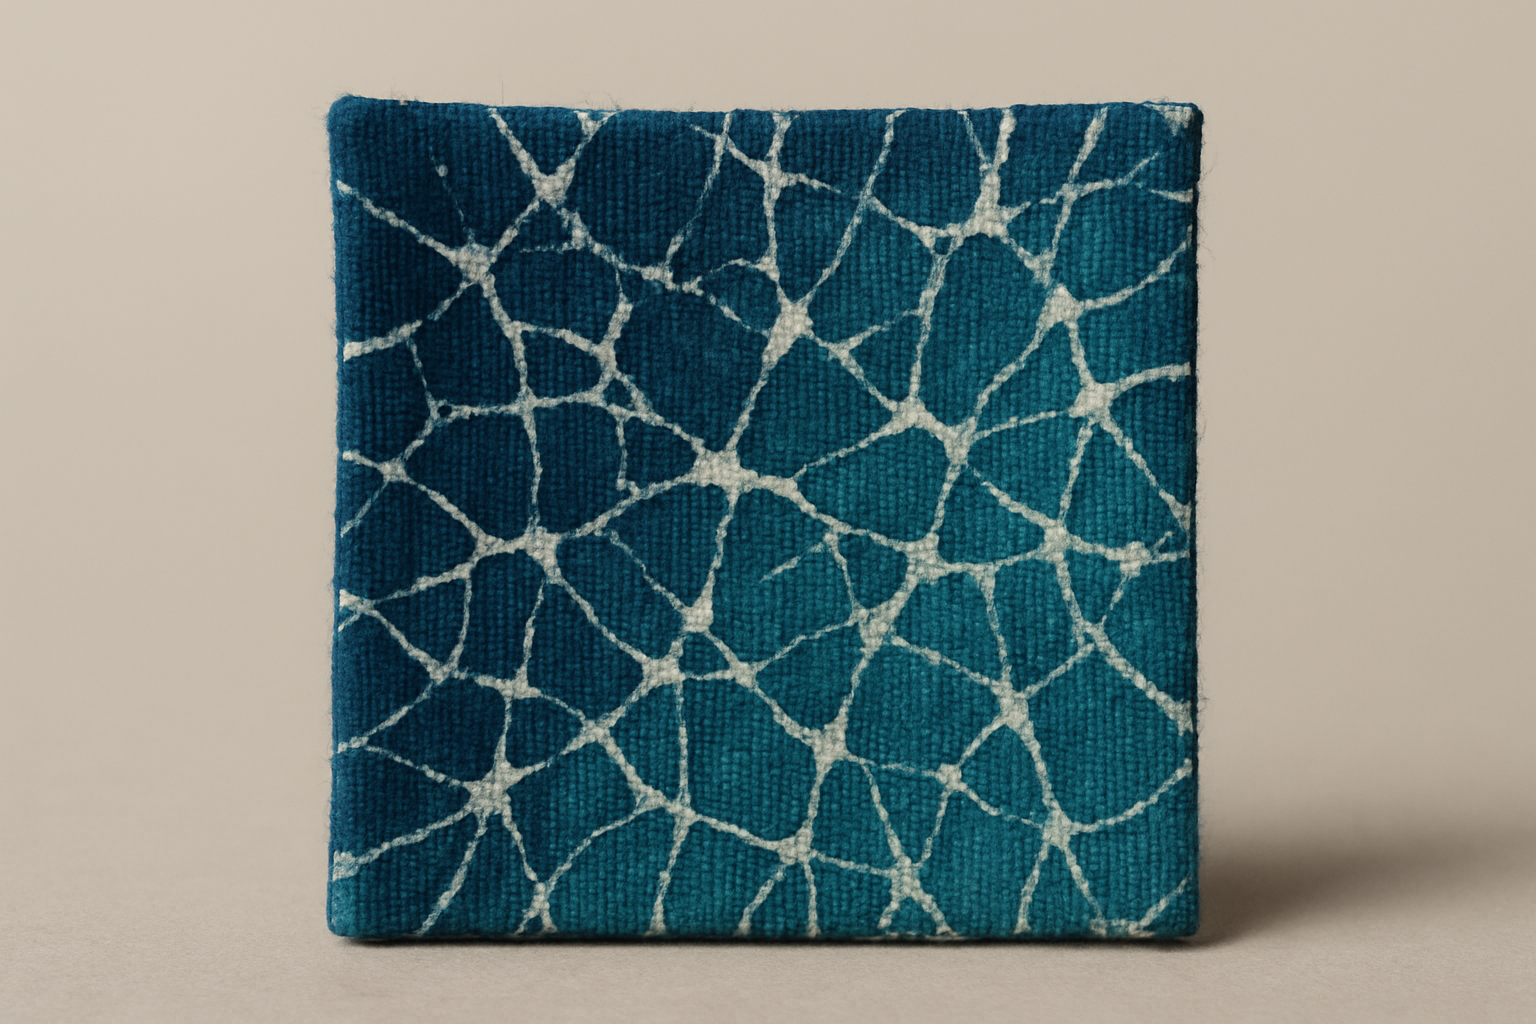
The Stone Pattern
To achieve a stone pattern, drop circular spots of paint and leave them undisturbed. The colors will spread naturally to form the appearance of marble stone.
The Feather Technique
To create feather patterns, drag a stylus through the floating paint in a series of S-shaped curves. Layer different colors to intensify the feathered look.
The Chevron Pattern
Using a comb, pull through the paint in a zigzag motion. This technique results in a striking chevron design that brings energy and movement to your piece.
Troubleshooting Common Marbling Problems
As with any art form, marbling can present challenges, especially when you’re starting. Here’s how to troubleshoot some of the most common marbling problems.
Paint Sinking
If your paint is sinking instead of floating, the marbling medium might be too thin, or the paint might not be sufficiently thick. Adjust the consistency by adding more powder to the medium or using more viscous paint.
Muddy Colors
Muddy colors can result from over-manipulating the paint. Limit dragging and stirring to prevent mixing colors into brown or gray hues. Also, ensure you’re using clean tools between applications.
Uneven Patterns
If your designs appear patchy or inconsistent, ensure that your paint droplets are evenly distributed on the medium. Practice makes perfect, so don’t be discouraged by early attempts.
Safety and Maintenance Tips
While marbling is not inherently dangerous, it calls for attention to safety and proper materials handling. Here are some crucial tips to ensure a safe and clean marbling process.
Safety Precautions
- Ventilation: Always work in a well-ventilated area to avoid inhaling fumes.
- Protective Gear: Wear gloves to prevent paint stains and protect your hands.
- Clean Workspace: Keep your area tidy to avoid contamination and provide a clear space for drying papers.
Maintaining Your Supplies
Proper maintenance of your materials prolongs their usability and performance. Wash trays, tools, and containers immediately after use with soap and water to prevent paint build-up. Store paints and powders in cool, dry conditions to maintain their quality.
Expanding Your Marbling Skills
As you become comfortable with basic marbling techniques, consider expanding your skills with more advanced projects and mediums.
Marbling on Fabric
Fabric marbling opens up a world of possibilities for creating decorative textiles. Different types of fabric create varying effects, with silk and cotton often yielding the best results.
Large-Scale Marbling
Challenge yourself by marbling large sheets of paper or surfaces such as canvases. Larger work requires more control and planning but results in impressive, show-stopping pieces.
Experimental Techniques
Mix traditional with experimental approaches by adding metallics, creating layered designs, or even introducing elements like crushed paper or glitter to your marbled works.
Conclusion
Embarking on marbling as a beginner opens up a realm of creativity and craft. While it requires practice to perfect, the journey offers endless opportunities for experimentation and expression. With patience and practice, you will not only create beautiful marbled pieces but also find satisfaction and joy in the process itself. So, why not start today and see just how rewarding marbling can be?