Have you ever been fascinated by the vibrant and swirling patterns of body marbling paint and wondered how you could create it yourself? Body marbling has gained popularity as a unique form of body art, allowing you and others to express creativity through mesmerizing, temporary designs on the skin. Making your own body marbling paint may seem daunting at first, but with the right guidance and understanding of the process, you can master this art form and customize your colors to suit any occasion.

Understanding Body Marbling
Before you begin creating body marbling paint, it’s essential to understand the basics of body marbling. Body marbling is a technique that involves floating paint on a thickened water surface and then transferring those designs onto the skin. This art form requires a combination of the right materials and techniques to ensure that the paint adheres well to the skin and creates the desired marbled effect.
The History of Marbling
Marbling dates back to ancient times, where it was used for decorative purposes on paper, fabric, and various surfaces. Over time, the technique evolved, allowing artists to experiment with different materials, leading to the advent of body marbling. Gaining traction in modern art communities, body marbling has been embraced at festivals and events for its visual appeal and unique personalization possibilities.
The Science Behind Marbling Paint
The marbling effect relies on the creation of distinct, separate layers of paint and binder solutions that float on water, which acts as the suspension medium. Understanding the chemistry of paint adhesion and color separation helps in achieving optimal results. The key factors include the density of the paint, the viscosity of the water, and surface tension, all of which determine the success of your marbling process.
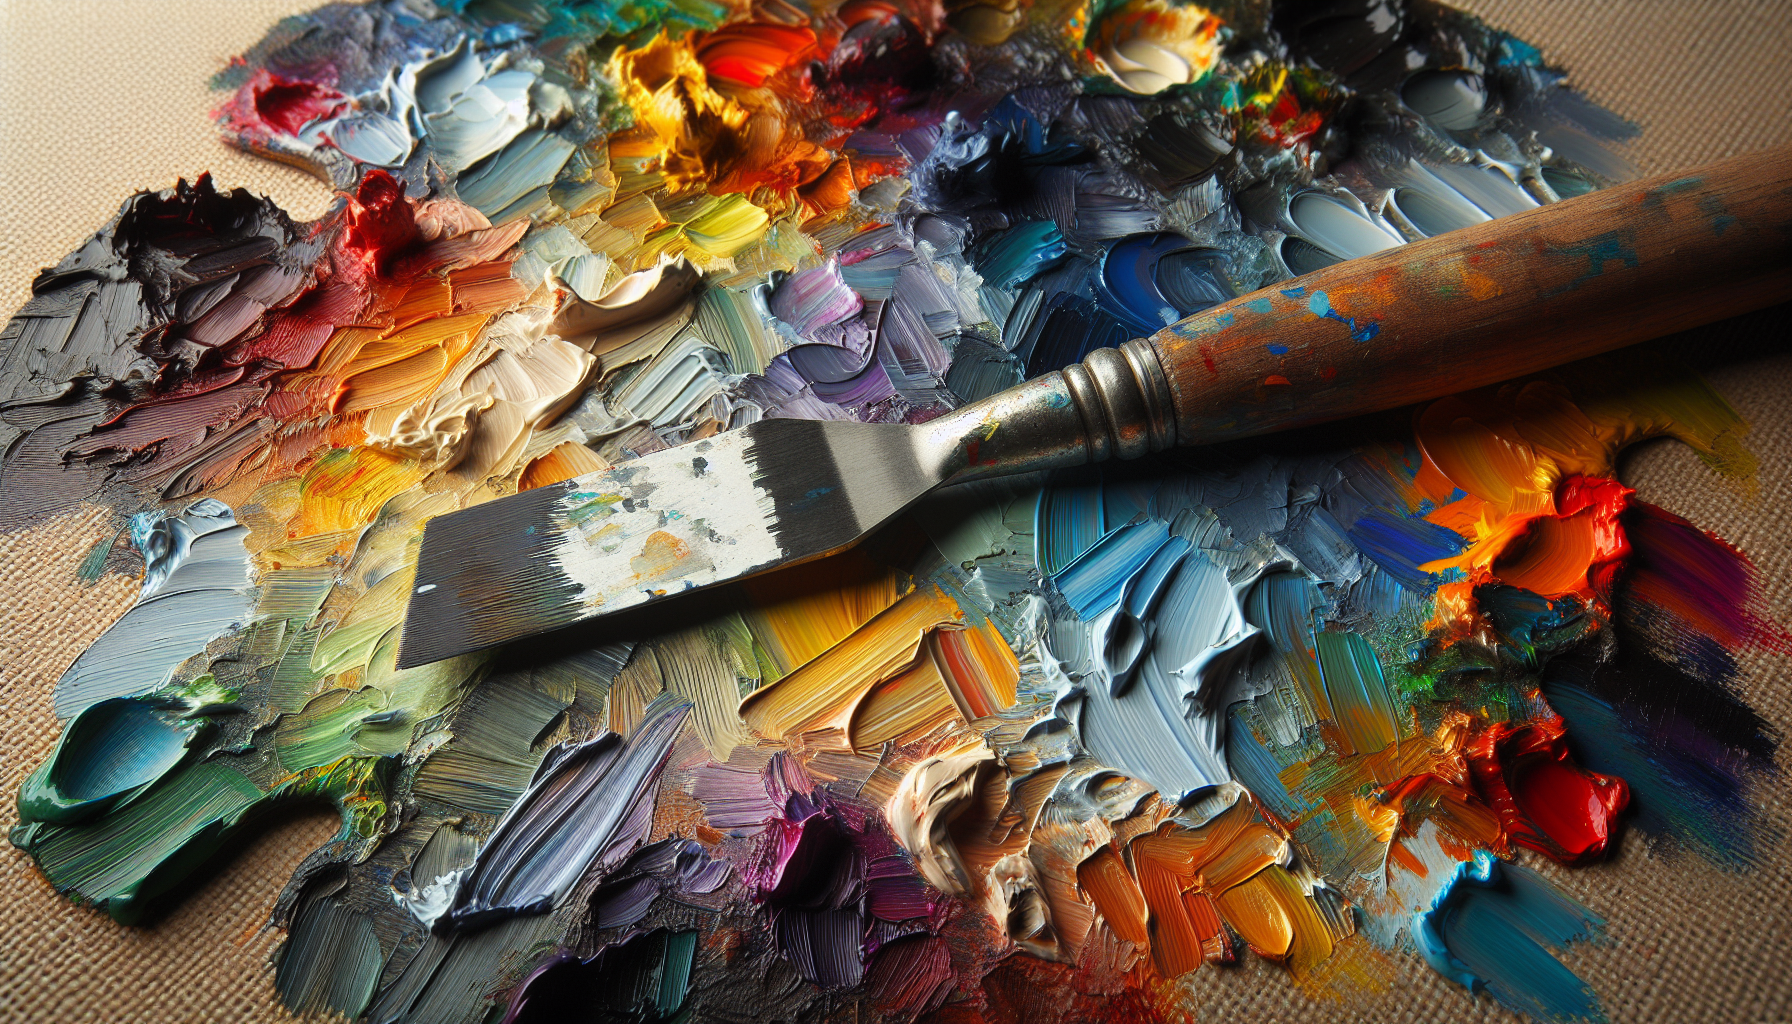
Materials Needed for Body Marbling Paint
Creating body marbling paint requires specific materials that are safe for use on the skin and effective in producing a marbling effect. Below is a detailed list of necessary materials:
Essential Materials
- Acrylic Paint: Choose high-quality, non-toxic acrylic paints as they provide vibrant colors and are safe for the skin.
- Body Safe Binder: A skin-safe binder or mixing medium ensures that the paint adheres to the skin. Look for products specifically designed for body art.
- Marbling Medium: A thickening agent like carrageenan or methylcellulose mixed with water will help suspend the paint on the surface.
- Distilled Water: Distilled water is preferred as it eliminates impurities that could affect the marbling process.
- Plastic Cups: Used for mixing paints and binders, ensuring you have enough for each color.
- Wooden Sticks: Useful for stirring and mixing paint solutions.
- Droppers or Pipettes: Essential for accurately placing drops of paint onto the water’s surface.
- Tray or Large Basin: A container to hold your marbling medium and serve as your workspace.
- Gloves and Apron: Protective gear to keep your hands and clothing clean during the process.
Optional Materials
- Sponges or Brushes: Various tools for applying paint.
- Sealant Spray: To preserve the design once it’s transferred and dried.
Preparing the Marbling Medium
The marbling medium is the base on which your paint will float, allowing for the creation of the marbling patterns. Properly preparing the medium is crucial to your success.
Steps to Prepare the Marbling Medium
- Choose Your Thickening Agent: Opt for carrageenan or methylcellulose, as these are effective in achieving a consistent gel-like texture in water.
- Measure and Mix: For every liter of distilled water, use 2-3 tablespoons of your chosen thickening agent. Mix thoroughly until fully dissolved.
- Rest and Settle: Allow the mixture to sit for a few hours or overnight to reach the ideal viscosity, ensuring no lumps remain.
- Adjust Consistency: The consistency should be similar to that of light cream. Adjust as necessary by adding more agent or water in small amounts.
Troubleshooting the Medium
Should you encounter issues such as the paint sinking, it often relates to medium thickness. Review your measurements and consistency, adjusting accordingly, and remember that patience in the settling process can make all the difference.
Mixing the Marbling Paint
With the medium ready, the next step is to mix your body marbling paints. This involves blending acrylic paint with a body-safe binder in a manner that retains the vibrancy and adhesion necessary for skin application.
Creating the Perfect Paint Mix
- Select Your Colors: Start by choosing a range of acrylic paint colors you wish to use. A balance of bright and contrasting shades tends to produce dramatic effects.
- Proportioning the Mix: In a plastic cup, combine two parts acrylic paint with one part binder. Adjust the ratio if necessary to achieve a smooth, creamy texture.
- Thorough Mixing: Use a wooden stick to mix thoroughly, ensuring the binder is well incorporated into the paint.
- Testing Consistency: The paint should be slightly thicker than water colors but liquid enough to spread easily. Test by running some across a finger – it should glide smoothly without drips.
- Repeat for Each Color: Ensure you have separate cups for each color you intend to use, repeating the mixing process.
Tips for Effective Paint Mixing
- Always start with a small batch to test.
- Continue experimenting by adding small amounts of binder or water until reaching perfect consistency.
- Use gloves to prevent staining hands during mixing.

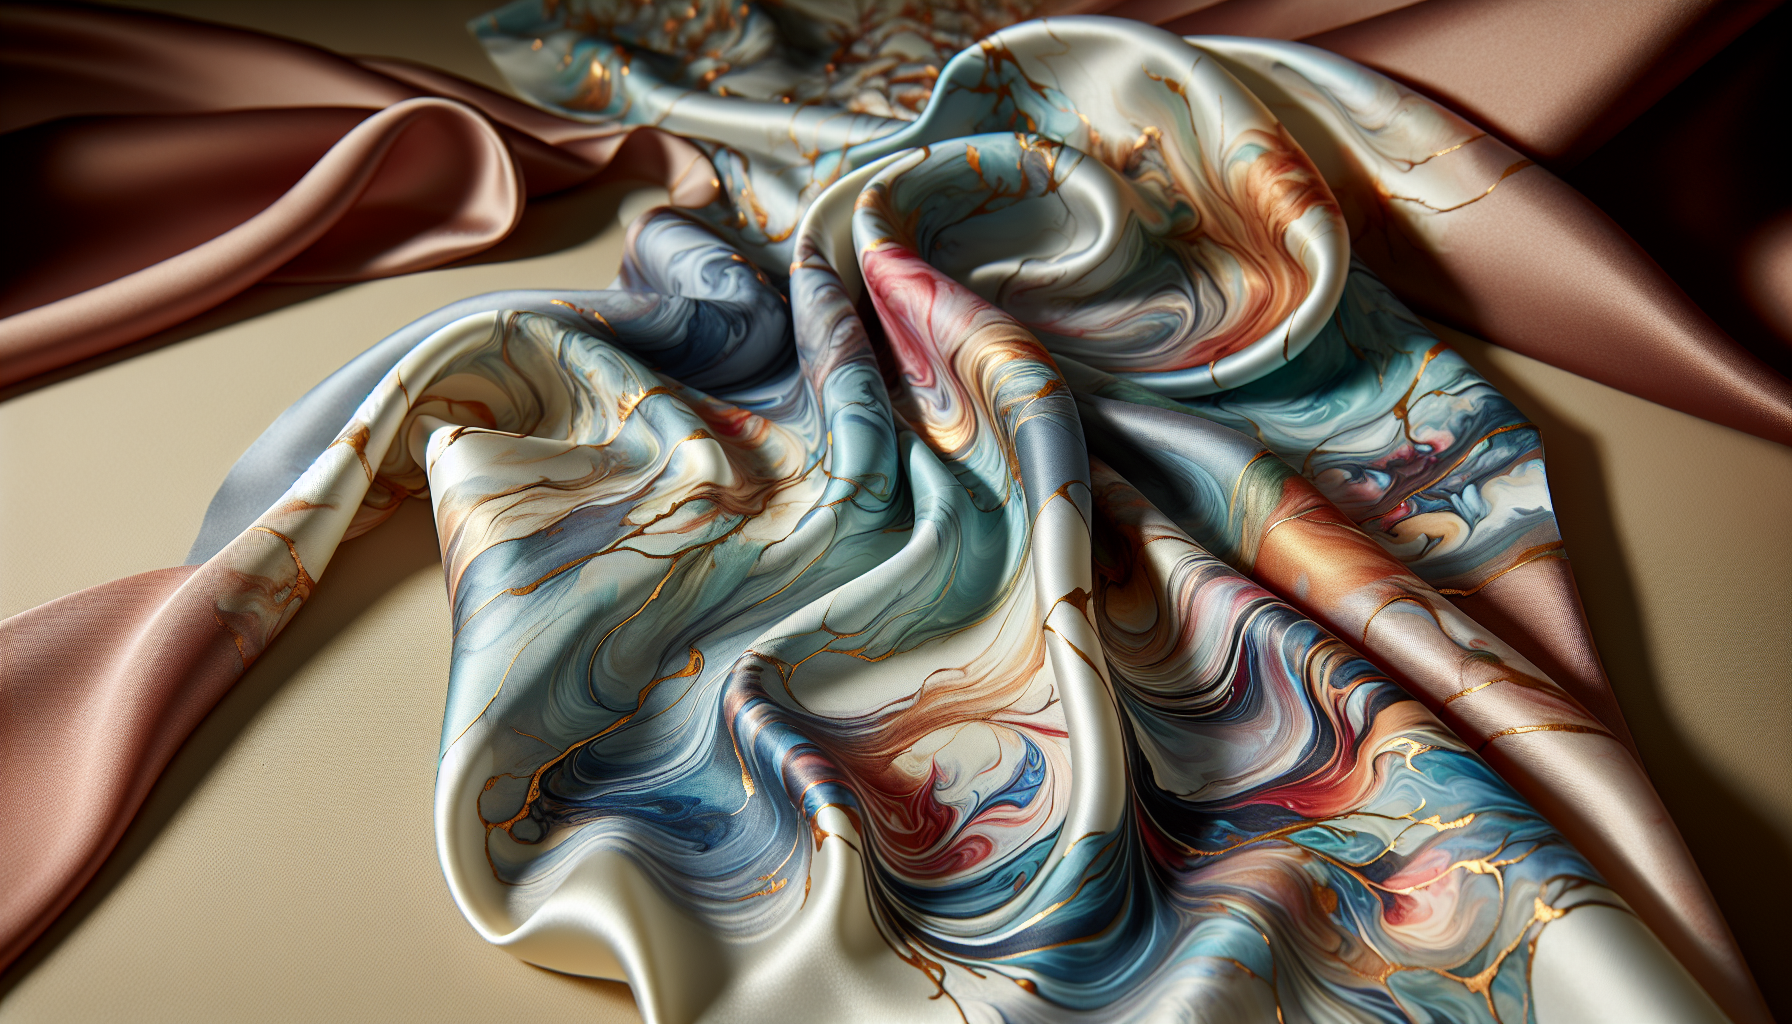
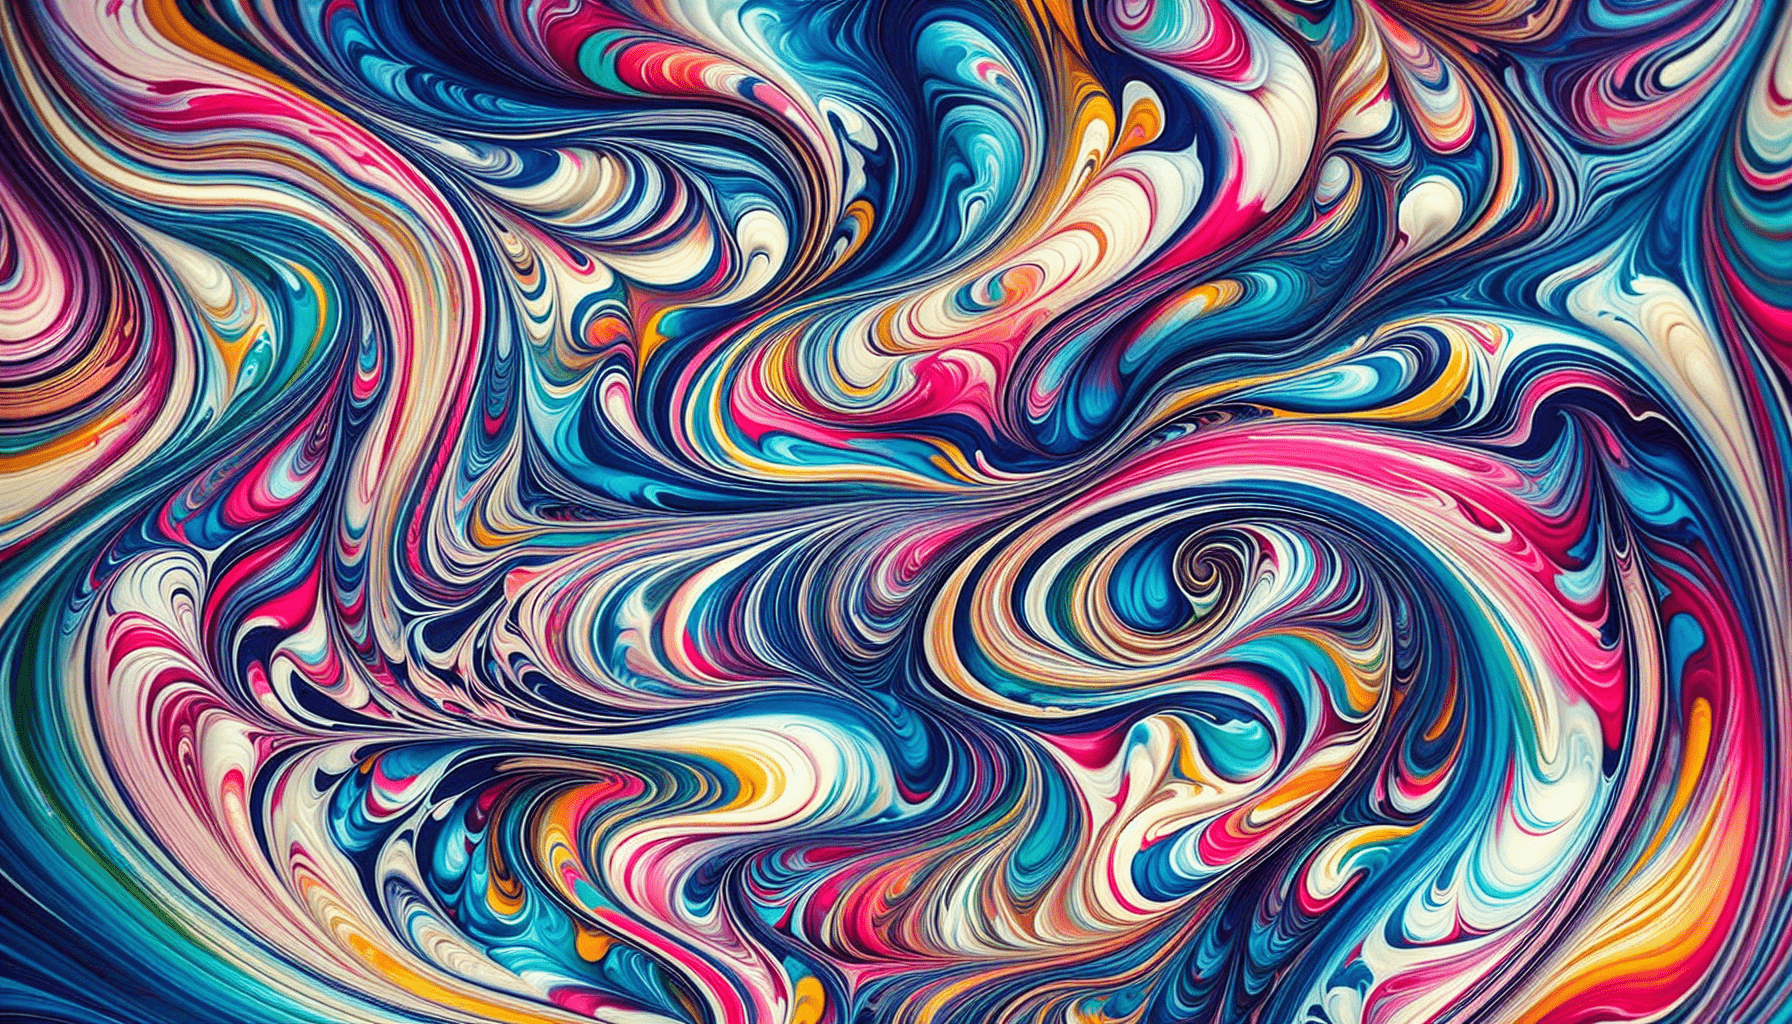
The Marbling Process
Now, it’s time to bring the components together and create mesmerizing body marbling designs. Executing the marbling process involves transferring paint from the medium to the body.
Steps to Marbling
- Fill the Tray: Pour your prepared marbling medium into a large tray, filling it to a depth of 2-3 inches.
- Drop the Paint: Using droppers, gently add drops of your prepared paint mixtures onto the surface of the medium. Space them out and allow them to spread naturally.
- Create Patterns: Use a wooden stick or a small brush to swirl the paint gently, crafting intricate designs.
- Test Your Work: Introduce a small object, like a plastic spoon, into the medium to test paint adhesion and design transfer.
- Submerge Body Part: Choose a body part to marble, such as your arm or hand, and slowly submerge it into the paint, allowing the design to transfer.
- Lift and Examine: Carefully lift the body part, ensuring the design has transferred. Let it dry naturally, avoiding immediate contact with clothing or objects.
Challenges and Solutions
- Paint Clumping: If paints clump, the medium may be too dense; dilute slightly and retry.
- Poor Design Transfer: This could result from incorrect adhesion properties – review your binder mix.
Safety and Precautions
Ensuring safety is a top priority when working with body marbling paint. It’s crucial to use materials that are skin-safe and follow best practices to prevent adverse reactions.
Safety Guidelines
- Patch Test: Always conduct a patch test with new materials, applying a small amount to your skin and waiting for any adverse reactions.
- Use Non-Toxic Products: Ensure that all acrylic paints and binders are labeled non-toxic and safe for skin use.
- Work in a Ventilated Area: When handling paints and binders, ensure your workspace is well-ventilated to avoid inhalation of fumes.
- Avoid Sensitive Areas: Refrain from marbling on sensitive skin areas, such as the face or neck, to prevent irritation.
Skin Aftercare
After marbling, protect and nurture your skin:
- Moisturize: Apply a gentle moisturizer to keep the skin hydrated after the design comes off.
- Use Mild Cleansers: When removing the design, use gentle soap and water to avoid irritating your skin.
- Monitor for Reactions: In rare cases of irritation, discontinue use and consult a health professional if necessary.
Creative Experimentation
Body marbling is an art, and creativity is part of the process. Once you’ve mastered the basics, experiment with different color combinations and techniques to create unique designs.
Extend and Innovate
- Color Exploration: Mix colors to achieve stunning gradients and blends within your designs.
- Theme Creations: Design marbling themes for specific events or moods, such as vibrant festival patterns or more subdued aesthetic for quiet gatherings.
- Incorporate Glitter: Add body-safe glitter to your paints for an extra sparkle effect.
Advanced Techniques
- Double Dipping: Re-dip marbled areas with additional designs for layered effects.
- Textured Tools: Use combs or forks for intricate textured patterns.
- Collaborative Creations: Work with others to develop large scale projects and share inspiration.
Troubleshooting Common Problems
Mastering marbling requires practice, and you might encounter challenges along the way. Here is a table for common marbling issues and solutions.
| Problem | Cause | Solution |
|---|---|---|
| Colors Mixing Too Much | Poor viscosity control | Adjust medium thickness; use less paint |
| Paint Not Sticking to Skin | Inadequate binder mix | Alter binder ratio; ensure proper mixing |
| Designs Blurring or Fading | Wet after transfer | Allow fuller drying; use a sealant spray before contact with objects |
| Uneven Patterns | Irregular paint drop placement | Practice consistent droplet size and spacing |
Understanding these issues will enhance your skills and lead to more successful marbling experiences.
Conclusion
Creating body marbling paint requires a blend of artistic skill and scientific understanding. By learning to mix paints, prepare mediums, and utilize safe practices, you can unlock a world of creative possibilities. Whether for professional endeavors or personal artistic expression, body marbling offers a unique way to captivate audiences and showcase your creativity.
With persistence and intricate technique development, you can not only make beautiful body marbling paint but also refine a skill that allows you to make mesmerizing designs that are all uniquely yours.