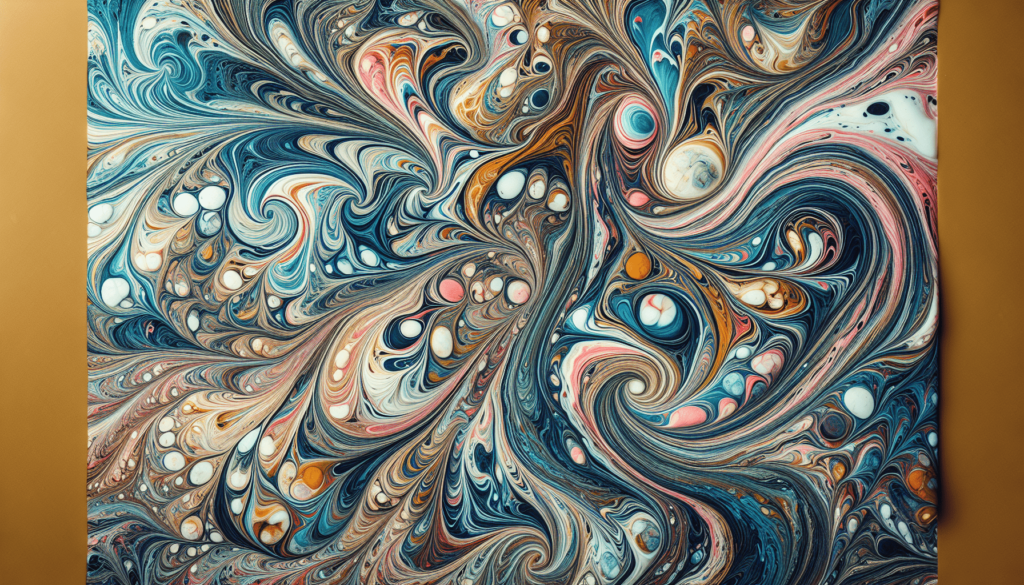
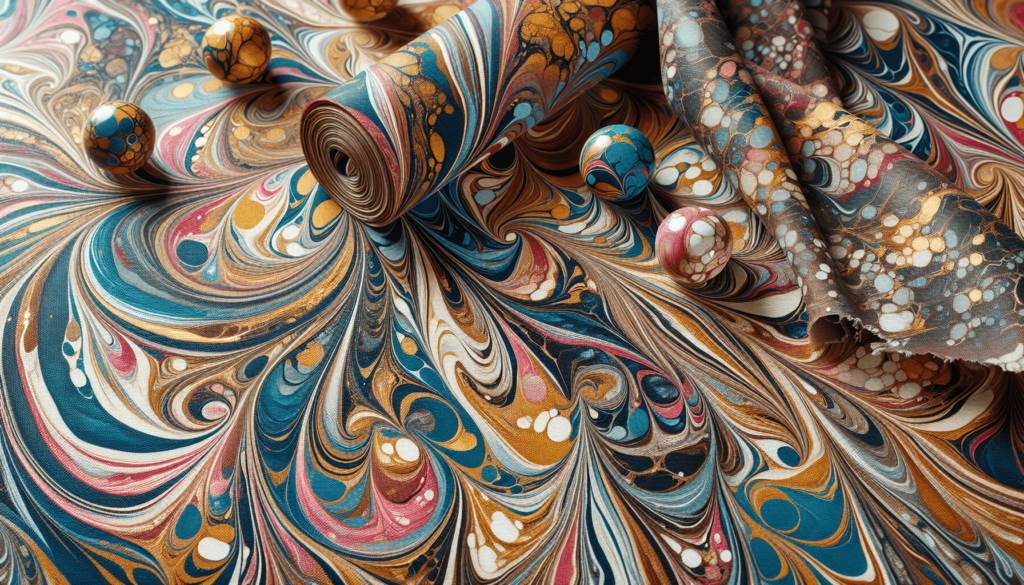
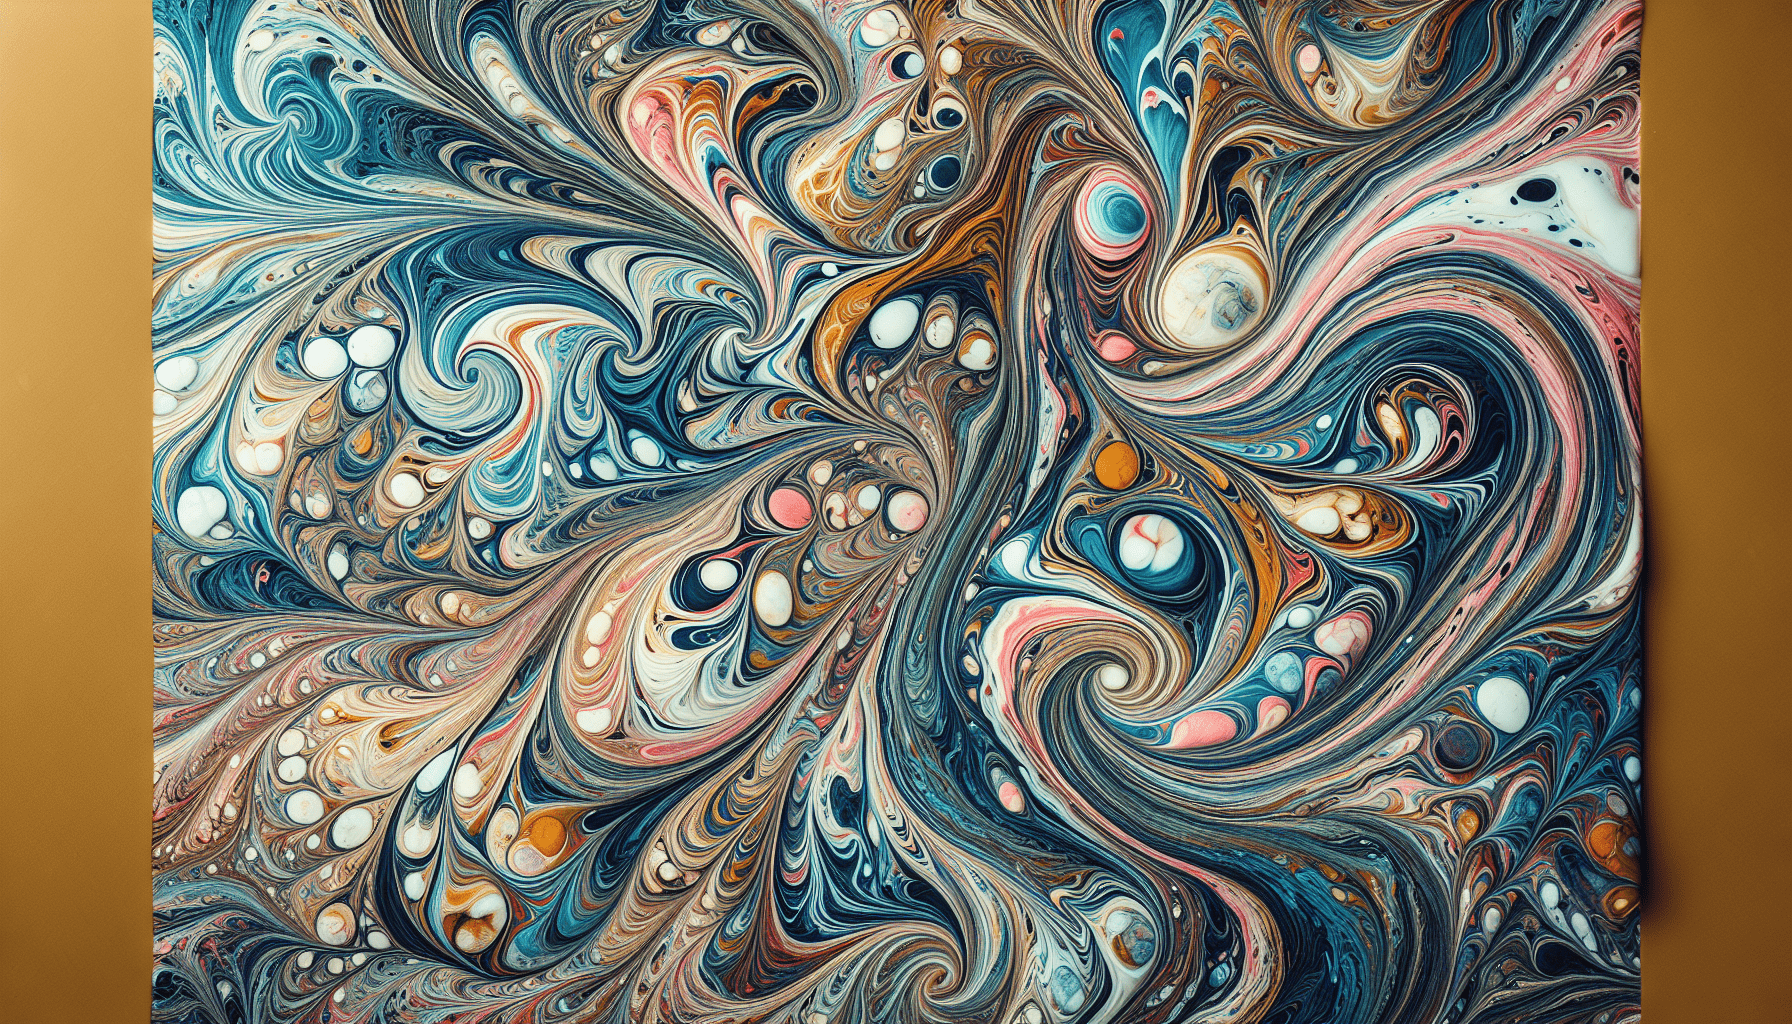
Have you ever wondered how you can transform a plain piece of fabric into a work of art with an array of swirling colors? Marbling on fabric is an ancient decorative technique that involves the floating of colors on a liquid surface, which is then transferred to fabric, resulting in mesmerizing patterns reminiscent of marble stone. This process does not only unleash your creativity but also results in unique designs that cannot be replicated. In this article, you will learn the step-by-step process of creating exquisite marbled fabric, the materials you need, and tips to achieve the most stunning results.
Understanding the Art of Fabric Marbling
Fabric marbling is a technique steeped in history, originating in Asia and gaining recognition during the Renaissance period in Europe. It has evolved over centuries but still captivates with its timeless charm today. To master this art, it is essential to comprehend the basic principles and components that make marbling possible.
The Science Behind Marbling
At the heart of marbling is the interaction between different materials and the physics of fluid dynamics. When you apply colorants onto a thickened liquid base, these colors float and spread due to differences in surface tension. The colors remain separate and distinct, allowing you to manipulate patterns using various tools. Understanding these concepts is crucial in predicting how colors will behave once they’re introduced to the liquid surface.
Necessary Tools and Materials
Before embarking on your marbling journey, gathering the right tools and materials is pivotal. Each component will influence your final creation, so select them thoughtfully for the best outcome.
Fabric Selection
Choosing the right fabric is foundational for successful marbling. Natural fabrics like cotton, silk, or linen are preferred due to their absorbency, which efficiently retains dyes and inks.
| Fabric Type | Characteristics | Suitability |
|---|---|---|
| Cotton | Highly absorbent and smooth | Highly suitable |
| Silk | Luxurious texture, excellent dye absorption | Ideal for detail |
| Linen | Strong, durable, and absorbs dyes well | Very suitable |
Chemicals and Colorants
The dye or ink you choose significantly impacts the vibrancy and durability of your pattern. Fabric dyes are recommended for their strong bonding with fabric fibers, ensuring that colors do not fade easily with wash or wear.
Equipment Needed
Here’s a list of basic equipment required for fabric marbling:
- Marbling Tray: A shallow tray larger than your fabric is essential to hold the liquid base.
- Thickening Agent: Carrageenan or methocel is used to thicken the water base to control the spread of colors.
- Tools: Brushes, droppers, and skewers for pattern making.
- Fixatives: Alum or other mordants ensure the color adheres to the fabric.
- Protective Gear: Aprons and gloves protect your clothing and skin from stains.
Preparing Your Workspace
Creating a conducive workspace is the first step in turning your marbling vision into reality. A well-arranged area minimizes interruptions and maximizes your efficiency and enjoyment.
Setting Up the Area
Establish a workstation that allows for easy movement and adequate ventilation. Cover surfaces with plastic or newspapers to prevent staining and ensure safety by keeping your area clear of obstructions.
Managing Safety
While marbling is generally safe, handling chemicals necessitates precautions. Always wear gloves and a mask when working with dyes and thickening agents. Ensure good ventilation to disperse fumes.

Preparing the Fabric
Proper fabric preparation is critical for crisp and long-lasting results. This often-overlooked step is key to achieving the desired aesthetic.
Washing and Pre-Treating the Fabric
Wash the fabric to remove any sizing or impurities that may prevent dyes from absorbing evenly. After drying, immerse the fabric in a solution of alum dissolved in water to act as a mordant. This pretreatment helps in color retention post-marbling.
Creating the Marbling Base
The marbling base, or size, is the medium on which colors float. Its consistency is crucial in controlling color distribution and pattern formation.
Mixing the Marbling Size
To prepare your marbling size, dissolve your thickening agent in water according to the manufacturer’s instructions. Typically, whisk the mixture for even dispersion and let it sit overnight to achieve the right viscosity.
Mixing and Applying Colors
The choice of color palette can dictate the mood or theme of your marbled fabric. Harmonious selection and application of colors bring the patterns to life.
Choosing Your Colors
Select a variety of colors that are vibrant yet harmonious. Keep a balance between warm and cool tones for a more visually appealing result. Test combinations on paper before committing them to fabric.
Application Techniques
Using droppers or brushes, gently apply colors onto the marbling base. Avoid disturbing the underlying layer too much, as this could muddle your colors. Work from light to dark shades for a nuanced effect.

Developing Patterns and Techniques
With your colors on the base, it’s time to channel your inner artist. Patterns can be as structured or as free-form as you desire.
Classic Marbling Patterns
Familiarize yourself with patterns such as feathering, concentric rings, or stone for classic marbling effects. Practice these techniques on small test sizes to refine your skill.
Innovating with Tools
To create intricate designs, use combs, rakes, or styluses to manipulate colors. Experimenting with these tools can yield unexpected yet enchanting results.
Transferring the Design to Fabric
Once satisfied with your design, the next critical step is the actual transfer onto fabric, requiring a steady hand and patience.
Careful Laying of Fabric
Slowly lay the fabric onto the marbling size, avoiding air bubbles or folds. Pat down gently to ensure full contact, then carefully lift from one edge to reveal the transferred pattern.
Post-Treatment Procedures
After marbling, rinse the fabric gently in water to remove any residual thickening agent. Once rinsed, hang to dry completely before fixing the dye as per manufacturer’s instructions.
Fixing and Finishing
Fixing the color ensures longevity and wash-fastness, an essential step to protect your artwork.
Heat Setting
For many dyes, heat setting is necessary. Use an iron or a dryer, and follow specific instructions for your chosen dye.
Washing and Maintenance
After setting, wash the fabric gently to remove excess dye. Gentle machine washing or hand washing protects the marbled patterns from deterioration.
Troubleshooting Common Issues
Inevitably, challenges may arise during marbling, particularly for beginners. Understanding these potential problems enables better control over your process.
Uneven Patterns
Uneven patterns can result from improper fabric laying, inconsistent mixing of the size, or incorrect application of colors. Address these by ensuring even methodological application techniques like those previously discussed.
Faded Colors
To combat fading, verify the fabric’s treatment with alum is thorough, and the setting process is complete and accurate. Choosing quality dyes also mitigates fading issues.
Enhancing Your Marbling Skills
Marbling is a craft that grows with practice and exploration, offering new techniques and effects with every attempt.
Experimentation and Education
Do not shy away from experimentation. Allow spontaneity to guide your marbling adventures, and consider taking workshops or engaging with communities for shared knowledge.
Advanced Techniques
Pursue advanced techniques like over-marbling, ghosting, and adding metallics for elevated designs. Continuous learning enriches your marbling repertoire and opens avenues for newfound creativity.
Exploring Applications and Projects
The potential applications of marbled fabrics are as boundless as your imagination. They can be integrated into countless creative projects, both practical and artistic.
Fashion and Accessories
Marbled fabric makes for unique garments and fashion accessories that catch the eye. Scarves, handbags, and dresses can all be elevated with custom marbled designs.
Home Décor
Incorporate marbled fabrics into home décor through items like cushion covers, tablecloths, or curtains, bringing an element of sophisticated artistry to any space.
Conclusion
The art of fabric marbling empowers you to transform humble textiles into vibrant canvases of color and movement. With patience, creativity, and an understanding of the process, you can master this historic craft and apply it to a variety of projects, imbuing them with personal artistry. So, embrace the fluid beauty of marbling and create your own masterpiece in fabric. Whether it becomes a centerpiece garment, a unique accessory, or a dazzling piece of home décor, the results will surely be a testament to your skills and creativity.
By following this guide, you have equipped yourself with the knowledge needed to embark on your marbling journey. With practice, you’ll create stunning patterns and designs that encapsulate your personal style and artistic flair.


