Have you ever wondered about the precise timing for applying marbling paint to achieve that perfect swirling effect on your project? Marbling paint is an art medium that allows you to create a sophisticated, marble-like texture on surfaces, whether it be paper, fabric, or even walls. While the technique may seem daunting initially, applying marbling paint with the right tactics can elevate your creative work to a professional level.
Understanding Marbling Paint
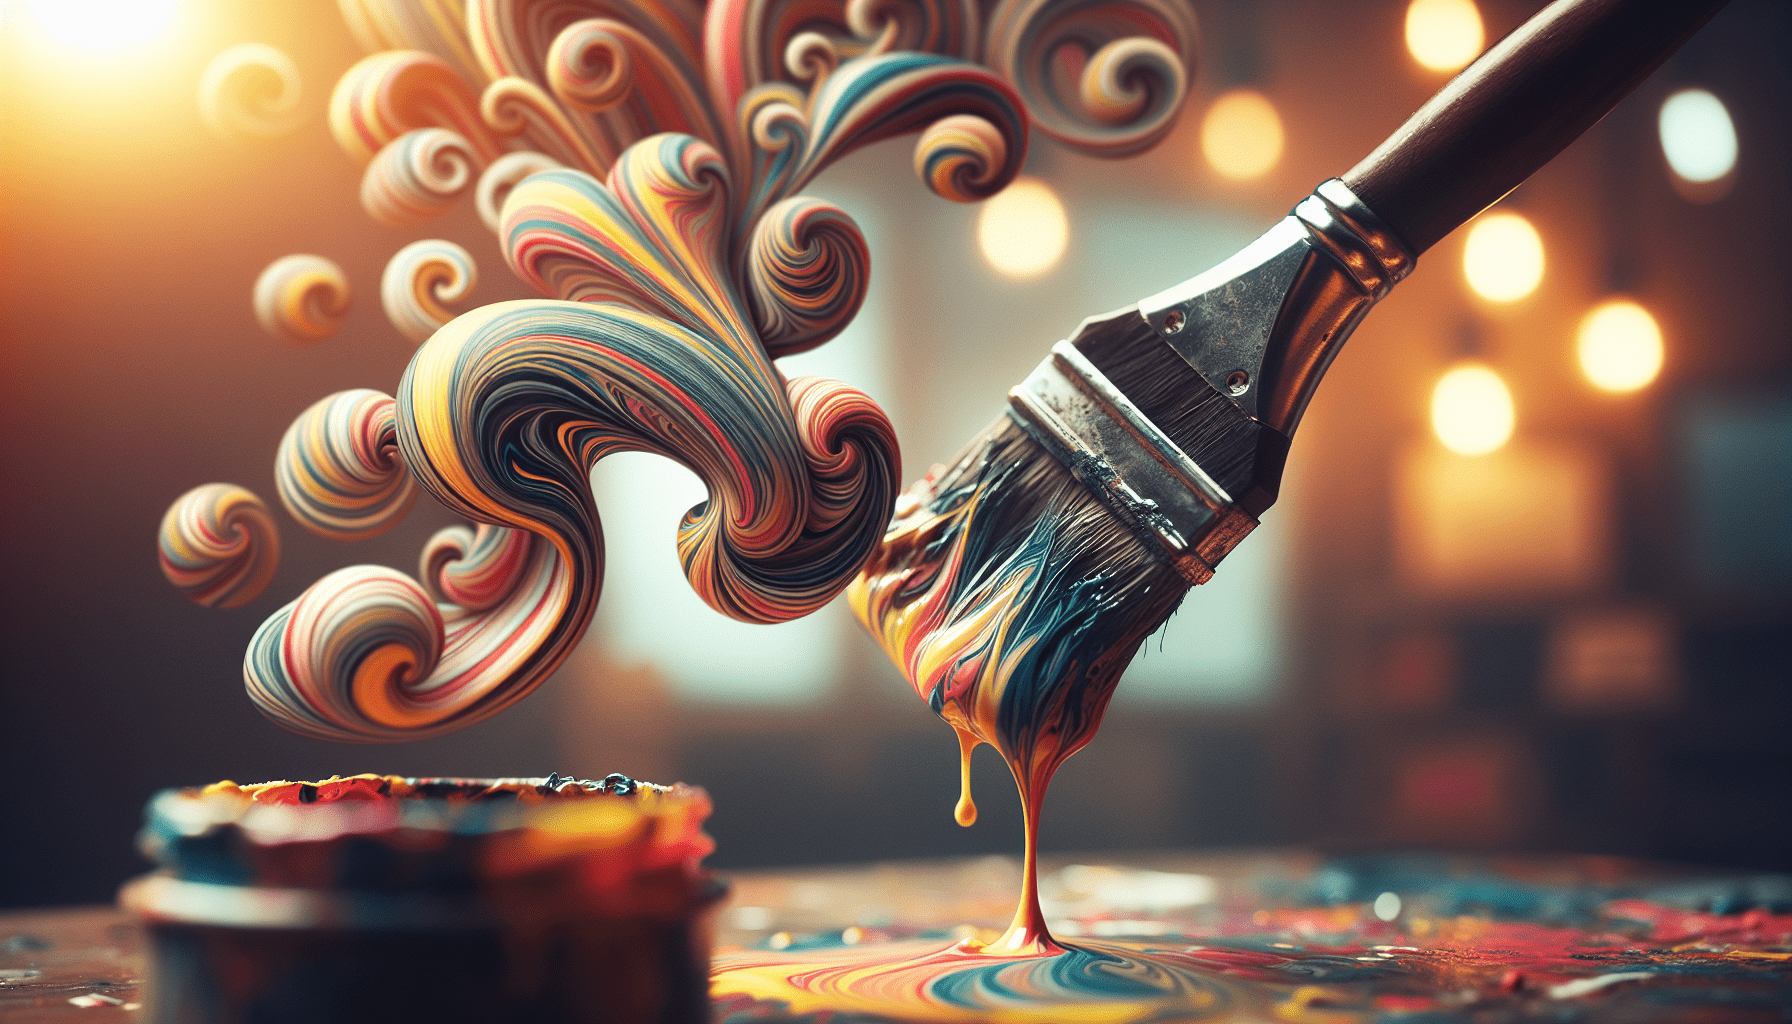
Marbling paint is specifically designed to mimic the luxurious look of marble, incorporating intricate patterns of swirls and veins. This type of paint can effectively transform ordinary surfaces into artistic masterpieces, making it popular among artists and hobbyists alike. What makes marbling paint unique is its capacity to suspend on surfaces without being absorbed, allowing you to manipulate designs before they settle.
Composition and Characteristics
Typically, marbling paint is composed of pigments suspended in a medium that allows the paint to float on water or a cellulose solution. This distinctive characteristic makes it easy to maneuver the colors into detailed patterns before being transferred onto a chosen surface. Understanding these properties is crucial as they form the basis of knowing when and how to apply the paint for optimal results.
Types of Marbling Paint
The market offers various types of marbling paints, each with its specific suitability for certain projects. Primarily, you have acrylic-based marbling paint, which is ideal for beginners because of its ease of use and clean-up. Then, there’s oil-based marbling paint, preferred for its longevity and rich finish, but it demands a bit more expertise. Deciding on the right type of paint for your project is essential, as it will impact both the application process and final appearance.
Optimal Timing for Applying Marbling Paint
Like any creative endeavor, timing is a crucial factor that can significantly affect the outcome of your marbling project. Timing not only refers to the literal moment you apply the paint but also the conditions under which you work.
Environmental Considerations
The surrounding environment plays a pivotal role in the success of marbling. Factors such as temperature, humidity, and air circulation influence how the paint behaves and sets on the surface.
-
Temperature: Ideally, work in a controlled environment with temperatures between 68°F to 72°F (20°C to 22°C). Extreme temperatures can cause the paint to dry too quickly or not set properly, leading to subpar results.
-
Humidity: A moderate humidity level, around 50%, is recommended. High humidity can prolong drying time, while low humidity may cause the paint to dry too rapidly, disrupting patterns.
-
Air Circulation: Proper ventilation is crucial but avoid direct drafts or wind, as these can distort the floating paint designs before they set on the intended surface.
Timing in Project Stages
Marbling can be integrated into various stages of a project, depending on the desired effect. For example, in interior decor, marbling might be a final touch, while in paper crafts, it could serve as a central design element.
Early Application
Applying marbling paint early in the project allows it to be an integral component of design, influencing subsequent color choices and textures. This is particularly relevant for projects where marbling forms part of a composite effect alongside other painted elements.
Mid-Project Integration
In larger projects, adding marbling midway can enhance depth and complexity. This strategy is beneficial when you wish to juxtapose the marble effect against solid colors or other techniques for contrast.
Final Touch
Finishing touches with marbling paint can elevate a project, adding a touch of sophistication after other elements are in place. Timing is particularly delicate here, as the paint application must complement and not overshadow existing work.

Steps to Applying Marbling Paint
Once the appropriate time and conditions are selected, the next step involves the application itself. The process demands patience and a meticulous approach.
Surface Preparation
Before any paint touches the surface, preparation is key. Whether the surface is paper, wood, fabric, or any other material, it must be correctly primed and aligned to ensure the marbling pattern adheres properly.
Cleaning and Priming
- Paper: Choose high-quality, heavyweight paper to prevent buckling. Acid-free paper is optimal for the longevity of the project.
- Fabric: If marbling on fabric, pre-washing and drying it removes any impediments, such as sizing or finishes, that might interfere with paint absorption.
- Wood and Walls: Sand and prime the surface to ensure even paint application. Use a primer compatible with the marbling paint type chosen.
Paint Preparation
Properly preparing your paint is a crucial step that ensures uniformity and consistency. Before application, make sure to:
- Stir your paints thoroughly to distribute pigment evenly.
- If using acrylic marbling paint, consider mixing it with a marbling medium to enhance its flow and floating ability.
- Test a small sample before committing to see how the paint reacts with your surface.
Application Process
The actual application of marbling paint involves layered steps that demand precision and control.
Creating the Marbling Base
Fill a shallow tray with water or a sizing solution as your base. This will allow the paint to float. Carefully drop the paint onto the surface of the water using a brush or pipette, layering different colors as desired.
Manipulating the Design
With the paint floating on the water, you can start manipulating it into intricate designs. Use tools like combs, sticks, or skewers to drag the paint into patterns. The goal is to create a balanced composition that reflects your creative vision.
Transferring the Design
Once satisfied with the pattern, gently lay your prepared surface face-down onto the paint. Ensure no air bubbles form, which could distort the final product. Slowly lift the surface off the water, allowing excess liquid to drip off naturally.
Drying and Setting
Place your project on a flat surface to dry. Proper drying conditions must be maintained to ensure the design sets as intended. Avoid disturbing the project during this time to prevent smudges or inconsistencies.
Marbling Paint Techniques and Tips
To enhance your skill set, there are additional techniques and tips you can apply to your marbling endeavors. These methods can add sophistication and variability to your art.
Traditional Techniques
Turkish Ebru
This ancient art form involves traditional techniques and tools, such as using special brushes and pigments. Practicing Turkish Ebru can provide a historical context and expand upon foundational marbling skills.
Japanese Suminagashi
A minimalist approach originating from Japan, Suminagashi (or “floating ink”) often uses fewer colors and relies on subtle contrasts and flows. It’s excellent for artists inclined toward delicate, understated designs.
Modern Innovations
Digital Marbling
Incorporating technology with traditional techniques, digital marbling utilizes software to create patterns that are then printed or transferred onto different media. This can save time and offer enhanced control over the final appearance.
Mixed Media Marbling
For those who enjoy a multidimensional approach, combining marbling with other mediums can give rise to unique art forms. This could mean incorporating layers of marbling underneath acrylic pours or alongside ink washes.
Protecting and Preserving Your Work
The longevity of your marbling project is contingent on proper care and coating after completion. Below are methods to ensure lasting integrity:
- Sealants: Apply a clear varnish or sealant specifically designed for your surface type. This will protect against fading, dust, and moisture.
- Framing: Consider framing marbled paper or fabric under glass to prevent damage over time.
- Storage Conditions: Keep artworks in dry, stable temperatures to avoid warping or mold growth.

Common Mistakes and How to Avoid Them
Being aware of potential pitfalls can significantly enhance your success with marbling paint applications. Here are some frequent errors and solutions:
Over-Saturation of Colors
Avoid adding too much paint, which can cause colors to merge into an indistinguishable mass. Use a restrained hand, gradually building up color layers.
Impatience During Drying
Rushing the drying process by using heat can cause wrinkles or cracks. Always allow natural air drying and maintain consistent environmental controls.
Surface Incompatibility
Utilizing improper surfaces can lead to uneven patterns or inability for the paint to fully adhere. Always test your materials first to ensure compatibility with marbling techniques.
Conclusion
Mastering the art of applying marbling paint involves timing that accounts for environmental conditions, the stage of your project, and meticulous preparation and application processes. With an understanding of these elements, you can create stunningly beautiful marbled effects that enhance any project. The joy of marbling comes from knowing how to blend science with art, as you transform plain surfaces into celestial landscapes of swirling color. By following the outlined steps and avoiding common pitfalls, you will be well on your way to achieving extraordinary marbling results in your artistic efforts.


