Have you ever found yourself needing a specific shade of skin-coloured poster paint for a creative project? Crafting the perfect skin tone can be a challenging task, especially when the paint available on the market does not meet your exact requirements. Fortunately, with a few simple techniques and the correct materials, you can create your custom skin-colour poster paint that suits your artistic needs.
Understanding Skin Colour
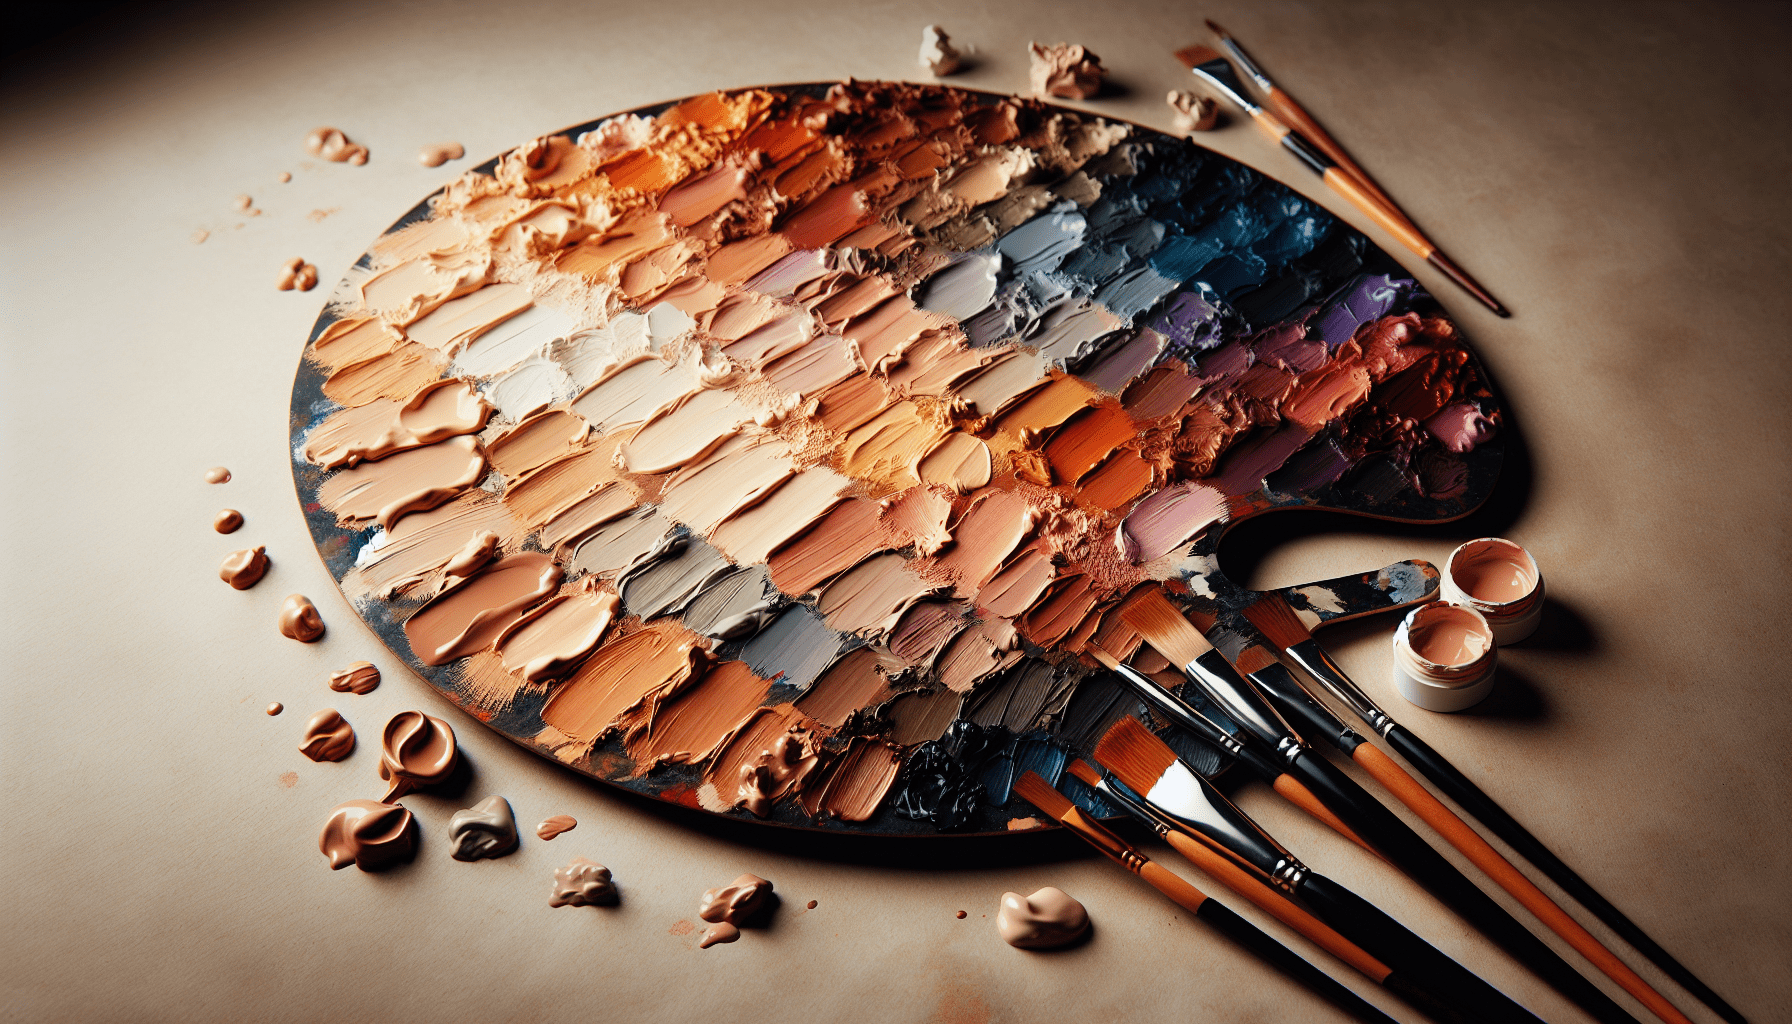
Before diving into the intricacies of mixing paint, it’s essential to understand the complexities of skin tone. Human skin comes in a wide variety of shades and undertones, influenced by factors like ethnicity, genetics, and environmental conditions. Recognizing these variations will enable you to mix paints that are more accurate and lifelike.
Shades and Undertones
Skin tones can broadly be categorized into light, medium, and dark shades. Within these categories, there are undertones that produce the unique glow of every skin:
- Cool Undertones: These often have hints of blues, pinks, or purples.
- Warm Undertones: These generally contain yellows, golds, or peaches.
- Neutral Undertones: These are a blend of both cool and warm undertones.
When you mix your poster paint, aiming for the correct undertone is as crucial as getting the correct shade.
Materials Needed
Gathering the appropriate materials will set the foundation for your paint-mixing process. Here is a list of basic materials you will need:
| Material | Description | Purpose |
|---|---|---|
| Primary Colours | Red, Yellow, and Blue poster paints | These will form the base of your custom skin tones. |
| White Paint | Any white poster paint | Used to lighten the base colours. |
| Brown Paint | Any brown poster paint | Helps in creating depth and different shades. |
| Palettes | Mixing palettes or any clean, flat surface | For mixing paints. |
| Brushes | A variety of fine and broad brushes | For mixing and testing your shades. |
| Water | Clean water in a container | For thinning the paint. |
| Palette Knife | A small knife for mixing paint | To ensure thorough mixing of colours. |
| Paper or Canvas | For testing and applying the paint | Helps in previewing the mixed colours. |
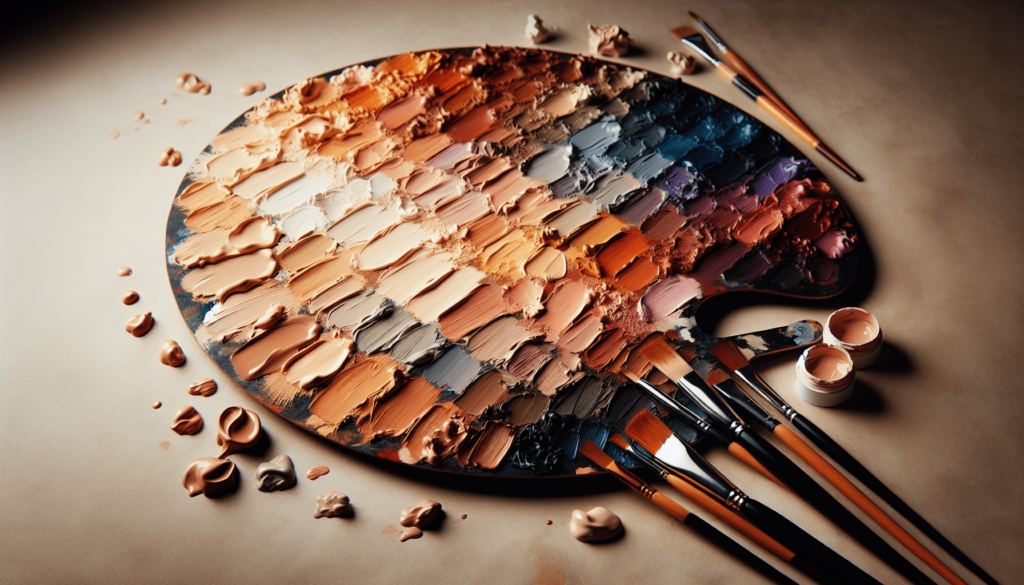
Steps to Mixing Skin Colour Poster Paint
Creating the perfect skin colour involves a step-by-step process. Below is a detailed guide to help you achieve the exact shade and undertone you desire.
Step 1: Creating a Base
Begin by creating a base colour. The base typically starts with a combination of red, yellow, and a small amount of blue.
- Take equal parts of red and yellow paint on your palette and mix them thoroughly using your palette knife until you have an orange base.
- Gradually add small quantities of blue paint to the mix. The blue will neutralize the warmth and can give your base a more realistic skin-like hue.
Example: Light Skin Tone Base
To create a light skin tone:
- Mix a significant amount of white paint into your orange base.
- Adjust as needed by adding tiny amounts of red or yellow.
Step 2: Adjusting the Tint
Once you have a basic colour, you need to adjust the tint to match the specific skin tone you are aiming for. This involves either lightening or darkening your base colour.
- To lighten: Add white paint in small quantities until you achieve the desired lightness.
- To darken: Add brown paint gradually. Be cautious with the amount, as brown can overpower the lighter shades quickly.
Step 3: Add Undertones
The nuances of skin colour come from the undertones. Experimenting with small additions can help you achieve a more natural look.
- For cool undertones: Add small amounts of blue or purple.
- For warm undertones: Add yellow or a hint of red.
- For neutral undertones: Balance the mixture with a little bit of both cool and warm tones.
Step 4: Testing and Adjusting
After achieving a shade that looks correct, it’s crucial to test it. Apply a small amount of paint on a piece of paper, let it dry, and observe the result. Often, colours may look different when dried.
- Dry Test: Let the paint dry fully to view the true colour.
- Comparative Test: It may be useful to compare your tested shade with a reference, like a photograph or an actual skin sample.
Step 5: Finalizing and Storing
Once satisfied with your mixed skin colour, make enough of the paint if you need it for a large project. Store it in an airtight container to prevent drying out.
Frequently Asked Questions
What if my paint dries out?
If your paint dries out, you can rehydrate it by adding small amounts of water and mixing thoroughly. However, be cautious with the amount as too much water can dilute the pigment, affecting your shade.
Can I use acrylics instead of poster paints?
Yes, the same principles apply. Acrylics are versatile and can be used similarly, but remember they dry faster than poster paints.
How do I preserve my mixed paint for later use?
Store the mixed paint in an airtight container and keep it in a cool, dry place. Adding a few drops of a retarder medium can also help in maintaining its moisture.
How do I adjust if my paint looks purple?
If your paint has turned purplish, it indicates the presence of too much blue or red. Adding a small amount of yellow can help neutralize and warm up the colour.
Conclusion
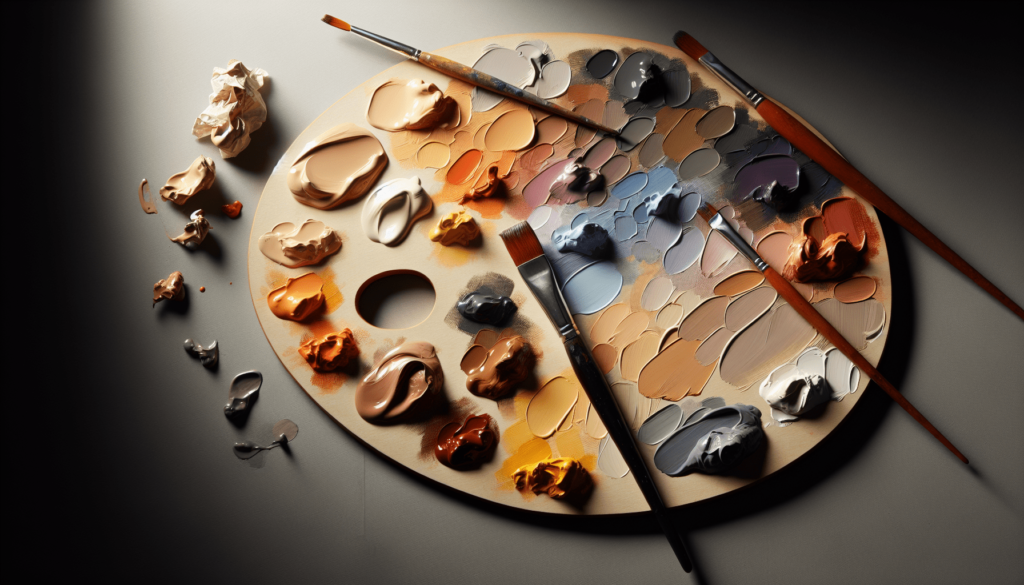
Mixing your own skin-colour poster paint is a rewarding process that can enhance the realism and depth of your artistic projects. By understanding the basics of colour theory, experimenting with different shades and undertones, and carefully testing your mixes, you can achieve custom skin tones that perfectly suit your needs. Practice and patience are key in developing the skill to consistently create accurate skin colours.
