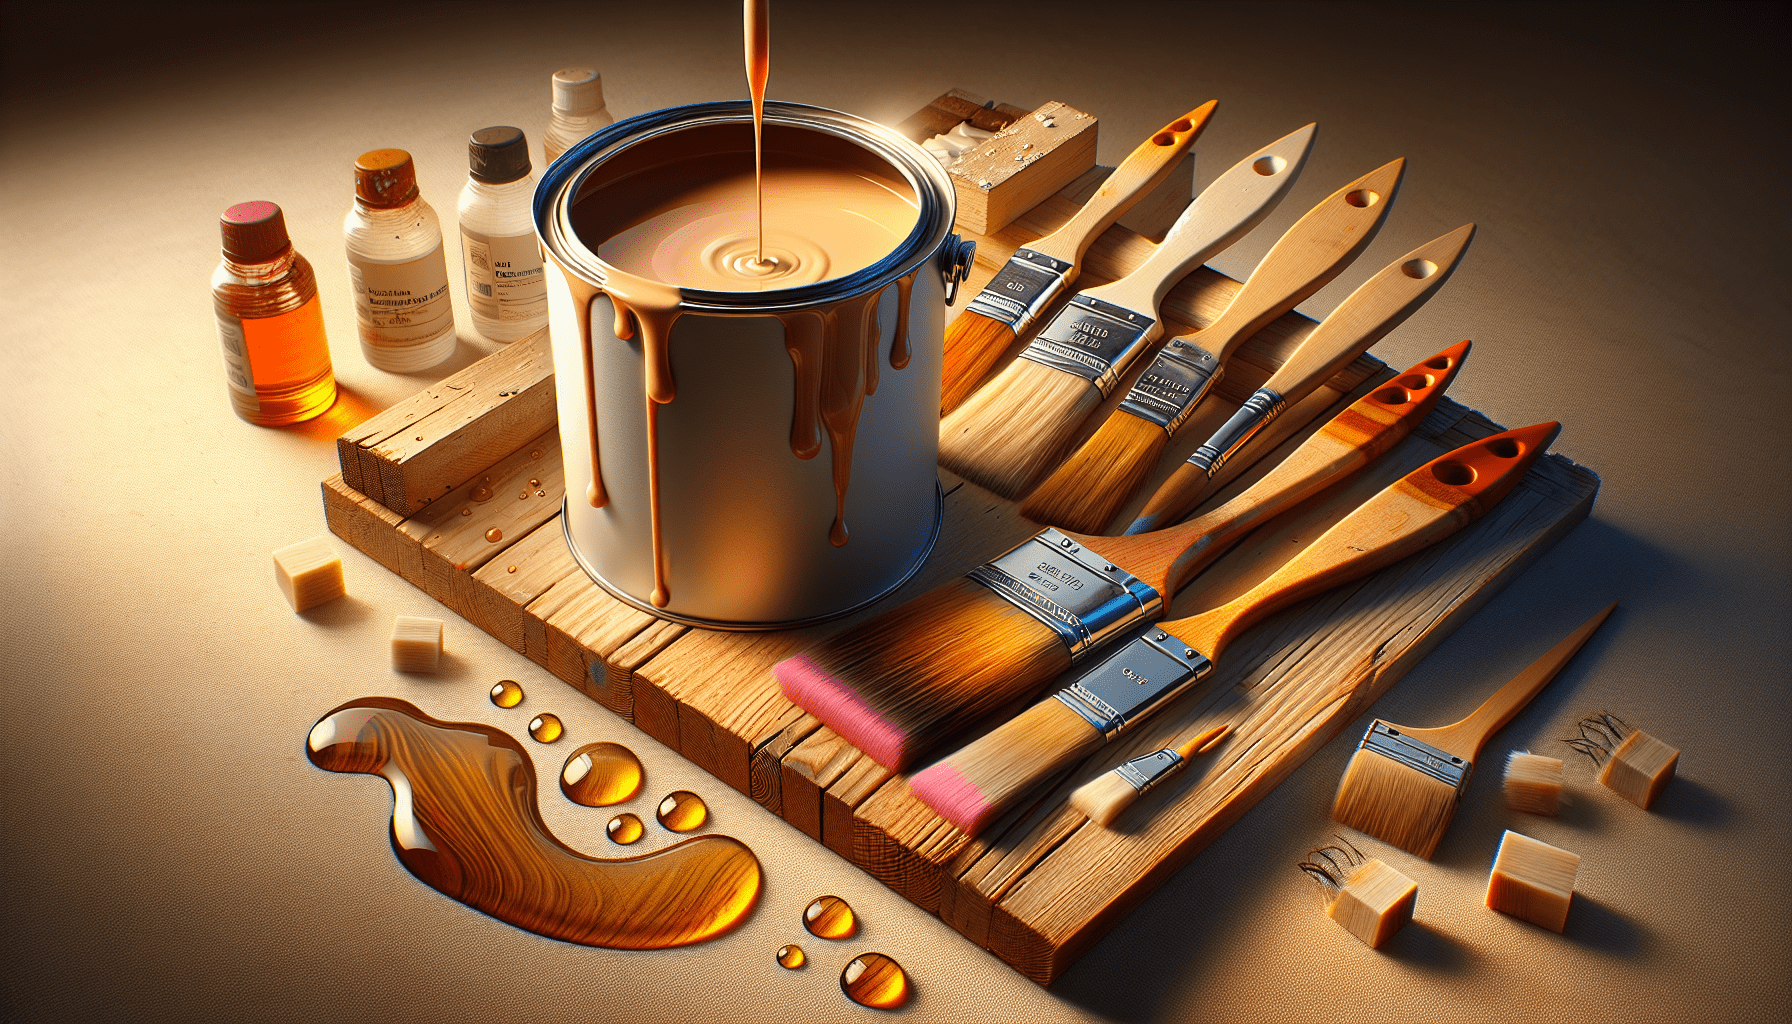
“Can You Paint Over Boiled Linseed Oil” offers a comprehensive examination of how boiled linseed oil interacts with different types of paint. It delves into the intricacies of the painting process, and provides you with detailed insights on whether you can paint over this specific type of oil. Whether you are an experienced artist or even a hobbyist, the knowledge shared in this article can be a valuable addition to your arsenal in creating compelling artwork.

What is Boiled Linseed Oil?
Boiled Linseed Oil, often referred to as BLO, is a common item in many professional artist’s studios, as well as within the homes of DIY enthusiasts. Named for the process by which it’s created, this unique substance has many uses, from wood preservation to an additive in oil paints.
Definition of Boiled Linseed Oil
Boiled Linseed Oil is derived from the seeds of the flax plant, a natural, renewable resource. It’s referred to as ‘boiled’ due to its processing method where it is heated and mixed with metallic driers to improve its drying properties. It’s important to note that it doesn’t actually involve boiling the oil in the cooking sense. Besides, though it is named “boiled,” modern manufacturing processes employ heating and the use of drying agents, rather than traditional boiling.
Composition of Boiled Linseed Oil
This oil encountered a chemical reaction during the boiling process that altered its molecular structure. This reaction created new compounds, including a variety of fatty acids. The most common of these are linolenic, oleic, and linoleic acid. These acids are responsible for the oil’s ability to harden upon exposure to the air, a property that makes it unique among oils.
Common Uses of Boiled Linseed Oil
Boiled Linseed Oil has several applications. Due to its water-repellent and protective properties, it is often used as a wood finish on furniture, tools, and other wooden items. It imparts a warm, rich, glossy finish to wood without hiding the grain. Moreover, it can be added to oil-based paints to enhance flow, increase gloss, and extend drying time. It’s also popular in printmaking applications.
Preparation for Painting
When you plan to paint over boiled linseed oil, preparing the surface properly is crucial for the longevity and quality of the final appearance.
Cleaning the Surface
Begin by cleaning the surface thoroughly. Use a soft cloth with mild soap and warm water to remove dirt, dust, and grease. Always rinse the area well and let it dry completely before moving on to the next step.
Sanding and Smoothing
After the surface is clean, sand it lightly with fine-grit sandpaper. This will create a more adhesive surface for the paint to stick to and smooth any imperfections that might affect the paint’s appearance. Always dust off any sanding residue thoroughly before proceeding with painting.
Priming the Surface
To ensure that your paint adheres correctly and has an even finish, a primer should be used. The primer should be oil-based to ensure compatibility with the boiled linseed oil. Apply it evenly and allow it ample time to dry before applying the paint.
Effects of Boiled Linseed Oil on Paint
Boiled Linseed Oil can have varying effects on paint, depending on the type of paint used.
Compatibility with Oil-Based Paints
Oil-based paints work well with Boiled Linseed Oil. When mixed with oil paints, it can increase their flow, glossiness, and drying time. This is useful for artists who want to add more depth and texture to their work.
Compatibility with Latex Paints
Unfortunately, latex or water-based paints are not compatible with Boiled Linseed Oil. When applied over the oil, they might not adhere well, resulting in peeling, flaking, or a weaker finish.
Potential Issues with Paint Adhesion
With both oil-based and latex paints, there might be adhesion issues if the surface is not correctly prepared. If the oil hasn’t fully dried, or if the surface isn’t cleaned and sanded correctly, the paint may not stick well, which can lead to problems like peeling and flaking.
Steps to Paint Over Boiled Linseed Oil
Cleaning the Surface
As already discussed, start by cleaning the surface thoroughly before beginning the painting process.
Testing Paint Compatibility
Before applying the paint to a large surface, it’s wise to test it on a small, inconspicuous area first. This will give you an idea of how well the paint adheres and how it looks when dried.
Using Appropriate Primer
Use an oil-based primer to ensure good adhesion between the paint and the oil. Allow the primer to dry adequately before painting.
Choosing the Right Paint
Use oil-based paint when painting over boiled linseed oil. As previously noted, latex paints don’t adhere well to linseed oil.
Applying Multiple Layers
Apply multiple thin layers of paint, allowing each to dry before adding the next. This will result in a more even finish and fewer visible brush strokes.
Allowing Sufficient Drying Time
Before using or exposing the painted item to the elements, ensure that it’s fully dried.
Tips and Recommendations
Inspecting the Surface
Before painting, inspect the surface closely to ensure it’s clean, dry, and free of imperfections. Any issues should be addressed prior to painting.
Using Proper Protective Gear
When working with paints and primers, always wear protective gear, including gloves and a mask, to safeguard your health.
Consider Professional Help
If you’re unsure about the process or if the project is large or complex, it might be wise to hire a professional to ensure the job is done correctly.
Maintaining the Painted Surface
After painting, be sure to maintain the surface by cleaning it regularly and promptly addressing any signs of damage or wear, such as chips or cracks.
Common Problems and Solutions
Cracking or Peeling of Paint
Cracking or peeling paint usually indicates poor adhesion. This can be due to improper preparation of the surface or use of incompatible paint types. To resolve this, scrape off the old paint, prepare the surface correctly, and repaint using an oil-based paint and primer.
Blistering or Bubbling
Blistering or bubbling often occurs when painting over a surface that’s not adequately dry or clean. To fix this, remove the paint, clean and dry the surface thoroughly, and repaint.
Uneven Coverage
Uneven coverage can be caused by applying the paint too thickly or not using enough coats. To fix this, sand the uneven areas and apply an additional layer of paint.
Poor Paint Adhesion
Poor paint adhesion can occur if the surface isn’t prepared properly, if the paint type is incompatible with the boiled linseed oil, or if the paint is old and has expired. To solve this issue, scrape off the old paint, prep the surface correctly, and use fresh, oil-based paint.
Alternative Options
If painting over boiled linseed oil proves to be challenging, here are some alternatives.
Complete Removal of Boiled Linseed Oil
Consider completely removing the Boiled Linseed Oil using a chemical stripper or sandpaper. This can be a time-consuming task, but it will allow you to start with a clean slate and use the paint of your choice.
Using a Different Paint Technique
Consider other painting techniques such as staining or varnishing, which could be more compatible with boiled linseed oil.
Conclusion
Summary of Important Points
In conclusion, while you can paint over Boiled Linseed Oil, it requires a particular process to ensure success. Prior preparation of the surface and selecting the right paint are crucial. When in doubt, engage professional help to ensure the best result.
Final Thoughts
Boiled Linseed Oil has many uses and benefits. However, if you plan to paint over its surface, carefully consider the type of paint to use and prepare the surface well. Armed with the right knowledge and tools, you can successfully paint over boiled linseed oil, resulting in a beautifully finished product.
