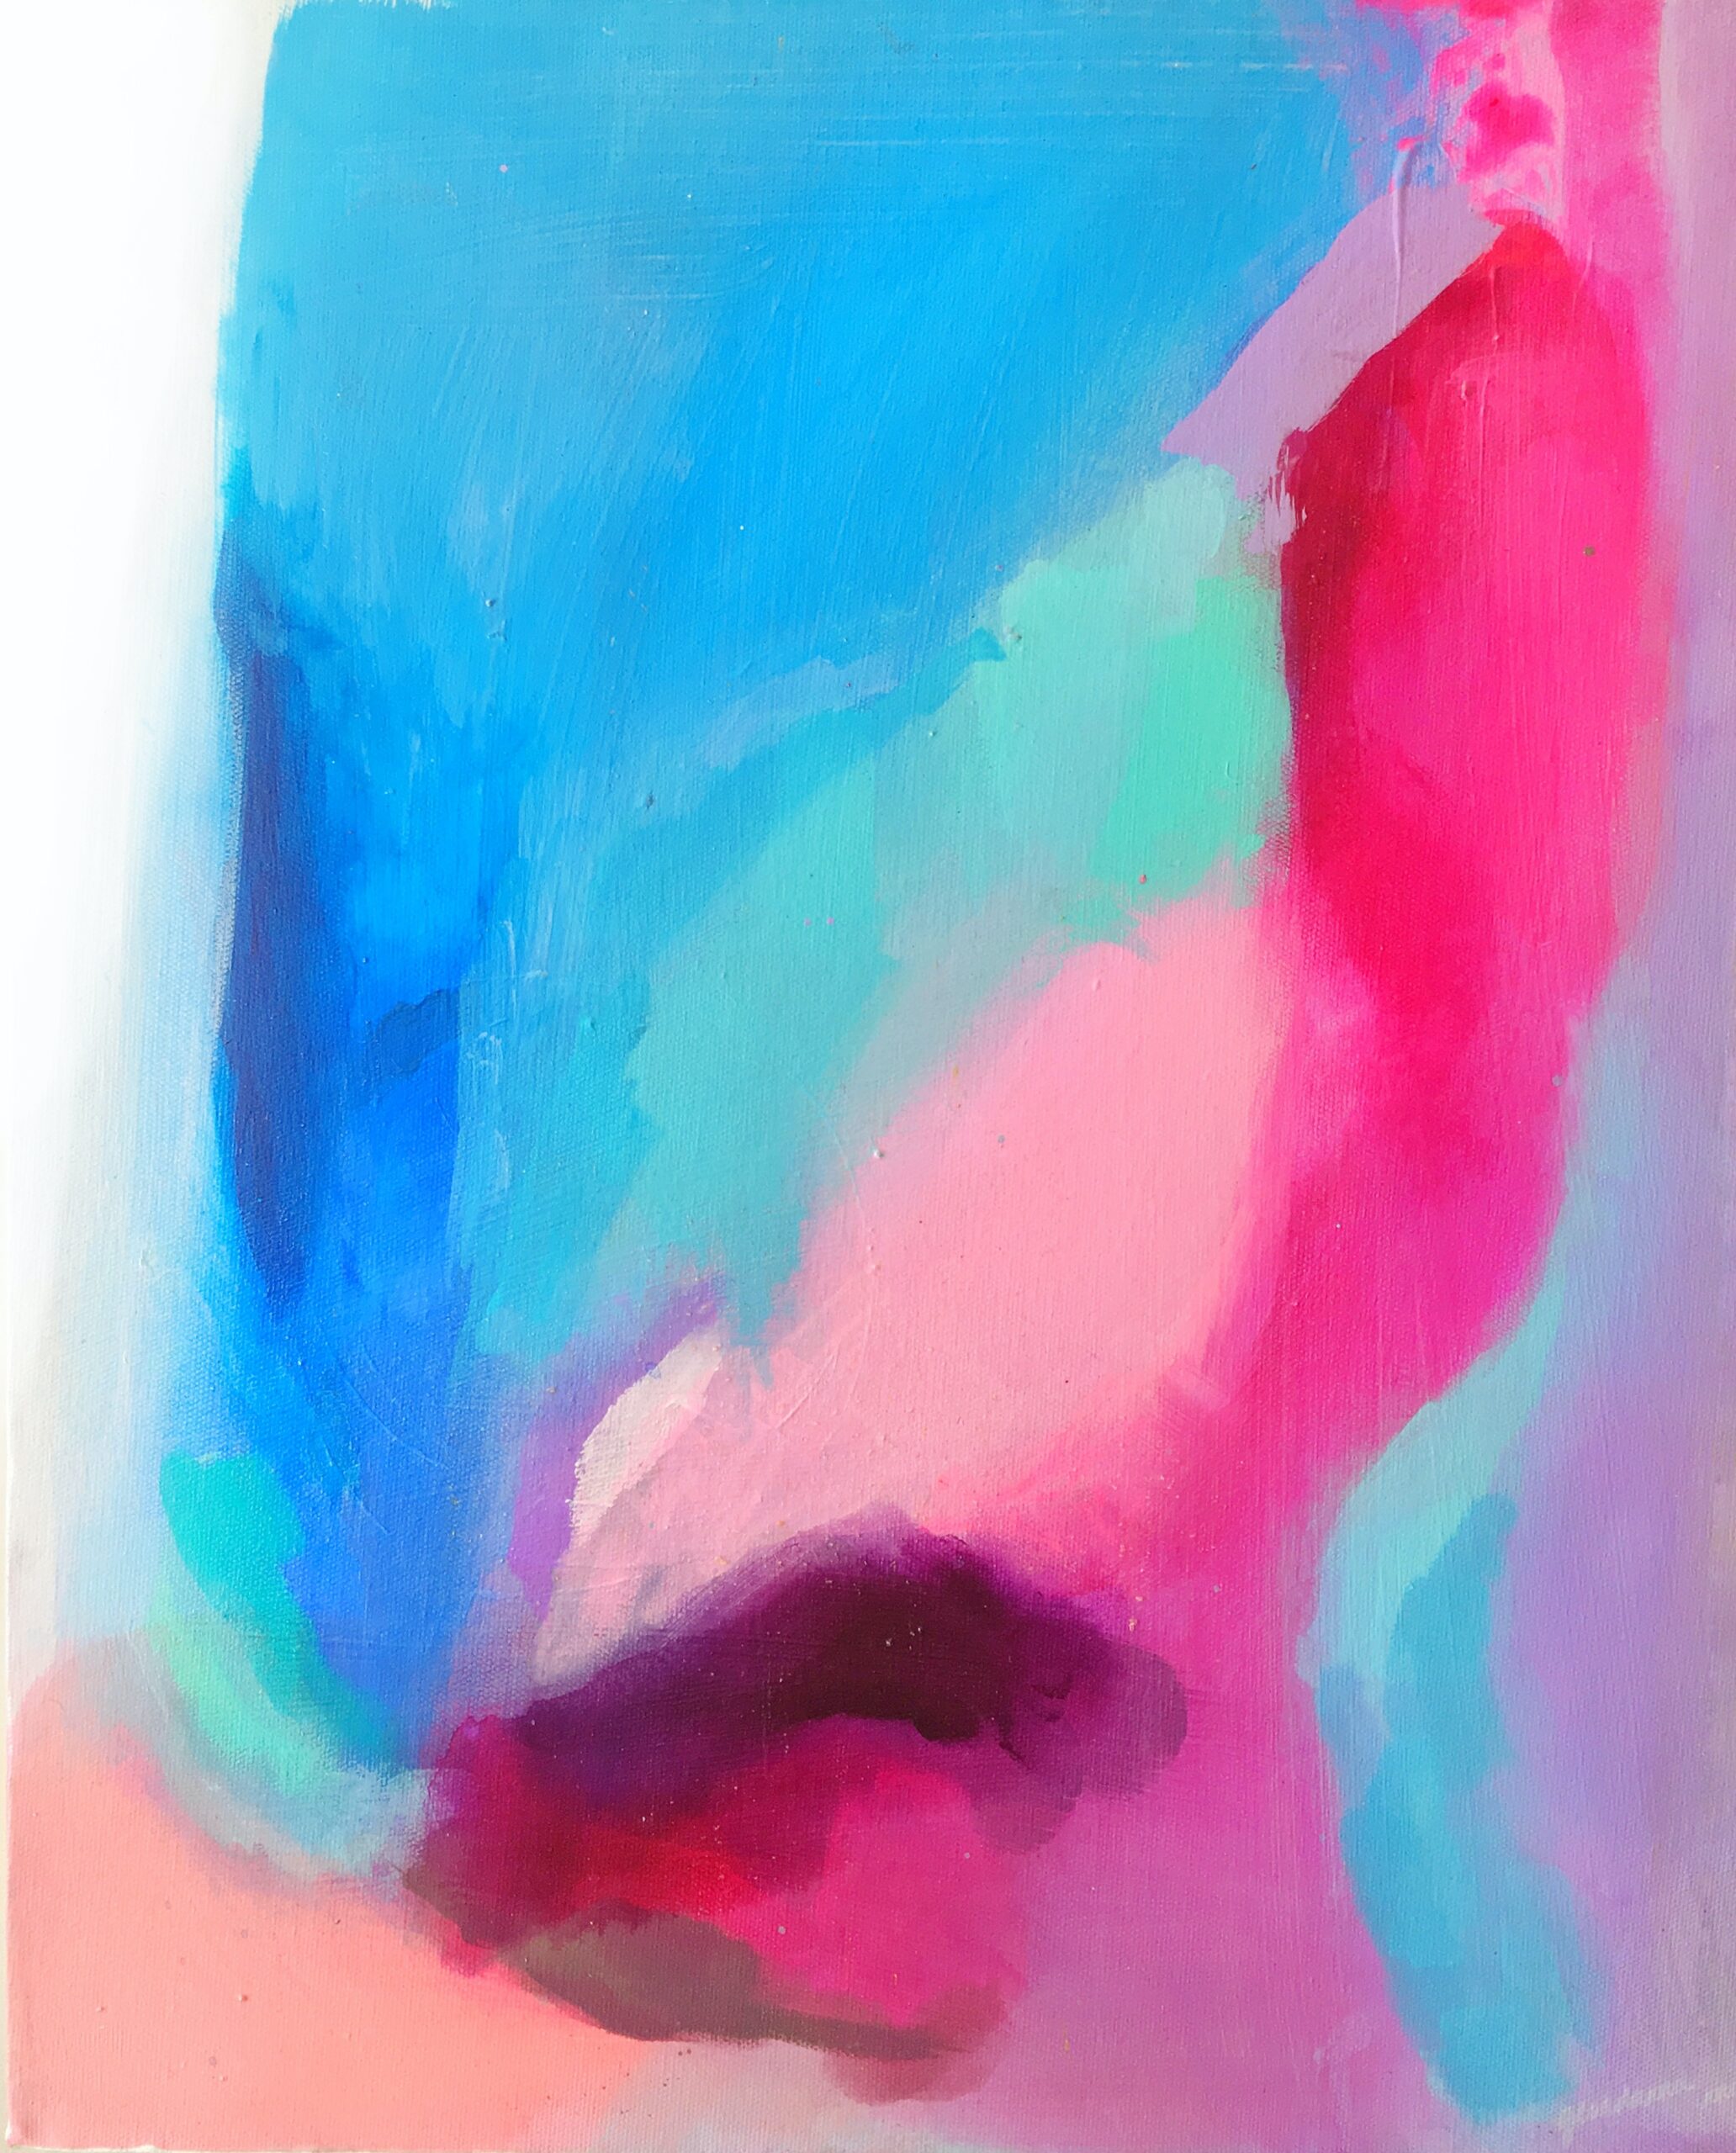
In this article, you will discover the art of painting clouds with gouache. Gouache, with its vibrant colors and opaque nature, becomes the perfect medium to capture the ethereal beauty of the sky. By following a few simple techniques and understanding the unique properties of gouache, you will unlock the secrets to create breathtaking cloudscapes that evoke a sense of tranquility and wonder. So, grab your paintbrush and prepare to immerse yourself in the mesmerizing world of cloud painting with gouache.
Materials Needed
To paint clouds with gouache, you will need several materials to ensure a successful painting process. These materials include gouache paints, watercolor paper or canvas, a palette or mixing tray, a water cup, paintbrushes, and paper towels. Gouache paints are an excellent choice for painting clouds as they provide vibrant colors and can be easily blended. Watercolor paper or canvas will provide a sturdy surface for your painting, and a palette or mixing tray will allow you to create different color combinations. The water cup is essential for clean brush rinsing, and the paper towels will come in handy for cleaning and blotting brushes.
Preparing the Work Surface
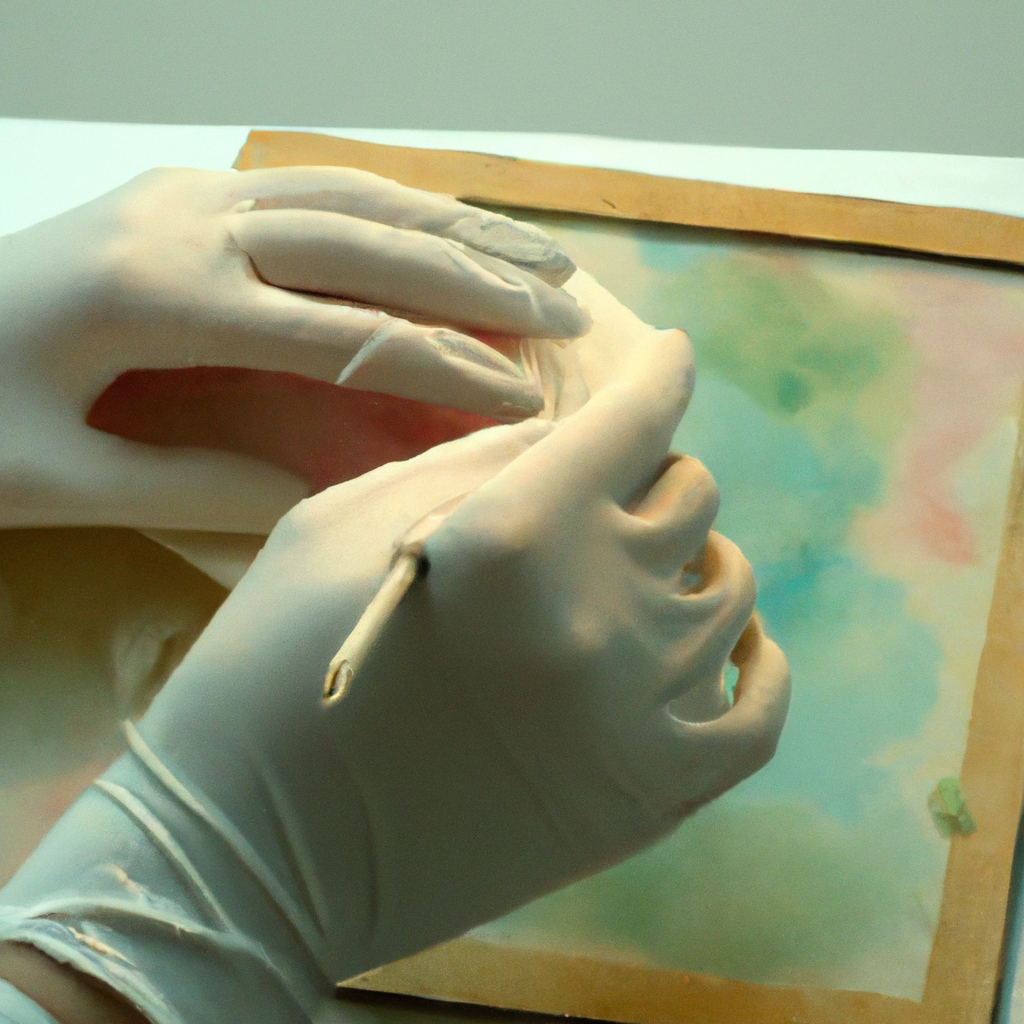
Before you begin painting, it is crucial to prepare your work surface properly. Choose a flat and stable surface where you can comfortably work for an extended period. It should provide enough space to lay out your materials and allow you to paint without any disturbances. Once you have selected your work surface, tape down the watercolor paper or canvas to ensure it remains secure and does not move while you are painting. Lastly, fill the water cup with clean water, which you will use to rinse your brushes and control the consistency of the paint.

This image is property of images.unsplash.com.
Mixing Colors
The next step in painting clouds with gouache is to mix the colors you will need. Start by preparing a light blue base color, as this will act as the foundation for your clouds. Slowly mix in a touch of white to create highlights within the clouds, as this will give them a three-dimensional and ethereal appearance. To add depth and dimension, incorporate a touch of gray into your mix for shading. Experimenting with different color combinations can help you achieve unique cloud effects and capture the atmospheric elements you desire.
Creating a Gradual Gradient
To achieve realistic-looking clouds, it is important to create a gradual gradient in your painting. Start by wetting the watercolor paper with a clean brush, ensuring the surface is evenly moistened. Apply the base blue color in long horizontal strokes, imitating the gentle flow of clouds across the sky. The wet-on-wet technique allows you to blend in the highlights and shading seamlessly, creating a smooth transition between colors. If necessary, use a dry brush or paper towel to soften the edges of your cloud formations, adding a subtle touch of realism to your painting.

This image is property of images.unsplash.com.
Painting Cumulus Clouds
Cumulus clouds, known for their fluffy and voluminous appearance, can be created using specific techniques. Begin by creating a cloud shape with a clean, damp brush, using soft and rounded strokes. Using a stippling motion, dab on the base color to mimic the textured nature of cumulus clouds. Gradually add highlights with a lighter color, emphasizing the areas where light would naturally hit the clouds. Finally, blend in shading with a darker color, creating a sense of depth and dimension within the cloud formations.
Painting Stratus Clouds
Stratus clouds, characterized by their smooth and layered appearance, require a different approach in painting. To paint stratus clouds, start by applying a light and even wash of the base color, covering the desired area. Using a dry brush, create horizontal streaks within the wash to mimic the horizontal layers of stratus clouds. Add subtle highlights and shading to enhance the three-dimensional aspect of the clouds. Experiment with blending different colors using water to achieve the desired tones and textures.

This image is property of images.unsplash.com.
Painting Cirrus Clouds
Cirrus clouds are delicate and wispy in nature, requiring a light touch and attention to detail. To paint cirrus clouds, use a thin brush and a light touch to create long, wispy strokes on the paper. These strokes should imitate the flowing and feathery nature of cirrus clouds. Incorporate hints of blue and white into your painting to add texture and depth to the clouds. It is crucial to keep the edges of your cirrus clouds soft and feathery, giving them an ethereal and dreamlike appearance.
Creating Depth and Dimension
To make your cloud painting visually engaging, it is important to create depth and dimension. Layering different shades of clouds can help achieve this effect, as it adds complexity and realism to the sky. Vary the sizes and shapes of the clouds to create a sense of perspective, with larger clouds appearing closer and smaller clouds appearing farther away. Adding distant clouds with lighter colors will enhance the sense of depth in your painting. Experimenting with different layering techniques, such as glazing or dry brushing, can bring your clouds to life and provide a dynamic atmosphere to your artwork.

Finishing Touches
Once you are satisfied with your cloud painting, allow it to dry completely before making any final adjustments. Examine your artwork closely and touch up any areas that may need additional paint or blending. In the corner of your painting, sign and date the artwork to make it uniquely yours. Share your masterpiece with others and take the time to admire your achievement. Painting clouds with gouache requires patience and practice, but the end result is a beautiful and captivating piece of art.
Tips and Tricks
To improve your cloud painting skills, consider the following tips and tricks:
-
Practice blending and layering techniques on scrap paper before applying them to your main artwork. This will help you familiarize yourself with the unique properties of gouache paints and refine your cloud painting technique.
-
Study reference photos of cloud formations to better understand the shapes, colors, and textures present in different types of clouds. Observing real clouds will enhance your ability to recreate them in your artwork.
-
Experiment with different brush sizes and strokes to create a variety of cloud effects. Larger brushes can be used for broad strokes, while smaller brushes are ideal for adding fine details.
-
Don’t be afraid to mix in other colors besides blue to create unique cloud effects. Adding touches of pink, lavender, or gold can give your artwork a distinctive and artistic flair.
By following these tips and tricks, you will be able to confidently paint clouds with gouache and create stunning artworks that capture the beauty and serenity of the sky.


